
Pine Cone Christmas Trees
Learn how to make a pine cone tree with pom pom lights for Christmas! This is a perfect craft for kids.
Servings 2 trees
Cost $2
Equipment
- Hot glue gun and glue sticks optional
Ingredients
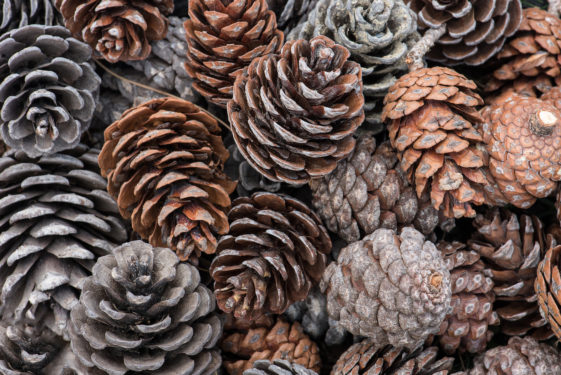
- 2 Pine cones
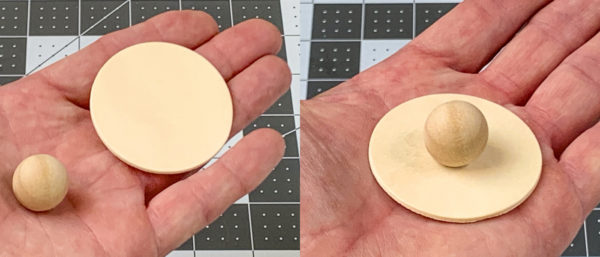
- 2 Wood circles
- 2 Wood beads
- 60 Mini pom poms 30 per tree
- Acrylic paint green, white, brown
- Craft glue
Instructions
- Preheat oven to 225 - 250F°. Line a baking sheet with aluminum foil and place the pine cones in a single layer on the pan.

- Bake for 30 minutes. Remove from the oven and take off the baking sheet using tongs to cool.
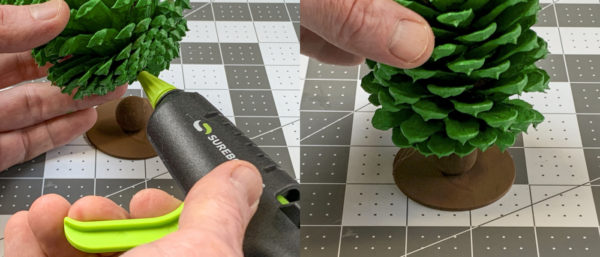
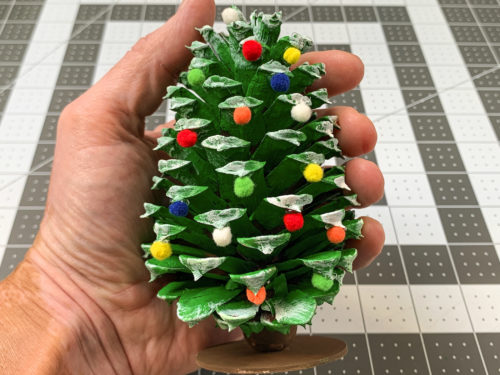
- Use a paintbrush to coat the scales of the cone with green paint. Give as many coats of paint as you need to cover and let dry.
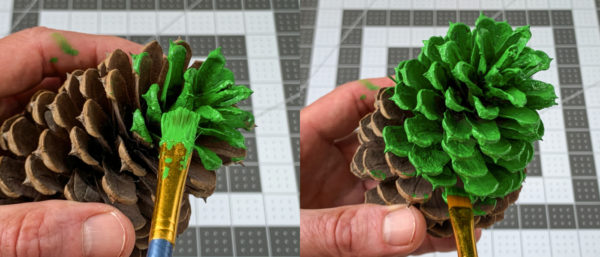
- Turn the pine cone over and paint the base and any scales you didn't already get. Let dry again.
- While the pine cone is drying, glue a wood bead to one of the wood circles. Let set.
- Paint the base using brown craft paint and let dry.
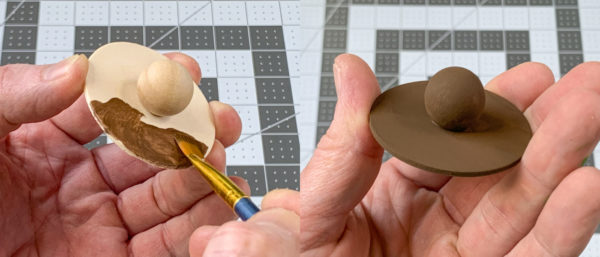
- Use craft glue or a hot glue gun to attach the pine cone to the base. Let dry.
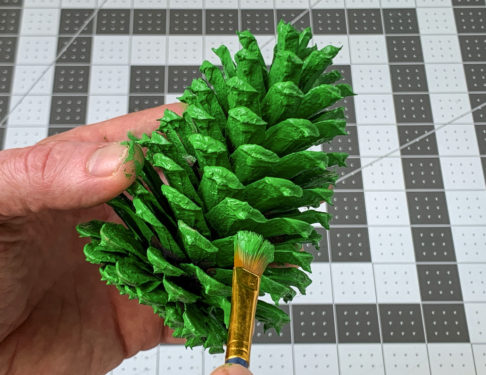
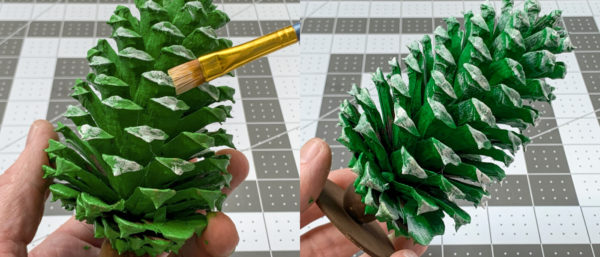
- Use a paintbrush and white craft paint to add some faux "snow" accents to the ends of the scale branches. Let dry.
- Use craft glue or hot glue to attach the pom poms to the branches. You can attach them to the bottom or top of the scales.
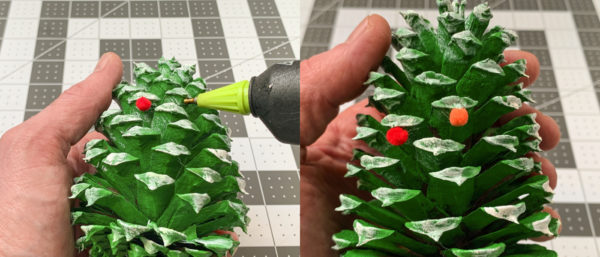
- Continue adding ornaments until the branches are full. Let dry completely before displaying.
Video
Notes
Don't leave the oven or kitchen unattended while you're baking your pine cones, just as a precaution.