Make Pine Cone Christmas Trees with Kids for Holiday Fun
Learn how to make the cutest pine cone Christmas trees, a fun holiday craft idea for kids! This is a great family activity and very easy.
Skills Required: None. You’ll be painting pine cones and some wood pieces to use as a base (optional), as well as gluing. It can be simplified for younger children and older kids can really make it their own.
Recently my mom and I did a tree lighting ceremony in her neighborhood. Well, she actually did the tree lighting ceremony part – I was just there for the crafting.
She invited me because there were some Christmas crafts for kids available for the neighborhood littles to try, and she wanted to me to lead the activities. I was iffy on whether I would help until I was told there was going to be a coffee kart available. I’M IN!
I’m kidding. Not about the coffee kart, but about helping. I’m always in for a good holiday craft sesh, especially when it comes to kids’ crafts. For me, it’s the creativity that is the magic of Christmas. I just love it!
We had a few activities available for the tree lighting, just so there would be something for everyone to try no matter the age. There were little wood trees to color, popsicle stick reindeer ornaments, a paper plate wreath, and pine cone Christmas trees.
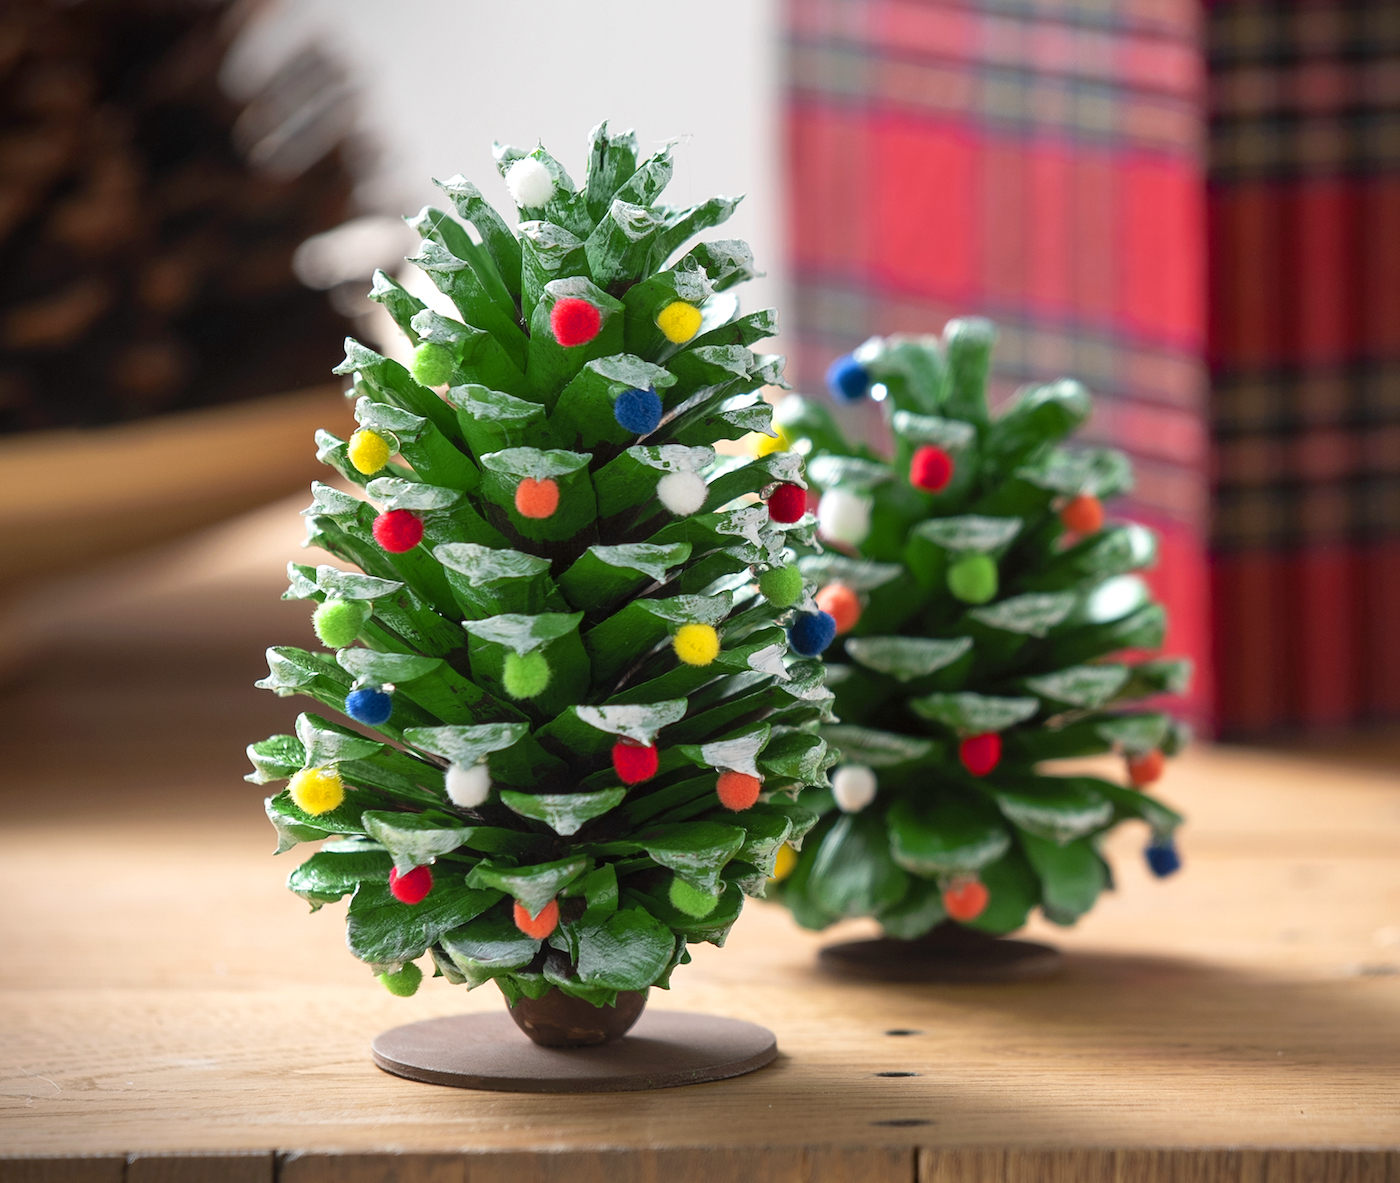
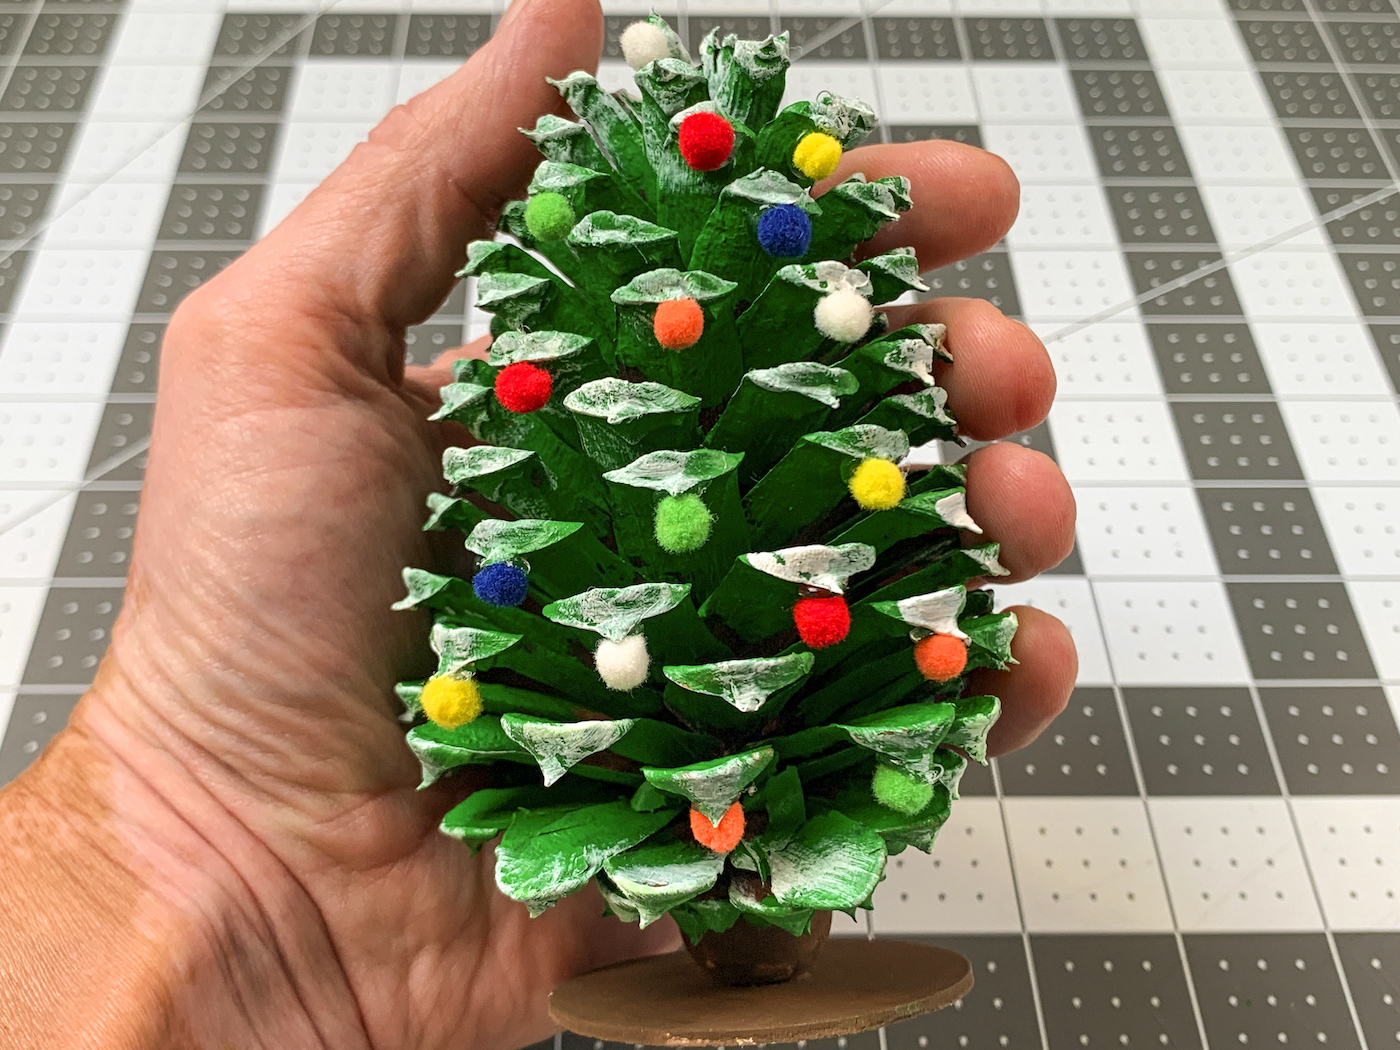
These trees are so easy, and there are so many ways to make them. And I’m going to show you mine! This a fun Christmas tree craft that everyone is going to love. Both kids AND adults!
These cute little trees are great for Christmas decorations, and they’re not something you have to hide (let’s be honest – some kids’ holiday crafts aren’t worth displaying). They end up so cute, you will want them out!
This pine cone craft looks great on a mantel or side table and is really fun as part of a holiday village display. Kids will be so happy that they got to contribute to the decor!
Gather These Supplies
- Pine cones
- Wood circles – 1 per tree
- Wood beads – 1 per tree
- Mini pom poms – lots of them!
- Craft paint – green, white, brown
- Craft glue
- Paintbrushes
- Hot glue gun and hot glue (optional)
There are a lot of ways to do this project, so I wanted to note some variations that people have tried that I think are kind of fun and useful:
- Paint the pine cones white, silver, or some other neutral to make them look more “upscale”
- Use spray paint to base coat the cones, then decorate with other paint colors. This helps shortcut painting time on the front end
- Try some alternatives for the base: small wood slices, wine corks, mini terracotta pots, wood blocks
- Drape baker’s twine around the cone to act as garland or Christmas lights
- Use perler beads, pony beads, or other small items as ornaments
- Place a star, pom pom, or other Christmas embellishment as a topper
- Attach a loop to the top of some smaller ones and use as kids’ ornaments
Get the printable how to card to make a DIY pine cone Christmas tree below! Don’t forget to check out our coffee filter snowflakes too, if you’re looking for another easy idea.

Pine Cone Christmas Trees
Equipment
- Hot glue gun and glue sticks optional
Materials
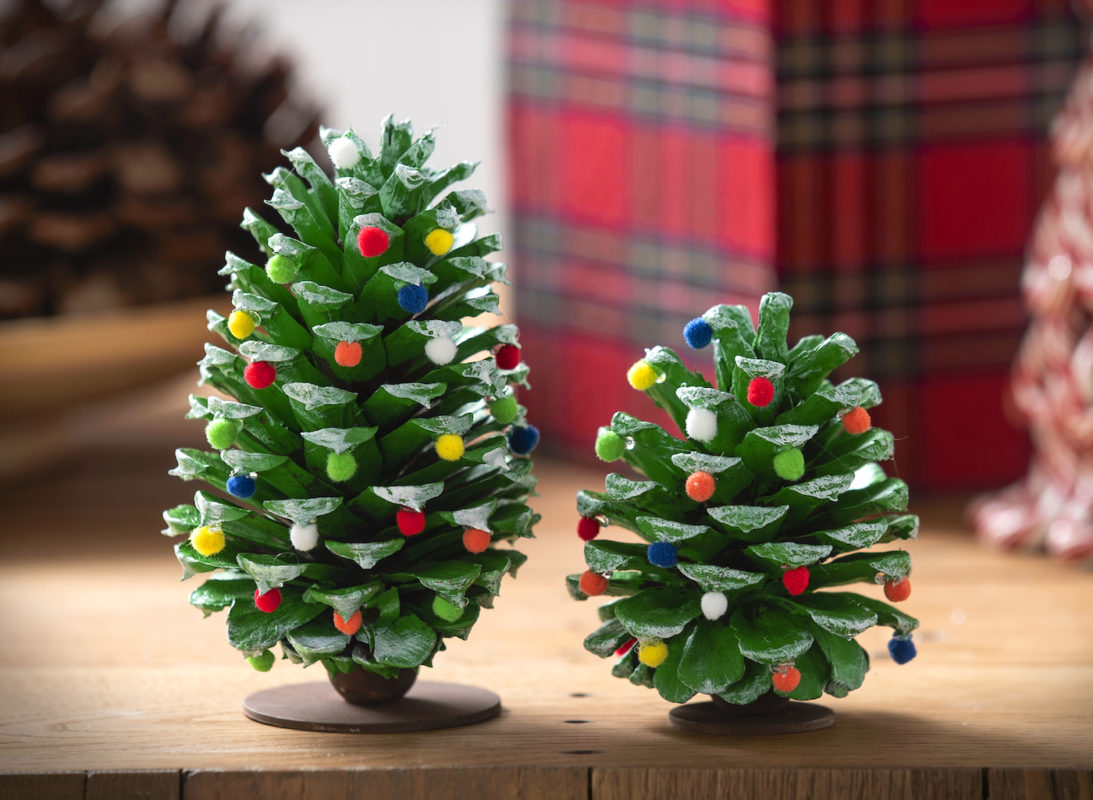
- 2 Pine cones
- 2 Wood circles
- 2 Wood beads
- 60 Mini pom poms 30 per tree
- Acrylic paint green, white, brown
- Craft glue
Video
Instructions
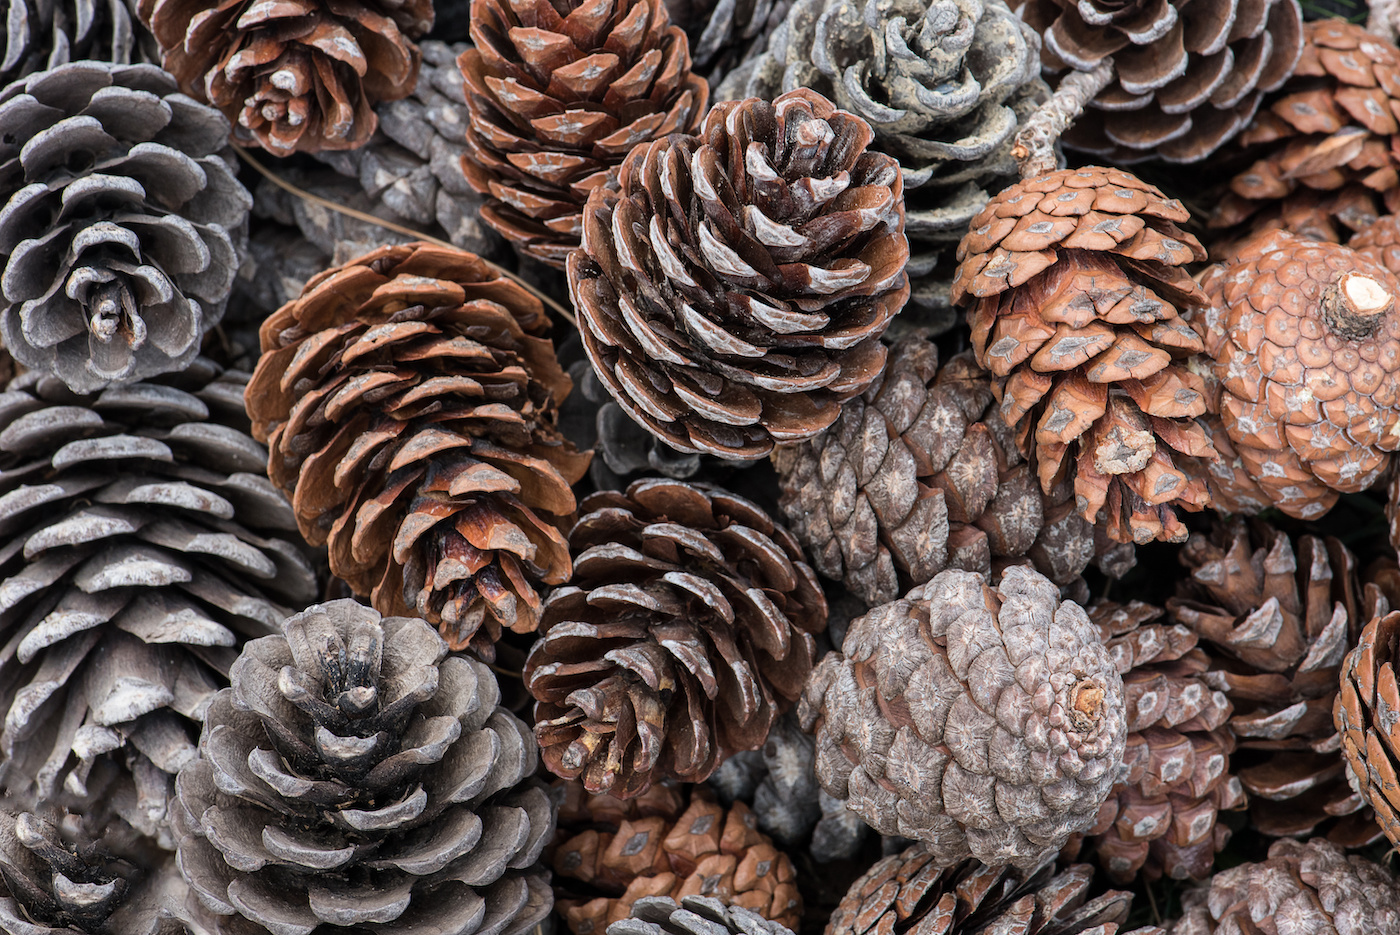
- Preheat oven to 225 – 250F°. Line a baking sheet with aluminum foil and place the pine cones in a single layer on the pan.

- Bake for 30 minutes. Remove from the oven and take off the baking sheet using tongs to cool.
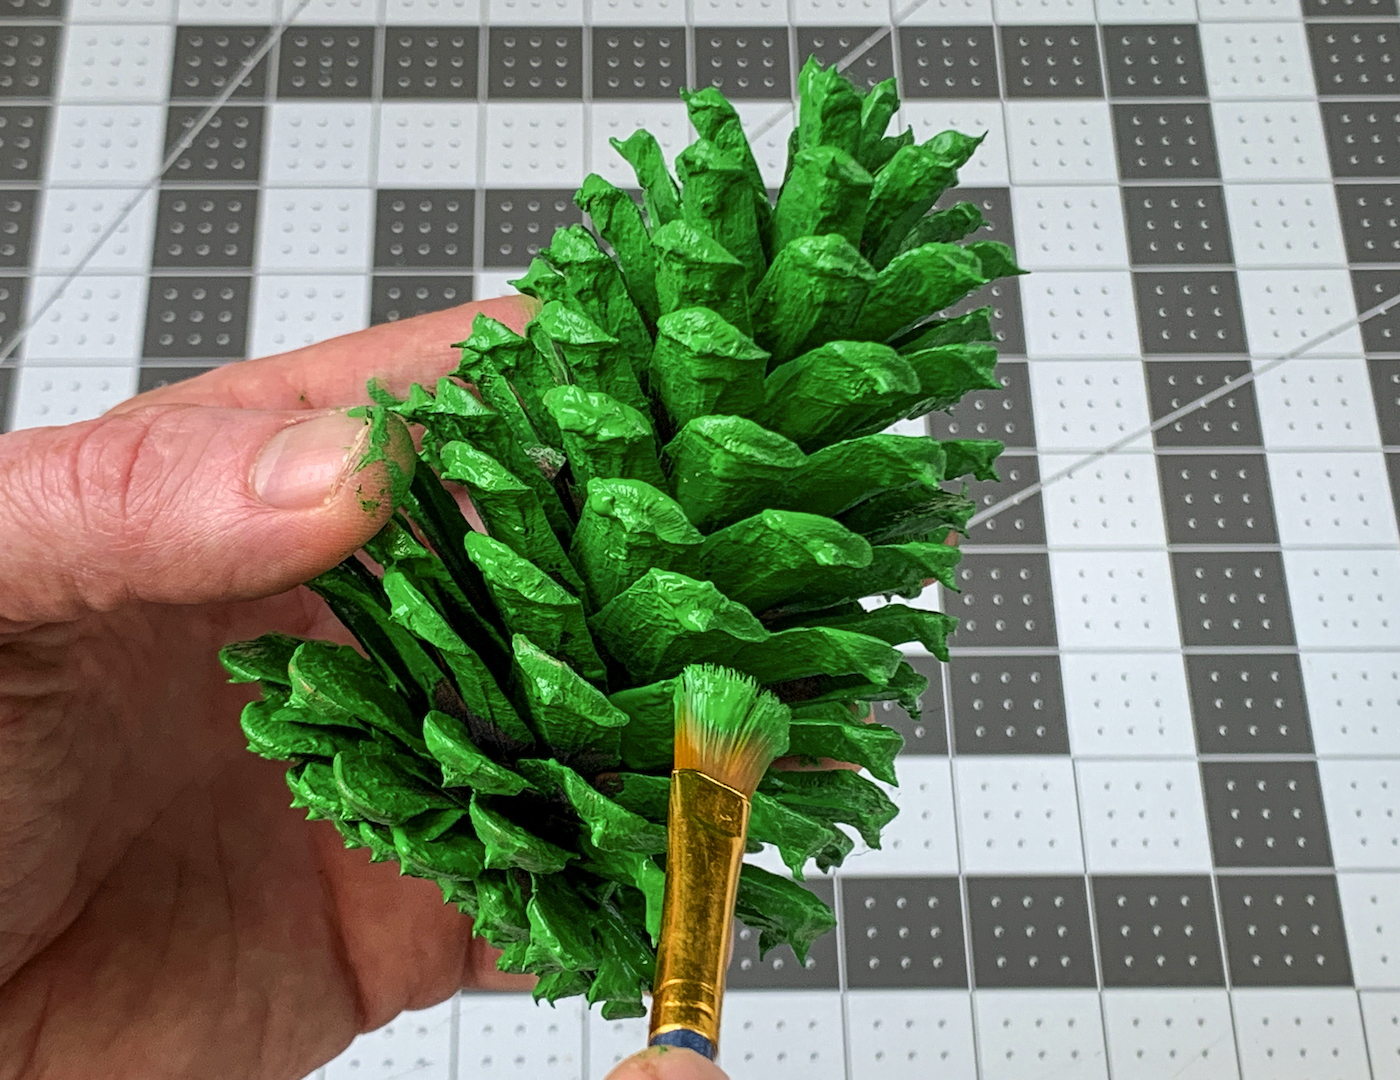
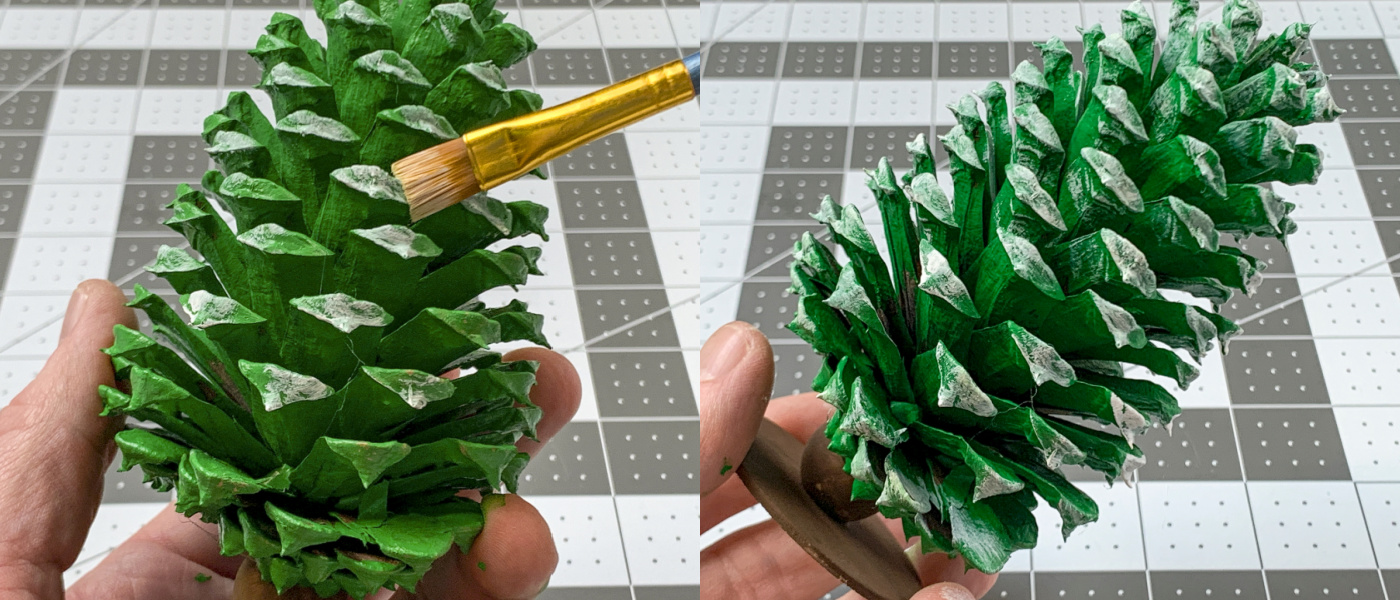
- Use a paintbrush to coat the scales of the cone with green paint. Give as many coats of paint as you need to cover and let dry.
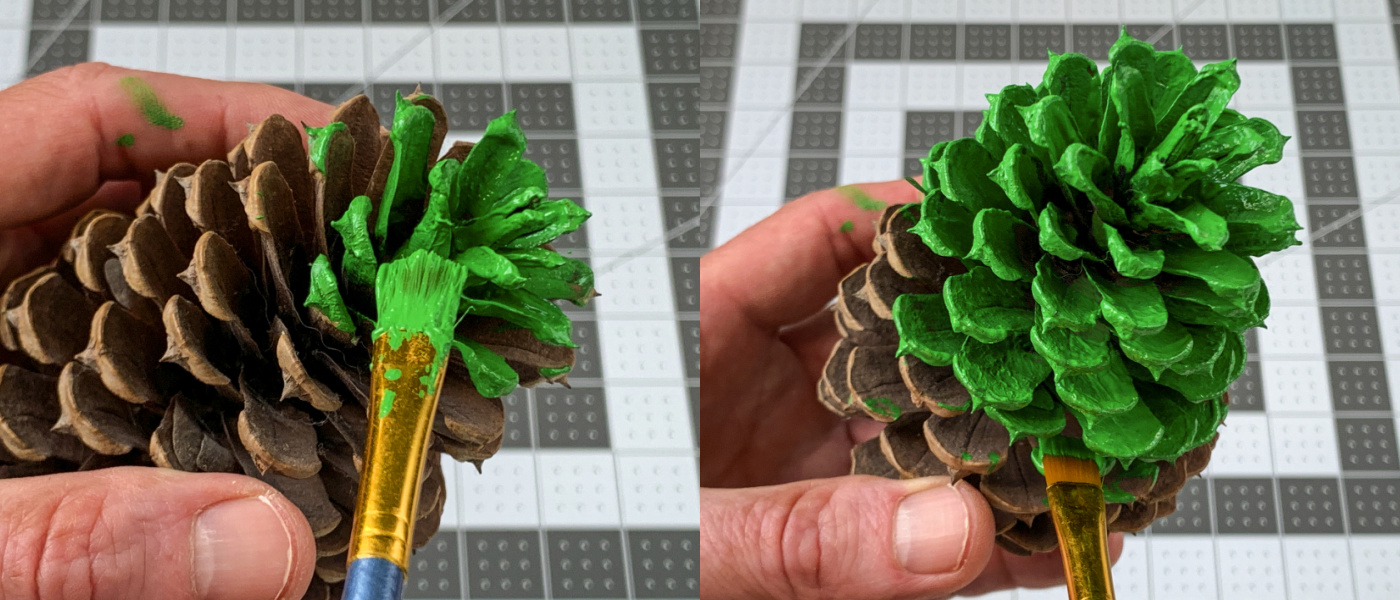
- Turn the pine cone over and paint the base and any scales you didn't already get. Let dry again.
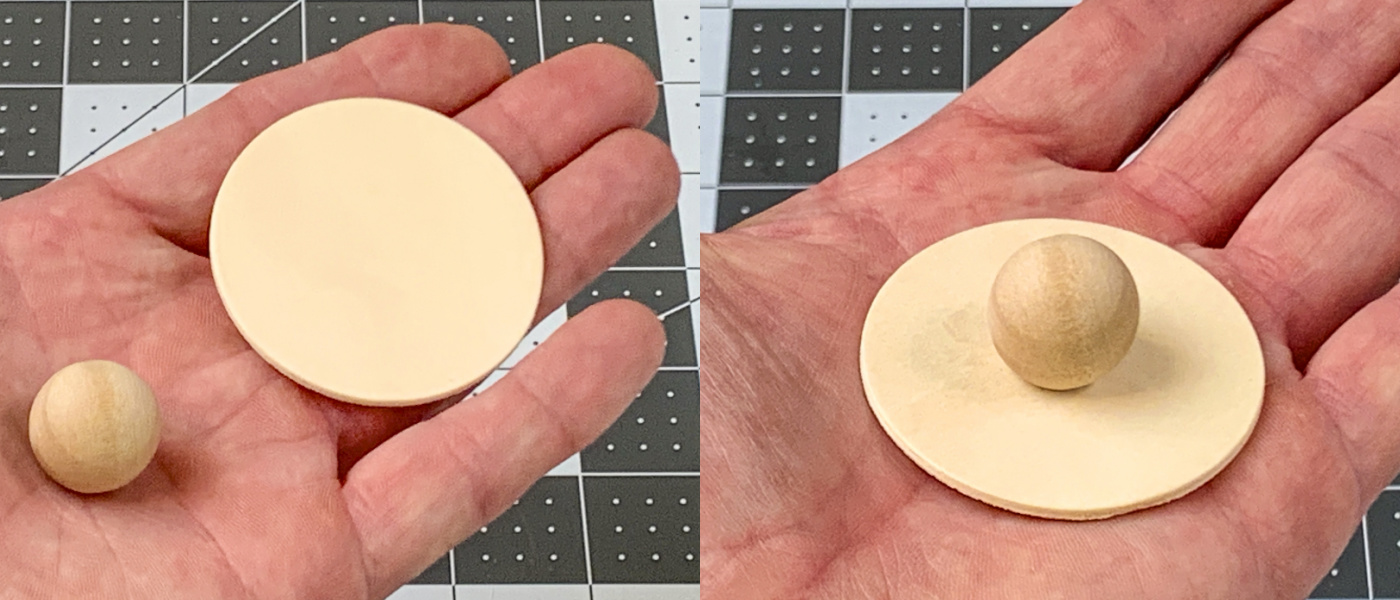
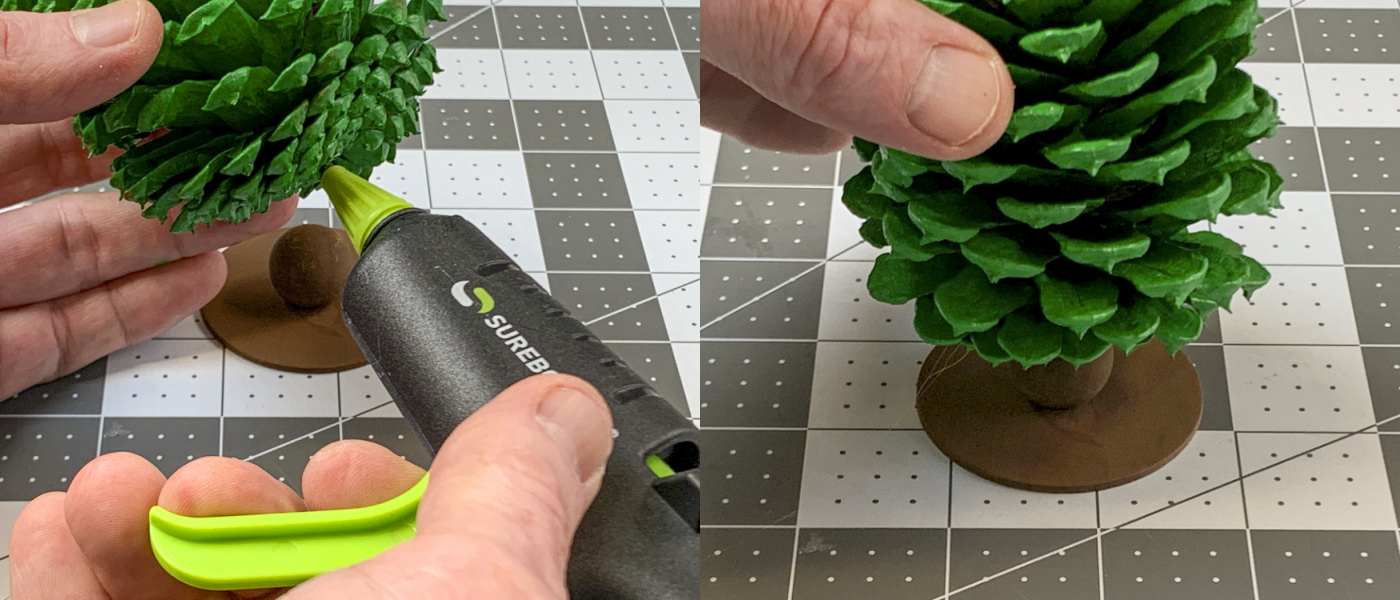
- While the pine cone is drying, glue a wood bead to one of the wood circles. Let set.
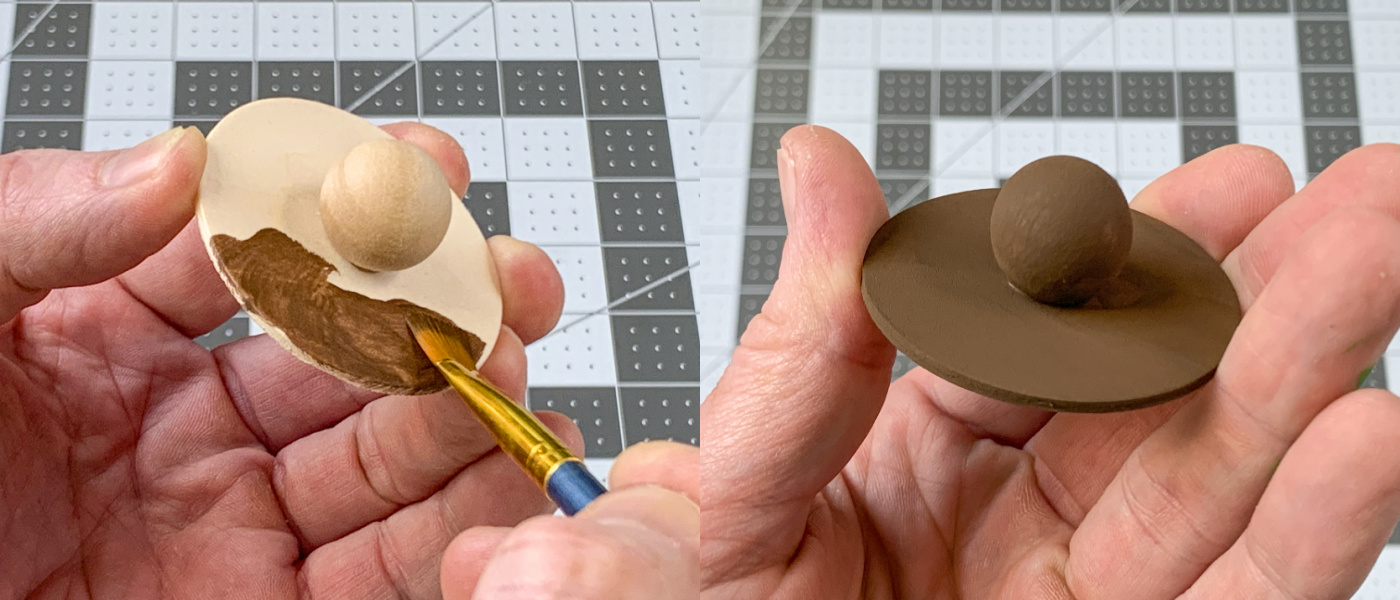
- Paint the base using brown craft paint and let dry.
- Use craft glue or a hot glue gun to attach the pine cone to the base. Let dry.
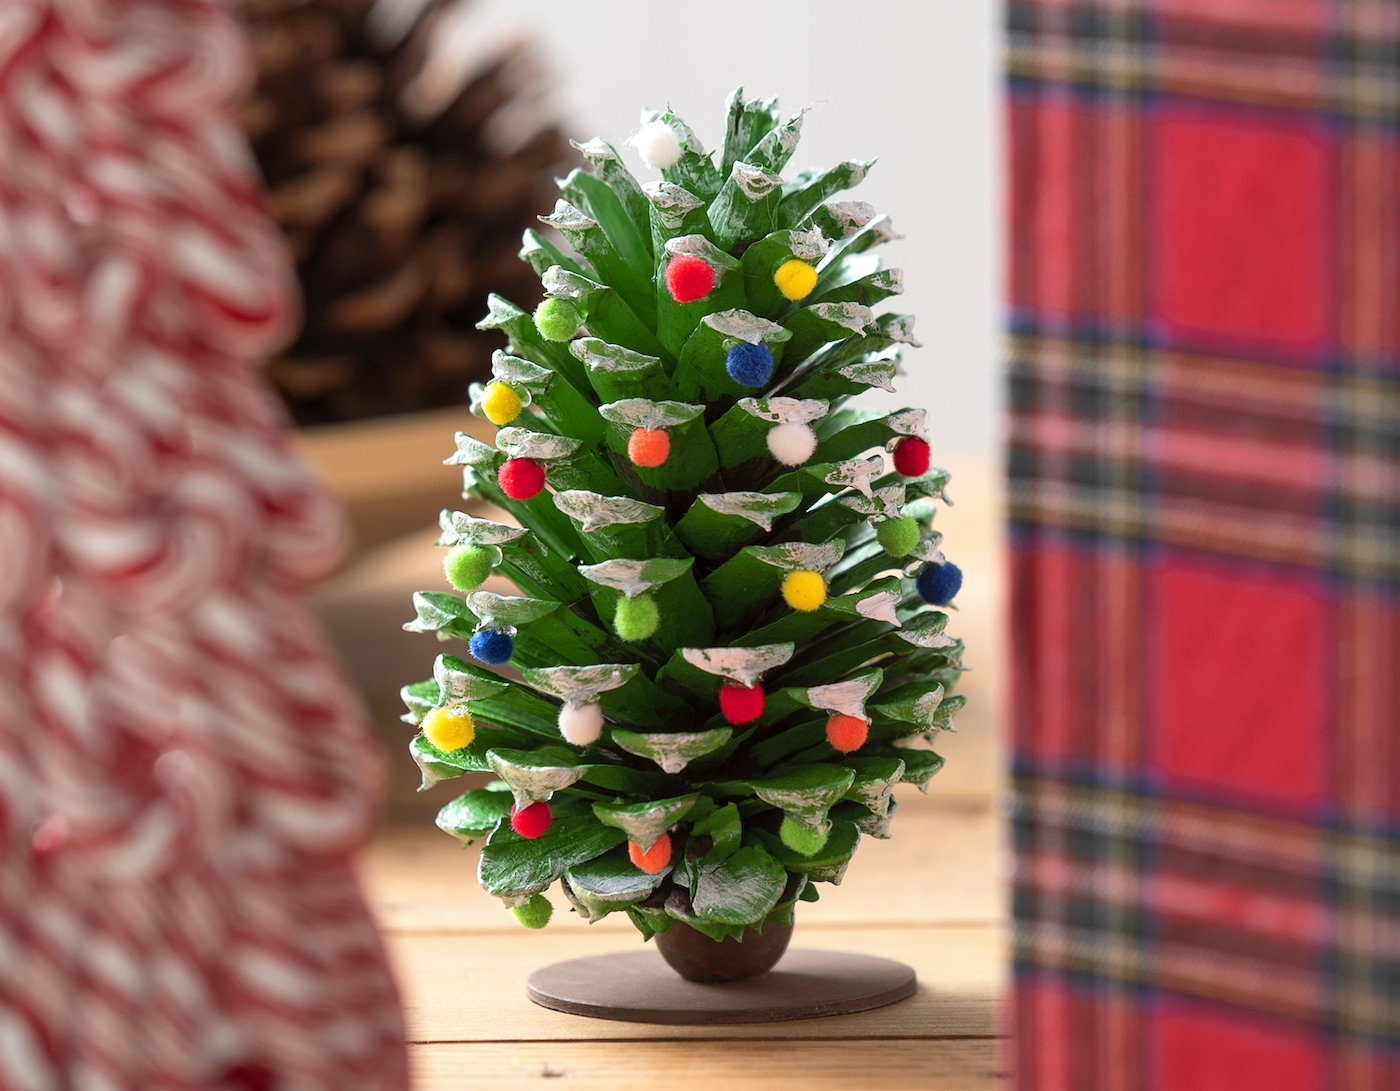
- Use a paintbrush and white craft paint to add some faux "snow" accents to the ends of the scale branches. Let dry.
- Use craft glue or hot glue to attach the pom poms to the branches. You can attach them to the bottom or top of the scales.
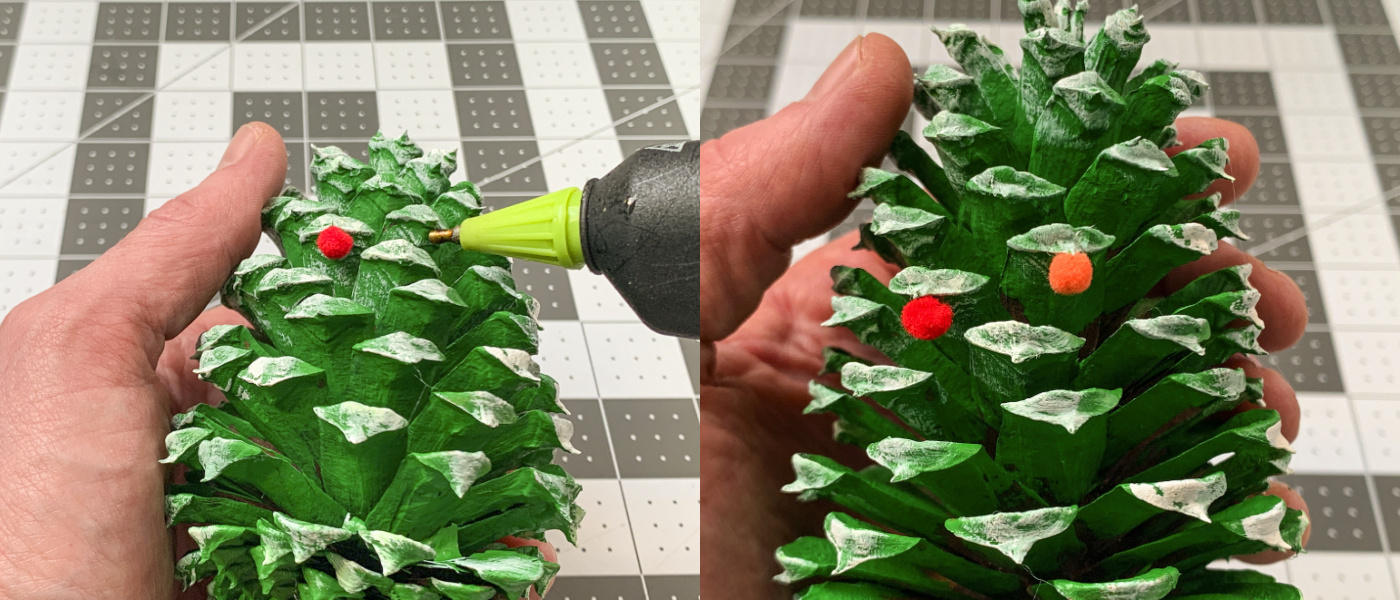
- Continue adding ornaments until the branches are full. Let dry completely before displaying.
Notes
If you loved this craft idea, let me know in the comments! I’d also love for you to check out these other posts I think you’re going to like:
Candy Cane Crafts • Christmas Perler Beads • Christmas Crafts with Popsicle Stick • Clay Pot Christmas Trees • Elf on the Shelf Ideas • Paper Bag Snowflakes • Paper Chain • Perler Bead Gingerbread House • Santa Perler Beads • Wine Cork Reindeer


These are great
I love this