
Pom Pom Garland
Making a pom pom garland is so simple! I'll show you how to do it in the color and size that you like. Perfect for beginning crafters.
Servings 1 garland
Cost $15
Equipment
- Needle(s)
Ingredients
- 3 skeins yarn
Instructions
Make the Pom Poms
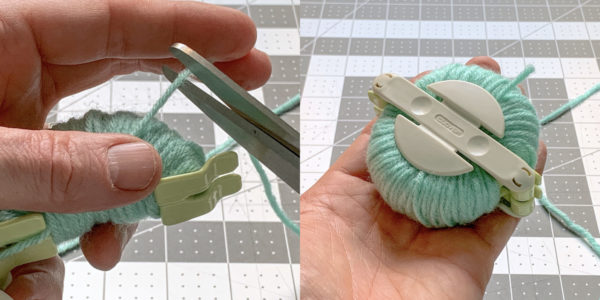
- Open one side of the pom pom maker. Wrap yarn around the plastic half circle - starting at any point.
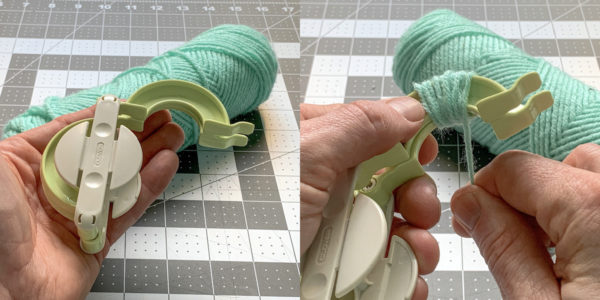
- Continue wrapping . . . and wrapping . . . until you've filled the "U" plastic portion of the tool.
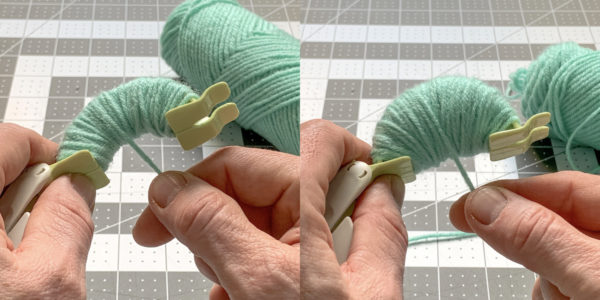
- After you're done with one side, close it and open the other. Bring the yarn around.
- Wrap the plastic "U" of the pom pom maker as you did the first side. Then close that side.
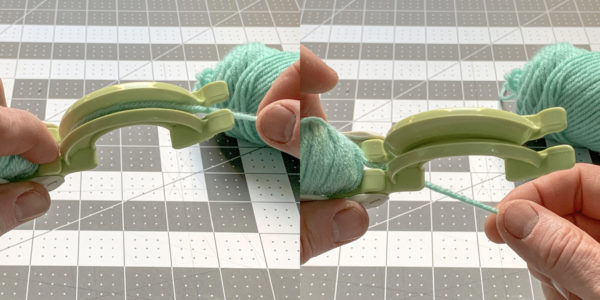
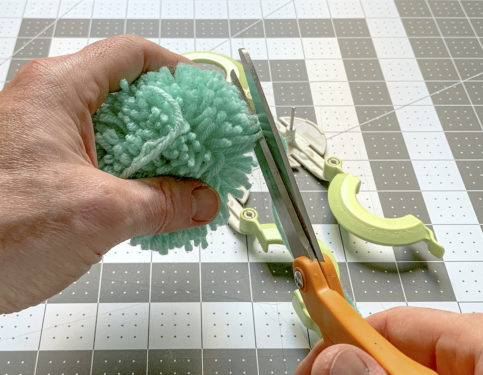
- Trim the yarn coming out of your tool with the scissors.
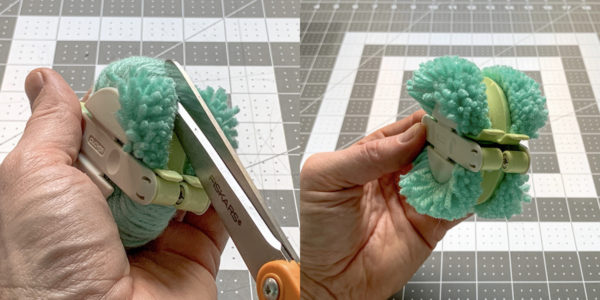
- Cut the yarn apart on both sides of the maker using the scissors.
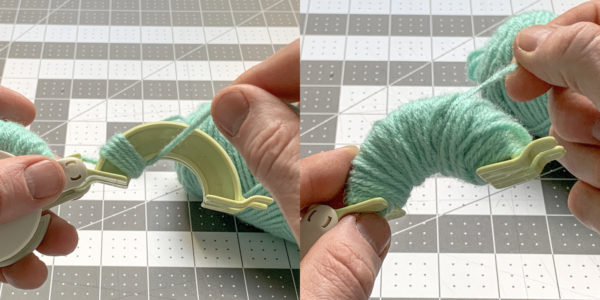
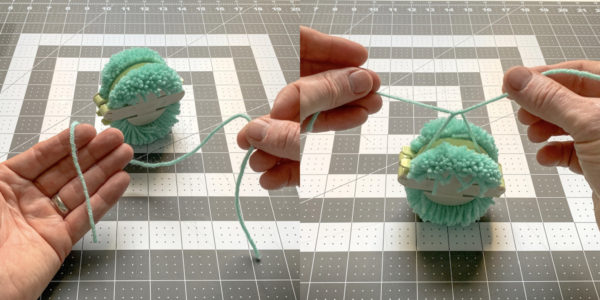
- Cut a length of yarn. You'll be able to knot this through the center of the tool. You'll want to pull the yarn tight and then double knot.
- Open both sides of the pom pom maker and pull out your pom. Repeat to make desired amount.
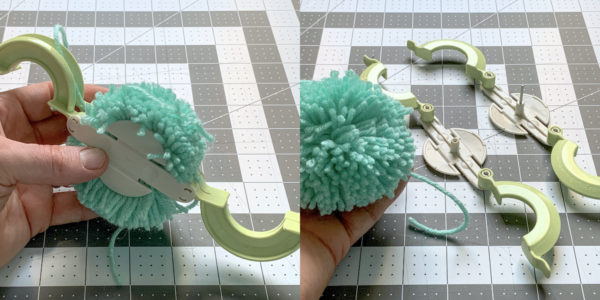
- Trim all of the pom poms with the scissors to make them even.
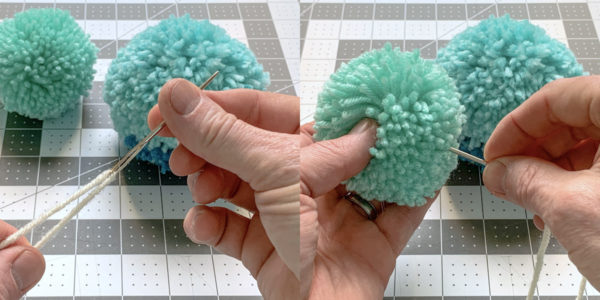
- Thread the yarn onto the tapestry needle, then thread the pom poms onto the garland through the centers.
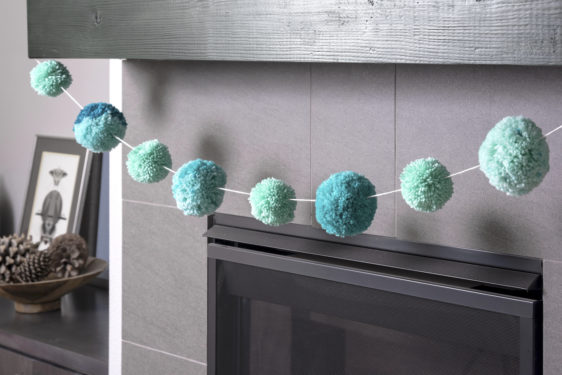
- Hang the garland. Space the pom poms out to desired length apart.
Video
Notes
Time varies significantly for this project depending on how quickly you wrap the yarn. I suggest settle down with a few movies.