
Pom Pom Wreath
Use yarn and a pompom maker to make this simple pompom wreath! This is a very easy home decor project.
Servings 1 wreath
Cost $25
Ingredients
- Foam wreath form or a metal wreath frame
- 5-6 skeins Yarn
Instructions
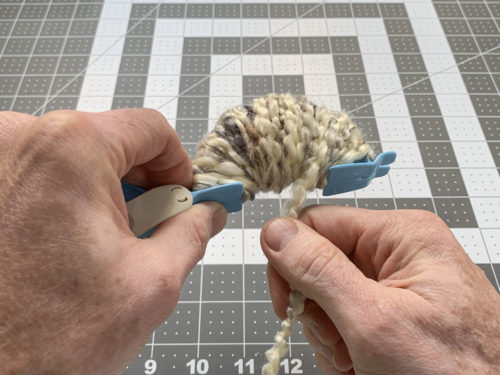
- Pick up the pom pom maker. Open one side of it (both pieces) and begin wrapping the yarn as shown (while holding one end of the yarn). You're going to keep wrapping the yarn until you have completely filled one side of the tool, including filling the "U" shape with yarn.
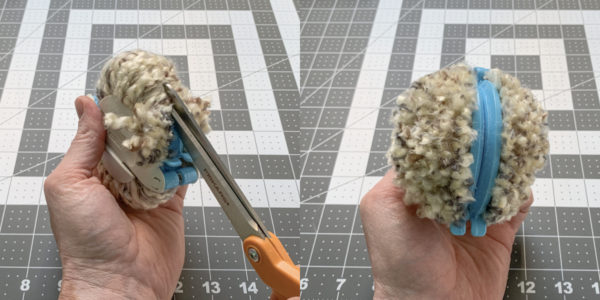
- When you are finished wrapping one side, close it and feed the yarn over to the other side as shown below. You're going to undo the other side of the pom pom maker, and wrap the yarn just as you did. Then you will close the tool.

- Use the scissors to cut the yarn on each side of the pom pom maker, while still keeping it closed.
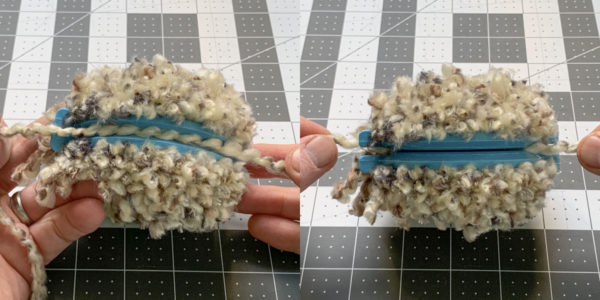
- Cut a piece of yarn about 12", and tie it around the center of the tool tightly. You're going to make a knot by double tying. You want to make sure it's tight enough so that when you remove the pom pom, it doesn't come apart. You don't need to pull so tight that you break the yarn, but you do need to make it snug.
- Open both ends of the tool and pull apart to remove the pom pom.
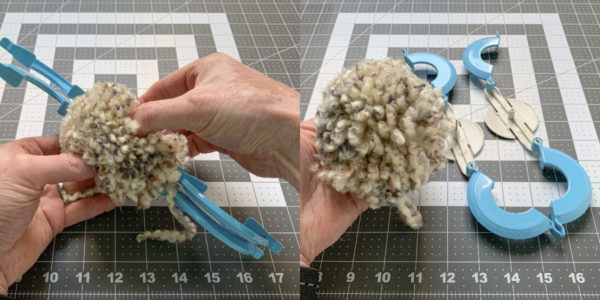
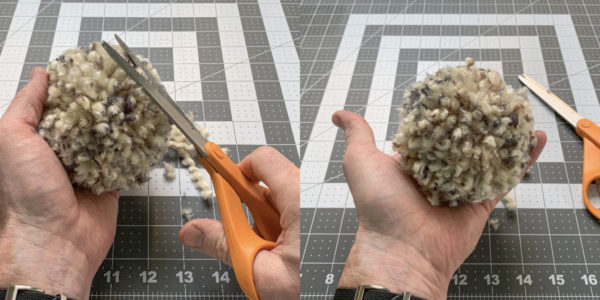
- The pompom will come out very shaggy, so you'll want to trim it up with the scissors, plus the excess yarn from tying.
- Spread the yarn out on one pom pom with your fingers and place some glue down on the yarn.
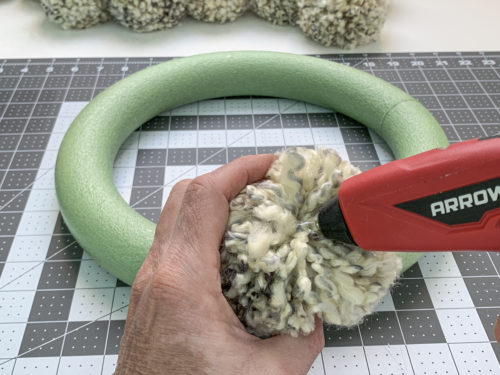
- Press the hot glue portion down onto the wreath form and hold in place until it sets (a few seconds).
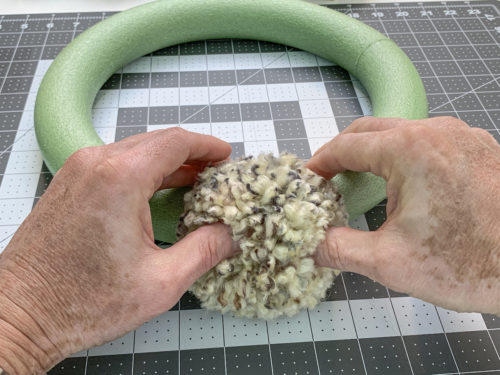
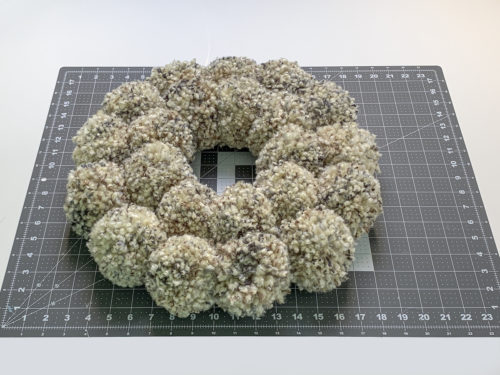
- Continue gluing the pompoms around the ring as shown. You're going to glue all the way around the form.
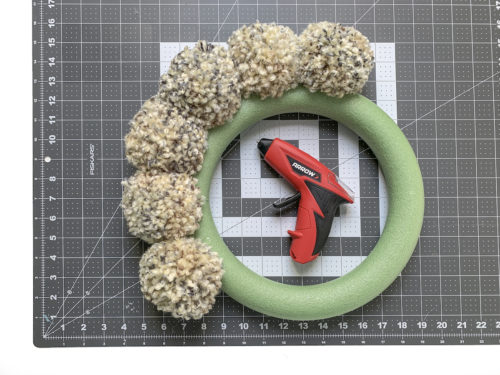
- Continue around the wreath form, doing the outside edge first. Then you're going to do the top. The gluing process is very quick compared to making the poms.
Video
Notes
Time can vary greatly for making this project! It really depends on how fast you are making pom poms.
For skein count, I would estimate about 5 - 6, though it really depends on the size of your wreath form and the yarn weight. If you find your yarn on sale or have a coupon, don't be afraid to buy a little extra and then hold onto the receipt! I would rather have too many skeins and return the excess, personally.