
Santa Hat Centerpiece
Learn how to make a DIY Christmas topiary display with a Santa theme for your holiday table or mantel.
Servings 1 topiary
Cost $25
Equipment
- Daubers
- Liner brush(es)
- Pencil(s)
Ingredients
- Acrylic glass paint Wicker White, Lipstick Red
- Acrylic paint Wicker White, Lipstick Red
- Circle stencil 8 x 10
- Plaid Peel and Stick Painting Blank Stencil
- Adhesive holiday stencil with "HO"
- 3 Glass vase(s)
- 3 Santa hats
- 3 Foam cones
- 3 Dowel rod(s) 1/2" x 12"
- Quilt batting
- Polyfil
- Candy canes small
- Scrap pieces of Styrofoam
- 1/4″ stencil tape
Instructions
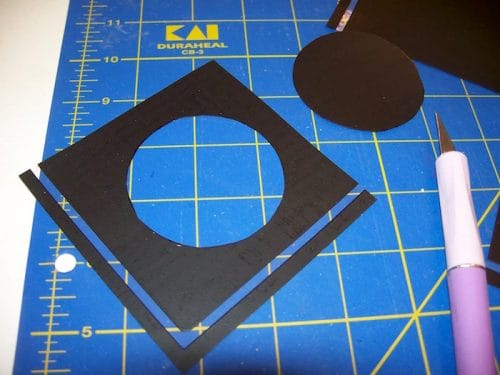
- Using the circle stencil, cut out a circle from the adhesive stencil sheet. Use the craft knife to cut the stencil out.
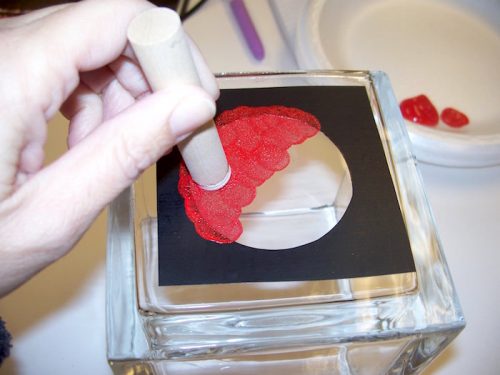
- One at a time, place the circle stencil in the center of the glass vase and smooth. Using the 5/8″ dauber, paint the circle with the red. Remove the stencil immediately while the paint is wet, wash, and let dry. Repeat.
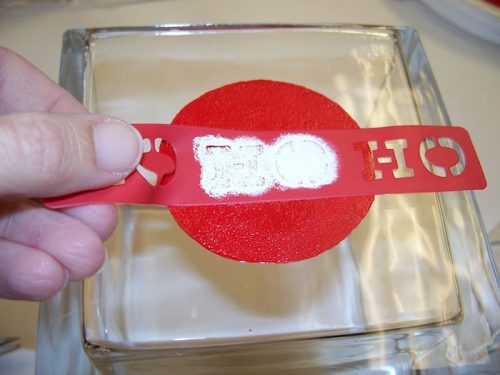
- When the red is dry, stencil “HO” on each of the vases in the center of the circle, using the white enamel paint. Peel the stencil up immediately.
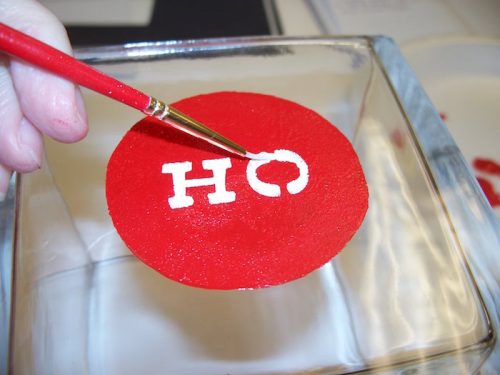
- Fill in the letters where the line is broken with a liner brush.
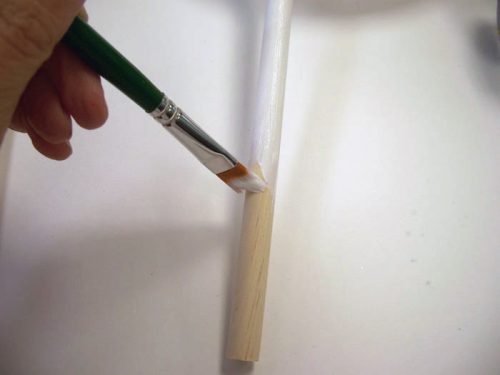
- Basecoat the three dowel rods with Wicker White. Let them dry.
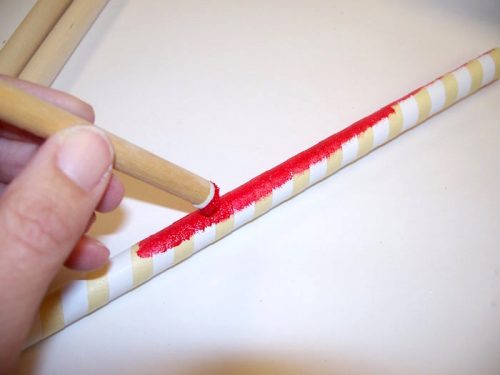
- Wrap the 1/4″ masking tape around the dowels as shown in photo, making a spiral like on a candy cane. Using the dauber, paint the dowels with Acrylic Lipstick Red. Remove the tape immediately and let the rods dry.
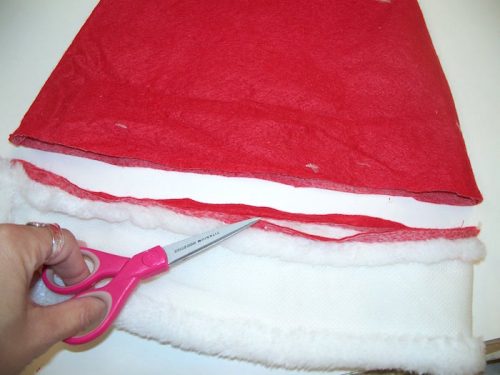
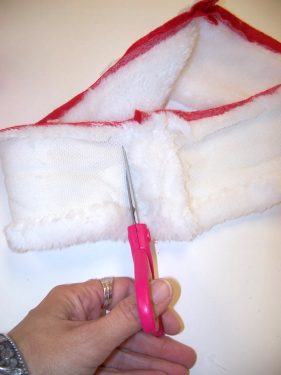
- Cut the trim off the bottom of all three Santa hats.
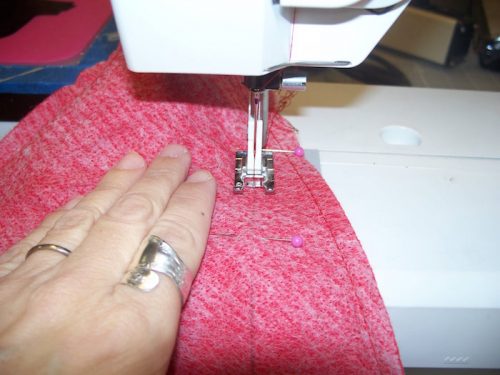
- Measure the foam cones and the sew the sides of the hat so that it will fit snugly on the cone. If you don't have a sewing machine, you can also hot glue it, but this will look better. After you've sew down the hat to make it smaller, trim the excess fabric.
- Pick up the trim that you cut off; cut it and open up flat.
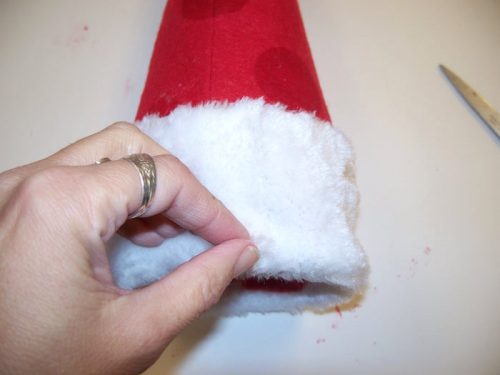
- Cut a piece of quilt batting to wrap around the cones. Hot glue in place.

- Place your sewn hat down over the cone and the quilt batting. Hot glue the white trim back around the base of the hat and cut as needed.
- Then use your adhesive stencil to make circles on the hat using your Acrylic Lipstick Red paint. Repeat with the other two hats and let dry.
- Cut a piece of styrofoam from scraps and glue to the bottom of a vase with hot glue.

- Stick dowels into the bottoms of cones - then stick the dowel rod into the foam piece in the vase.
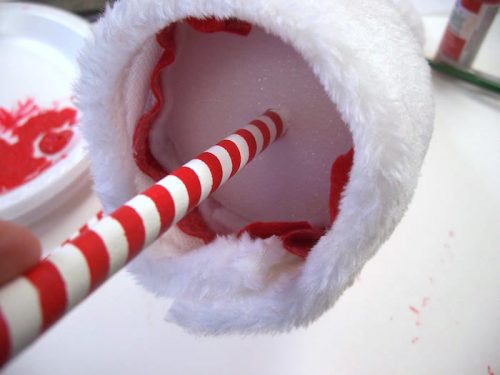
- Use the candy canes and polyfil to fill the vases.