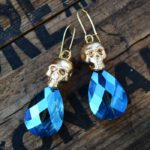
Skull Earrings
Make the cutest earrings using skull beads from the craft store and a few other simple supplies.
Servings 1 pair
Cost $6
Equipment
- Round nose pliers
- Wire cutters
- Flat nose pliers
- X-Acto knife optional
- Heat gun optional
Ingredients
- 2 Skull beads
- Liquid Leaf or gold spray paint
- Skewers
- Foam block
- 2 Large teardrop beads
- 2 Earring hooks
- 2 Head pin
Instructions
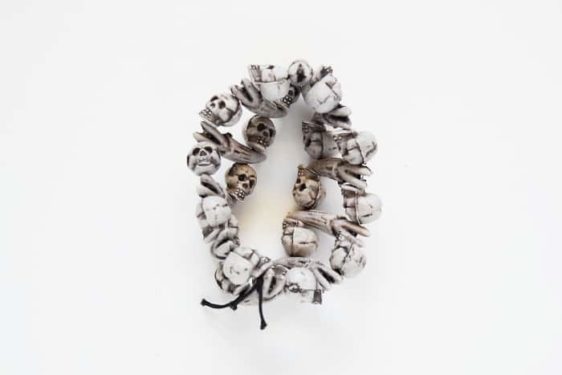
- Start by looking for your skull beads - I used the ones I found on an inexpensive bracelet at Michaels.
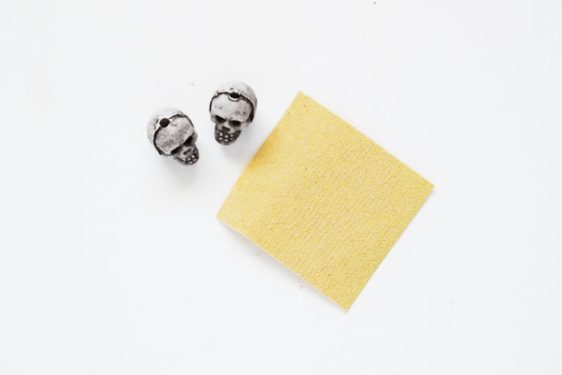
- To give the skull a smoother, more finished look, sand the excess plastic around the skull. It might be easier to shave them off using an X-Acto knife or a rotary tool with a sandpaper attachment.You just want to work the edges until they are flattened, and then sand with a fine-grit sandpaper to smooth.
- This step is optional, but you can smooth the beads more by melting the rough surface using a heat gun. Start with about 5-10 seconds of focused heating on all sides you have sanded.

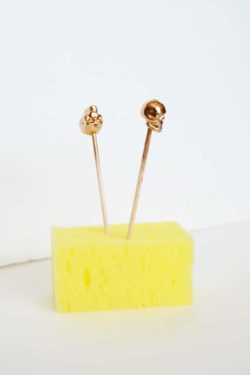
- Now it's time to paint your skulls to make them look fancy! Use gold, brass, copper, or even silver liquid leaf to coat your skull figures. You can also use gold spray paint. Notice that I skewered mine onto thin bamboo sticks - this is to make the painting and drying easier.

- Wait for your skulls to dry. For convenience, I stuck them onto a block of foam and gave it about an hour to dry fully (make sure it's not tacky to the touch).
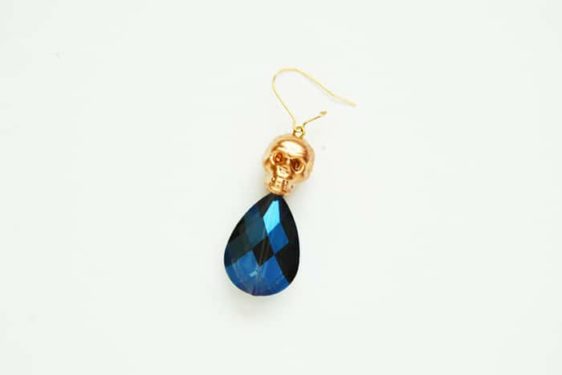
- When your skull is fully dry, it's time to assemble your earring! For mine, I used a head pin, a large teardrop bead, and a kidney earring hook in addition to my skull bead. You can use big pearls or other complimentary beads in place of the teardrop bead.

- Thread your teardrop bead and the skull onto the head pin, bend the excess wire like in the photo, cut a small segment and loop the remaining wire to secure your beads.
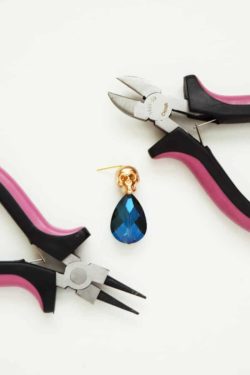
- Finally, thread this onto your earring hook. You are done with one skull earring! Repeat with the other. Unless you are one of those cool people who only likes to wear one earring. Or a pirate.
Notes
Step 3: Be careful and use the heat gun on a non-flammable and heat resistant surface such as a ceramic tile or a silicone mat. I also used a piece of tape to hold down my skull while heating it.
Don't heat it up too much or you'll end up with a dis-proportioned skull (pictured above), which looks cool but doesn't really serve the purpose needed for the project (we need the skulls to look uniform).