St. Patrick's Day Gnomes
Learn how to make gnomes for your St. Patty's decor with a few simple craft store supplies.
Servings 2 gnomes
Cost $15
Equipment
- Sharpie or pen
- Sandpaper
Ingredients
- 2 Paper mache cones
- Cone template
- Beard template
- 2 Wood beads
- Acrylic paint skin tone of your choice
- Flannel fabric enough to cover the cone
- 1 piece Craft foam sheets Gold glitter
- 1 piece Red faux fur
- Paper to print template
- Spray adhesive
- Painter's tape
Instructions
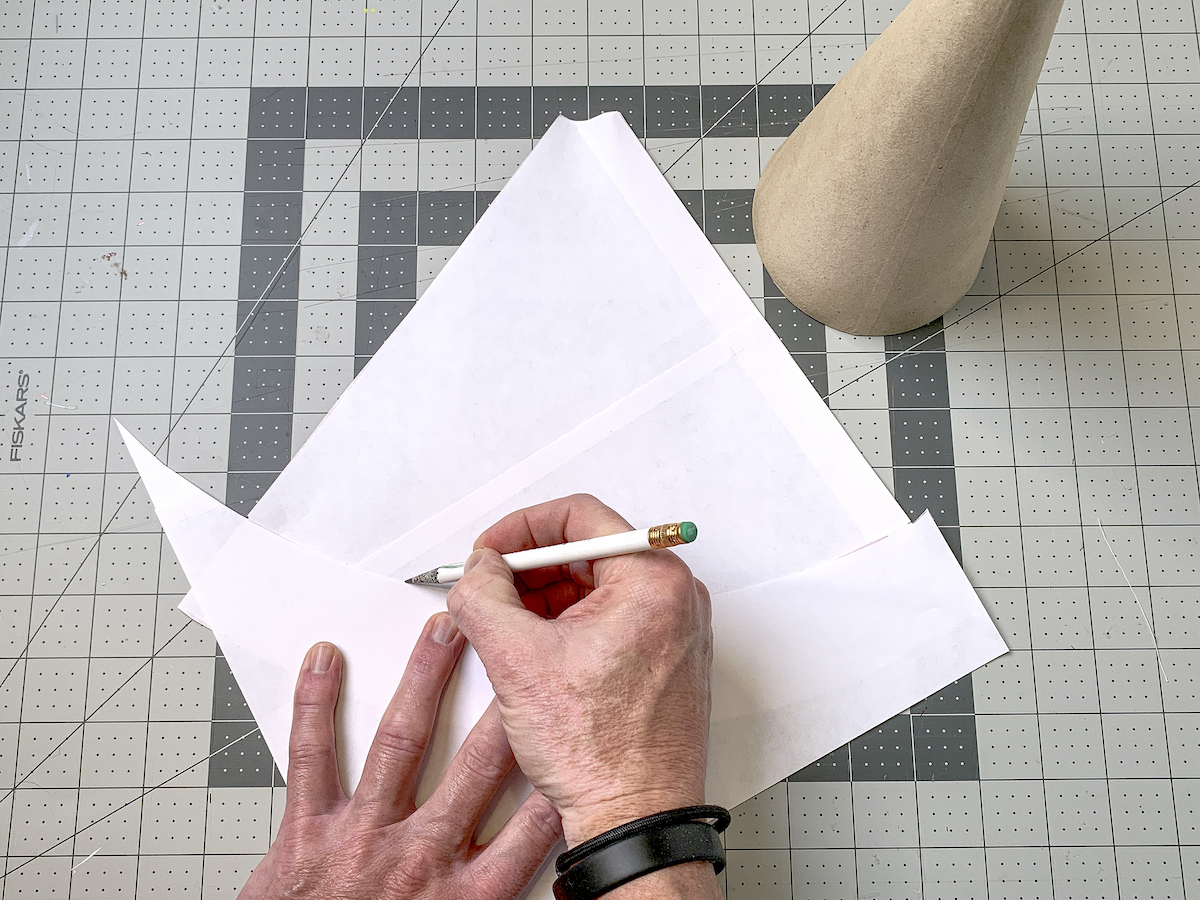
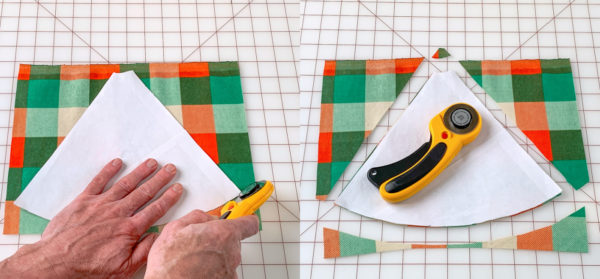
- Print out the template and assemble using tape. Cut out with the scissors.
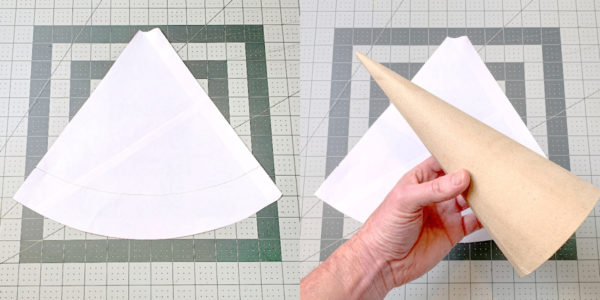
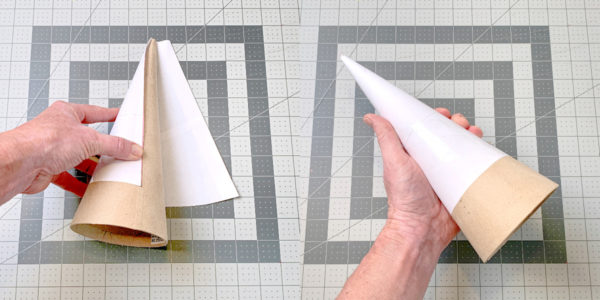
- Cut 1 3/4" off of the bottom of the template (see notes). Test fit, make any adjustments, and then set aside for the moment.
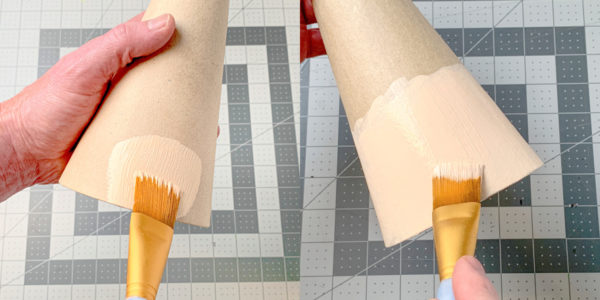
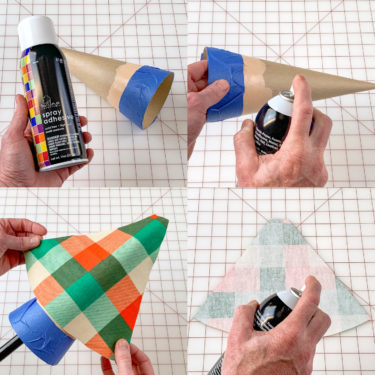
- Paint the bottom of the cone with a few coats of acrylic paint, using the skin tone of your choice. Let dry.
- Cut the fabric of the hat out using the template. Cut one piece of the plaid flannel and one piece of the green flannel.
- Tape off the bottom of the cone, and apply spray adhesive to the top portion. Wrap the fabric around, smooth, and let dry. Repeat with the green fabric.
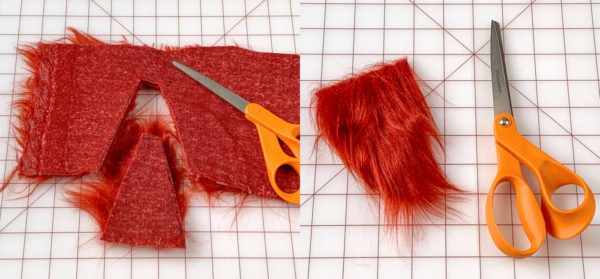
- Cut the rust faux fur for beards using the template. Trace on the back and then keep the faux fur forward while cutting.
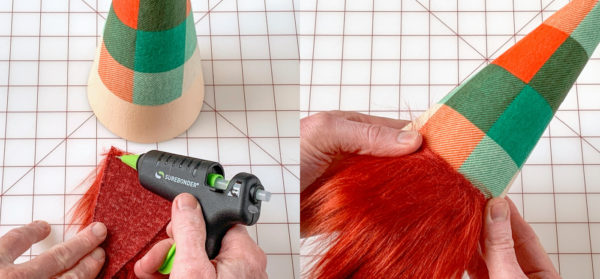
- Attach a beard piece to the base of the cone using a hot glue gun.
- Add the ribbon and buckle to the leprechaun gnome. Cut a small piece of black felt, and band of black felt that wraps around the hat, and a small rectangle of gold glitter foam. Hot glue them on. Glue the small piece of black felt in the center of the gold foam.
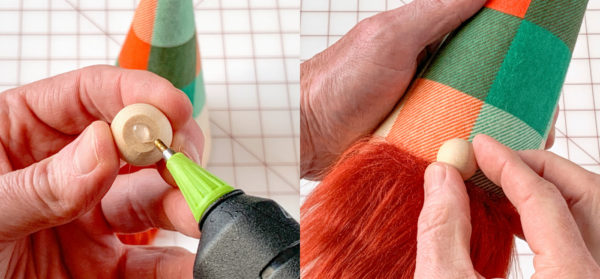
- Sand a flat spot on a wood bead using sandpaper. Hot glue the nose in the center where the beard meets the fabric to finish.
Video
Notes
My cone printout was printed on poster setting, full size – it should take four pieces of paper.
Tip: The large scrap piece that you cut off the bottom at the widest part of the curve? You’re going to use it to draw a line about 1 3/4″ from the bottom of your template! Turns out the cut scrap makes a perfect curved line for you to trace.