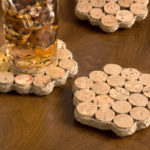
Wine Cork Coasters
Learn how to make simple coasters using wine corks that are both heat and water resistant. Easy to make for decor or gifts.
Servings 2 coasters
Cost $1
Equipment
- Serrated knife
- Cutting board
- Saucepan
Ingredients
- 7 Wine corks 7 per coaster
- Braided twine or ribbon
- Felt sheet(s)
Instructions
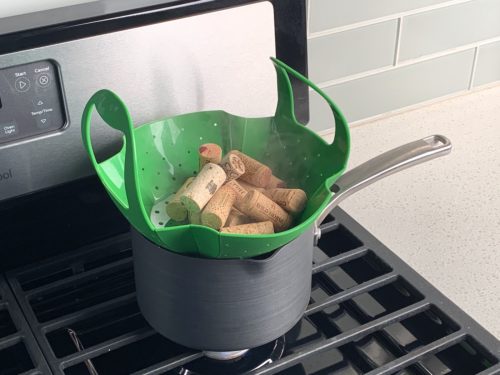
- Bring a pot of water to a boil and add the corks directly to the water or a steamer basket. Leave on a low boil for ten minutes. Strain the corks and let cool to the point they can be touched with fingers (don't let them cool all the way).
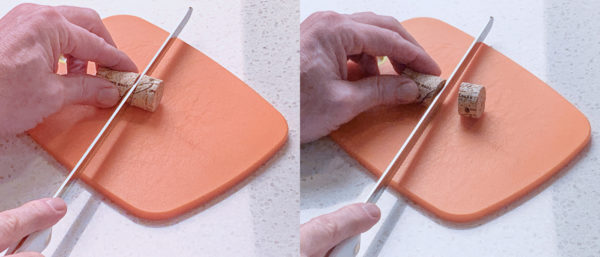
- Cut each cork into three equal parts using a serrated knife. You will need 19 pieces per coaster. Let the corks dry and cool completely.
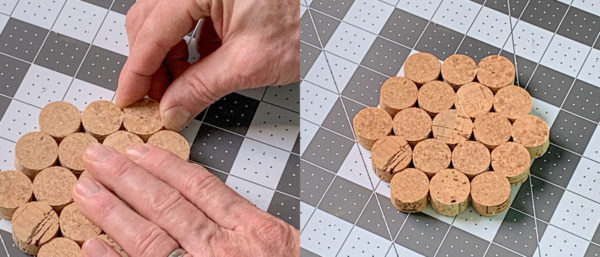
- Start with one cork, place hot glue on the side, and attach another piece of cork. Do this until you have a row of five.
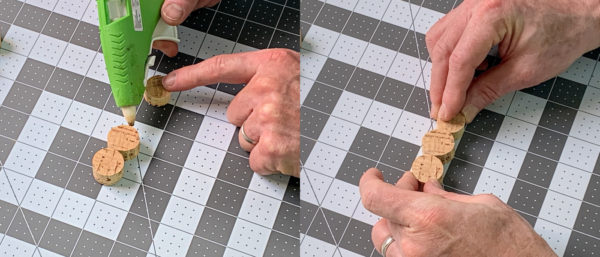
- Keep gluing. On either side of the row of five, glue a row of four corks. Then on either side, glue a row of three. Let cool.
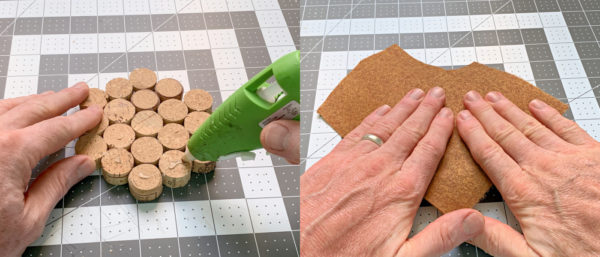
- Decide which side you would like to be the top of your coaster. Put the bottom on your work surface facing up. Glue the felt to the bottom of the coaster.
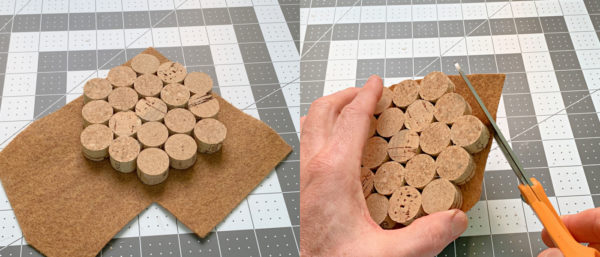
- Let cool and trim the excess around the edge with scissors. For the smaller areas, remove felt with craft knife.
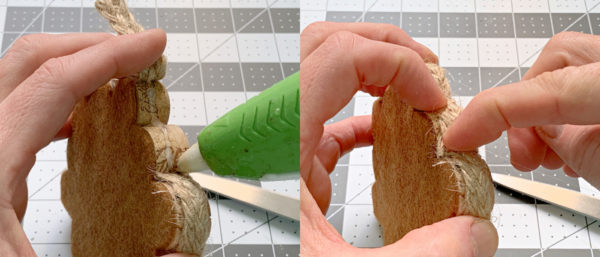
- Hot glue the trim around the edge and then cut with scissors. Glue the end in place. Let cool before using.
Video
Notes
If you want the coasters to be completely even across the top, you can measure the pieces as you cut them. I just winged it and didn't mind if the coasters ended up slightly uneven. And honestly - they came out pretty flat across the top!