
Wood Slice Ornaments
Learn how to make beautiful wood slice ornaments for your rustic or farmhouse Christmas tree! You can burn, paint, or stencil them any way you like.
Servings 6 ornaments
Cost $4
Equipment
- Pen or pencil
- Computer and printer
Ingredients
- 6 Wood slice(s)
- Transfer paper
- Ribbon(s)
- Painter's tape
- Scrap wood
Instructions
- Print out downloaded designs, sized to fit your wood circles, using a computer and printer.
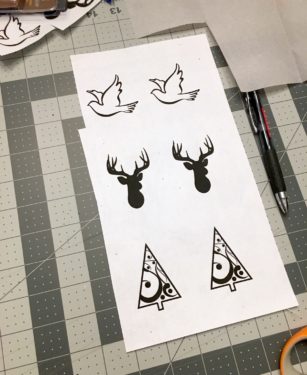
- Cut out each individual design as well as a piece of transfer paper the same size. Place the transfer paper, dark side down, onto the wood circle. Tape down, then tape the design on top.
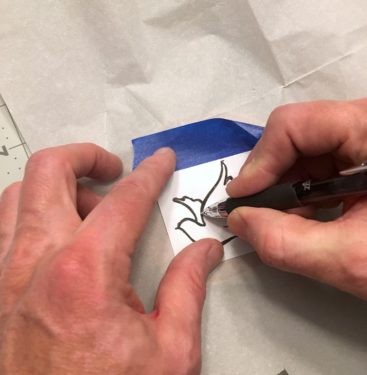
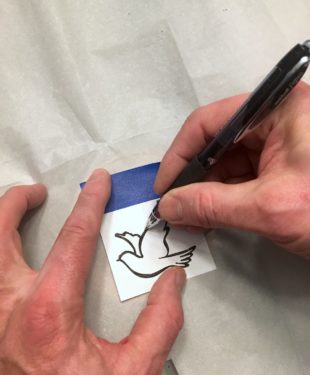
- Begin tracing on top of the design with a pen or pencil. This will transfer the design to the top of the wood slice. Be sure to fill in the entire line, even if it's thick.
- Remove the transfer paper and design and heat up the wood burning tool. Follow the lines of the design to burn them into the wood.
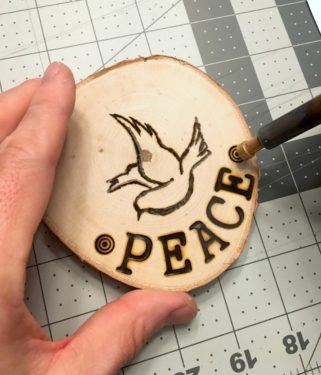
- Use wood burning stamps or various tips to accent your design. Repeat with all wood circles.
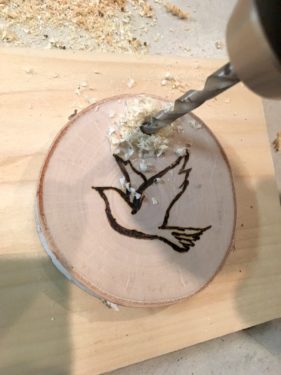
- Place the ornament onto a piece of scrap wood and drill a small hole in the top. Reverse the drill to back out of the hole.
- Cut a length of ribbon, thread it through the hole, and tie into a knot on the top for hanging.