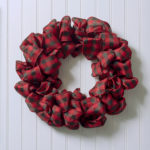
Wreath with Ribbon
Learn how to make a wreath with ribbon in a few easy steps! This is perfect for Christmas decor but looks good all year.
Servings 1 wreath
Cost $12
Equipment
Ingredients
- 1 wire wreath form 12"
- 75 feet Wire ribbon
- Pipe cleaner(s)
Instructions
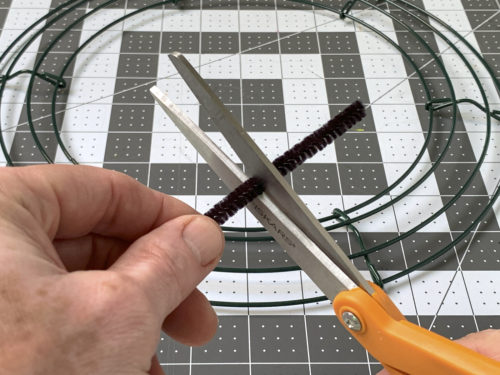
- For my ribbon width, which was 2.5" inches, I cut the pipe cleaners into thirds. If your ribbon is wider, you might need to cut them into halves. Start with several and set aside into a pile.
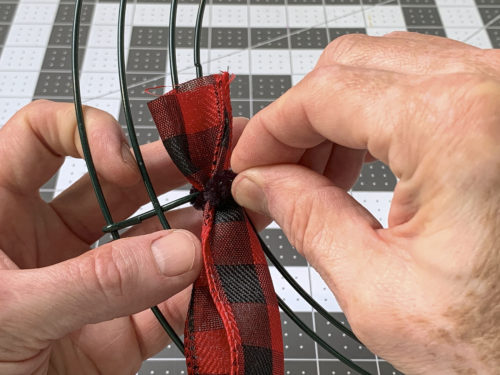
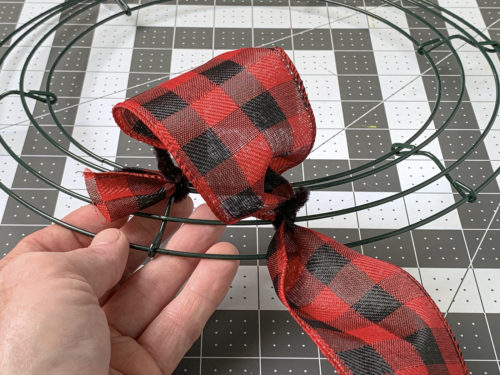
- Grab one of your ribbon spools and unfurl a length of ribbon. Bunch the end of the ribbon together. Tie it down onto the wreath form, going from front to back, with a pipe cleaner piece. You'll twist together in the back.
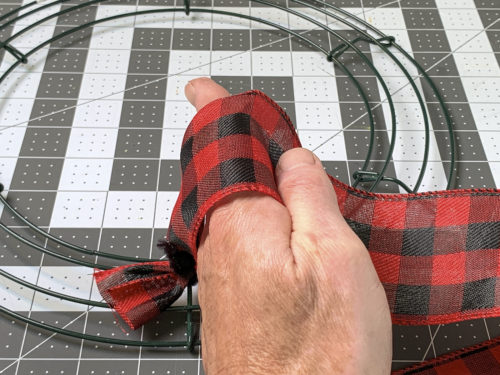
- You want to have the gap between each pipe cleaner attachment point measure about the size of your hand. So take your hand and wrap the ribbon around it.
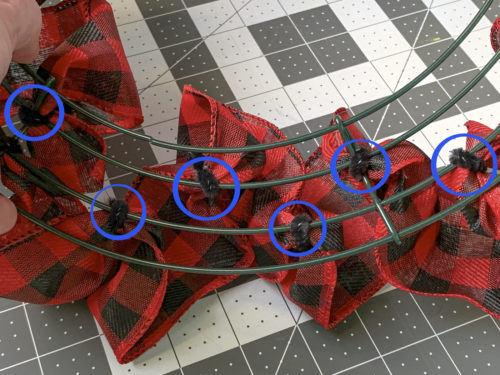
- Secure down the ribbon with another pipe cleaner, making a loop as shown. You'll want to twist your pipe cleaners on alternating wires.
- Repeat the process of making ribbon loops and tying them down with pipe cleaners around the entire wreath form. As you can see, you are alternating between securing to the second and third wires of the form.
- Work your way around the form until you've gotten one rotation complete. For this first foundation row, I used up one entire spool.

- Either trim the ribbon or start a new spool. Twist the end down as you did in the first step, then work your way around the inside of the wreath form one more time. You're going to be using the second and third wires again. This row really adds a fullness to the wreath, and pushes that first row out a little bit.
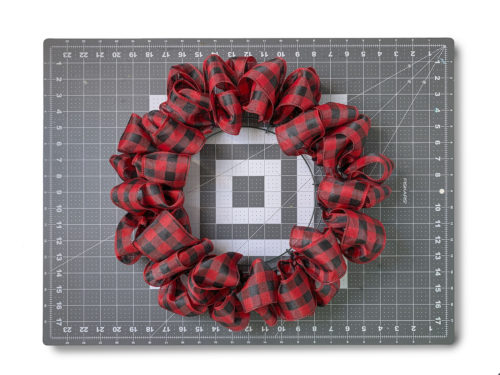
- Start the third row of your ribbon wreath on the very inside, alternating attaching the ribbon between the first and second wires of the form. When you are finished, trim the ribbon with your scissors. Fluff for fullness before hanging.
Video
Notes
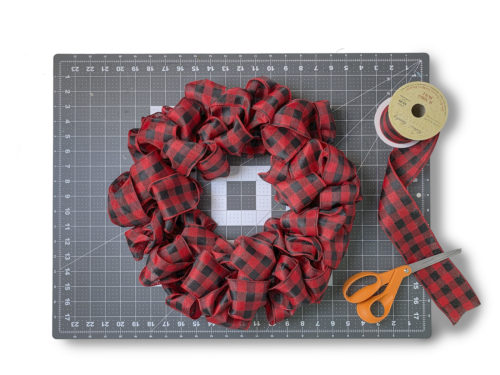
SOME RIBBON will be a little thinner or less substantial than others. If you complete your wreath and find that you need more body to it, feel free to add more to the outside third and fourth wires. You can keep going until the wreath form is full.
Also, at the end is your chance to "fluff" the ribbon a bit. Since the ribbon contains wire, you can bend it and adjust it to fill in areas, and fix loops that have flattened, etc. Don't forget this important step before hanging.