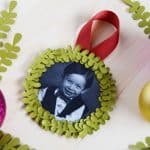
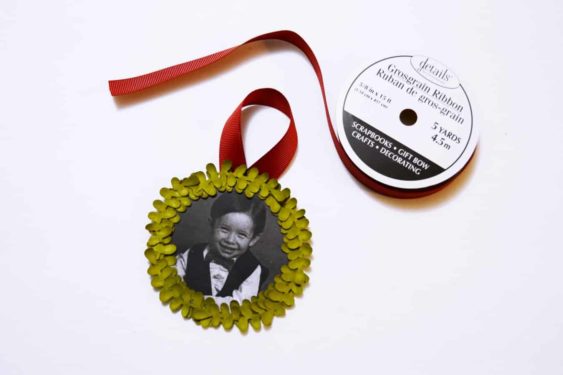
DIY Photo Ornament
Learn how to make a photo Christmas ornament using a cute wreath theme! This is a very easy holiday craft.
Servings 1 ornament
Cost $2
Equipment
- Pen optional
- Ball-tip tool or similar tipped object
Ingredients
Instructions
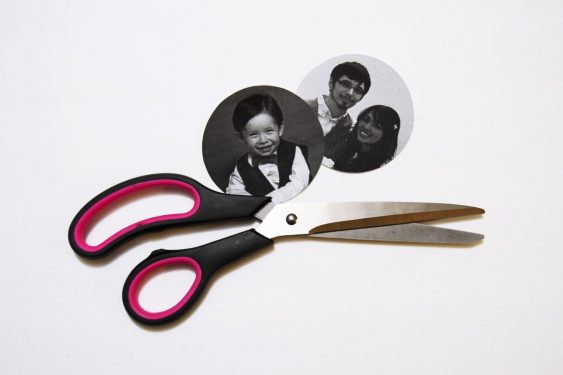
- Cut out the photos - use the flat wooden rounds (mine was about 3" in diameter) as a guide. Make sure your photos are centered on the ornament.
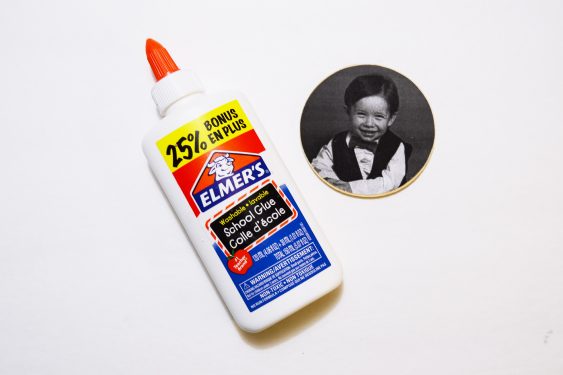
- Adhere the photo onto the circle round with glue and smooth. Let dry for 20 minutes.
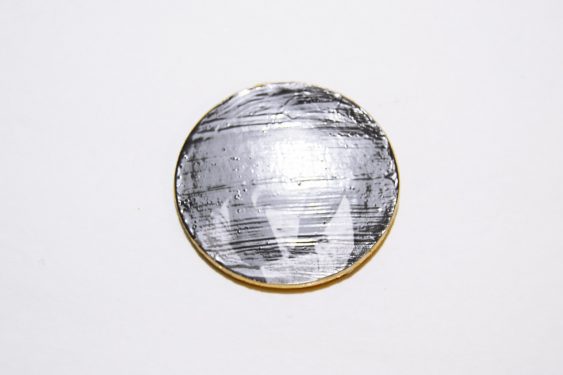
- Apply a layer of glue on top to secure your photo and to further protect it from elements (this is specially important if you just printed your photos using a home printer).
- Cut out your leaves on green cardstock paper - you can definitely cut this by hand, or use a die-cutter for convenience. You can trace the template provided! Alternatively, you can purchase leaf embellishments at the craft store or online.
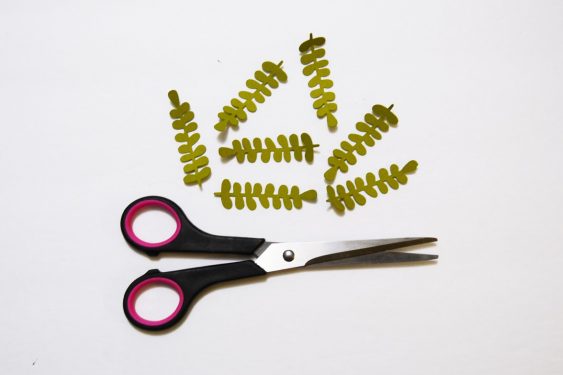
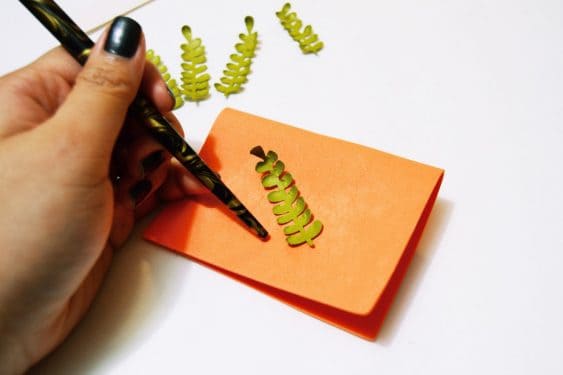
- Burnish your leaves to give them a more natural feel, using the ball tip tool. I used the tip of my calligraphy pen to burnish my leaves. You also want to burnish it on top of something smooth, such as fun foam.
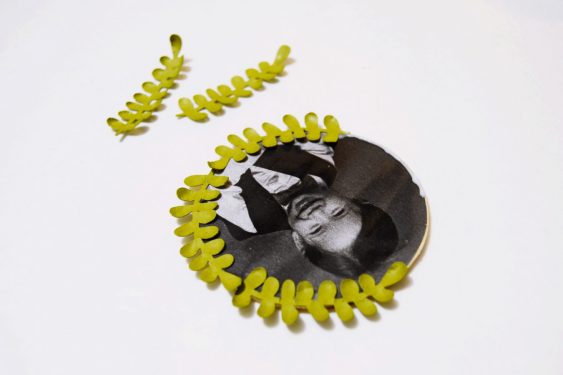
- Adhere the leaves around the photo using the glue.
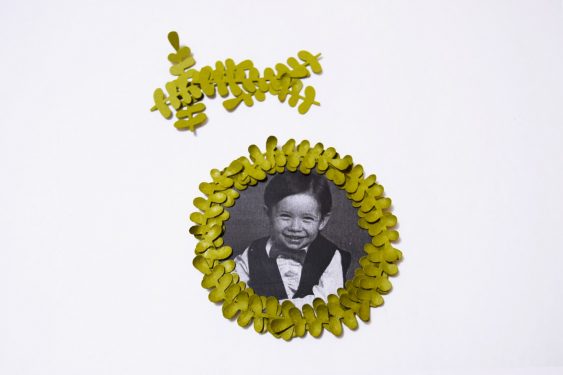
- Adhere a second layer of leaves going the opposite direction of the first layer to add more dimension and a natural feel to your wreath.
- Attach a grosgrain ribbon on the back of the ornament to hang.
Notes
- If you only have an inkjet printer, use hairspray or acrylic sealer on both sides of the printed photo so the Mod Podge doesn't bleed.
- To give the ornament a more finished back, add a felt circle with craft glue.