DIY Polka Dot Shirt in Under an Hour (Easy!)
Jazz up a plain t-shirt with gold foil circles (or the color of your choice). This DIY polka dot shirt project is so easy to do and adds sparkle to your wardrobe!
Skills Required: None. Even if you’ve never crafted before, you should be able to do this. It requires use of a cutting machine (or punch) and an iron.
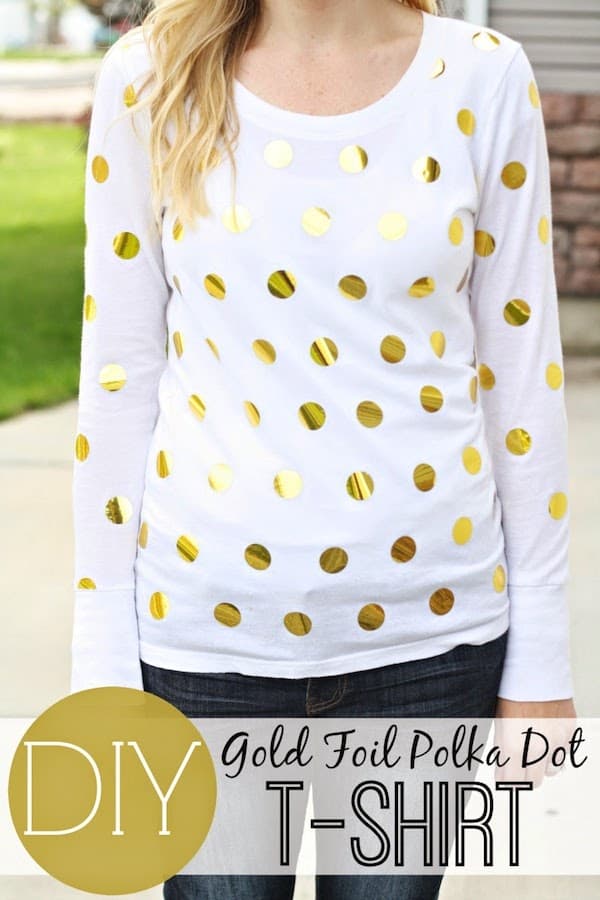
I have been seeing gold foil shirts all over Pinterest lately and I LOVE THEM. This one in particular really inspired me, and I had to replicate because gold AND polka dots. It’s like the shirt of my dreams.
Lucky for me, I just got a new Silhouette Portrait which I had been dying to use, and this was just the fashion craft I was looking for.
But wait! Before you close this post because you don’t have a cutting machine like a Silhouette, this DIY could easily be done with a circle cutter or large hole punch from the craft store.
It also doesn’t have to be gold foil! You can use any iron on material that works with fabric in this project. If you are using a cutting machine, it obviously needs to be compatible with the cutter and able to go through it.
Learn how to make this cute shirt below. Then adapt the idea any way you like.
DIY Dot Shirt
Gather These Supplies
- Gold foil iron on paper or vinyl // I got mine here
- Cutting machine, circle cutter, or large hole punch
- T-shirt
- Iron
- Fabric marker (washable)
Prep the Shirt
Read the instructions on the iron on paper or vinyl before beginning. You’ll want to prep the shirt according to the package, which is likely washing and drying (don’t use fabric softener or a dryer sheet).
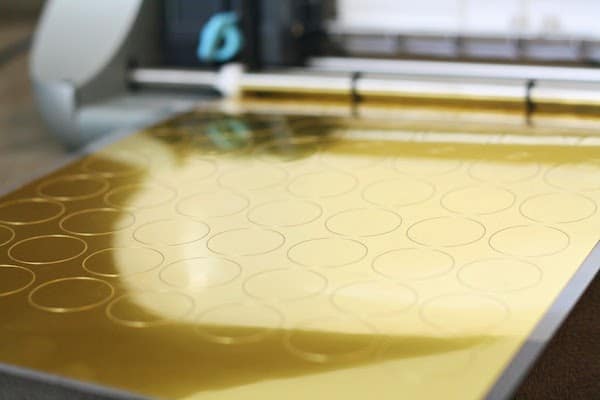
Cut the Circles
You can do this next part one of two ways. You can plan your design before beginning. A fabric marker really comes in handy at this point; you can use it to mark placement and then later iron the dots over the top.
You can also just wing it and cut out a bunch of circles. Then you can organize them on the shirt after they’re cut. I’ll leave that up to you. Either way, you’re going to cut your circles using your cutting machine, circle cutter, or hole punch.
Once all the circles are cut, arrange them on the front of the shirt. Before arranging, get your shirt situated on the ironing board (or around it).
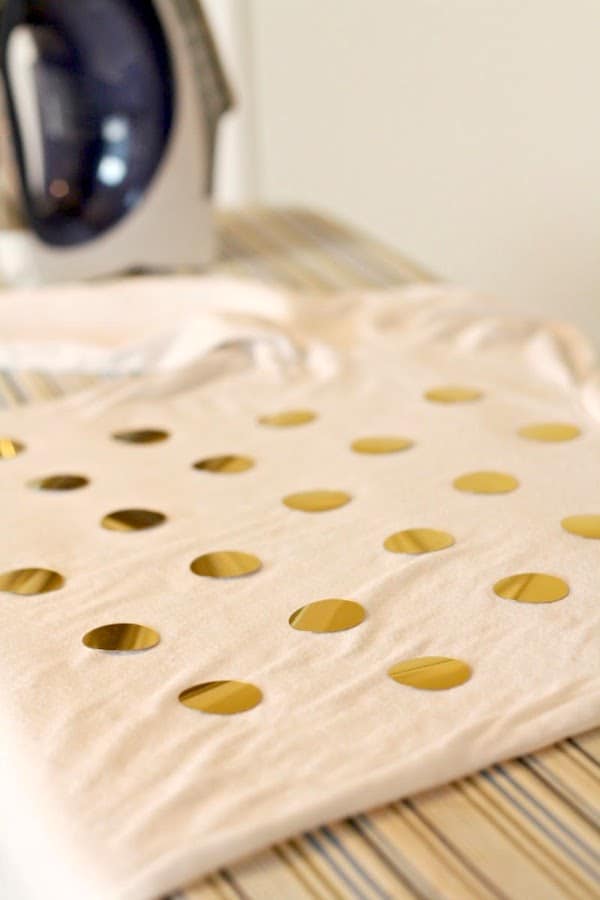
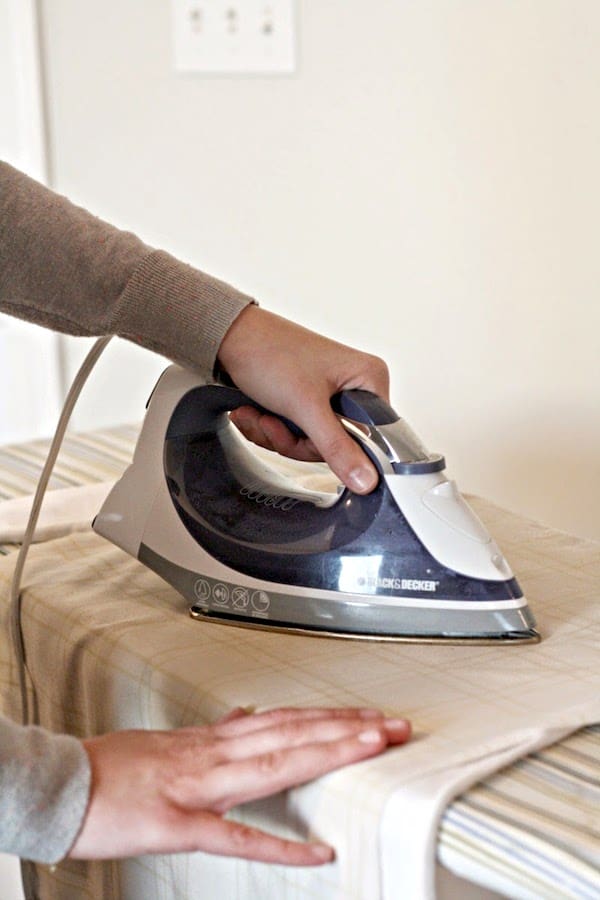
Iron the Dots
Iron the circles on the shirt, following the instructions on the packaging for temperature and time. I had to put a towel down over the top so I didn’t melt the top of the dots.
Let cool. When you wash your DIY polka dot shirt, any fabric marker you used will come out (not that you can see it anyway).
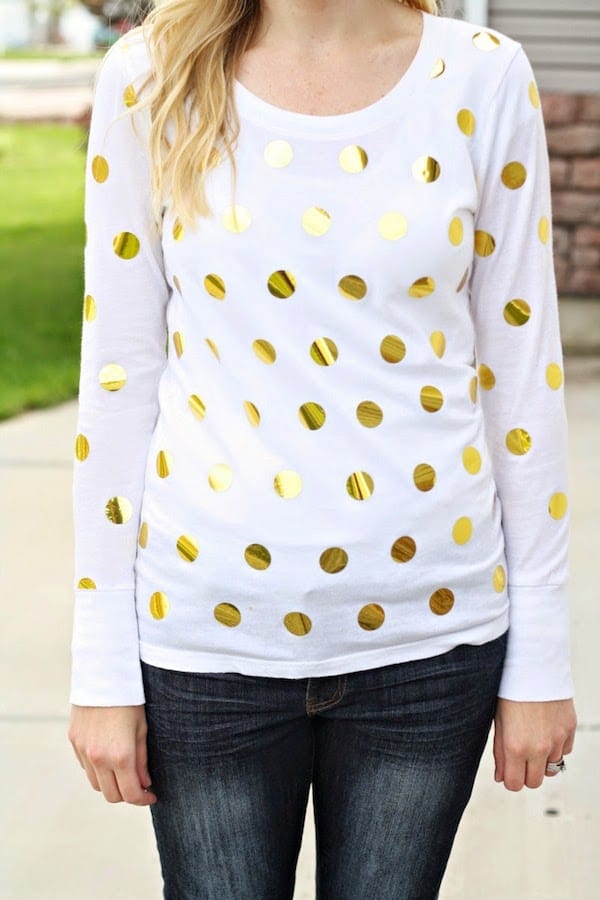
Wear your new shirt and look and feel sparkly!

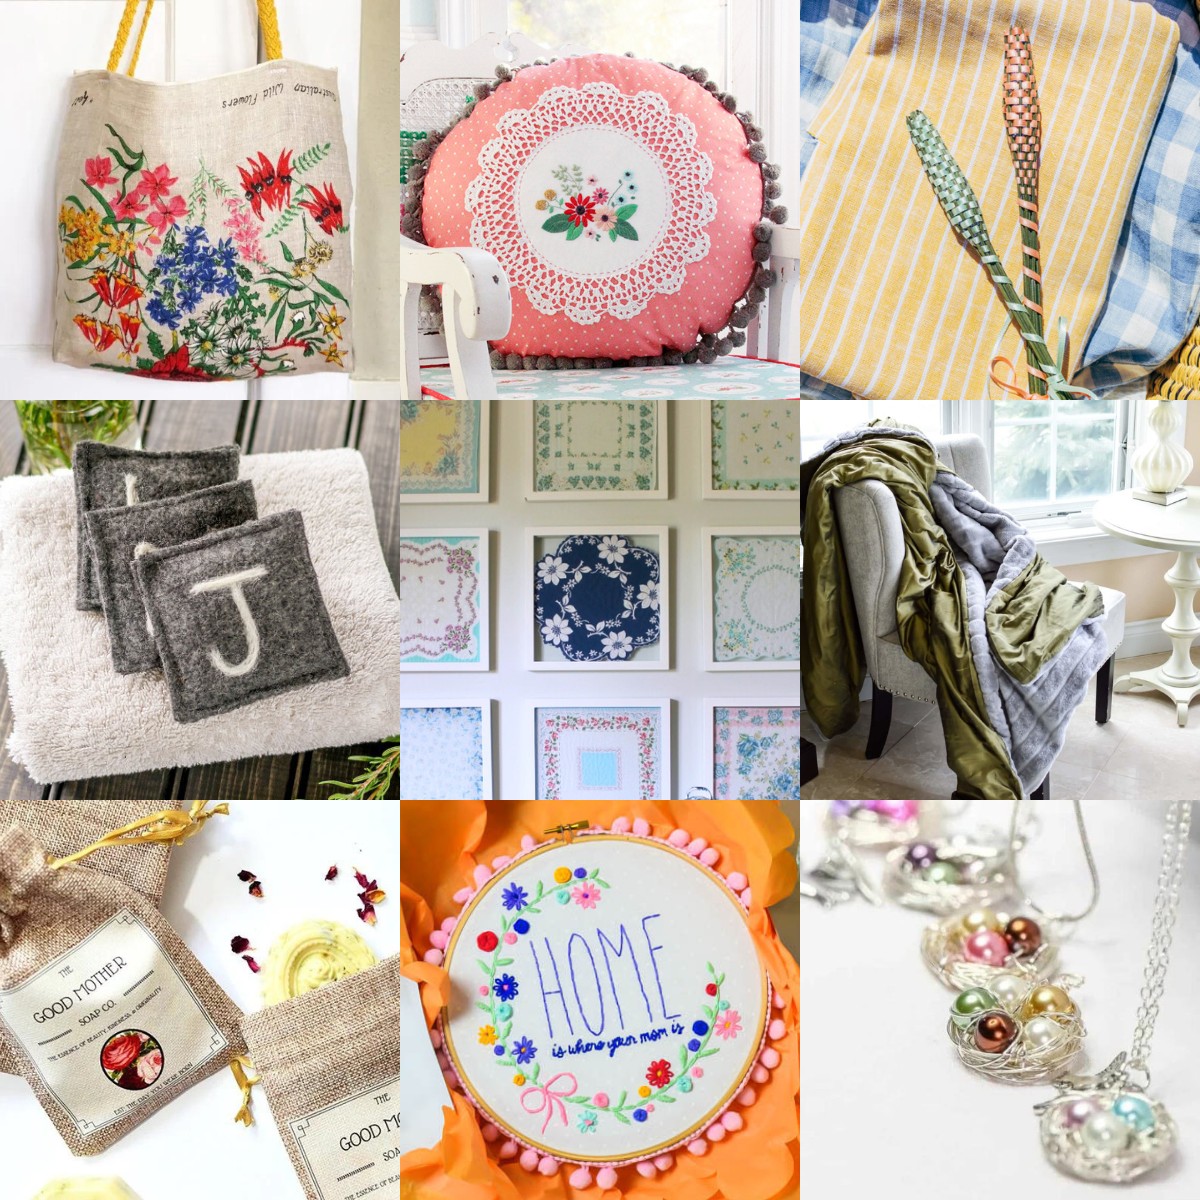
If you enjoyed this DIY dot shirt, I’d love for you to check out these other cute ideas: