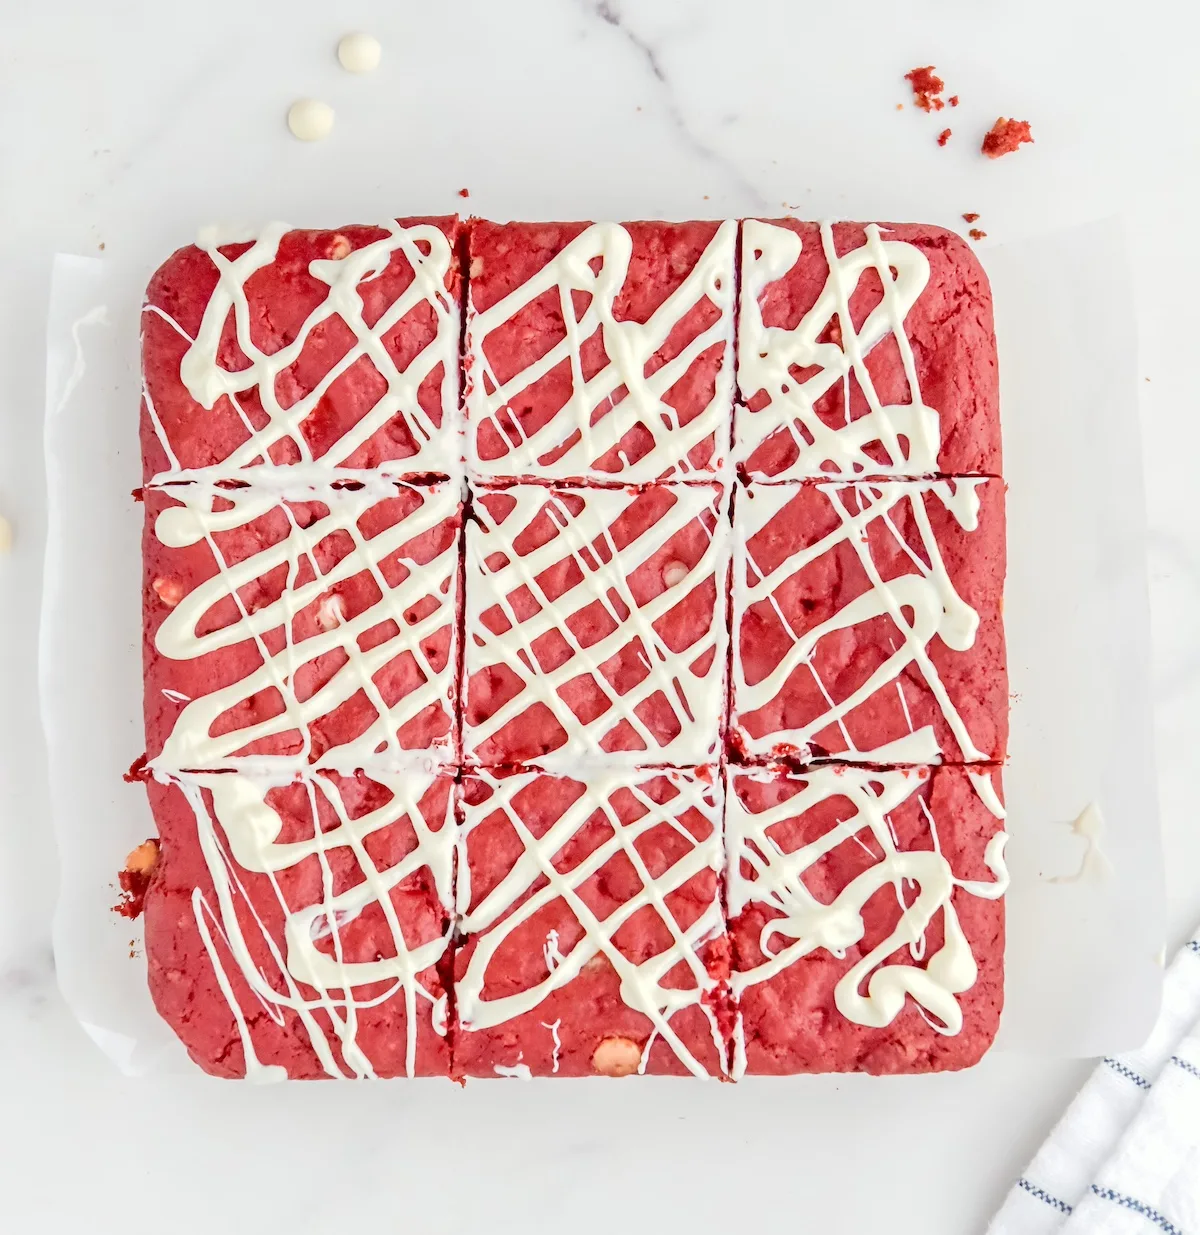
Effortlessly make red velvet brownies with this recipe! Transform cake mix into rich, chewy brownies for an instant, irresistible treat.
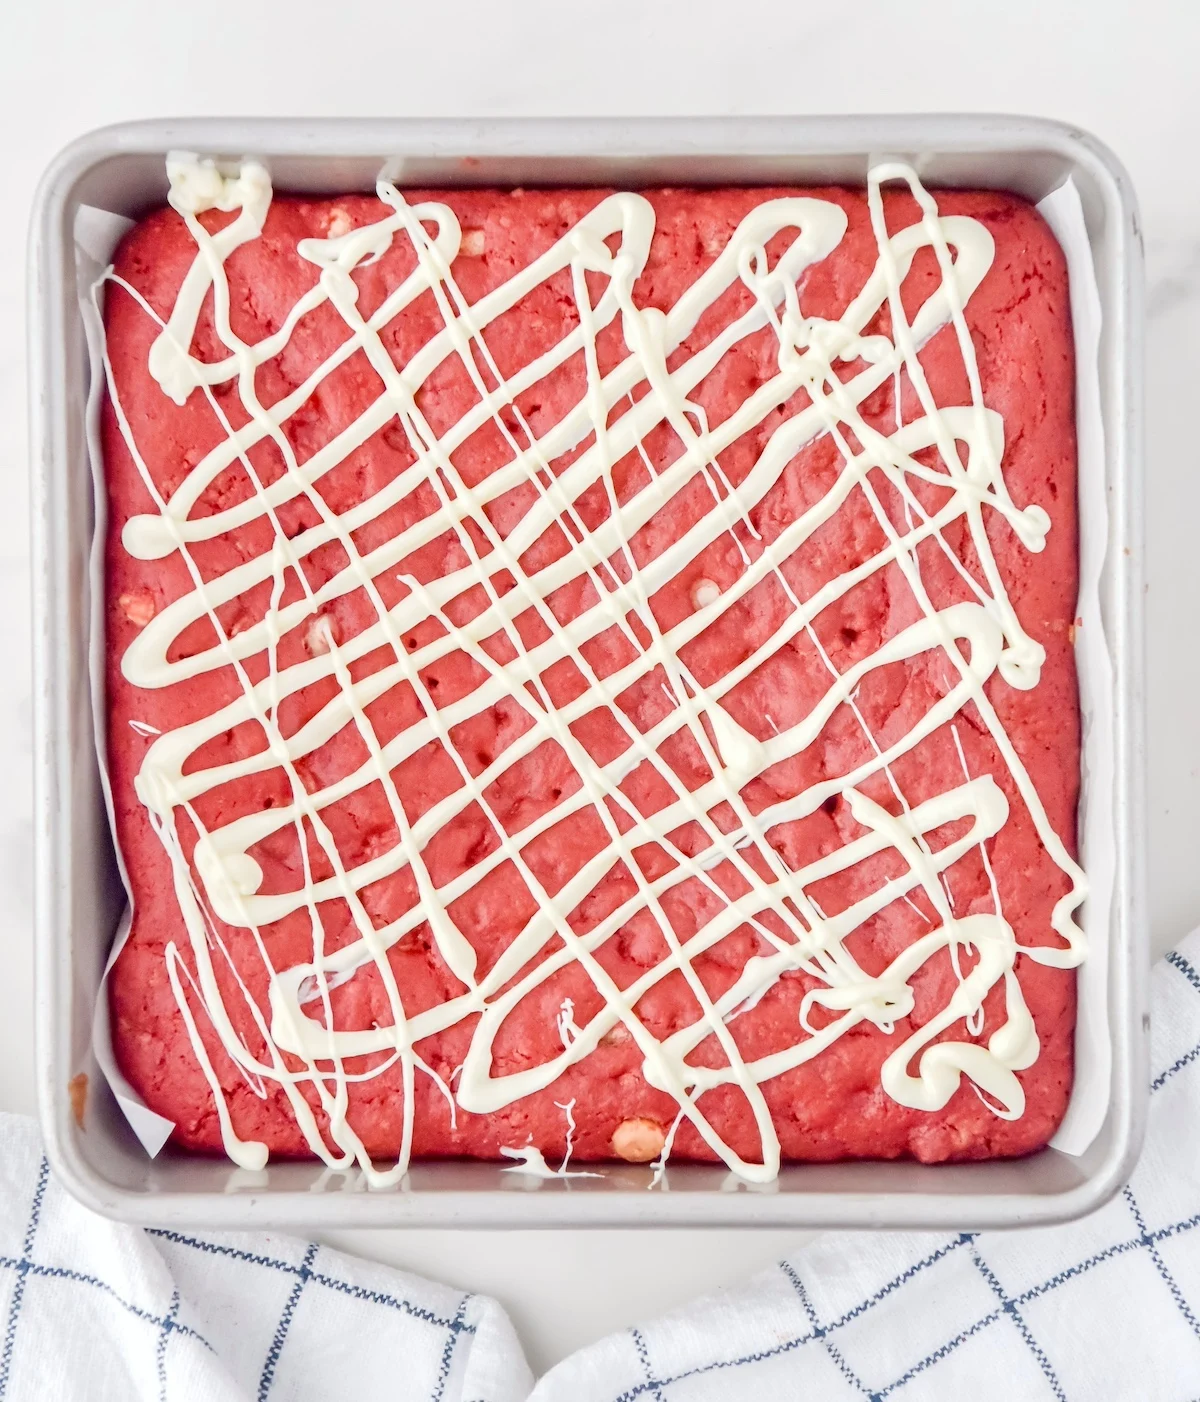
Valentine’s Day is a time when love is in the air, and the aroma of freshly baked treats fills our kitchens.
But let’s face it, not all of us are born bakers, and sometimes, the thought of creating a dessert masterpiece from scratch can be as daunting as finding the perfect Valentine’s gift for your notoriously hard-to-please aunt.
That’s where our little culinary cheat code comes in. Yes, you read that right. We’re turning a box of cake mix into a drool-worthy dessert that’s sure to impress your loved ones, and maybe even Aunt Mildred.
Now, before you start thinking that using a cake mix is some sort of baking blasphemy, let me stop you right there.
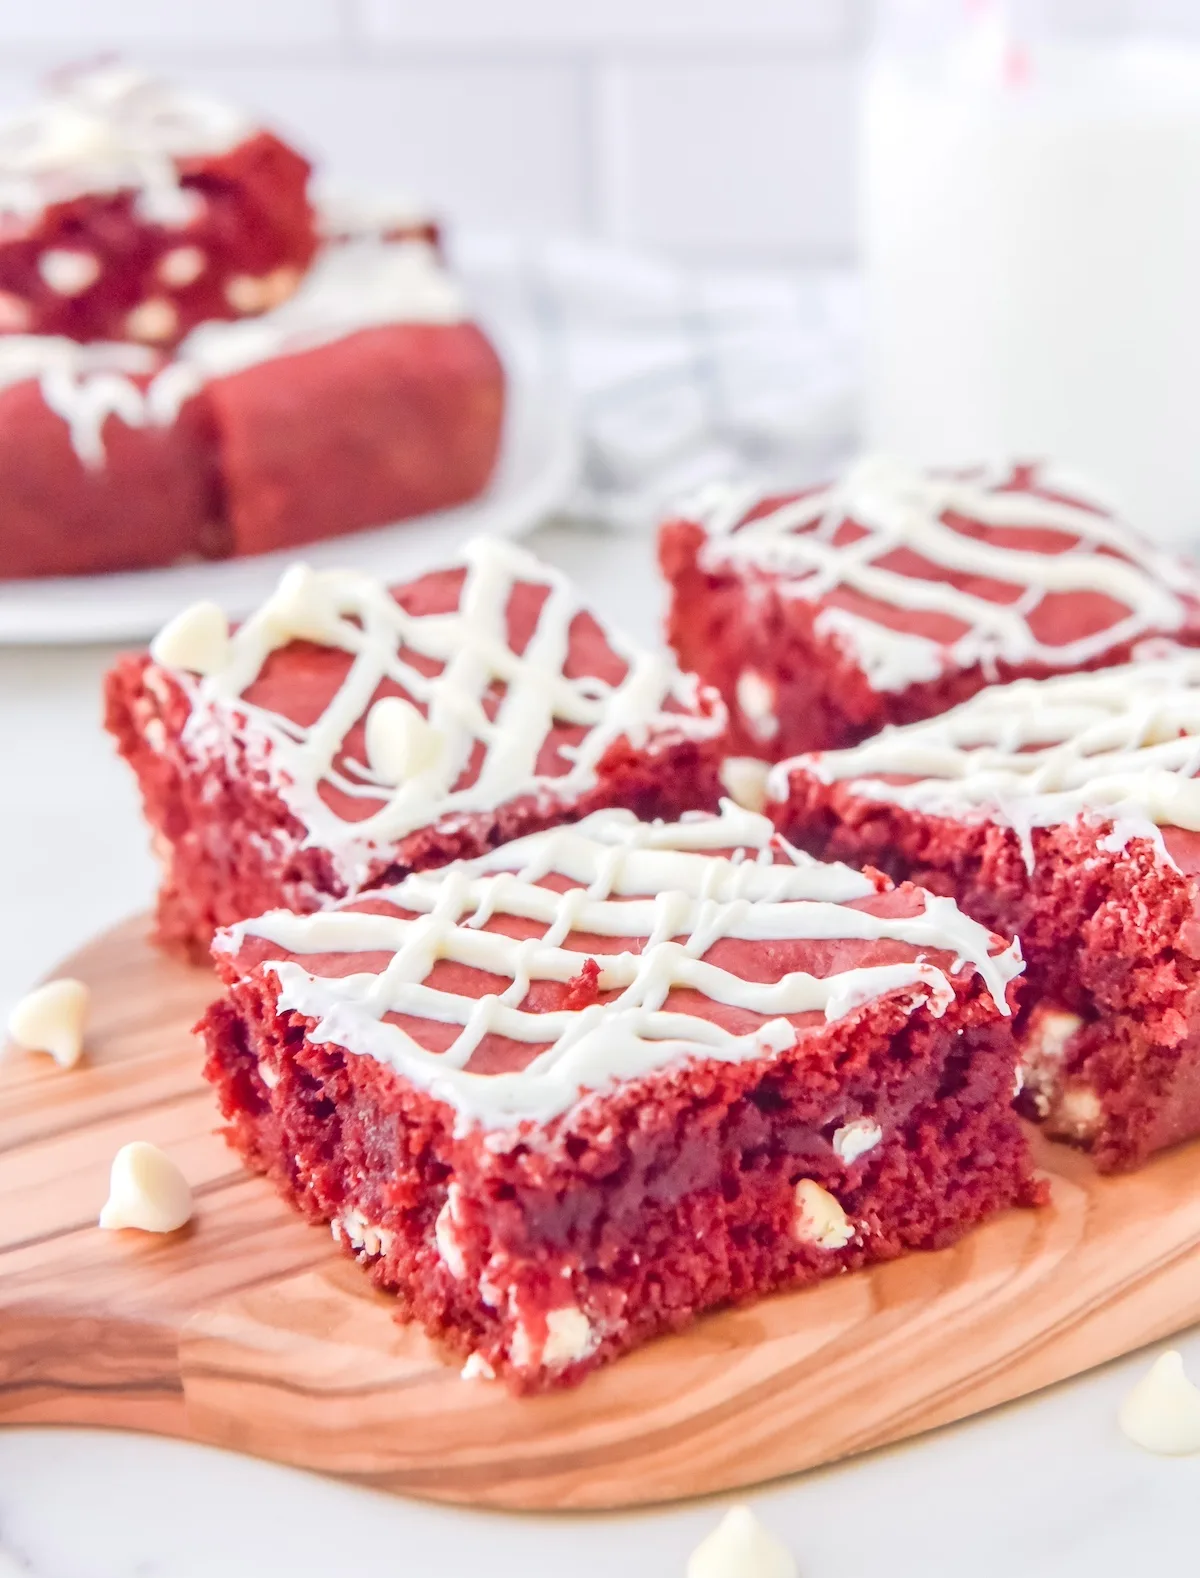
In the world of DIY culinary hacks, this is akin to discovering you can use your hair straightener as an emergency iron (don’t knock it till you’ve tried it!).
It’s all about working smarter, not harder, and these red velvet brownies are the epitome of that philosophy. Plus, let’s be honest, after the year we’ve had, we all deserve a little baking shortcut.
So, what makes these brownies so special? First off, they’re red velvet – the color of love, passion, and that lipstick you swore you’d wear but never did.
It’s a flavor that screams Valentine’s Day, but let’s not pigeonhole these beauties. They’re perfect for any holiday, or let’s be real, any day that ends in ‘y’.
Secondly, we’re talking about a recipe so easy, you could probably do it blindfolded (not recommended, but a fun thought).
In this post, I will guide you through the surprisingly simple process of turning a box of red velvet cake mix into brownies that are so moist, so delicious, and so ridiculously easy to make, you’ll be wondering why you ever bothered with those complicated recipes.
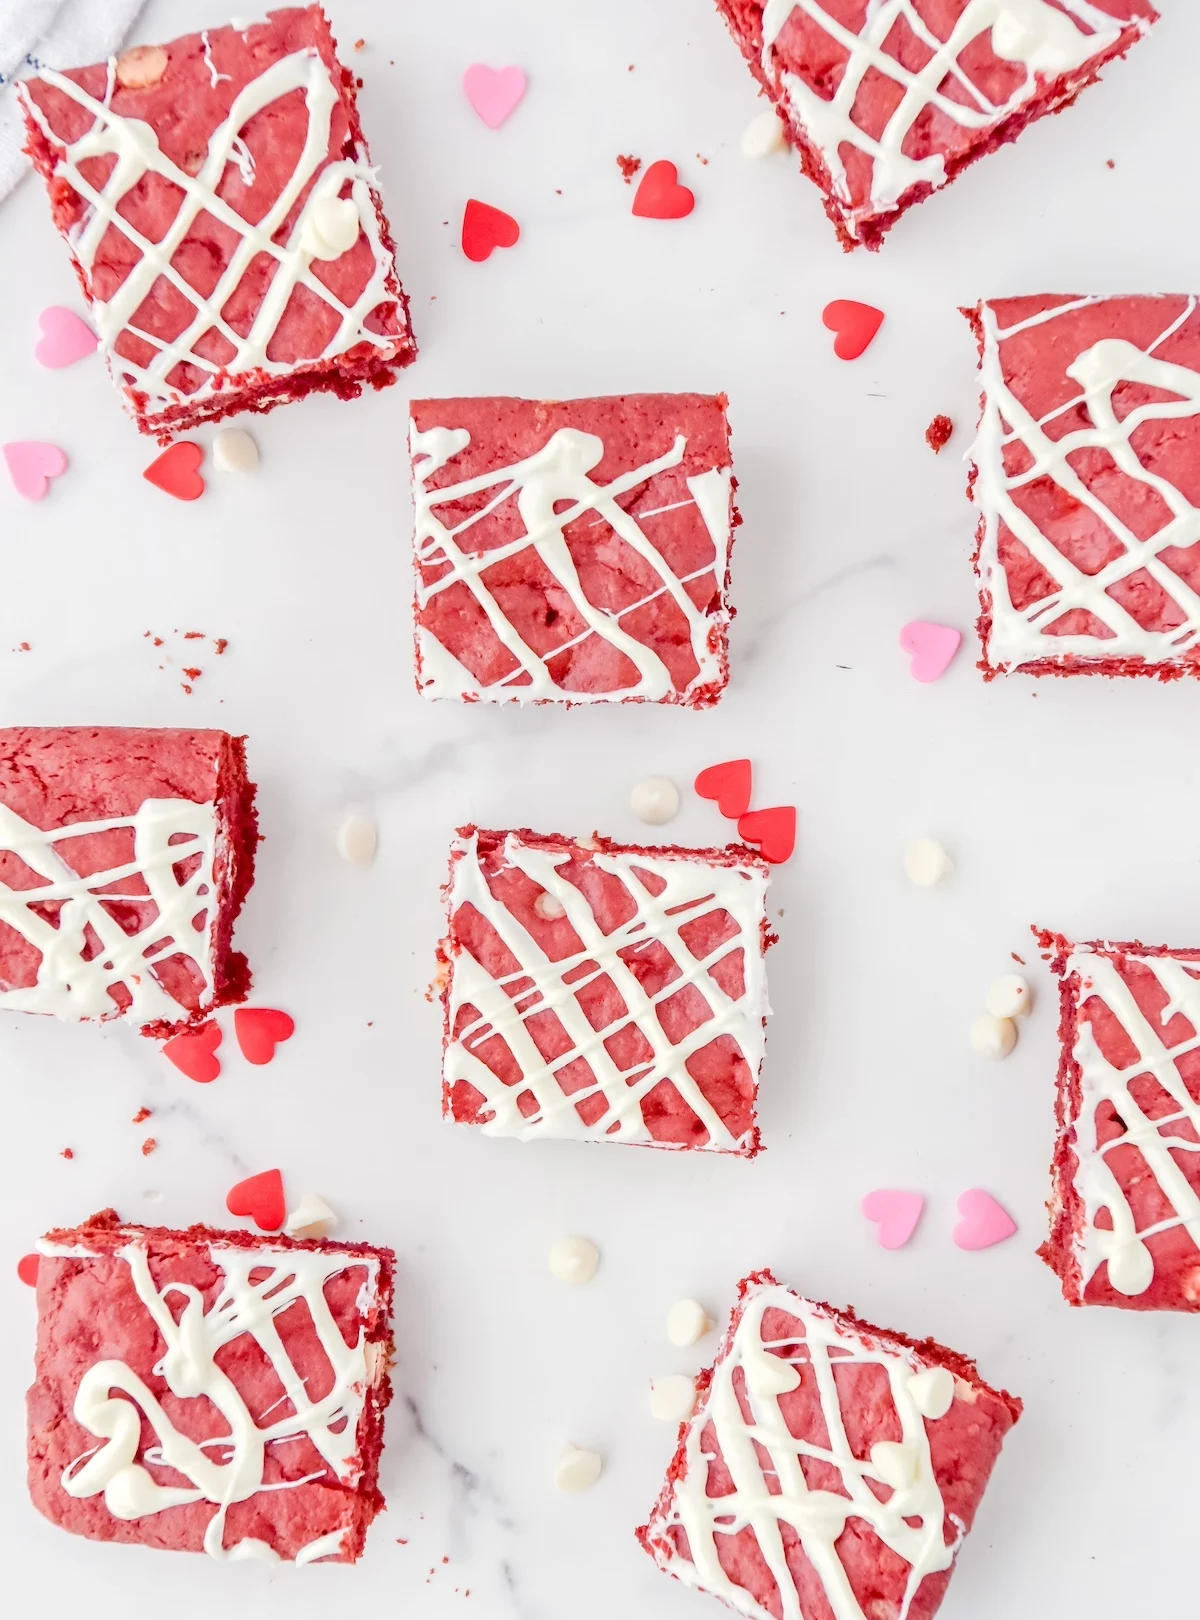
Not only will these brownies satisfy your sweet tooth, but they also double as a perfect gift.
Imagine the look on your friend’s, partner’s, or neighbor’s face when you hand them a batch of homemade red velvet brownies.
They don’t need to know it was as easy as making a bowl of cereal; let them think you’re the next contestant on a baking reality show.
So, if you’re ready to whip up a batch of “red velvet brownies from cake mix” that are sure to be a hit this Valentine’s Day (or any day, really), keep scrolling.
Trust me, your taste buds will thank you, and you might just become the new favorite in your family – take that, Aunt Mildred’s legendary fruitcake!
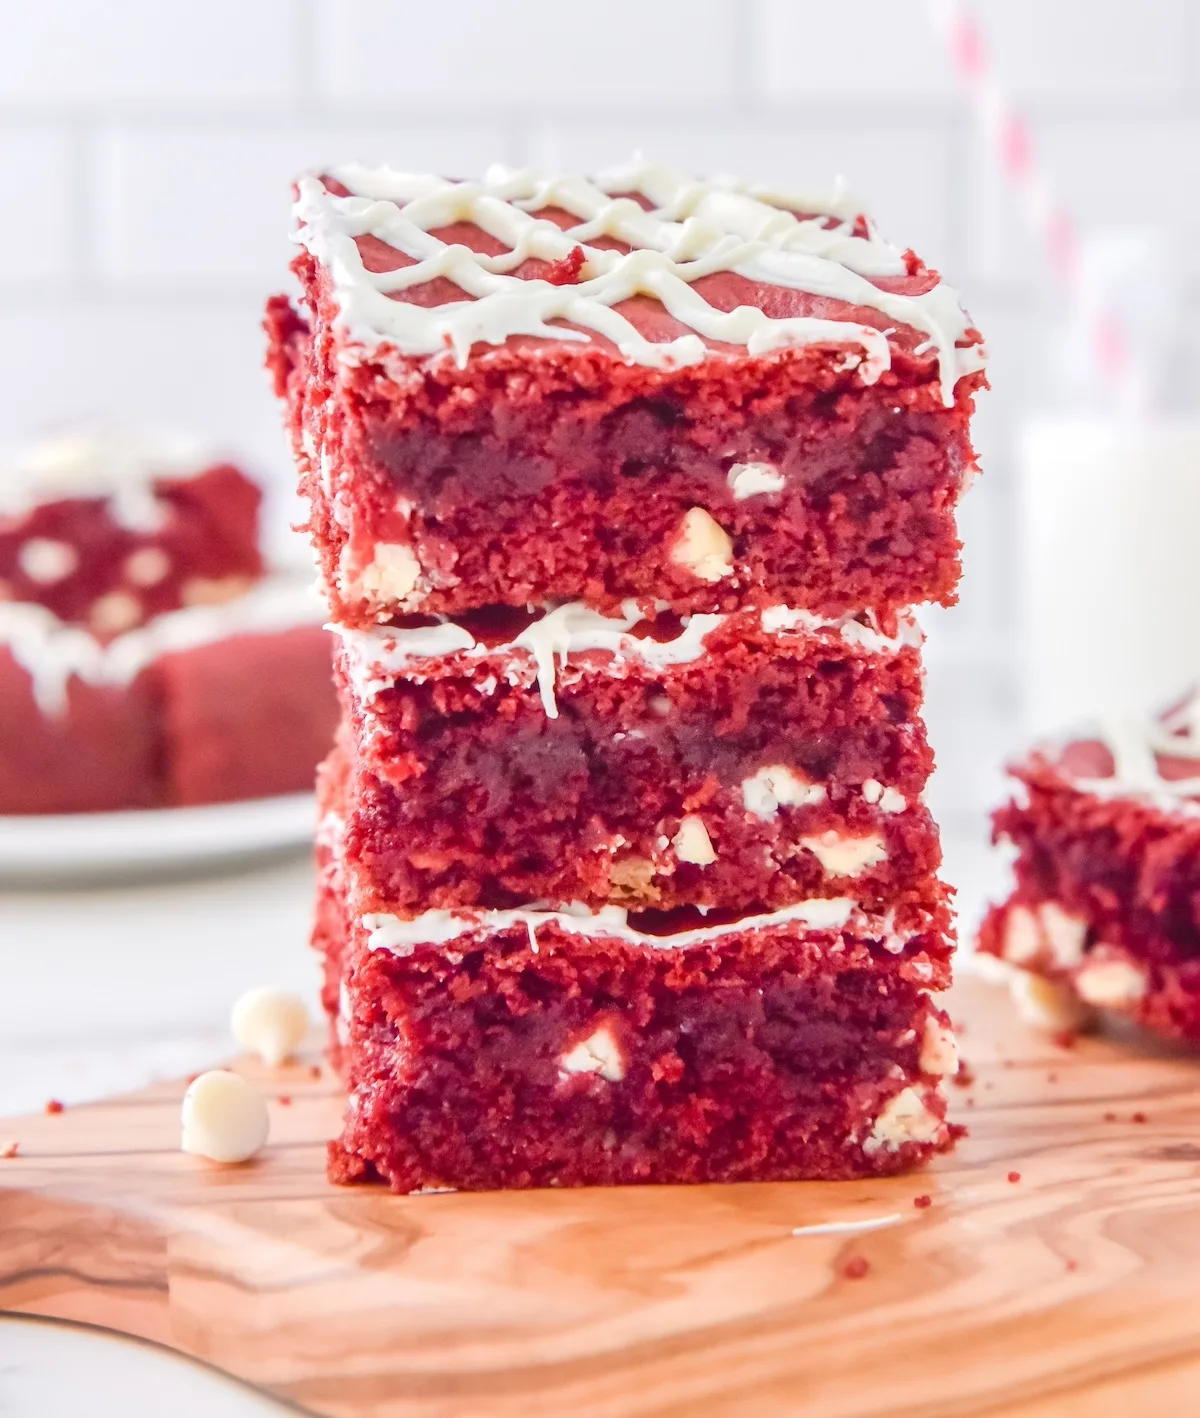
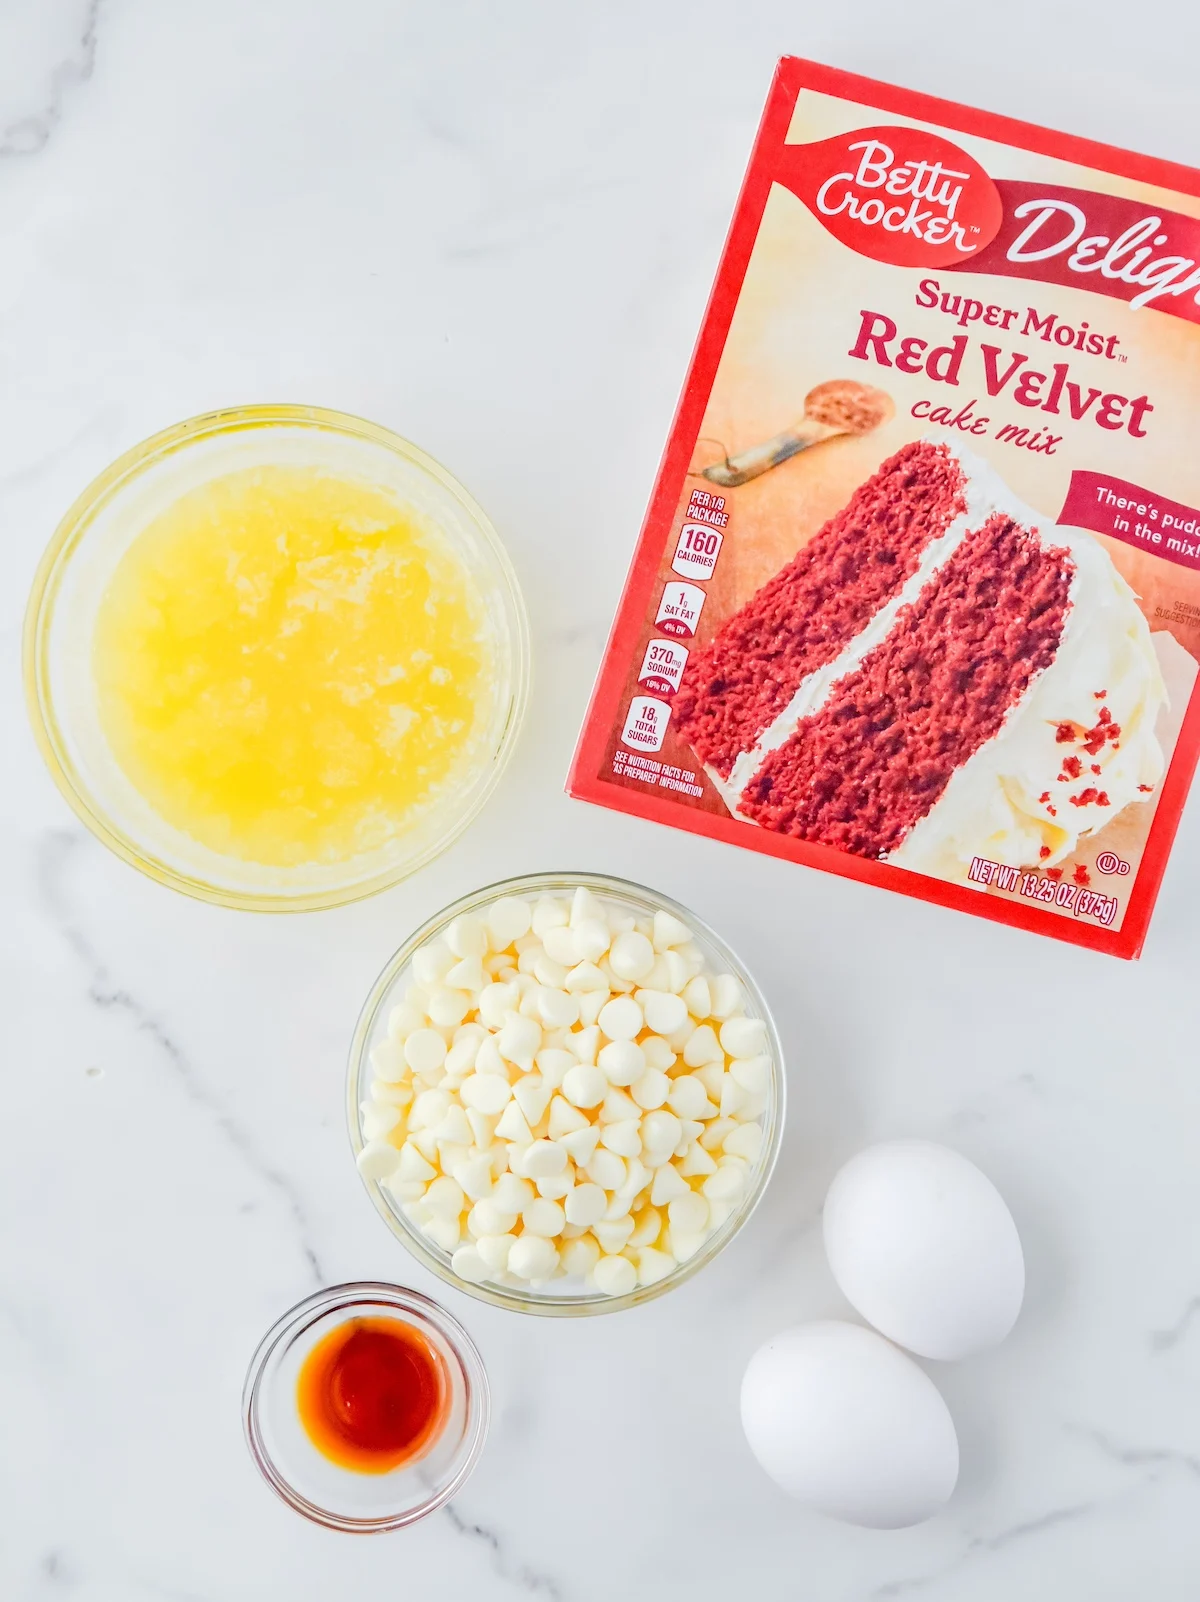
Here’s what you’re going to need to make this recipe:
Ingredients
- 1 box red velvet cake mix
- 1 1/2 cups white chocolate chips
- 2 eggs
- 1/2 cup butter, melted
- 1 tsp vanilla extract
These brownies can be stored in an airtight container for 3-4 days.
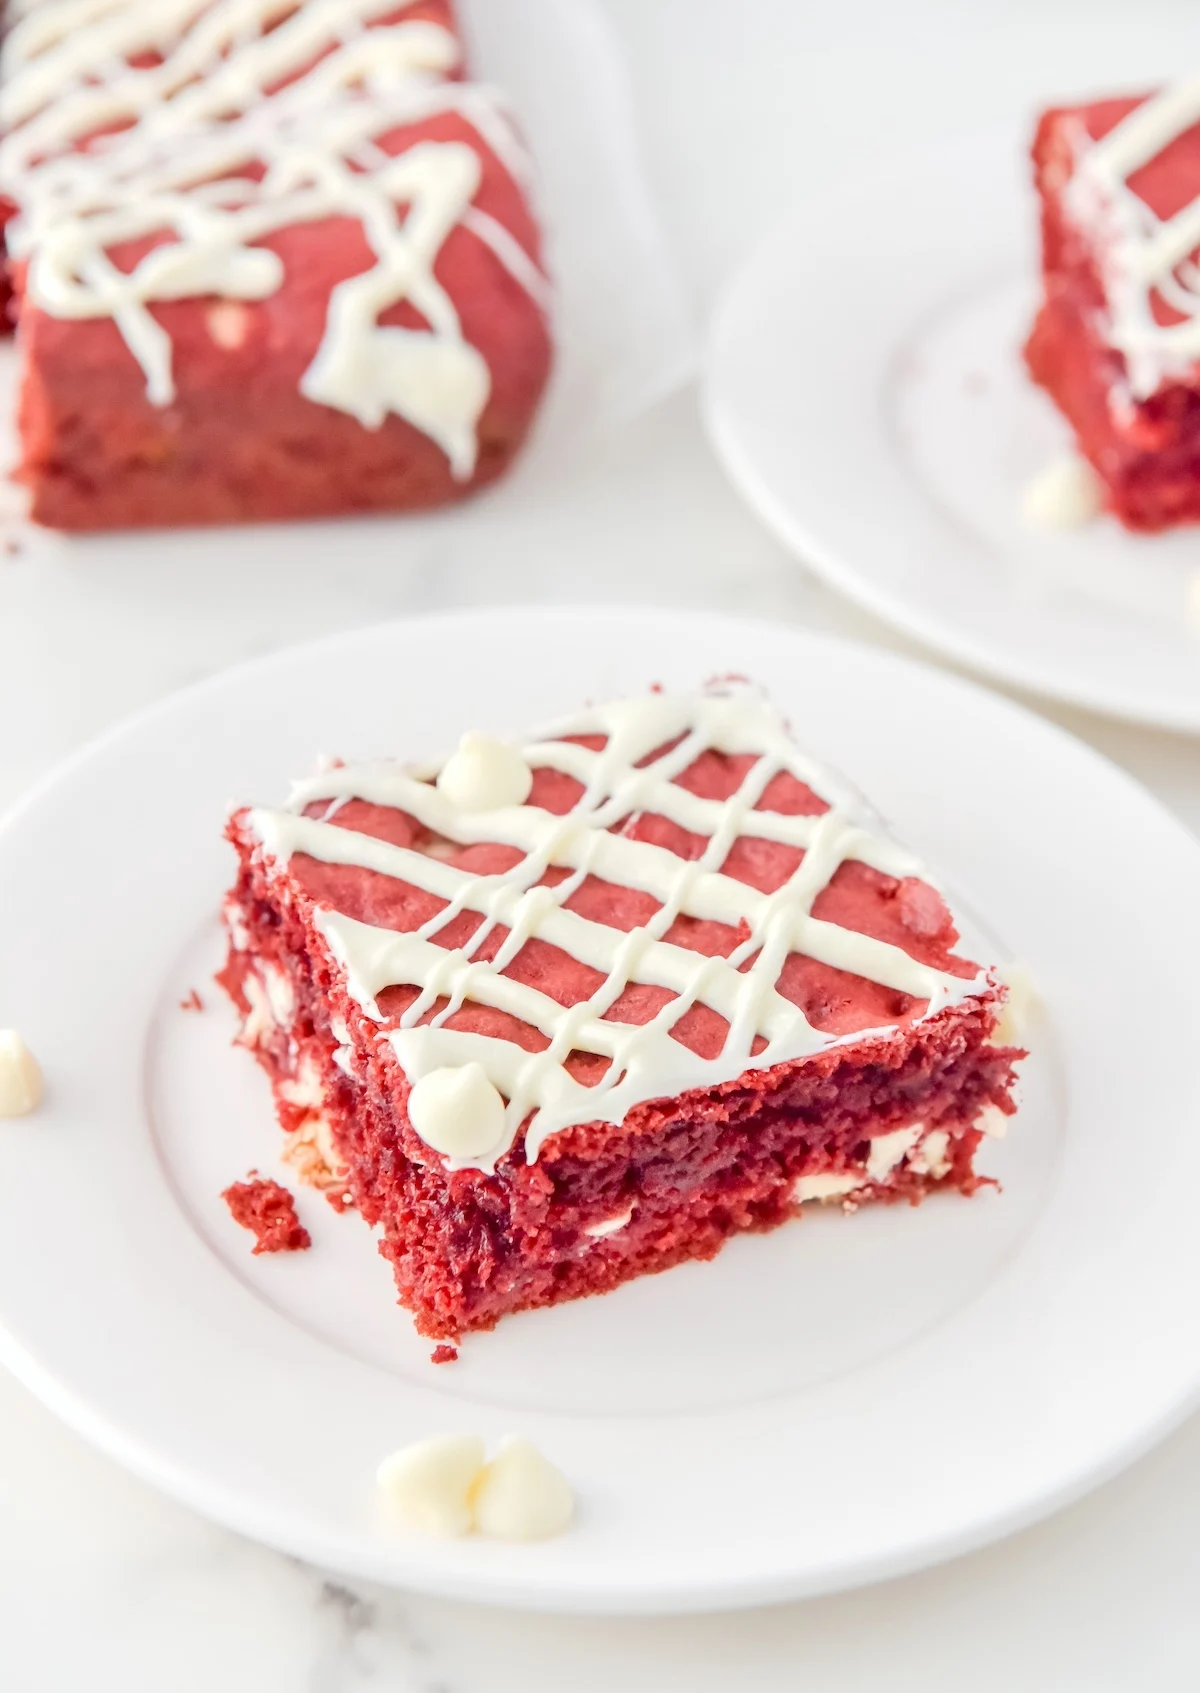
I really don’t think they’re going to last that long though. They’re too good! Wouldn’t these be fun at a Valentine’s Day bake sale?
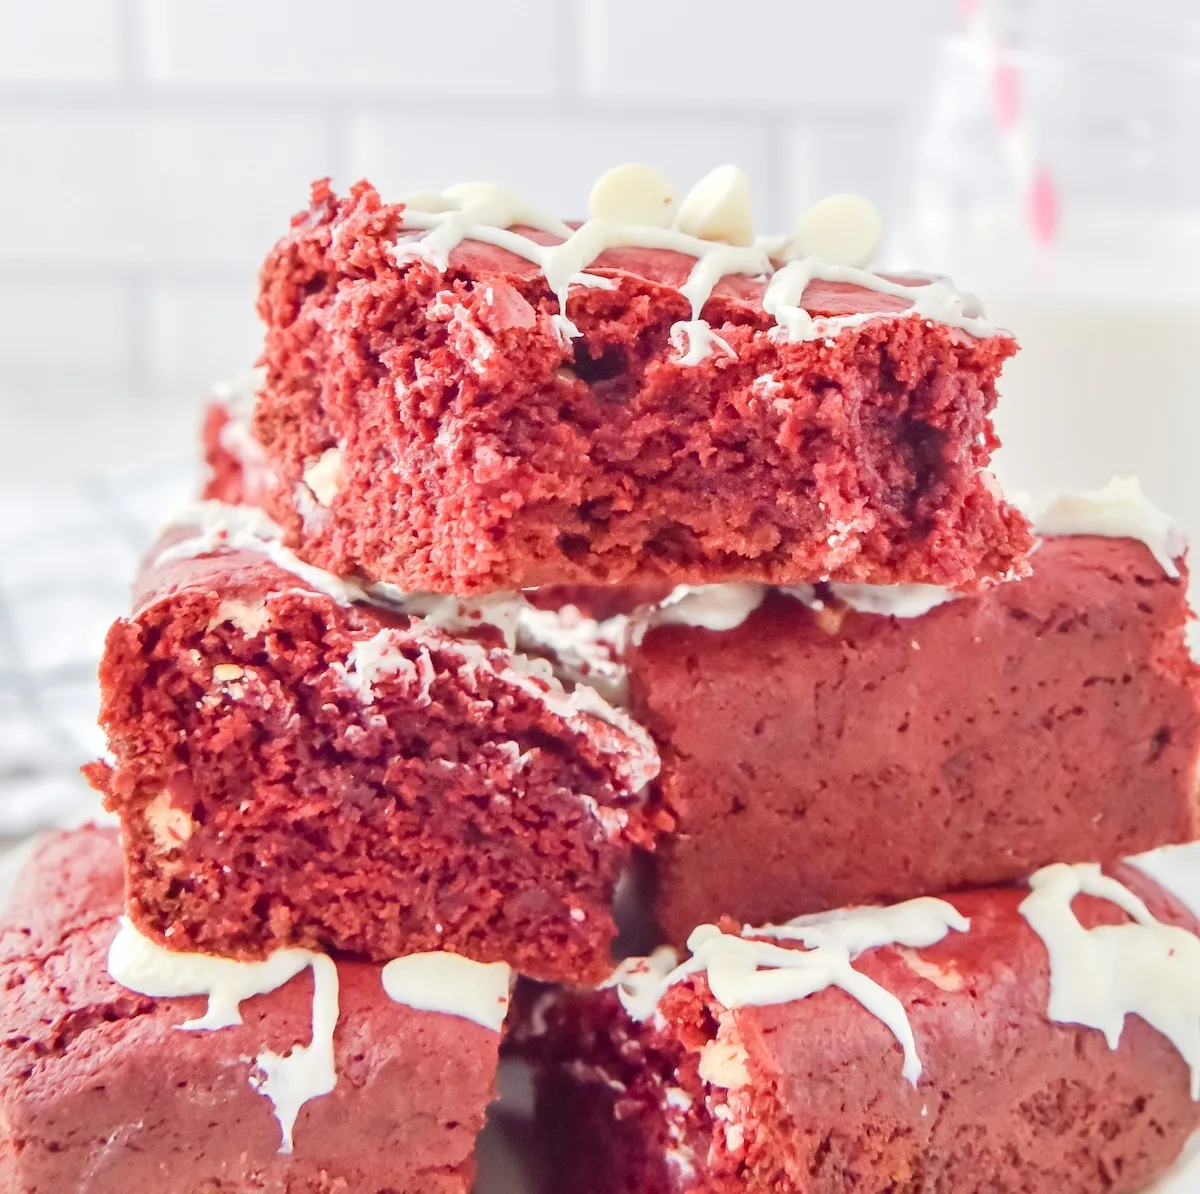
Get the printable recipe for these brownies below:

Red Velvet Brownies
Ingredients
- 1 box red velvet cake mix
- 1 1/2 cups white chocolate chips
- 2 eggs
- 1/2 cup butter melted
- 1 tsp pure vanilla extract
Instructions
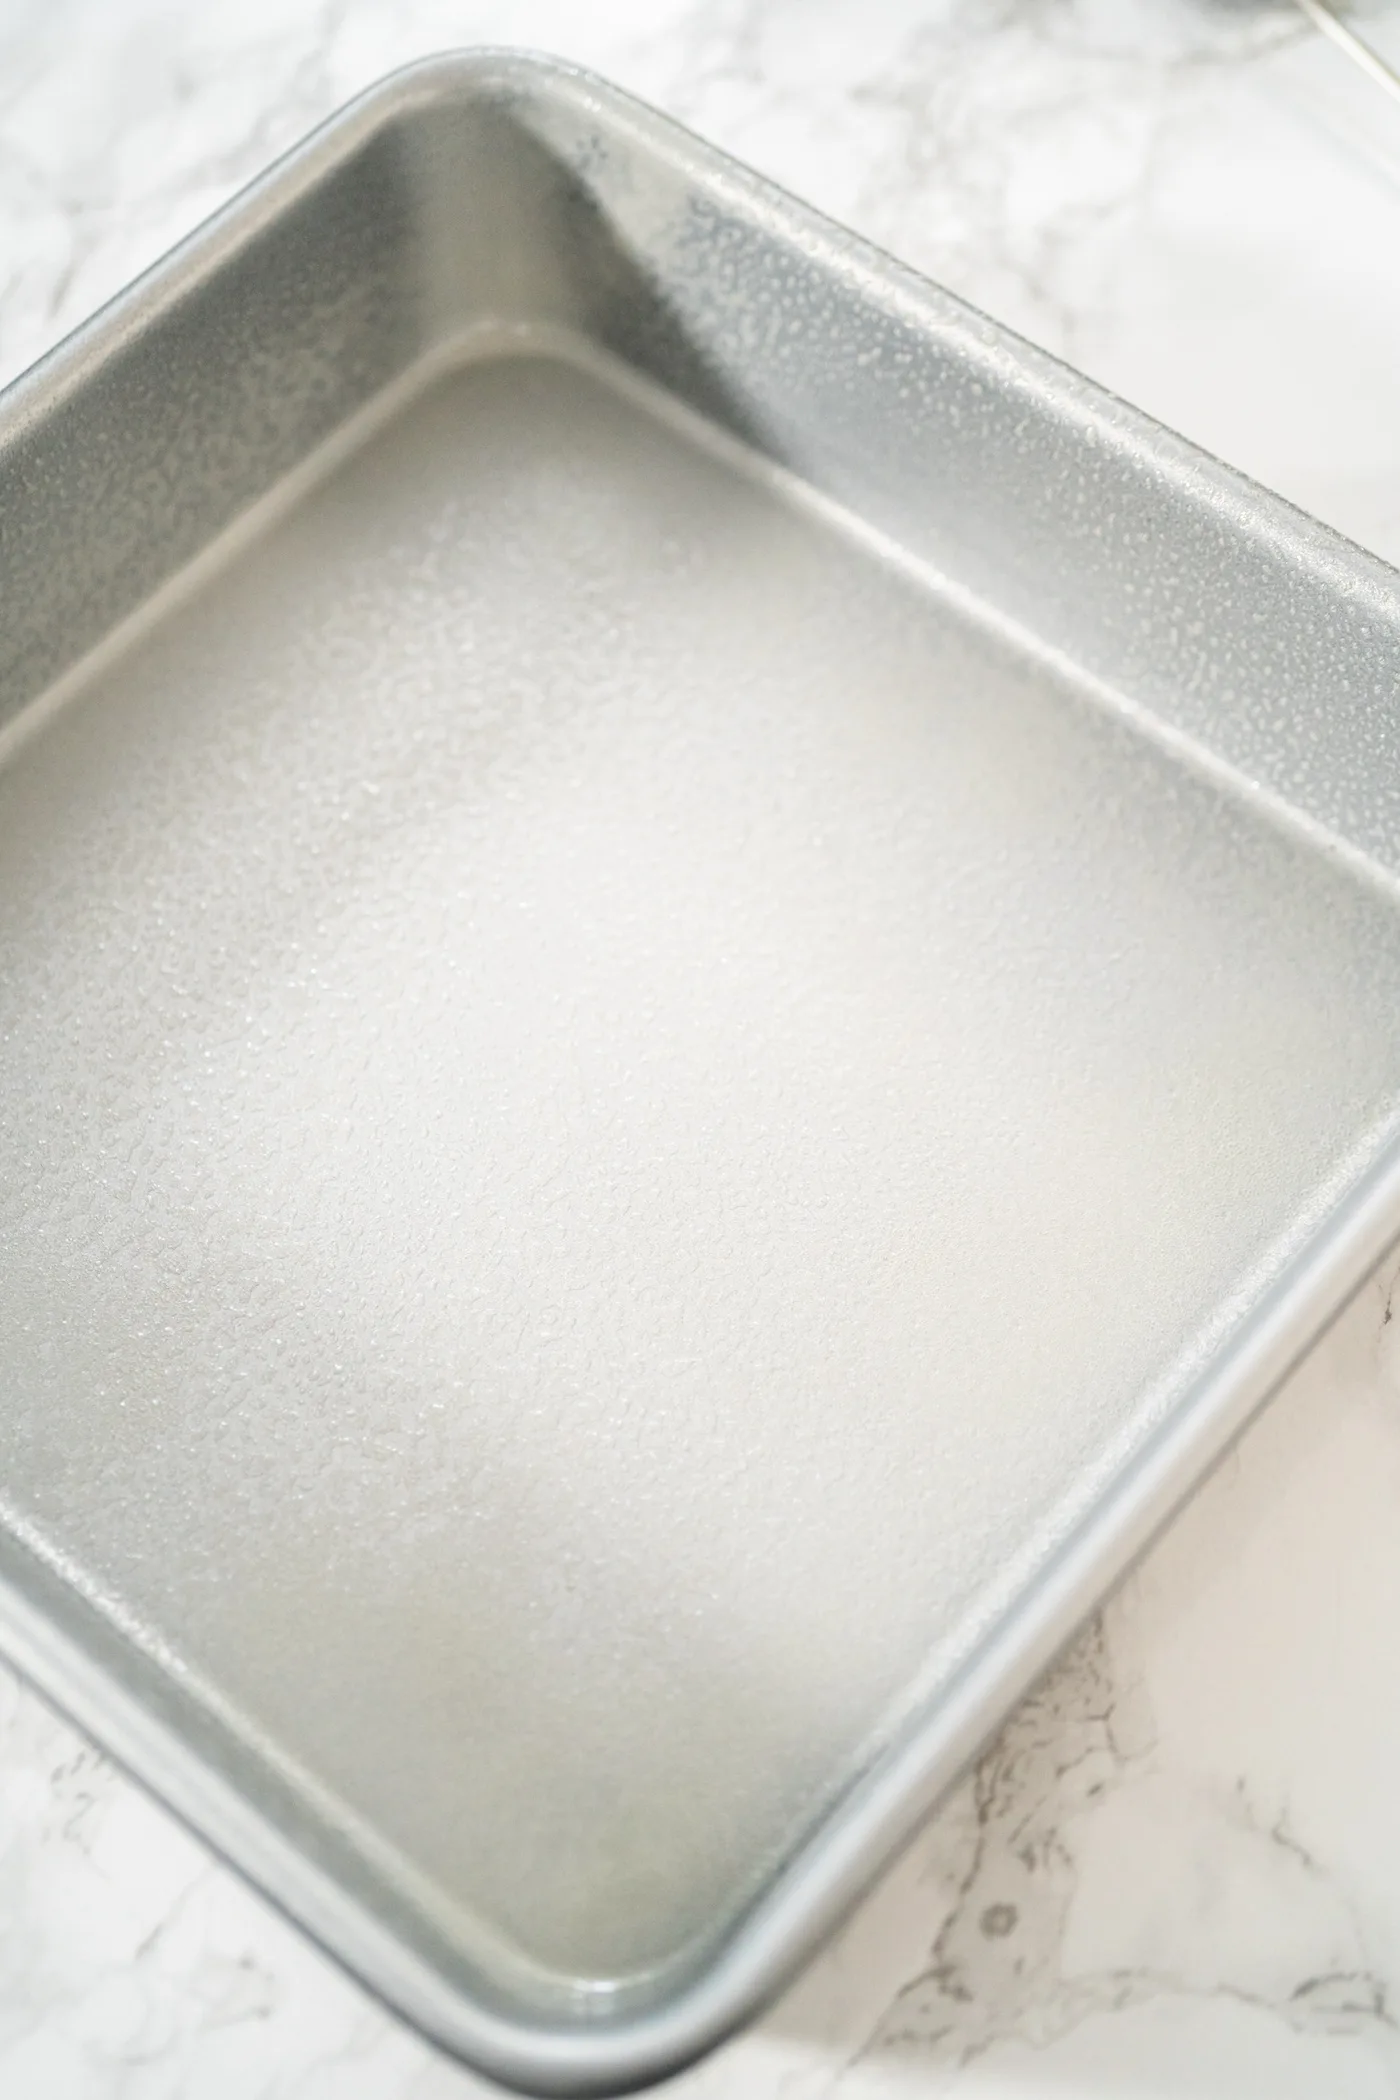
- Line an 8×8 baking dish with parchment paper and set aside. Preheat oven to 350 degrees.
- Melt your butter in a microwave safe bowl by heating in 20-30 second increments until fully melted.
- In a medium mixing bowl, add cake mix, vanilla, and melted butter. Mix thoroughly with a rubber spatula or wooden spoon.
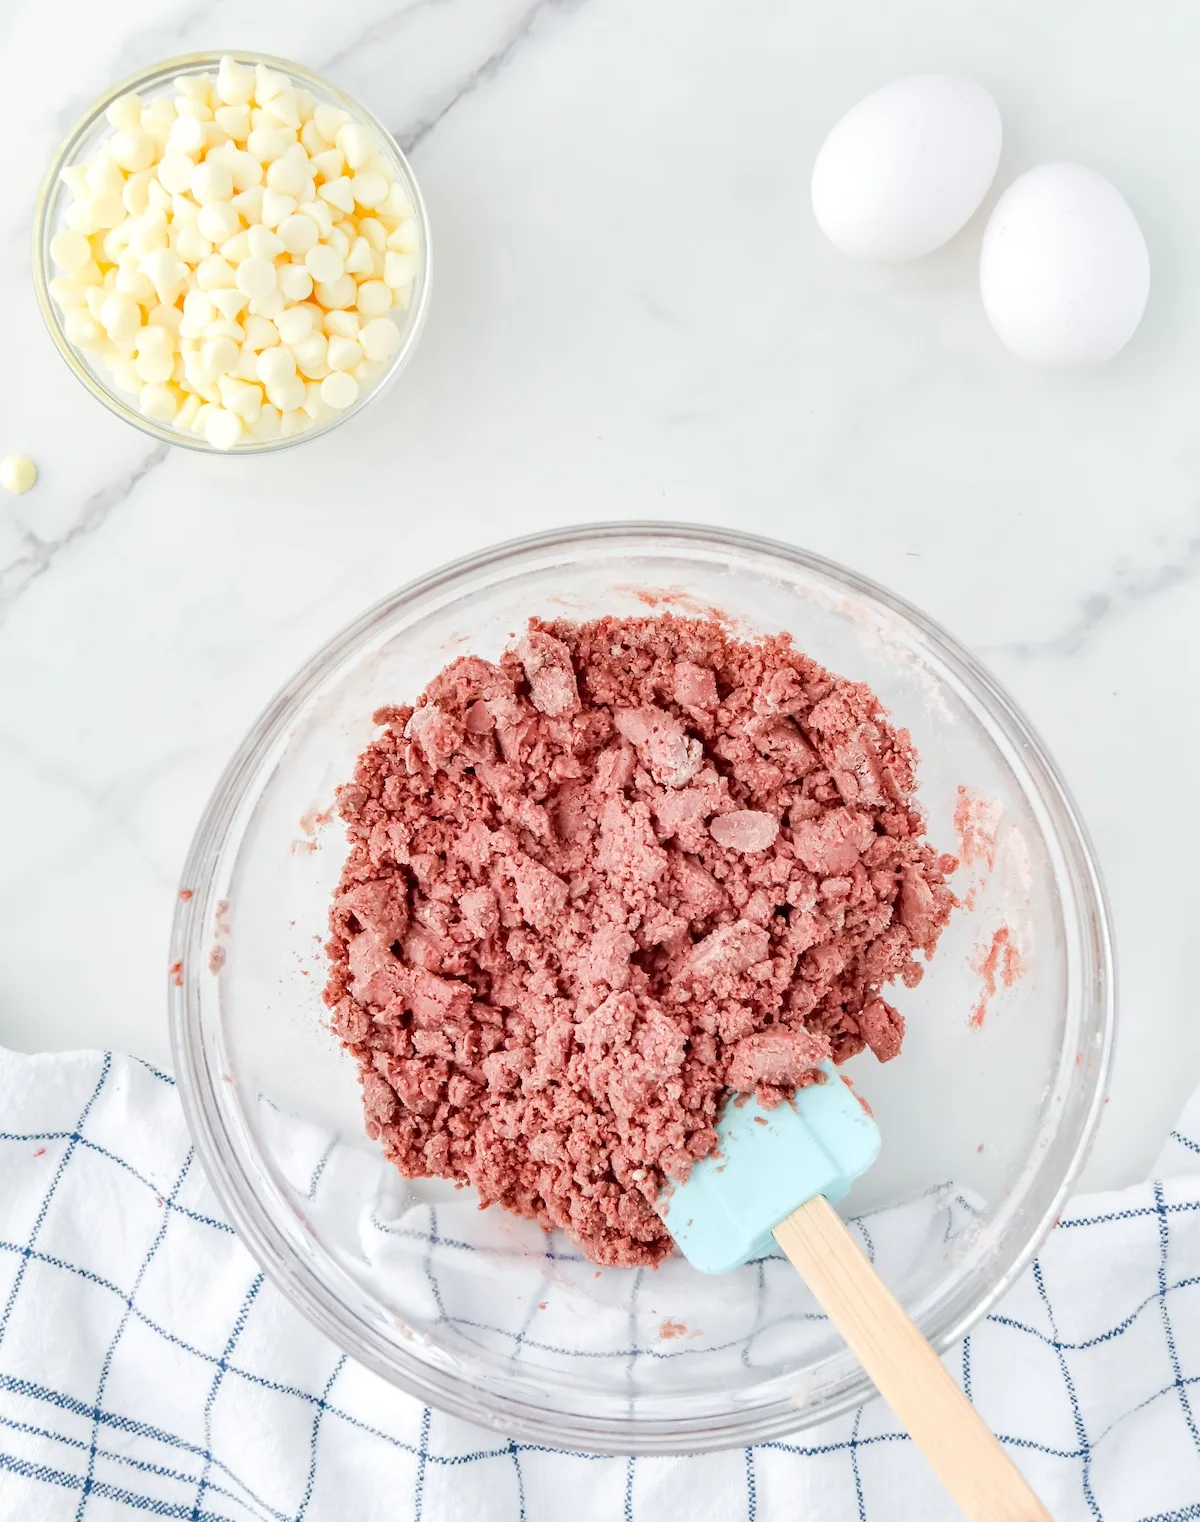
- Whisk eggs in a separate bowl and add to the mixture, stirring again until fully combined.
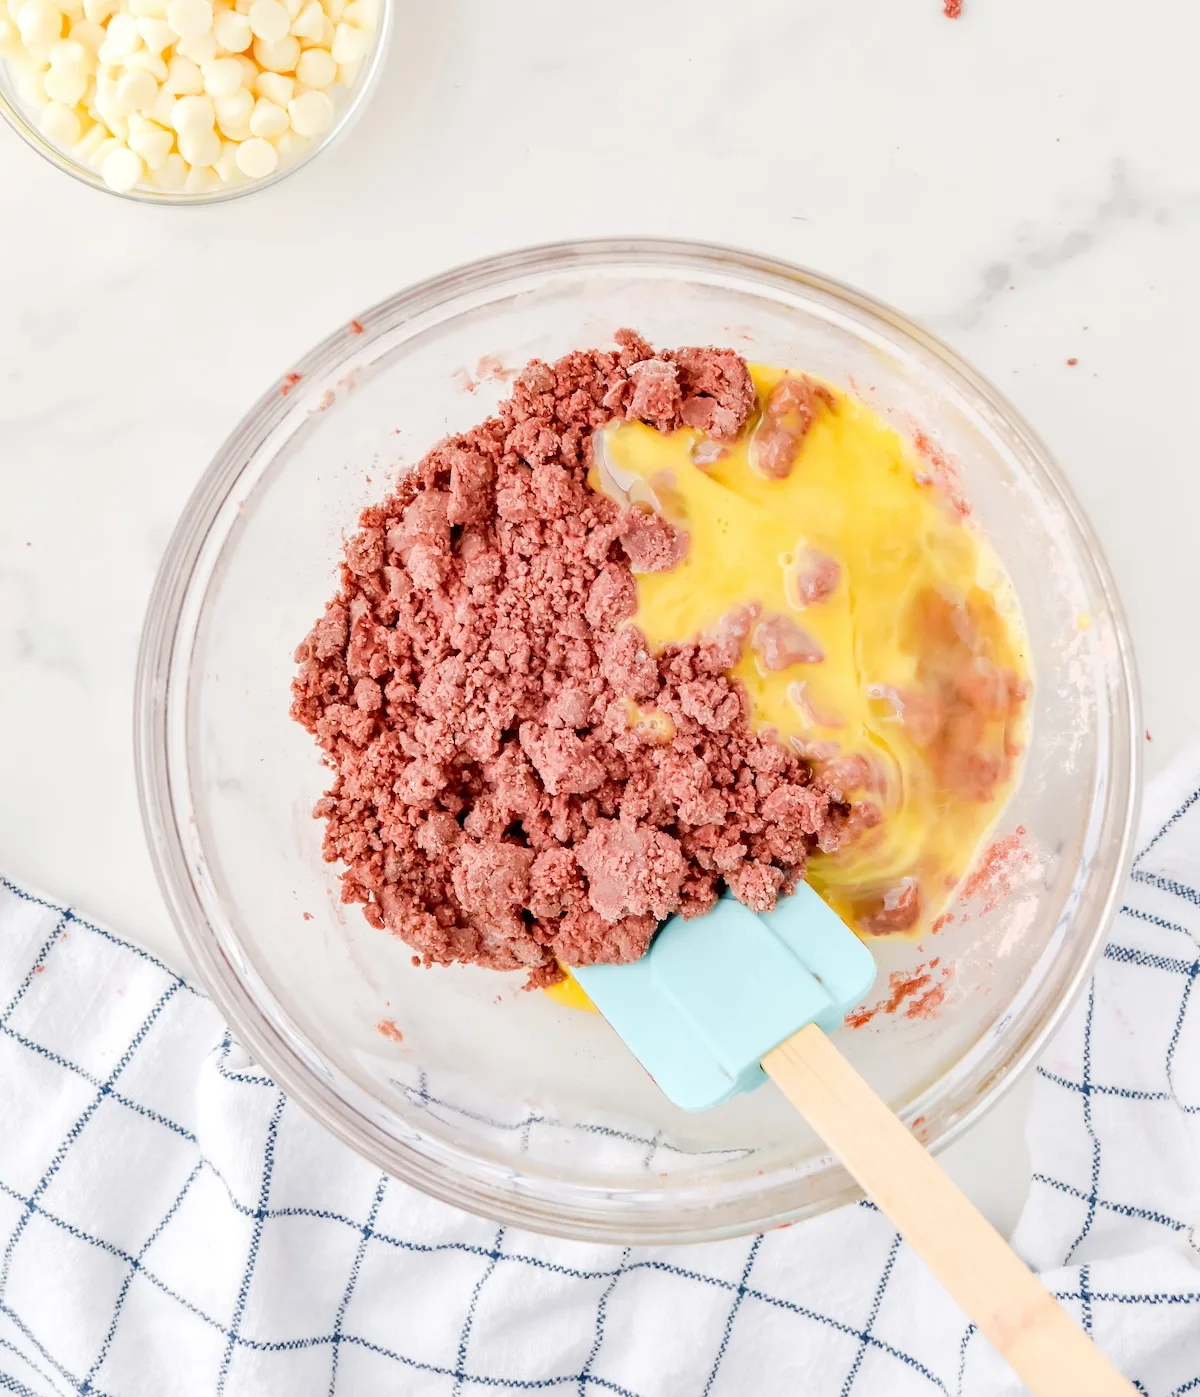
- Add white chocolate chips and fold into the mixture. Mixture will be thick.
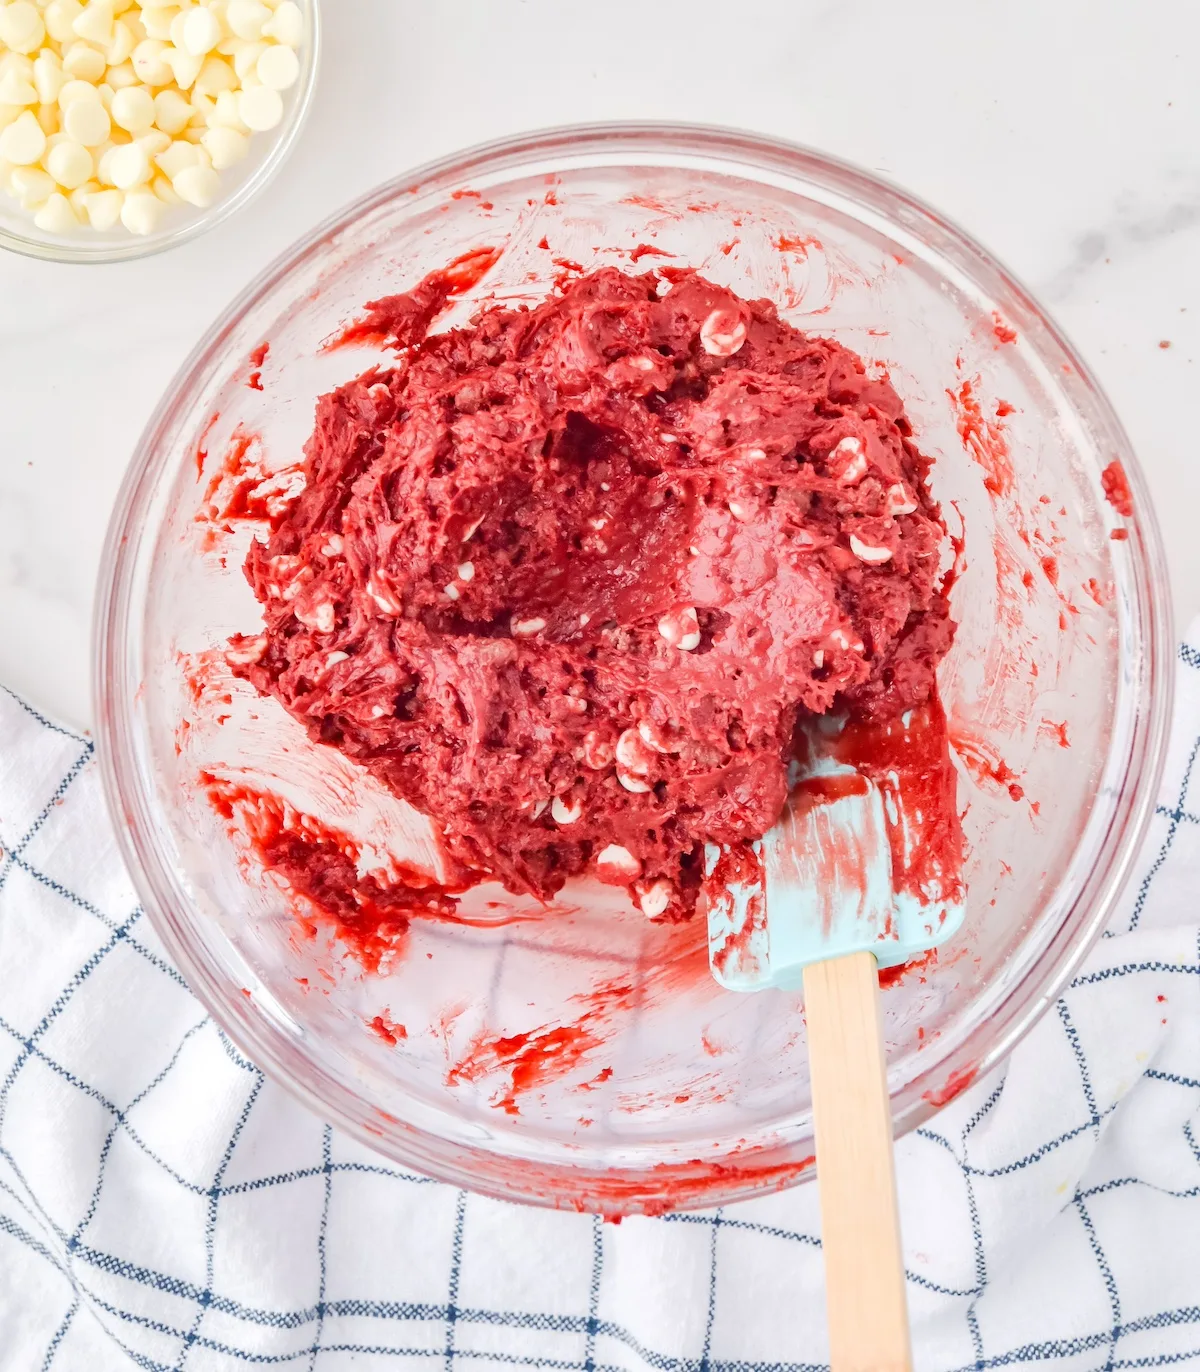
- Pour mixture into the baking dish and spread with your spatula or spoon until even.
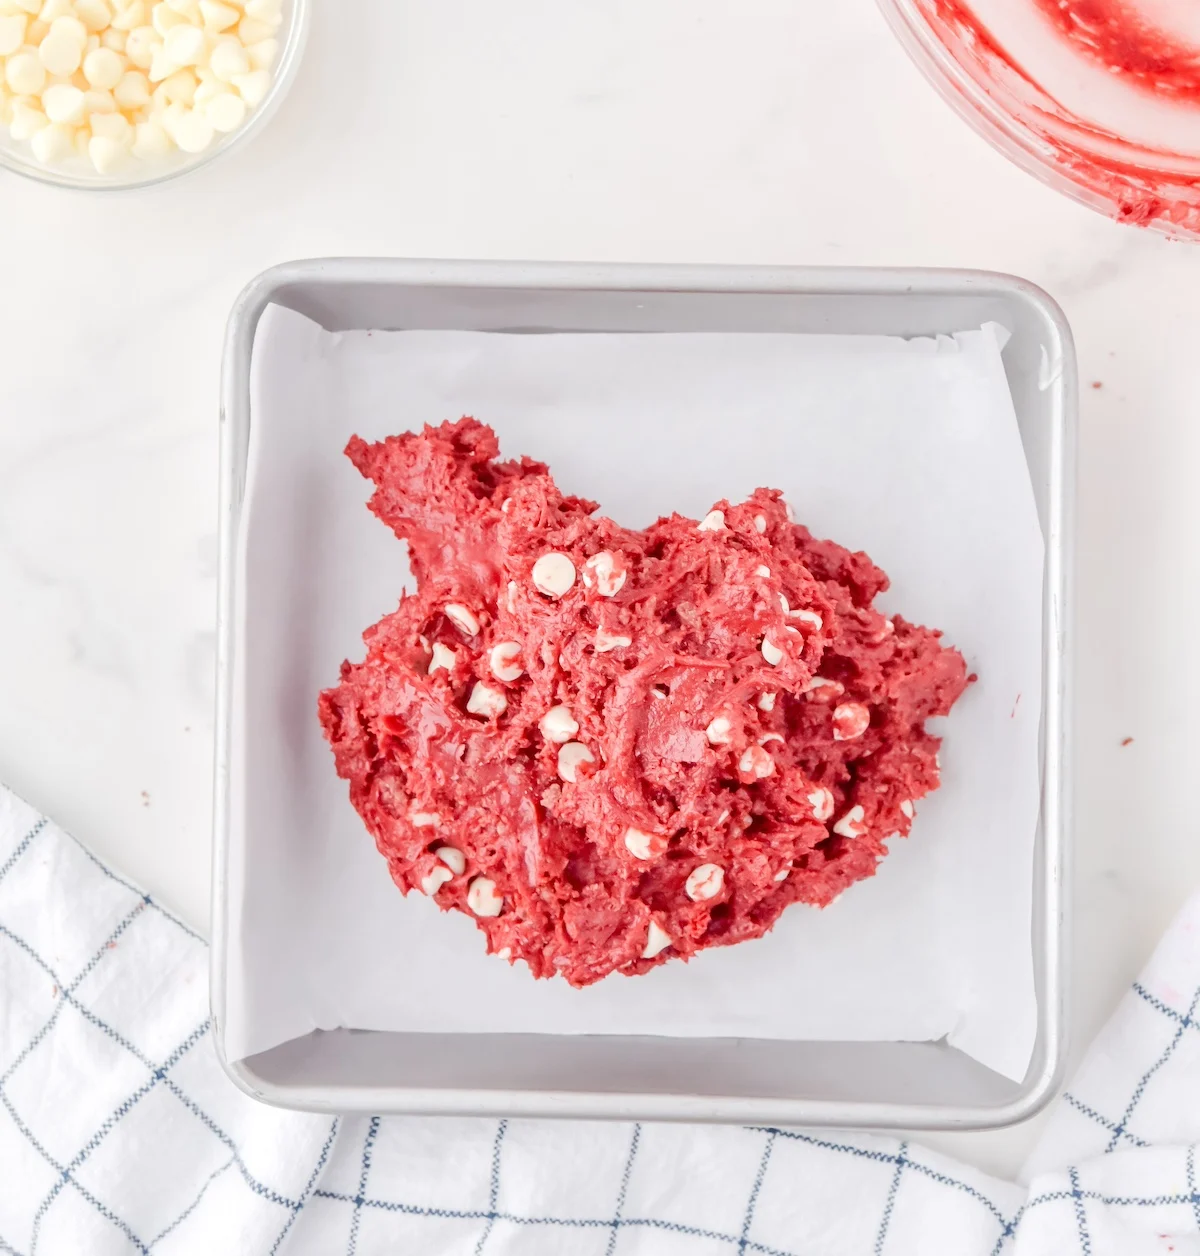
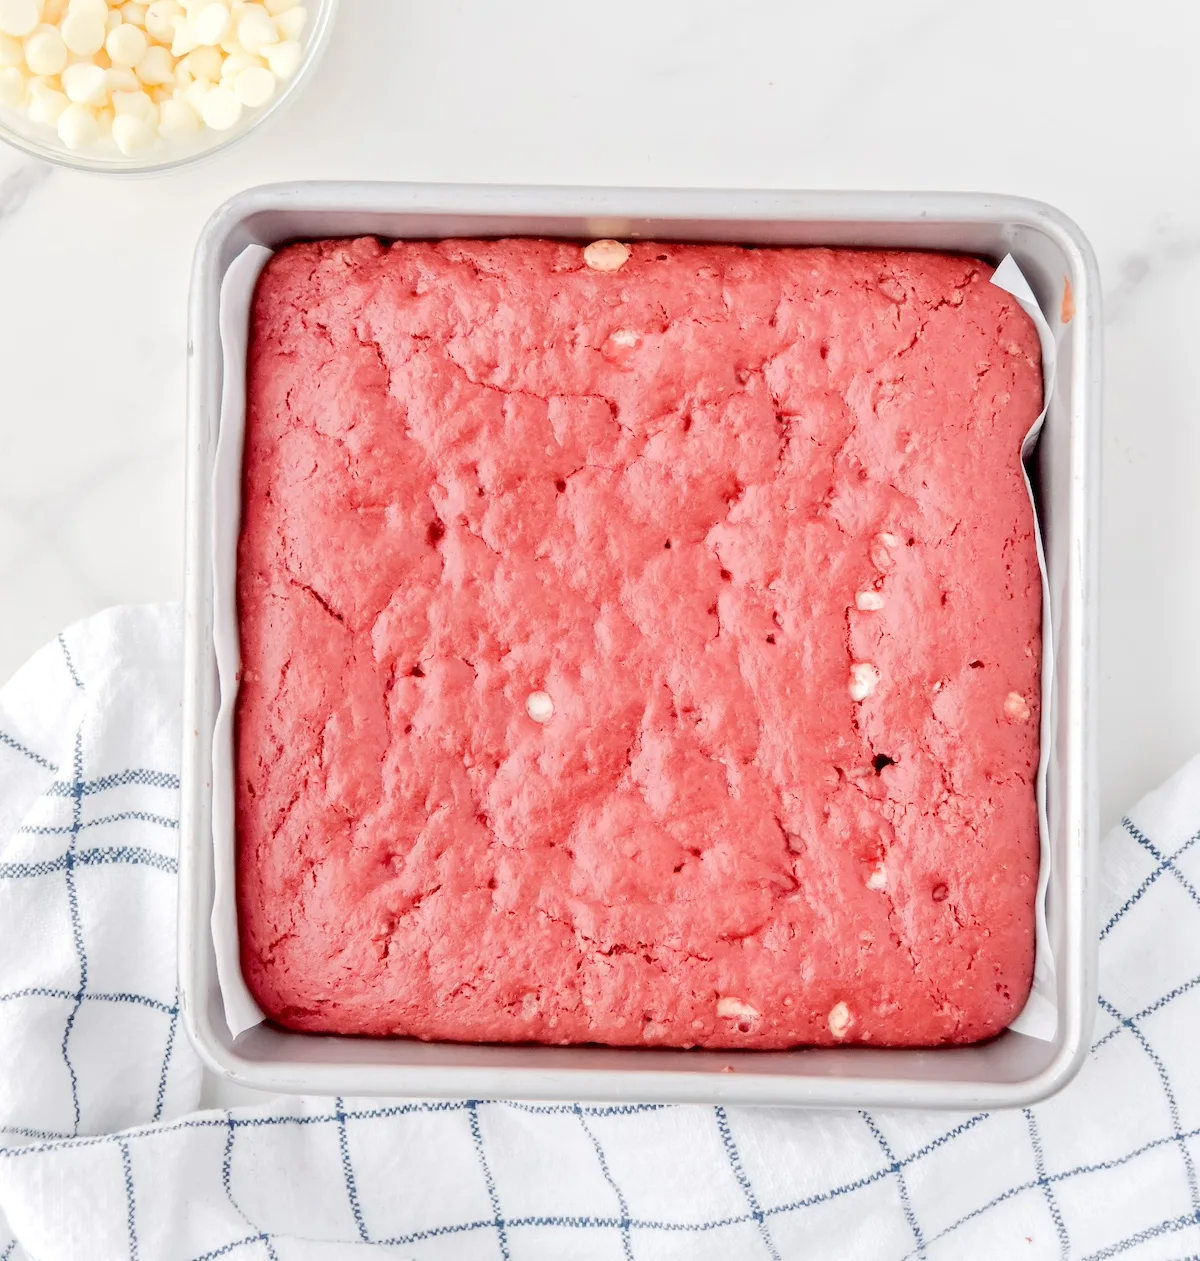
- Bake for 30-35 minutes or until edges look firm. Test with a toothpick in the center, making sure it comes out clean before removing from oven.
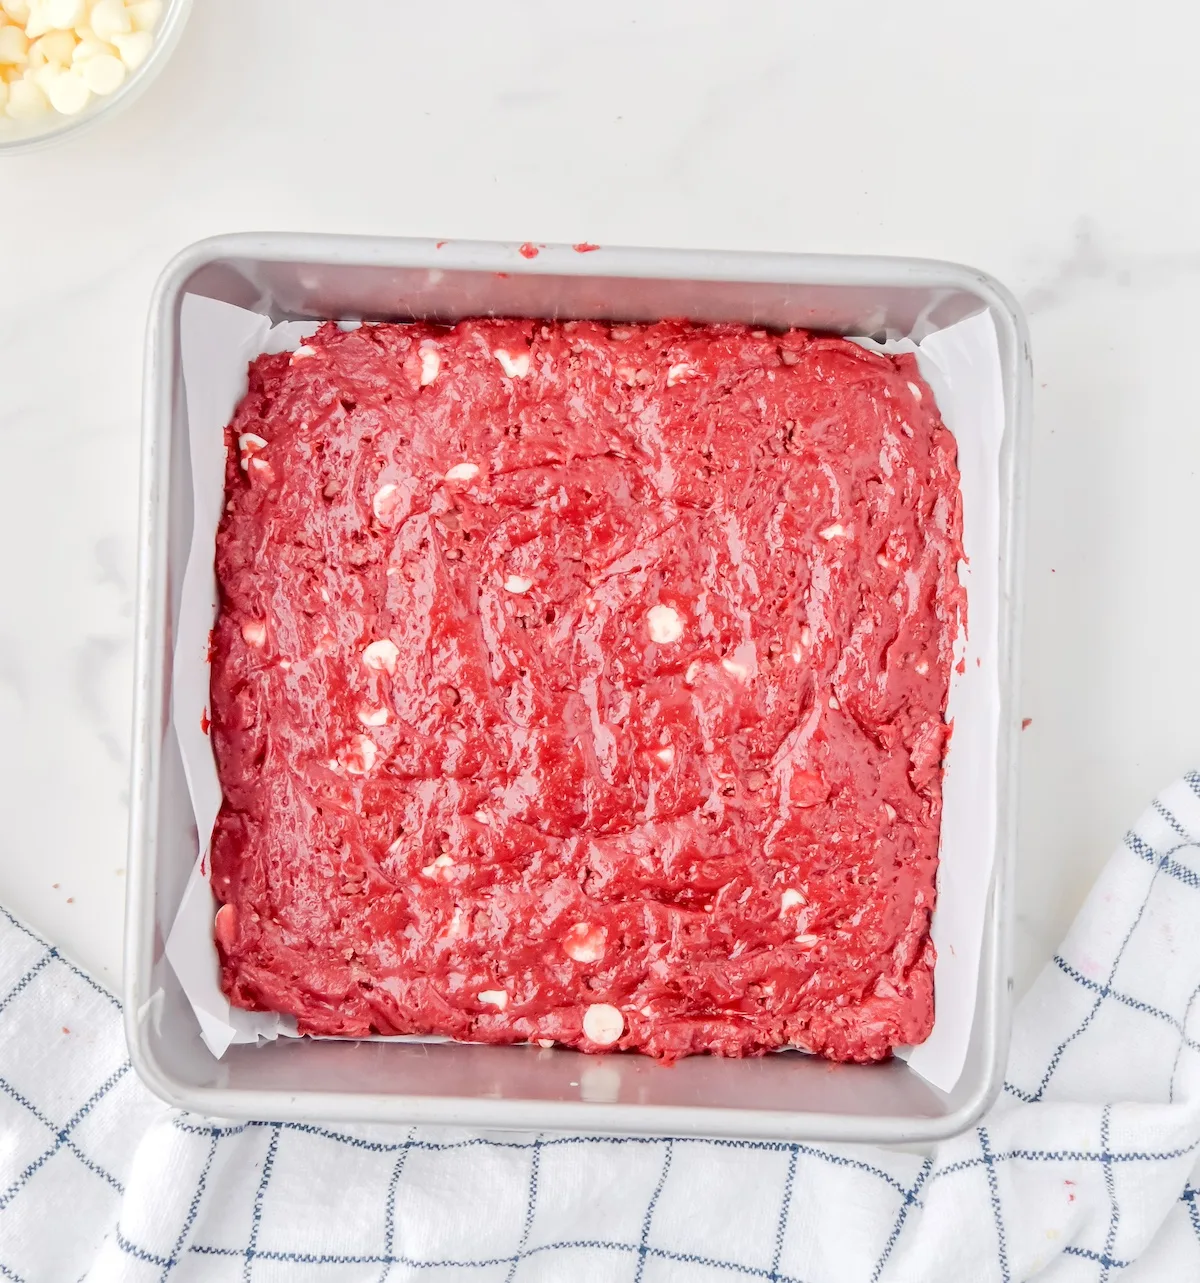
- Remove brownies from oven and allow to fully cool.
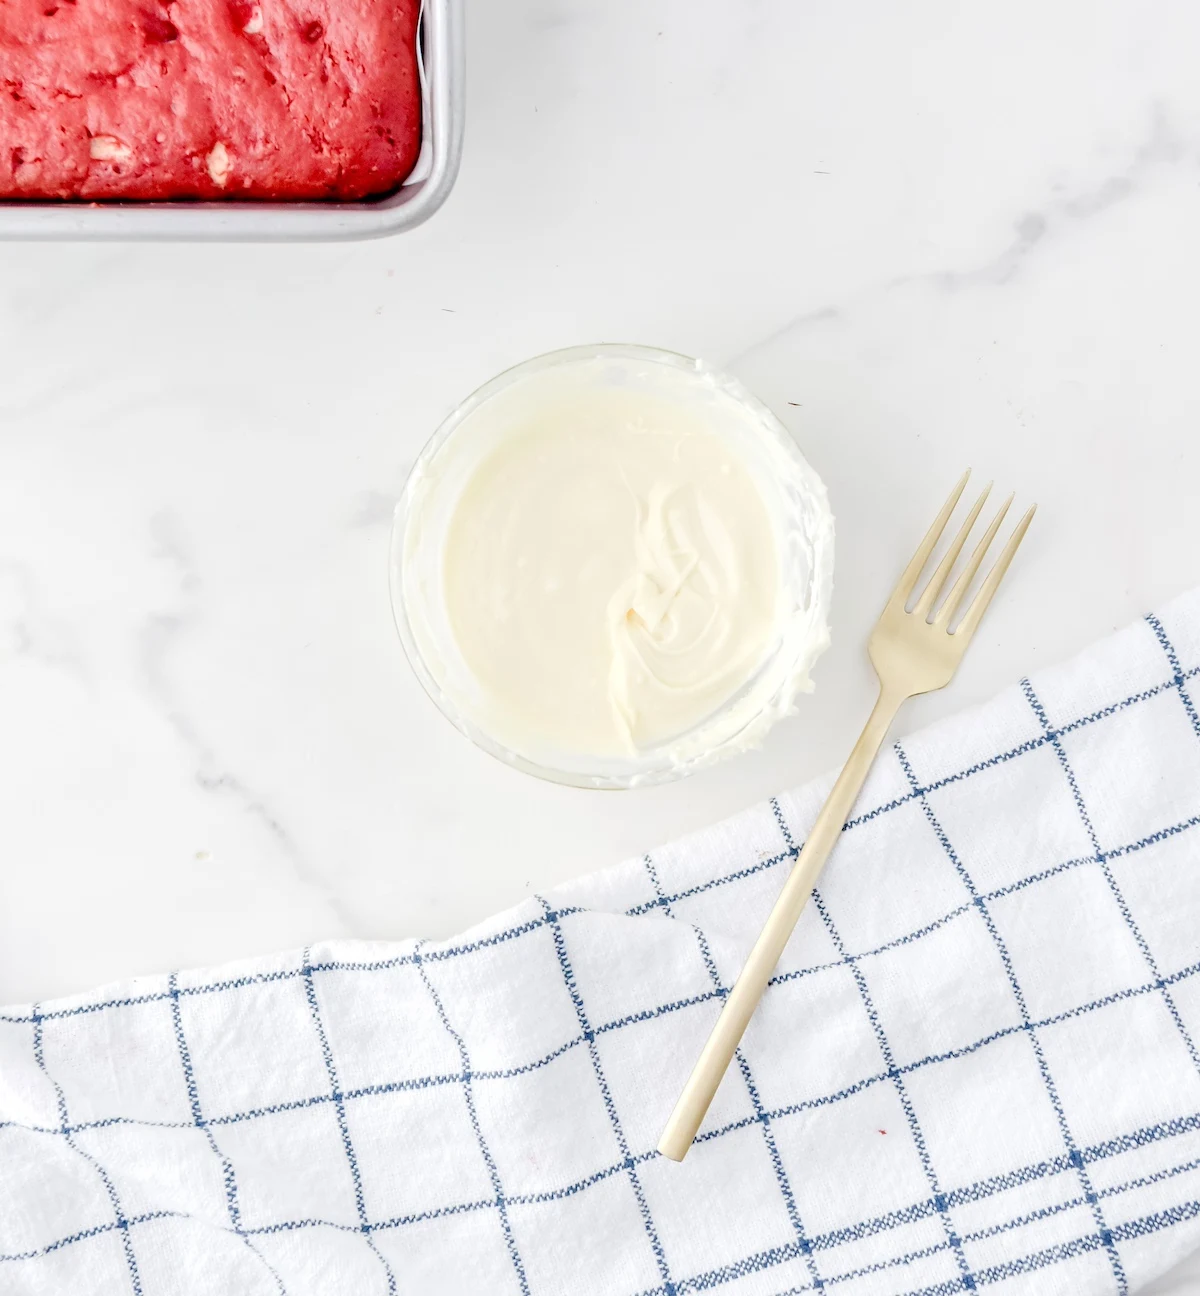
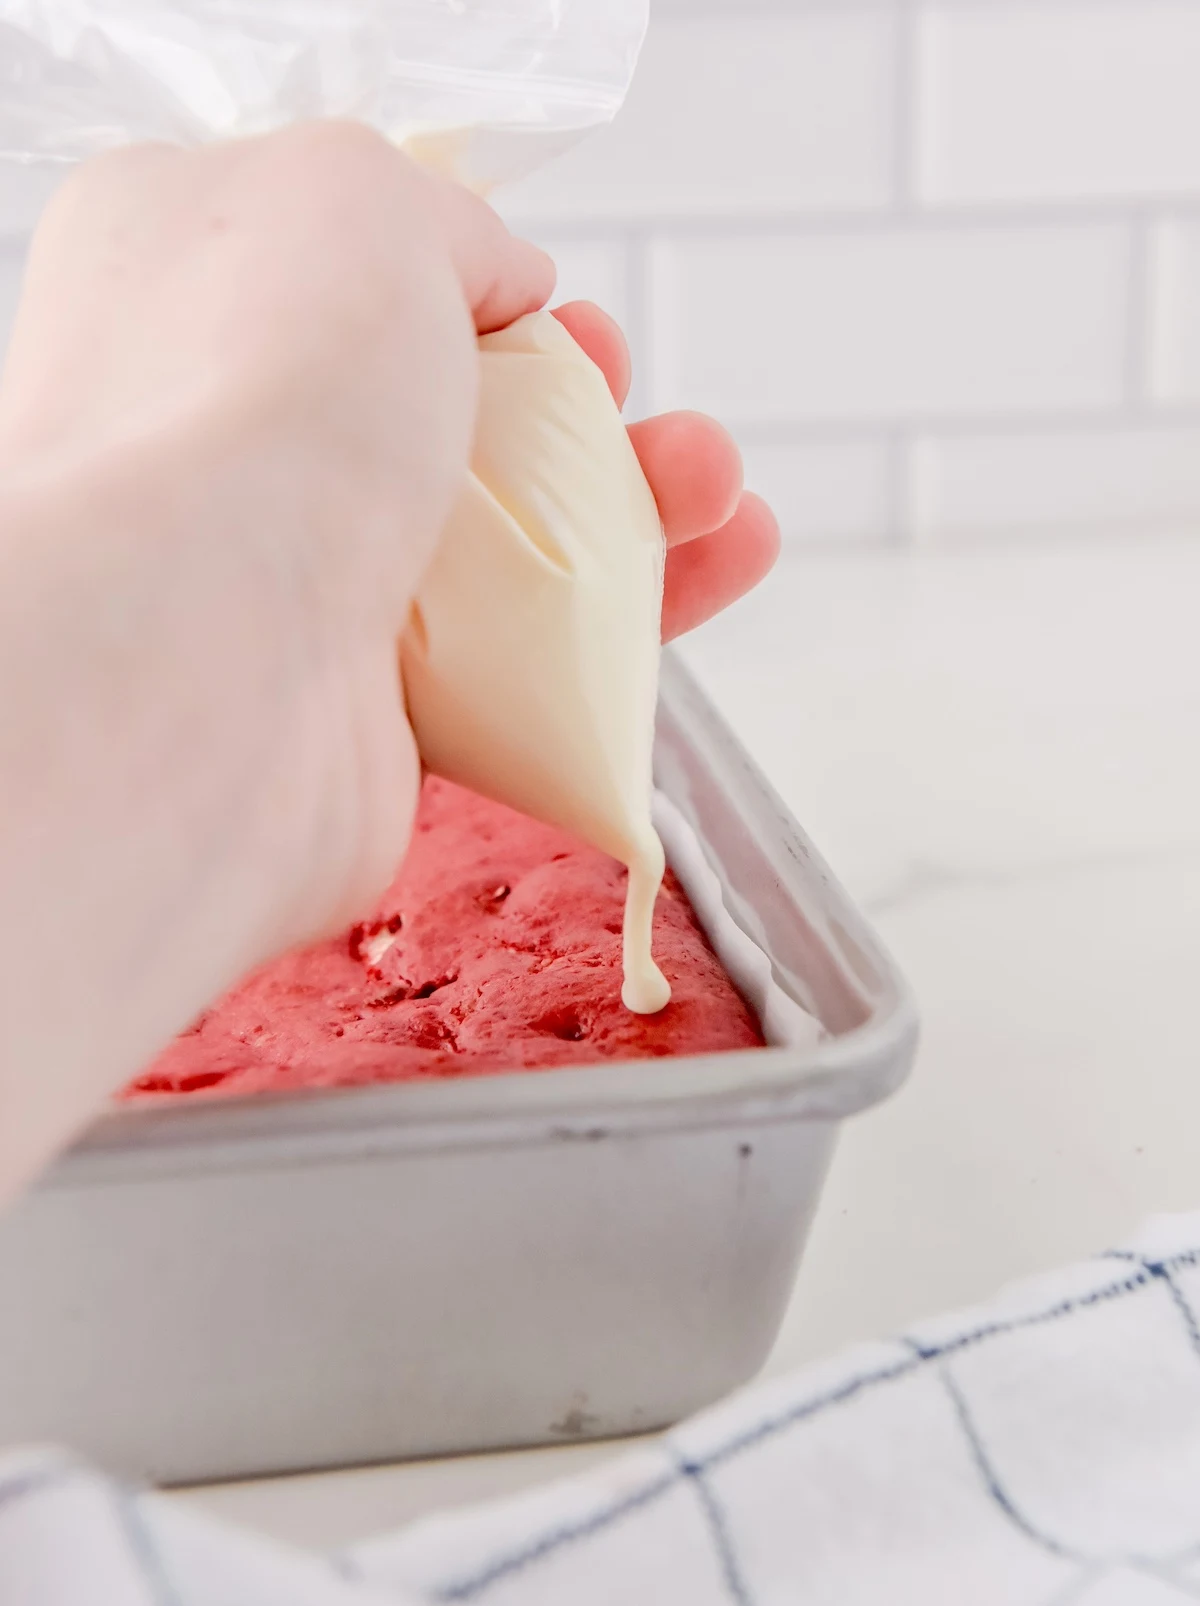
- Melt remaining white chocolate chips in the microwave in 20 second increments, adding a little coconut or vegetable oil if needed, and stir. Add to a piping bag or ziploc bag and cut a small sized hole.
- Lightly drizzle the melted chocolate over the brownies in a zigzag motion.
- Once cooled, lift the parchment paper from the baking dish and onto a flat surface and cut into even squares.
Nutrition
Did you enjoy this recipe? Let me know in the comments! I’d also love for you to check out these other posts:
Chocolate Cherry Dump Cake • Chocolate Cherry Ice Cream • Pink Hot Chocolate • Red Velvet Thumbprint Cookies • Strawberry Cake Mix Brownies • Strawberry Nutella Cupcakes • Valentine Pretzels
