
Learn to transform an old tee into a stylish, no-sew t shirt tote bag with our easy DIY tutorial. This craft is perfect for beginners!
Skills Required: None. You just need to know how to use scissors for this project. No sewing required.

Imagine transforming an old, forgotten t-shirt at the back of your drawer into a trendy tote bag that’s perfect for carrying your essentials around town. Sounds fun, right?
Even better, the craft I’m talking about is very simple, with absolutely no sewing required! That’s what we’re diving into today with our super easy t-shirt tote bag tutorial.
Because why toss out a perfectly good shirt when you can repurpose it into something stylish and functional? With a few household items and some imagination, you can create a personalized t-shirt reusable shopping bag. No only is it eco-friendly, but also a statement piece.
Whether you’re running errands, picking up a few groceries, or just need a handy bag for your daily adventures, this cute craft is your perfect companion.
To kick things off, you’ll need an old t-shirt – perhaps one that brings back memories but you no longer wear. I promise this process is so straightforward and fun that you might find yourself digging through your wardrobe for more shirts to transform.


Here’s a sneak peek of how simple this is: You’ll start by flipping your chosen shirt inside out and giving it a good smooth on your work surface. With the aid of a pen and maybe a round object like a bowl for guidance, you’ll outline where to cut.
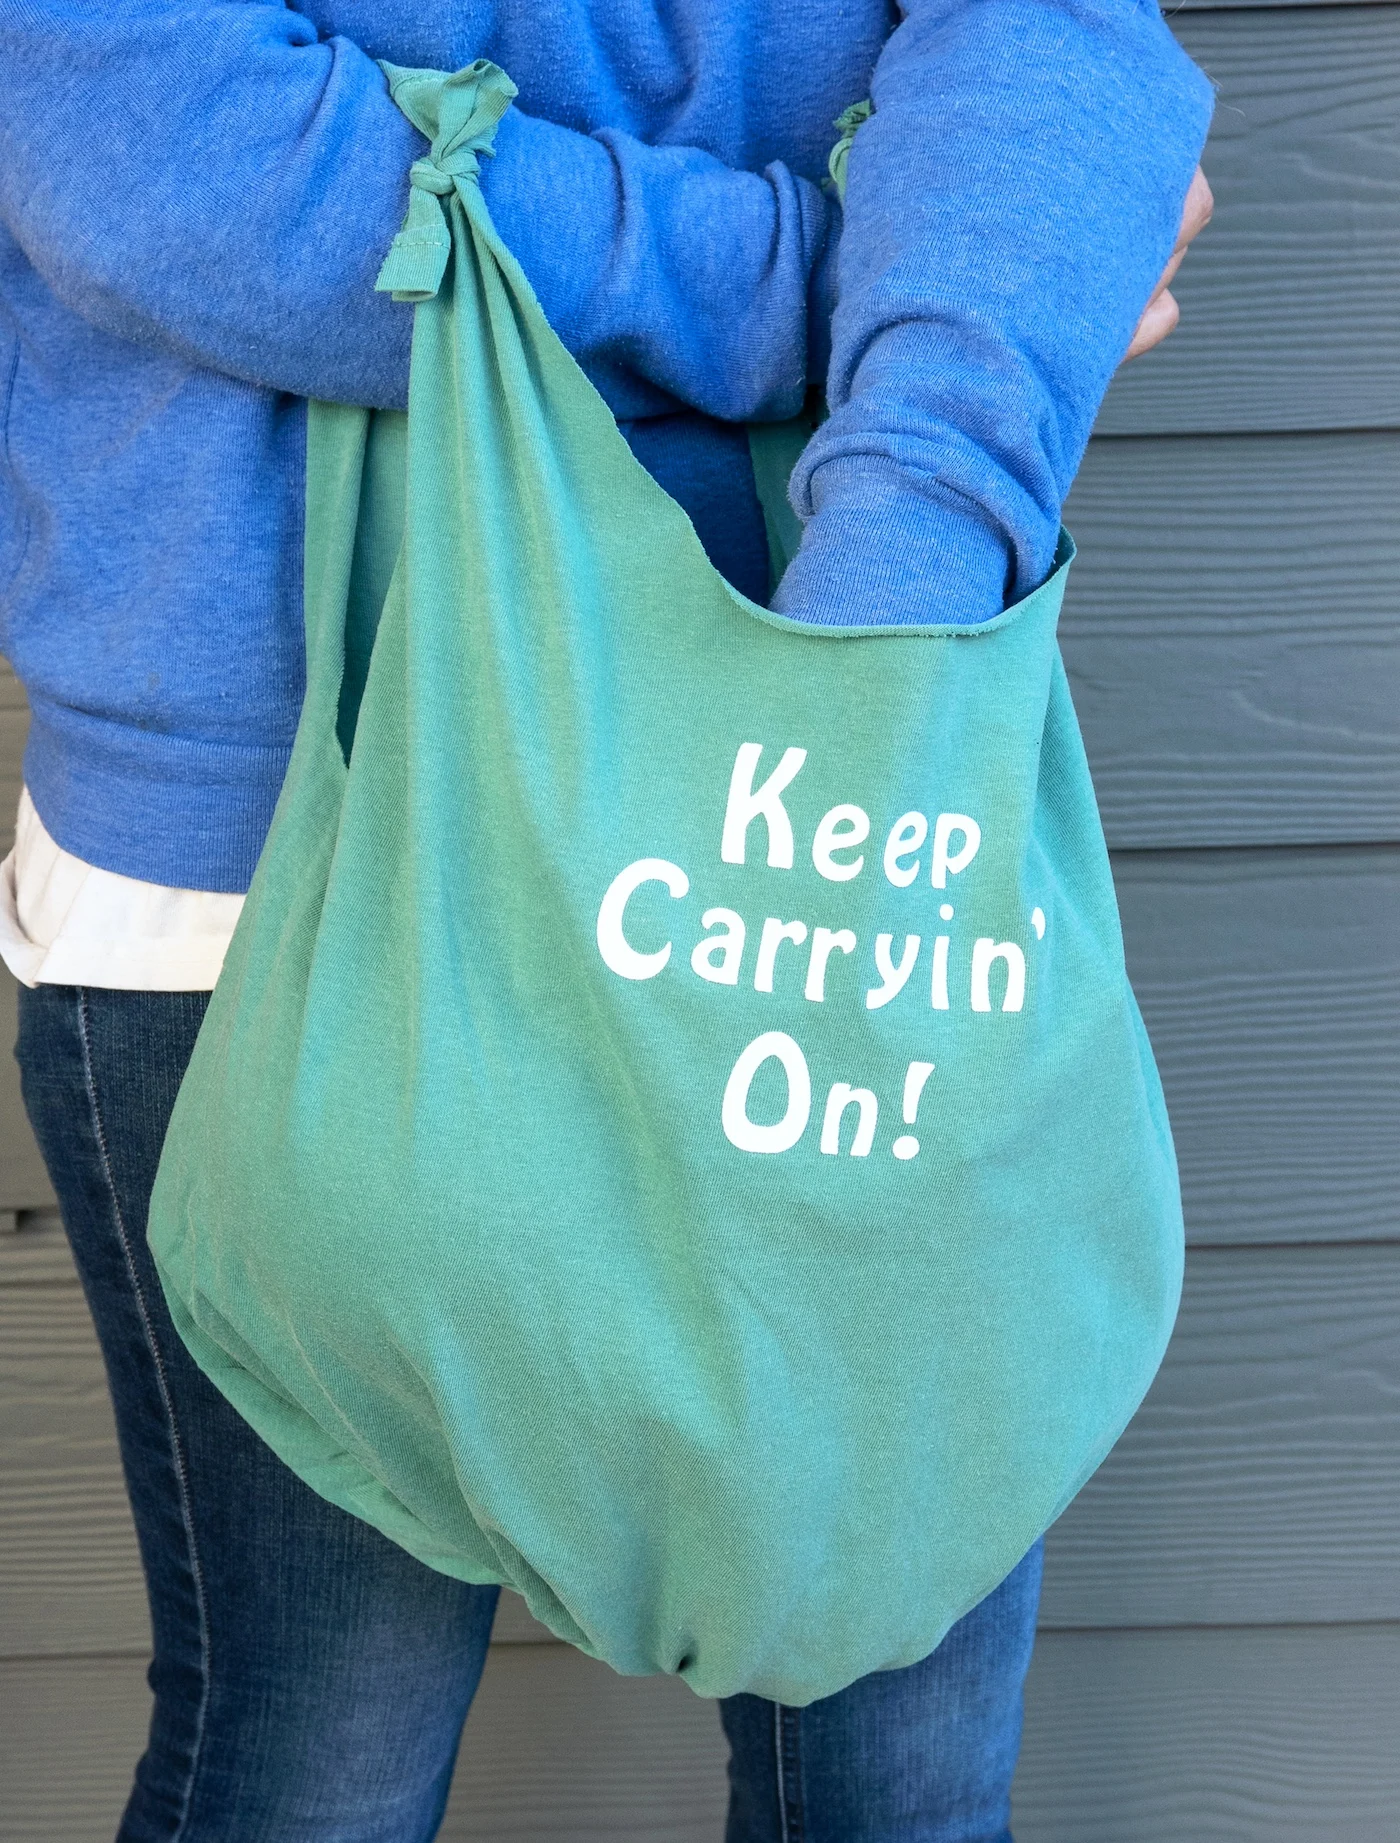
With some strategic cuts and simple knots at the bottom, your shirt begins to take on a new life as a tote bag. You’ll finish off by adding a personal touch with iron-on letters, making the bag uniquely yours.
This project isn’t just about crafting; it’s about making a small, sustainable choice. By reusing materials, you’re taking a step towards reducing waste and adding a bit of flair to your eco-conscious lifestyle. So why not give it a try?
Follow along as we walk you through each step of creating your very own t-shirt tote bag. Remember, this isn’t just a craft; it’s a fun way to make a difference – one stylish, reusable tote at a time.
Gather These Supplies
- Old t-shirt – use an adult size
- Ink pen
- Scissors
- Ruler
- Iron on letters
- Iron
Tips and Thoughts for This Project
There are all sorts of things you can make from t-shirts including yarn, headbands, pouches, and more. Don’t toss your excess t-shirt material after making this bag; hit the internet and try another idea to use up the smaller scraps!
Iron phrases onto the bag that really motivate you! If you’re going to use your bag for school, use quotes like “be open to the world,” “rest but don’t quit,” or “strong minds discuss ideas.” Choose something that speaks to you and brings you joy.
Get the printable how to card below:
T Shirt Tote Bag

Learn to turn an old t-shirt into a stylish, no-sew tote bag with our easy DIY tutorial. Perfect for beginners!
Materials
- Old t-shirt
- Ink pen
- Iron on letters (optional)
Tools
- Scissors
- Ruler
- Iron (optional)
Instructions
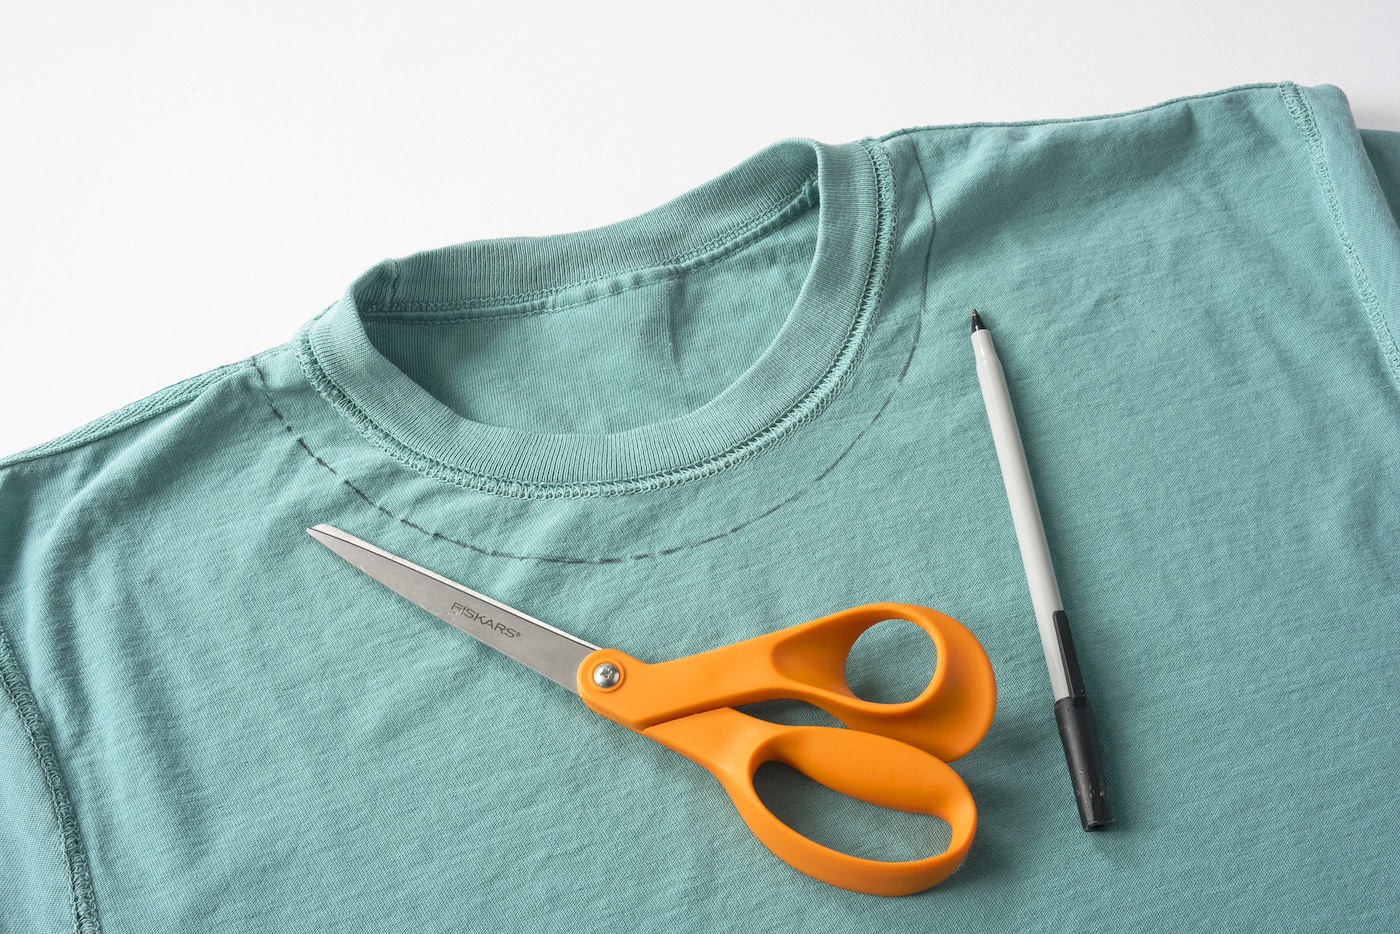
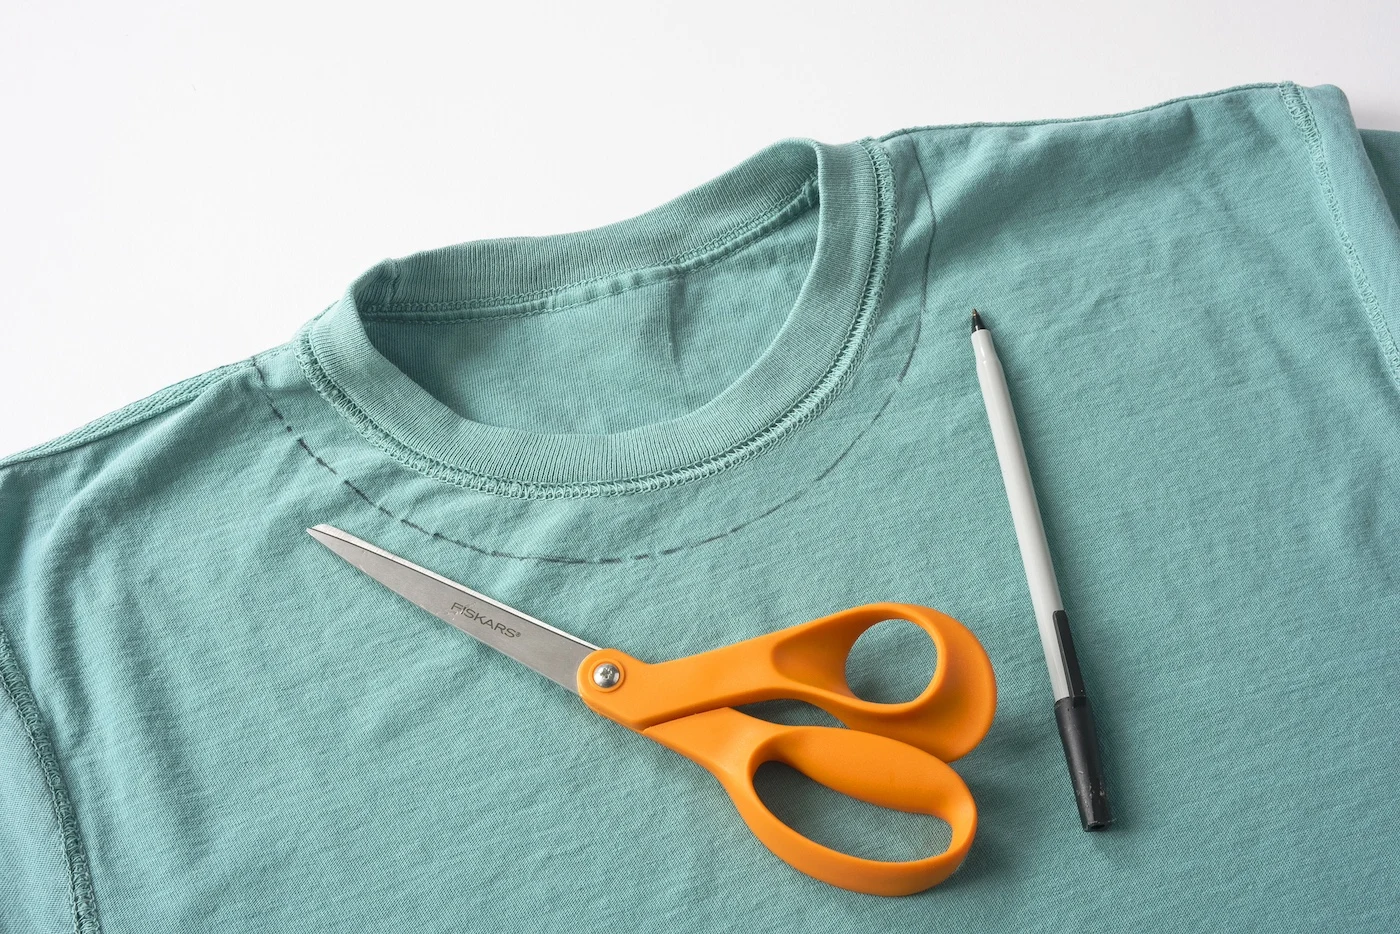
- Lay a freshly washed and dried shirt inside out on your work surface and smooth. Draw a line about 2” from the neckline all the way around using your pen, to act as a guide for cutting (you can use a round object like a bowl as a template).
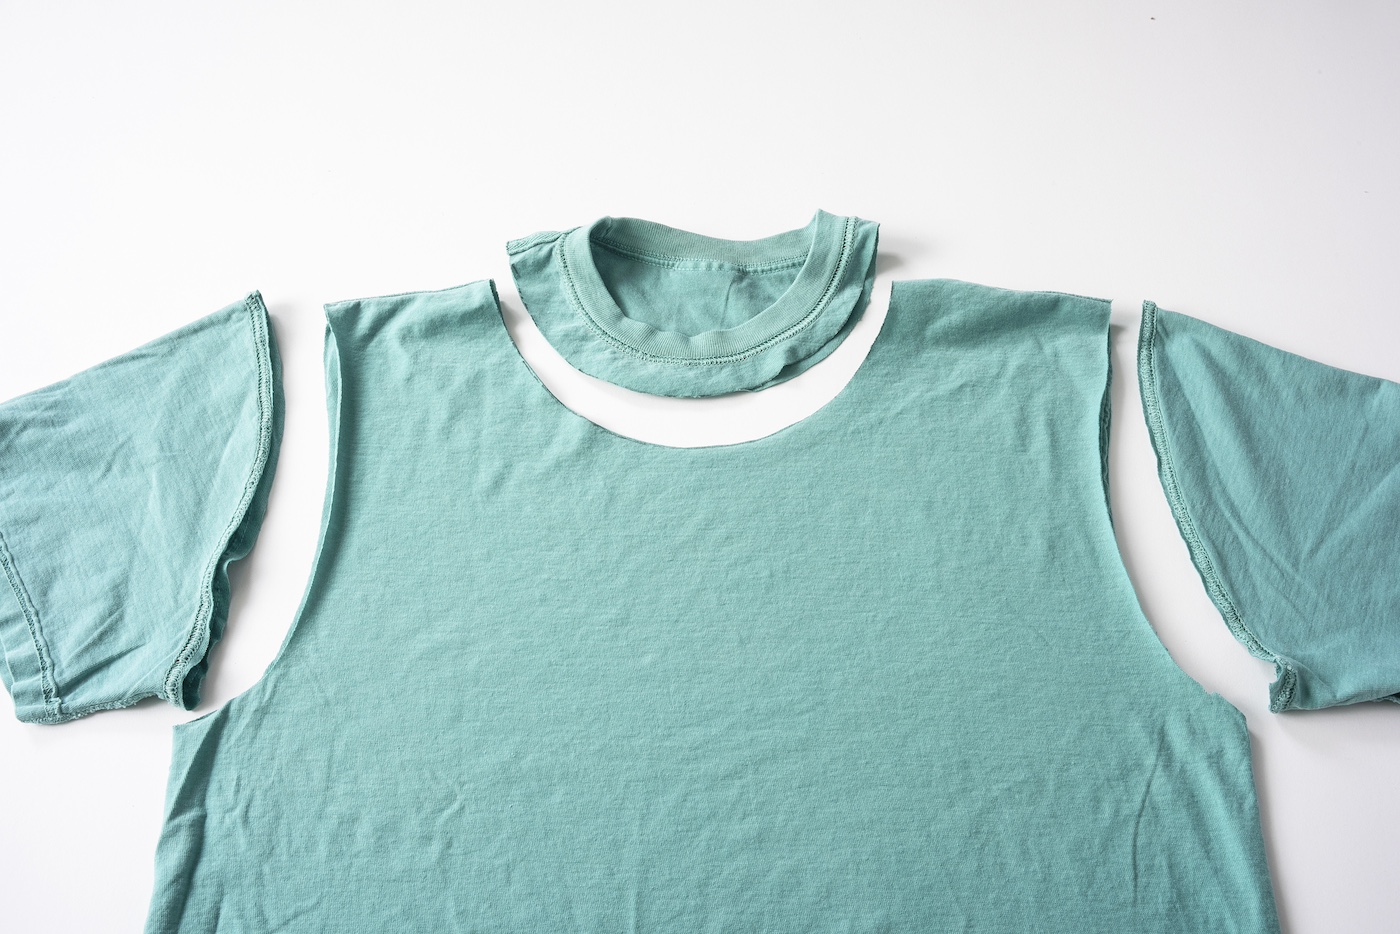
- Use the scissors to cut off the collar using the line you drew. At this time, also cut the sleeves off inside the seam.
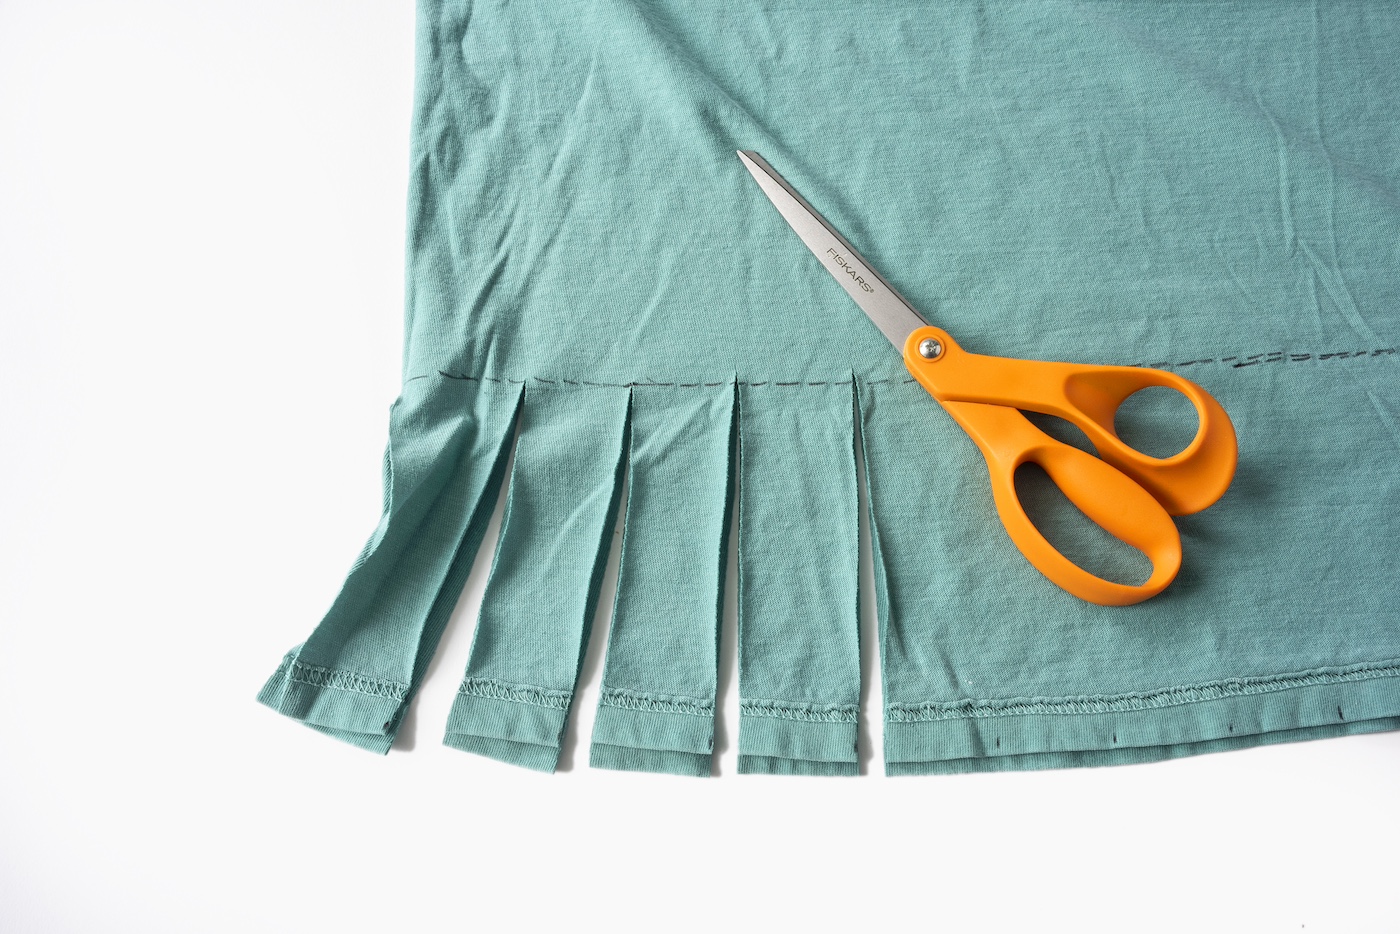
- Place your shirt back on the work surface and smooth out. Place a ruler across the shirt about 4 inches from the bottom and draw a line. At the very bottom you’re going to make a small mark every 1.5 inches. This depends on the width of your t-shirt though; measure across and divide into equal parts (or as close as you can get). You may find that 1 inch works better.

- Cut from the marks on the bottom of the shirt straight up to the lines you drew in the previous step. Be sure to cut both the front and back of the shirt at the same time.
- Tie the pieces you just cut into knots. Take a piece from the front along with the piece right behind it and tie into a double knot. Do this across the entire length of the shirt. You will notice that the shirt is tied together at the bottom, but there are still holes.
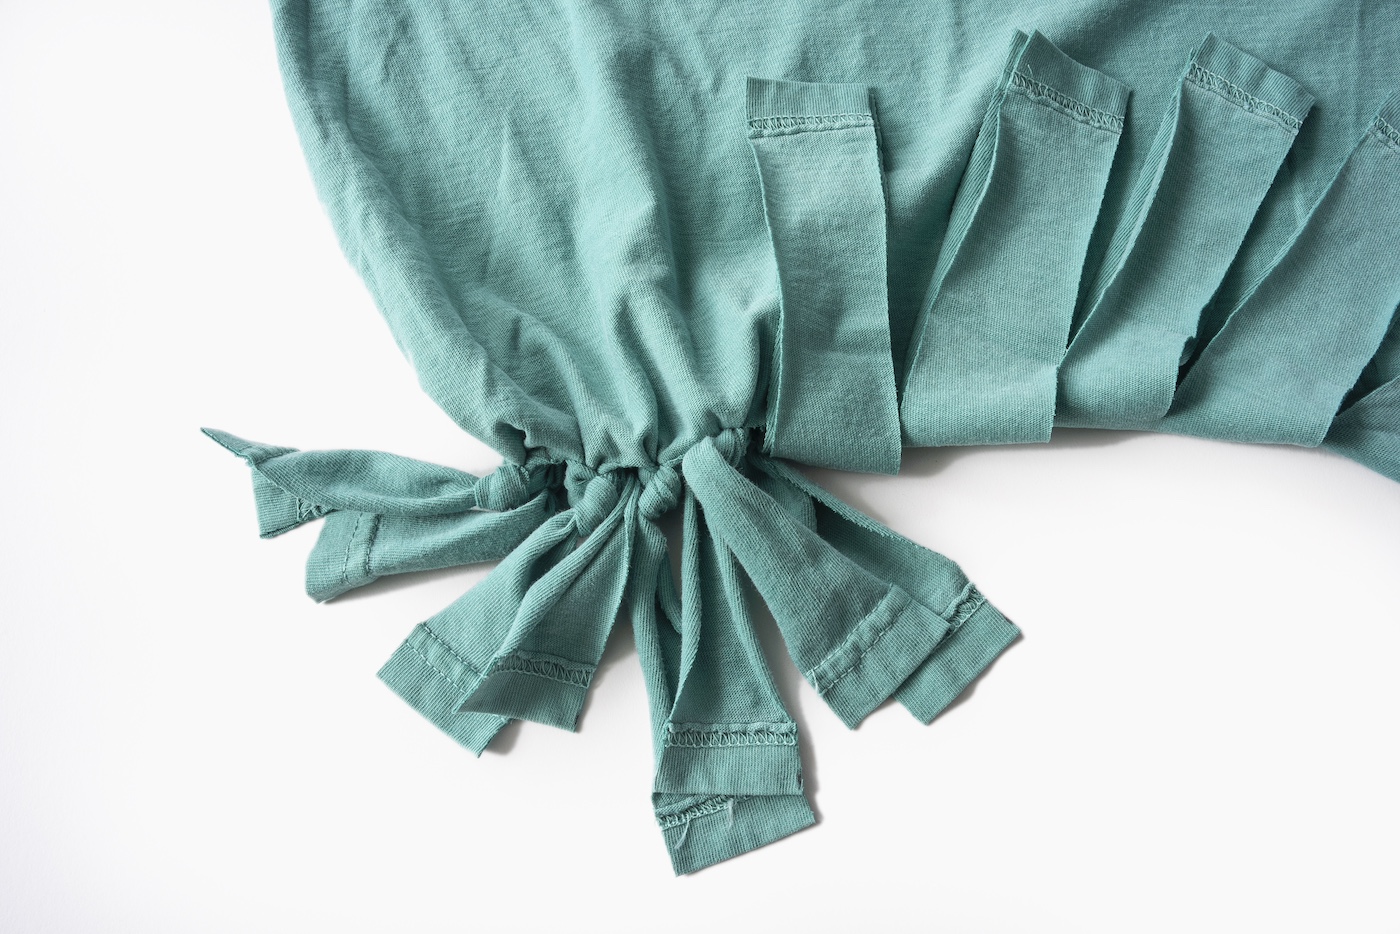
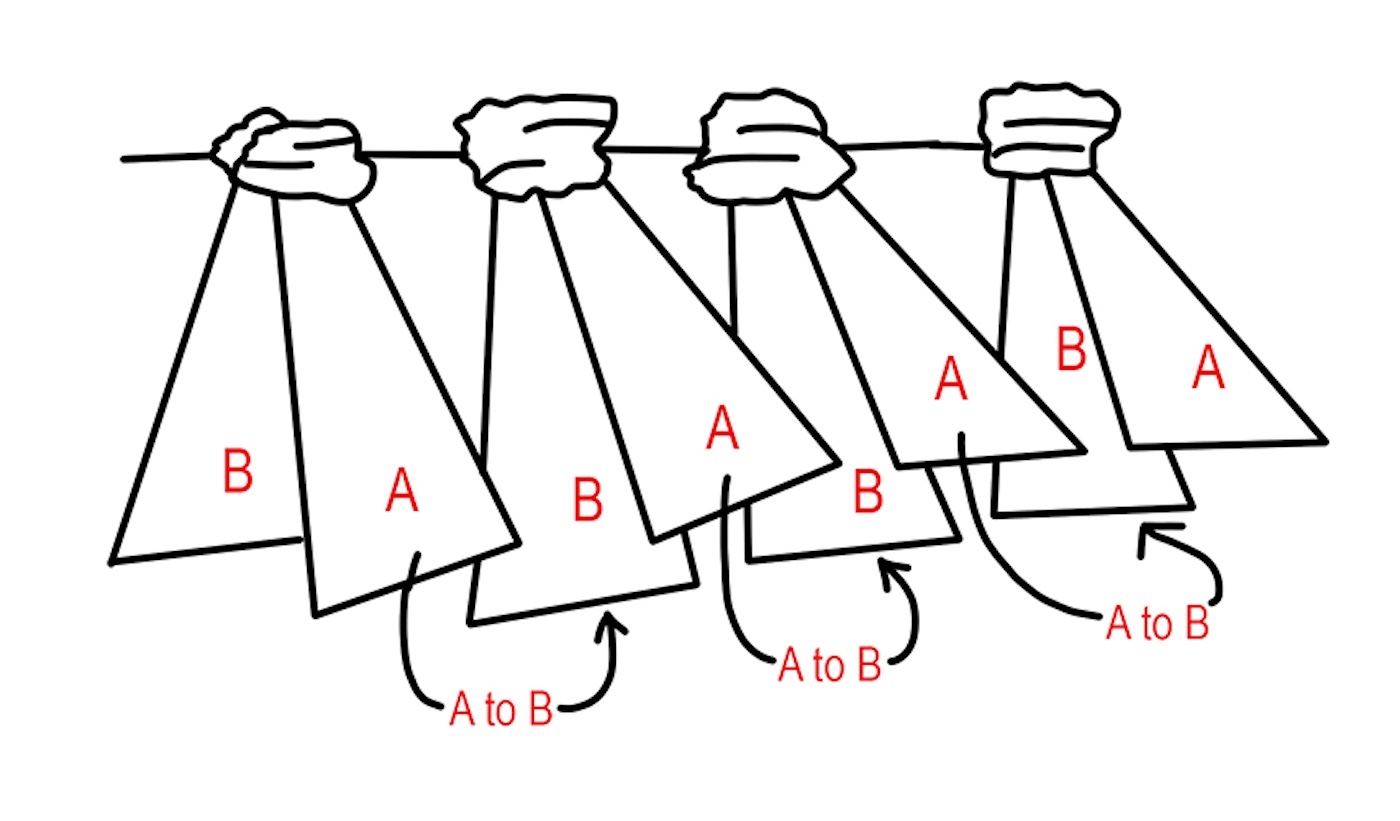
- Close the holes by starting with the second knotted strand from the left. Take one piece of the strand and tie with a strand to the left, and the other strand and tie to the strand from the right. Repeat all the way across.
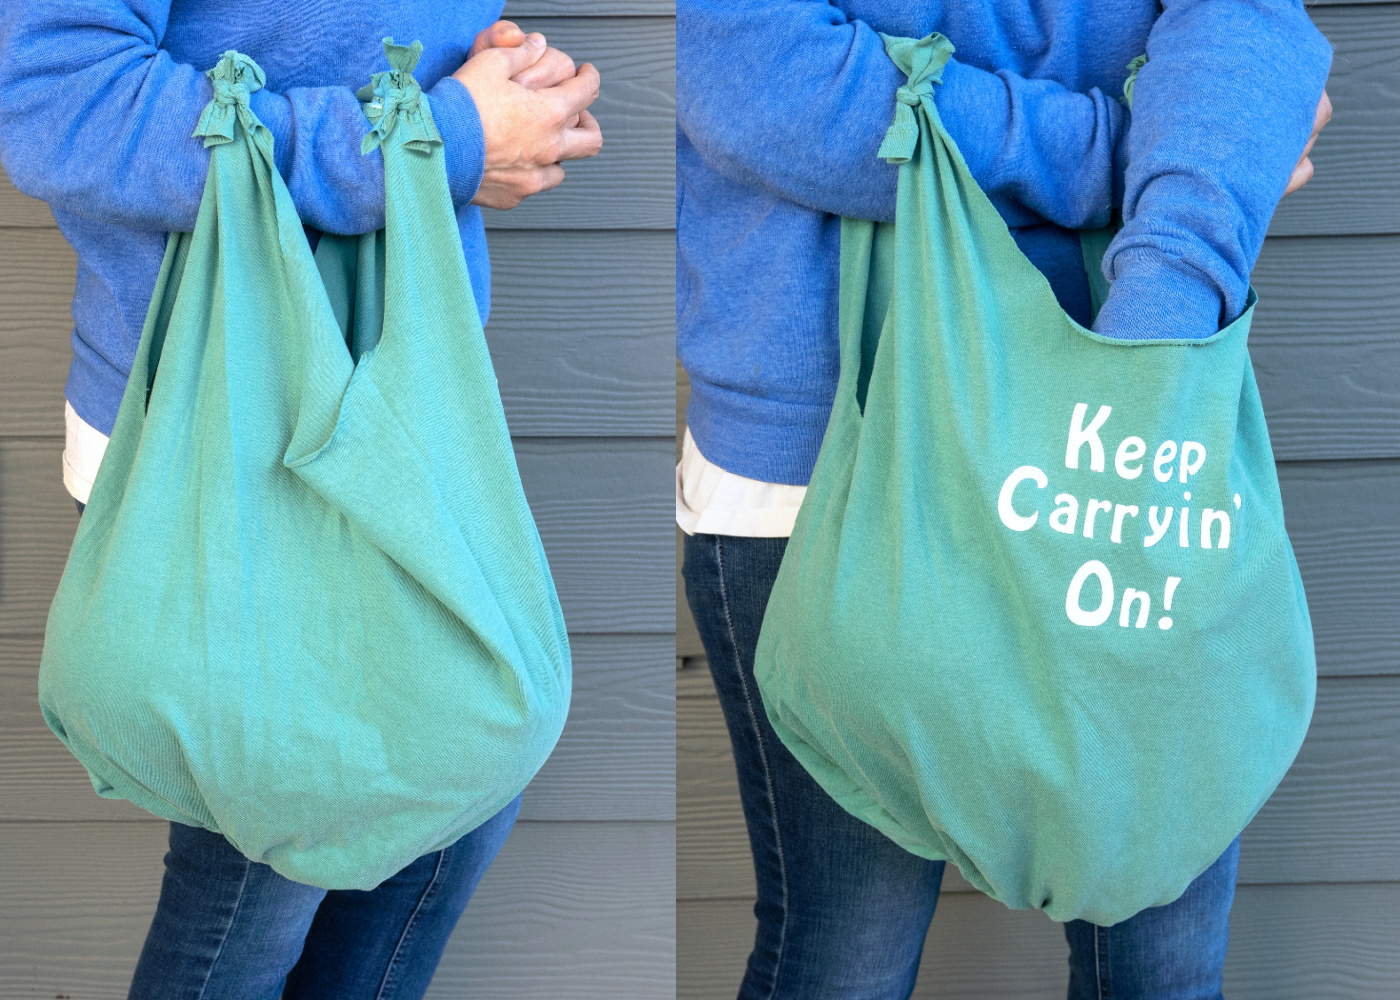
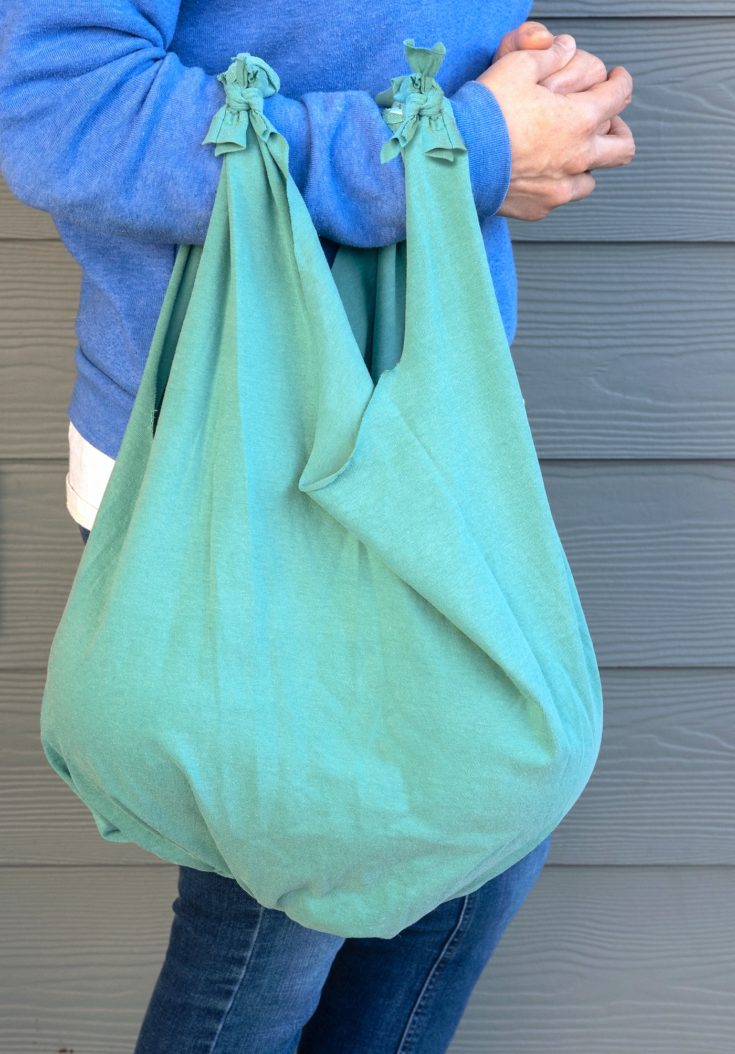
- Turn the shirt right side out – the knots will now be on the inside bottom. Cut small strips from excess fabric and tie around the “handles” at the top. Make knots.

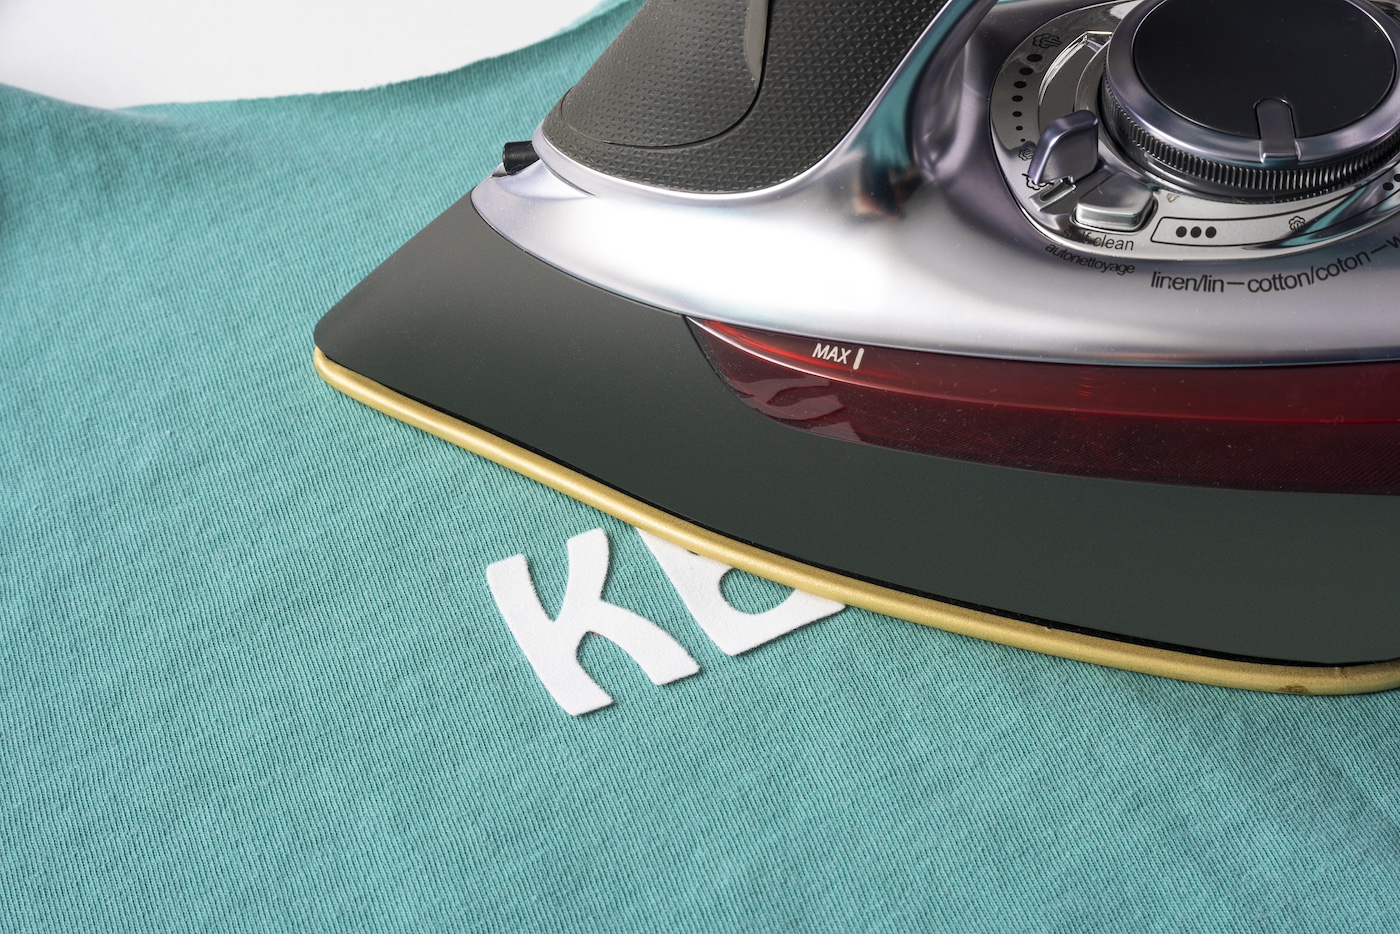
- Iron on letters using the phrases of your choice, following the packaging instructions for the letters. Wash and dry as normal.
If you enjoyed making this reusable shopping bag, let me know in the comments! I’d also love for you to check out the following projects: