
If you’ve wanted custom canvas art to match your decor, try this craft idea. Learn how to Mod Podge a canvas with any design – and it’s easy!
Skills Required: Beginner. Even if you have limited crafting experience, you can quickly learn how to decoupage on canvas. Mod Podge is very easy to use.
I love Paul Frank. If you’ve never heard of him, he’s an artist and fashion designer that started making products in the mid-90s in California.
His designs definitely have a modern feel, but they’re still fun, which is what appeals to me. At one point I only bought his stuff in skateboard shops, and now it’s in Target – I love it!
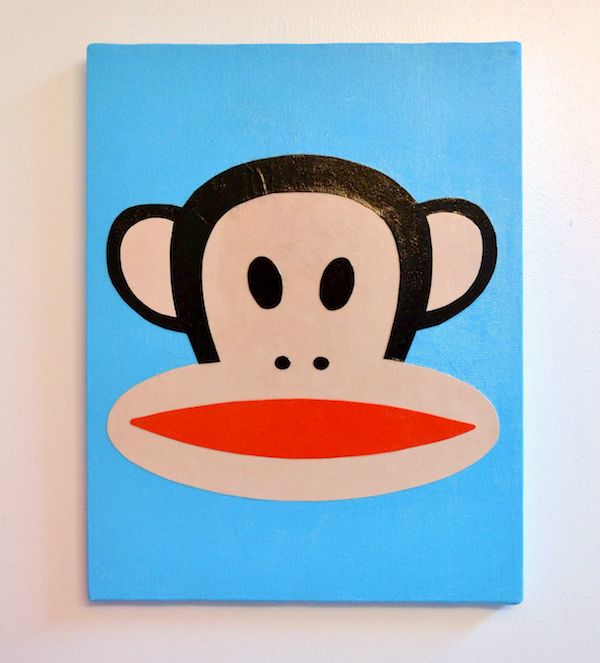
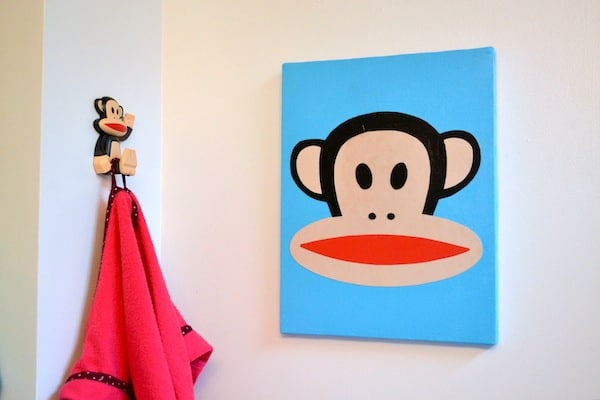
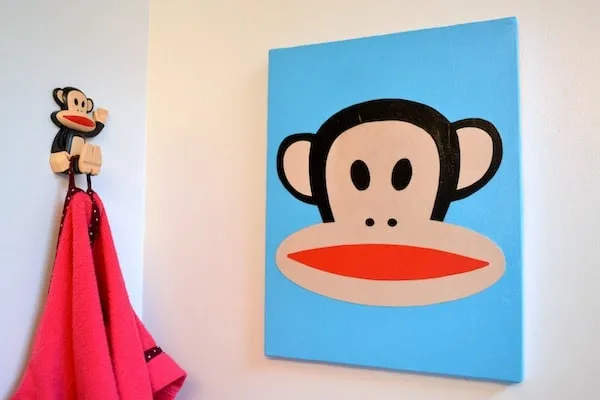
My entire bathroom is Paul Frank themed – I have a shower curtain, rug, and hook. I decided I need a Julius canvas as well (one of Paul Frank’s main “characters”). I decided that, to coordinate with my bathroom, I would make it myself. With Mod Podge!
How to Use Mod Podge on Canvas
There are so many uses for Mod Podge, it’s amazing. One of my favorite ways to use it is to create wall art. I realized that this is a great tutorial to show you how to Mod Podge a canvas with any design.
Often times decoupage involves taking a design and adding it to wood or canvas . . . but in this project, you’ll make the design yourself out of scrapbook paper!

Now, how detailed the designs get that you Mod Podge really depends on your cutting skills. If you have small scissors, you can probably get pretty intricate with your designs. It’s really up to you.
But this technique works with so many designs that I had to share. So grab your decoupage medium and let’s go!
How to Mod Podge a Canvas
Gather These Supplies
- Blank canvas of any size – I used 16″ x 20″
- Acrylic paint
- Mod Podge – any formula; I used Gloss
- Scrapbook paper in the colors of your choice – I used black, red and a flesh color
- Clip art – I chose Paul Frank’s Julius character
- Computer and printer
- Stencil tape
- Scissors
- Paintbrush
Paint the Canvas
Start by painting your canvas whatever color you like – give it several coats and let it dry.

Print the Design
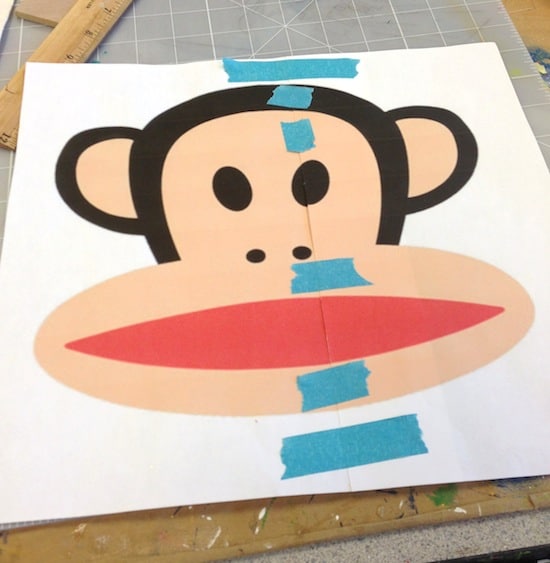
Print your design out on printer paper. If it is a large design, print it on a few pages and then tape it together. I always tape together on the front and back.
If you want an even larger design or don’t want to futz with taping things together, you can always go to a FedEx/Kinko’s or other printer and have them print it out for you.
Now, you may be wondering why not just decoupage the printed design to canvas? Well, you could do that.
But there are some other reasons not to: 1) I like the layered look of scrapbook paper; 2) there are no seams in my project and 3) I might want the design in another color/material.

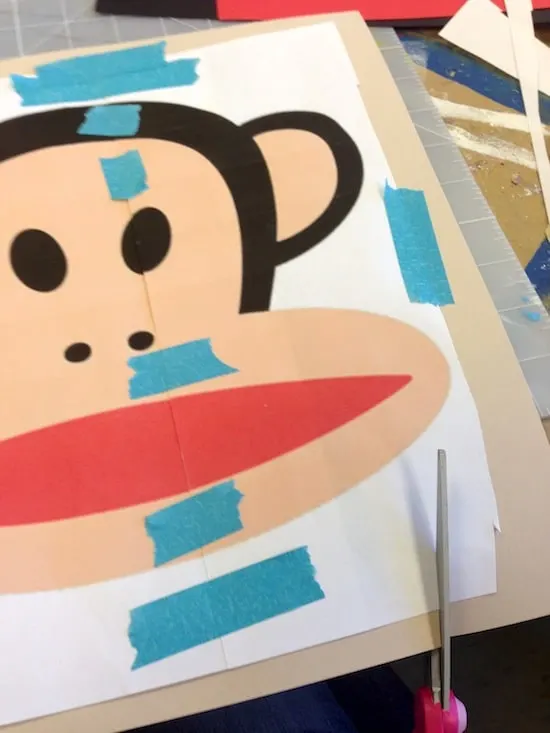
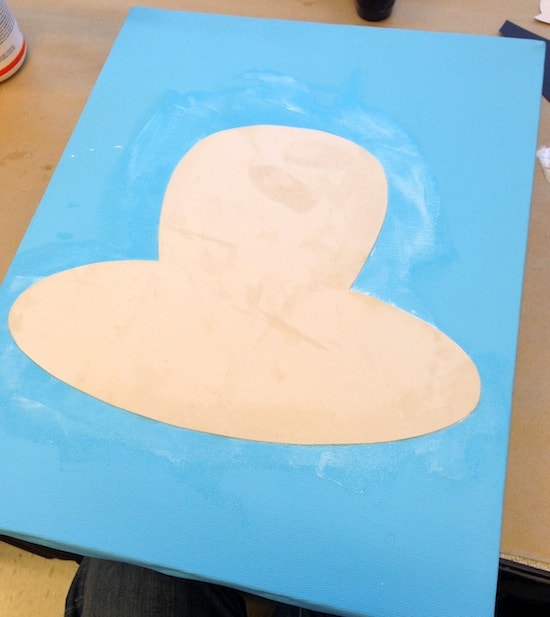
Cut the Cardstock
Tape the design to your scrapbook paper and start cutting. Here’s a few tips for this stage. Start with the largest portion of the design to be the first that you cut.
Then you can cut inward. Depending on your design, you might need a few print outs to cut multiple portions.
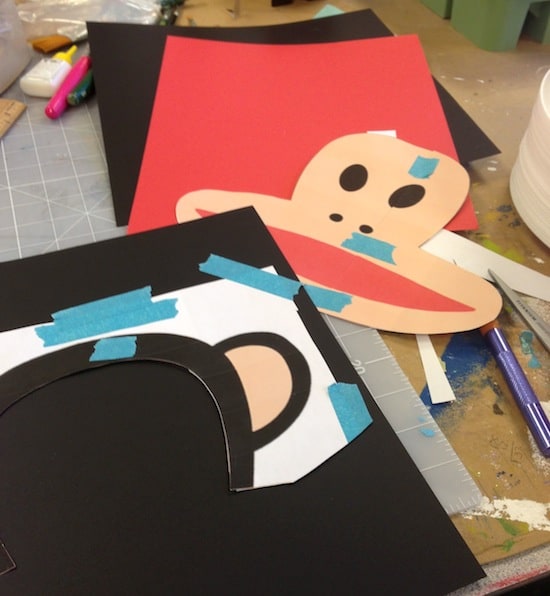
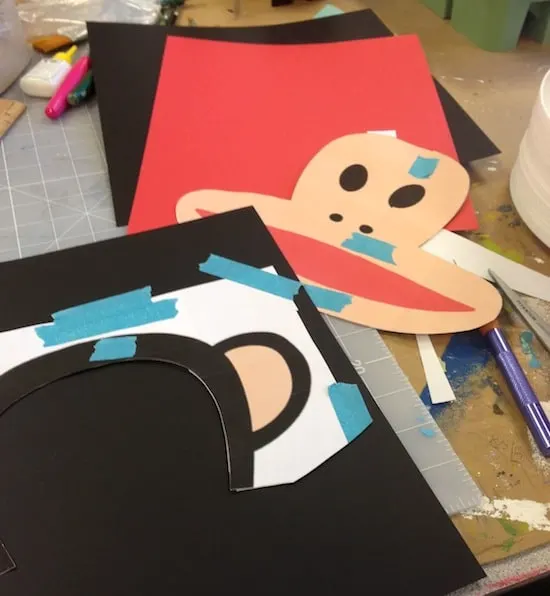
You can see that after I cut the main portion of the head, I had the black part to cut – that was next.
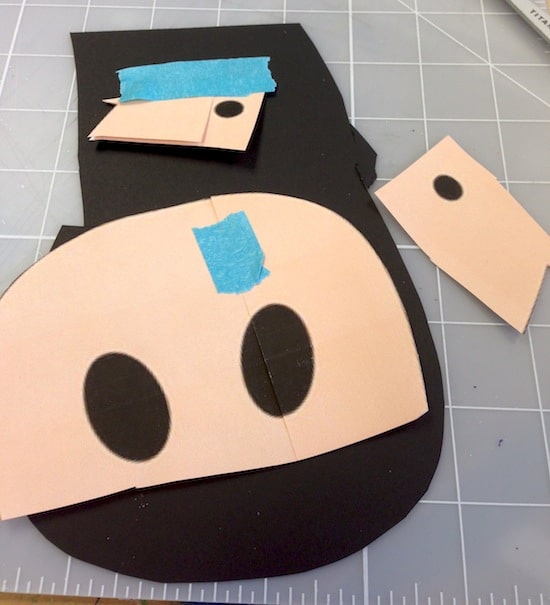

Keep working inward – cut the mouth, eyes, nose and ears. Use the stencil tape as you need it.

Decoupage on Canvas
Now before you start decoupaging pieces down, give some thought to it. What piece should you start with, and what is the process that you use for layering? You want to make sure you account for all of the layers as you go.
Start with the base piece and Mod Podge it to the canvas. Put a medium layer of Mod Podge on the canvas, smooth your shape down and then let it dry for 15 – 20 minutes.
What can help you smooth? A brayer, and also turning the canvas over and smoothing from the inside down on a non-stick surface like a silicone mat.
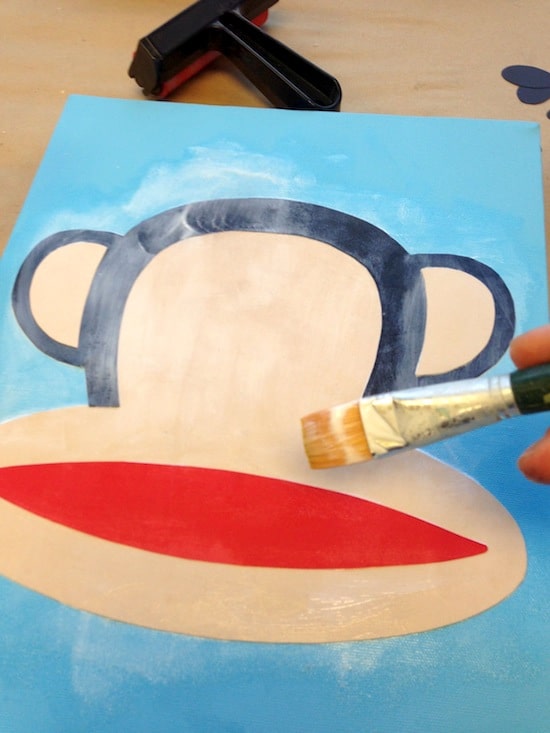

After my base face part dried, I put a coat of Mod Podge over the top. Then I put the mouth and ears down, and let those dry. Repeat with the insides of the ears, yes and nose. Pretty soon it all comes together!
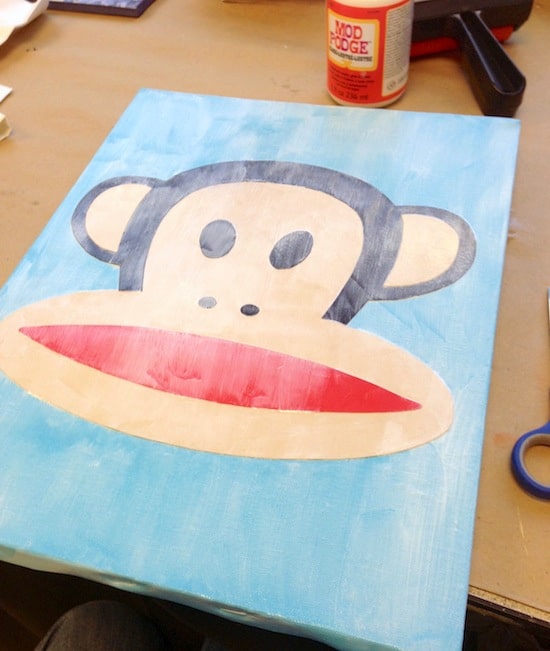
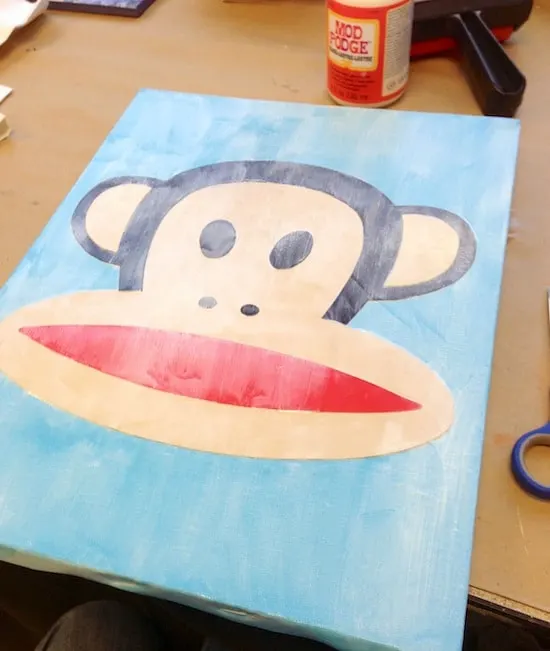
Seal to Finish
Once your canvas has dried, you need to put a few coats of Mod Podge over the entire thing, letting it dry between layers. The Mod Podge will dry clear.
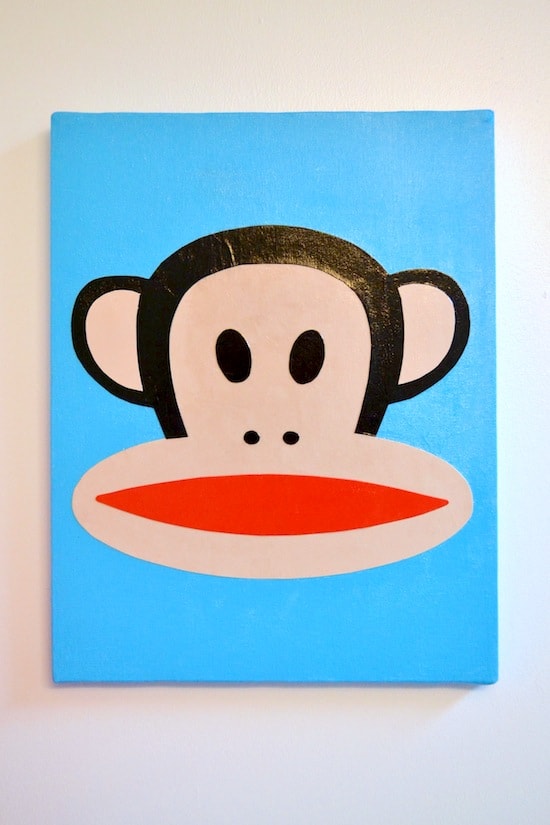
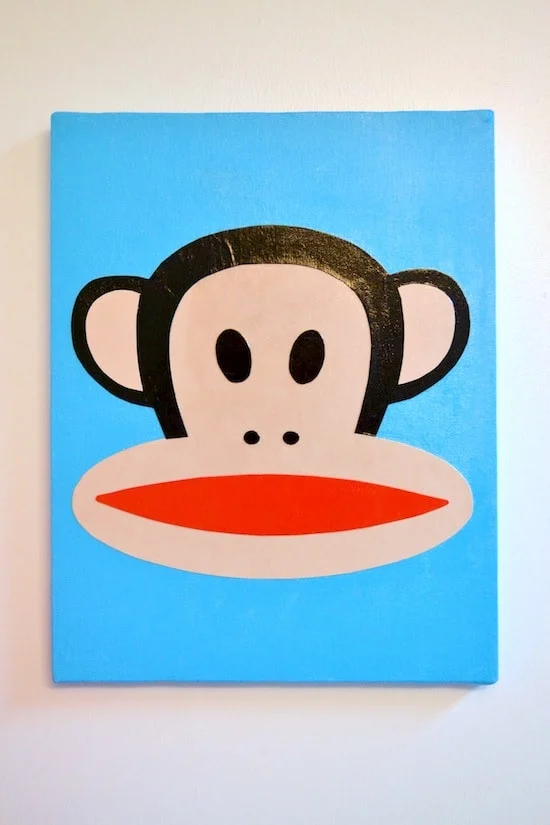
Now you know how to Mod Podge a canvas with the design of your choice.

Mod Podge Canvas
Learn how to add any design to a canvas with Mod Podge! You'll cut scrapbook paper in layers and use decoupage medium to bring it all together. Get the tutorial here.
Materials
- Canvas of any size – I used 16″ x 20″
- Acrylic paint
- Mod Podge – any formula; I used Gloss
- Scrapbook paper in the colors of your choice – I used black, red and a flesh color
- Clip art
Tools
- Computer and printer
- Stencil tape
- Scissors
- Paintbrush
Instructions
- Paint the canvas any color you like; let dry. Add additional coats if needed.
- Print the design on printer paper. If it is a large design, print it on a few pages and then tape it together. Tape together on the front and back.
- Tape the design to the scrapbook paper and begin cutting. Start with the largest portion of the design to cut first, then cut inward. Depending on the design, you might need a few print outs to cut multiple portions.
- Keep cutting the various layers of the design, using stencil tape as needed.
- To add the design to the canvas, begin with the base piece and Mod Podge it to the canvas. Put a medium layer on the canvas, smooth the shape down and then let it dry for 15 – 20 minutes.
- After the base portion of the design dries, add a coat of Mod Podge to the top. Place the next layer down and smooth. Let dry and repeat until the entire design comes together.
- Once the design has dried, add two coats of Mod Podge to the entire canvas, letting dry between layers. The Mod Podge will dry clear.
- Let dry for 24 hours before hanging.
Amazing, no? Easy and budget friendly – my kind of project! Do you love this Mod Podge canvas? Let me know what you think in the comments! I’d also love for you to check out these other canvas projects:
Mikayla
Tuesday 5th of September 2023
you could print photos and put them onto scrapbook paper as well right?
Amy
Monday 11th of September 2023
Yes but don't use photo paper! I wrote a post about this on my other blog: https://modpodgerocksblog.com/decoupage-onto-wood/ Applying to wood is the same as applying to canvas (painted or unpainted).
sharon
Wednesday 14th of June 2023
I have found the canvas bubbles with the top coat of mod podge
Amy
Thursday 15th of June 2023
Sometimes they can when you don't REALLY smooth. I usually use a finger or put a book underneath and brayer the paper down well.
Julie
Friday 6th of June 2014
Oohhh Yes, I DO love this mod podge canvas! I love Paul Frank stuff to, and you have a whole bathroom of it - what a great idea! The bathroom does seem like a room where you can go a bit bananas (see what I did there!) and have fun. Thanks for the great step by step tutorial. I see what you mean about the layers on the final piece, they do add something, but a short cut version when you just cut it out and stick it on would work at a pinch too wouldn't it?