
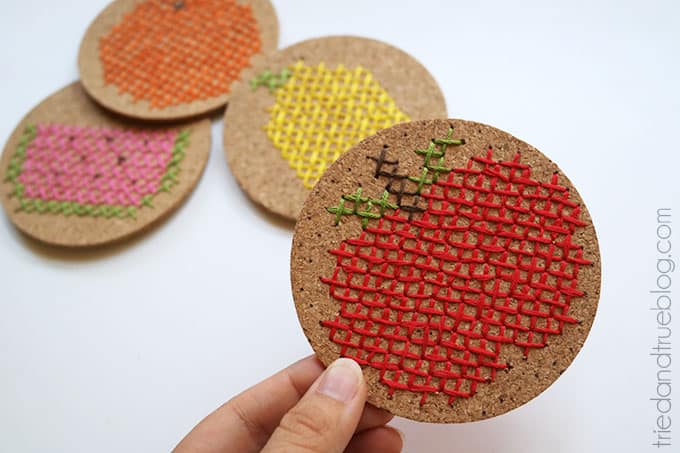
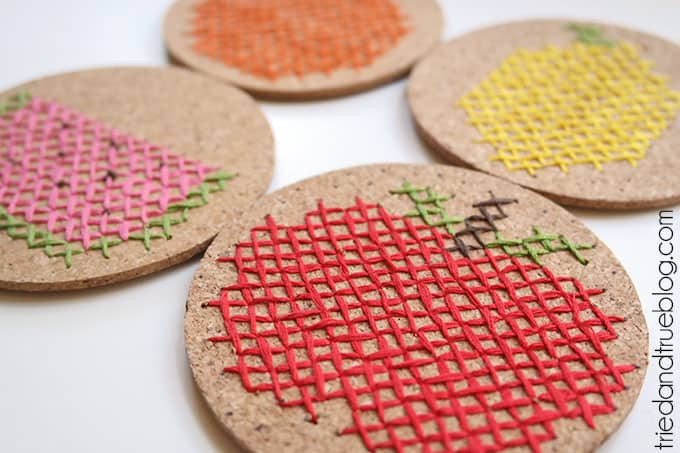
These embroidered coasters are perfect for summer – they are themed with sweet fruit! Use cork and this easy tutorial to make them.


I love long and involved embroidery projects, but sometimes you just want a quick cross stitch project that won’t take you weeks to finish. If you’ve got a bit of crafting ADHD like me and need an easy adult craft or a boredom buster, this is the project for you!
My name is Vanessa Brady from Tried & True, and I’ll be showing you how to embellish some basic cork coasters with fun designs to make them all your own. If you’re new to working with cork, this is a great place to start.
These DIY coasters are perfect for summer crafting, but I’d also make them for gifts – you don’t have to use fruit. Wouldn’t they make a great Mother’s Day gift? These would look great in my mom’s kitchen! Here’s how to make them.
Embroidered Coasters
To make these DIY coasters, you’ll need:
- Cork Coaster Blanks
- Embroidery Needle
- Embroidery Floss
- 1/8″ Hole Punch
- Cardstock
- Pen
1. If you plan on making more than one coaster, I highly suggest making a grid template so that you don’t have to measure and mark each one. Trace one of the coasters onto a piece of cardstock and cut out.
Use a ruler and pen to mark a row of dots 1/4″ apart. Continue on each row until the entire circle has a grid. Use the 1/8″ hole punch to create template. Now you can just use the template to mark your grid onto each coaster!


2. Using the embroidery floss and thread, begin to cross stitch your design. Be cautious when you’re puncturing a new hole so that you don’t accidentally chip out too much cork.
A few small notches are fine, you just don’t want big gaping holes to show up and ruin your pretty coasters! I pretty much free-handed my designs (feel free to copy them!).
You can also search for “simple cross stitch” patterns if you want something different. Space Invader coasters would be pretty amazing, right?


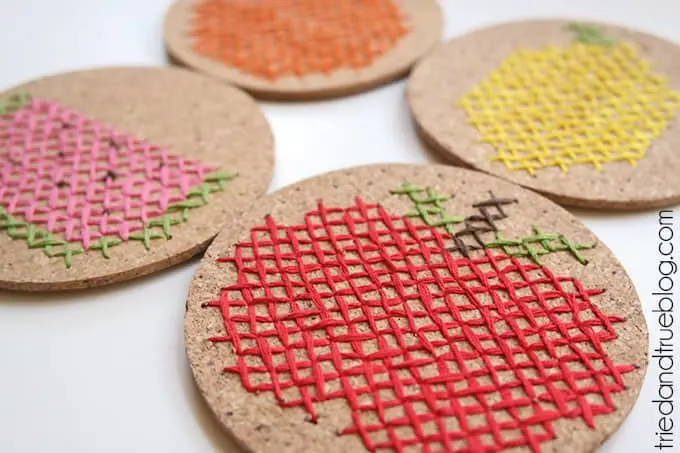
3. You can repeat the design on each coaster or go with something entirely different, the choice is up to you! If you’re unhappy with how the backs look, you can always cover them with self-adhesive felt.

I love that I was able to work on these while catching up on some shows or throw them in a bag to finish at my kid’s kung fu class.
A totally easy way to craft on the go! And how cute would they be as a housewarming gift with a bottle of wine?
What do you think about these embroidered coasters – would you give them a try? What designs would you use? Let me know in the comments!
For more posts about coasters and/or embroidery, click on one of the links below: