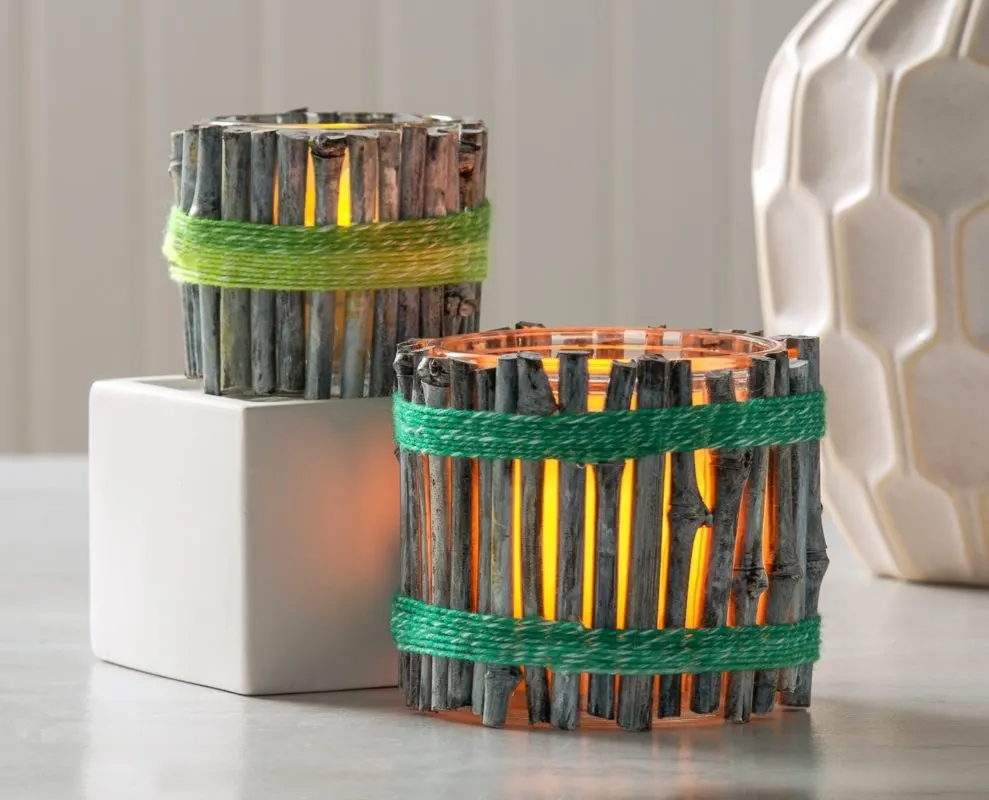
Create rustic twig candle holders with natural materials. This simple DIY adds cozy charm to any space, perfect for nature lovers and seasonal decor.

Twigs are probably one of nature’s most plentiful craft supplies! I never have a shortage around my property, and I’m sure you don’t either.
I realized this in spades recently as I was trimming trees outside. And let me tell you what happened because I’m sure it’s happened to you.
I went out to the Japanese maple in the front yard with my large loppers and decided to do some “shaping.” All of the sudden I was Capability Brown, removing branches here and there.
I pretty much hacked up the entire tree. There was a huge pile of branches in the middle of the yard, then I went to town on other bushes. Before long . . . I filled an enormous yard bin with all my leftovers.
And dang was it satisfying.
No one tells you when you’re young that one day you’ll be an adult – out in your yard with tree trimmers, having the time of your life. Did I go too far? Maybe. Things look a little sparse. But it will grow back.
And after the big event . . . I had a ton of twigs to use! I grabbed some of them for a rock project I am going to do on a wood slice . . . then I grabbed several to make these DIY twig candle holders.

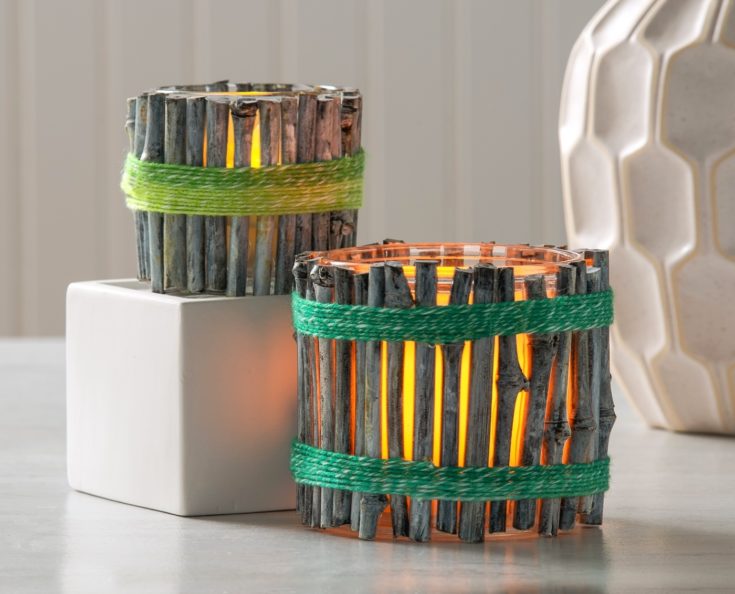
Natural materials are making a big splash in home decor this year, and for good reason. They bring warmth, texture, and a calming vibe to any room.
With their rustic charm and minimalist appeal, they fit seamlessly into a variety of styles, from farmhouse to modern. I really love them for autumn.
And honestly? You might already have all the materials in your home. Are you ready to get started? You’re going to love the earthy glow this craft provides. Here’s what you need!
Gather These Supplies
- Recycled glass jars or votives
- Thin branches
- Acrylic paint (white)
- Baker’s twine or yarn – any color
- Tea lights or LED tea lights
- Clippers or kitchen scissors
- Hot glue gun or craft glue
- Scissors
- Paintbrush
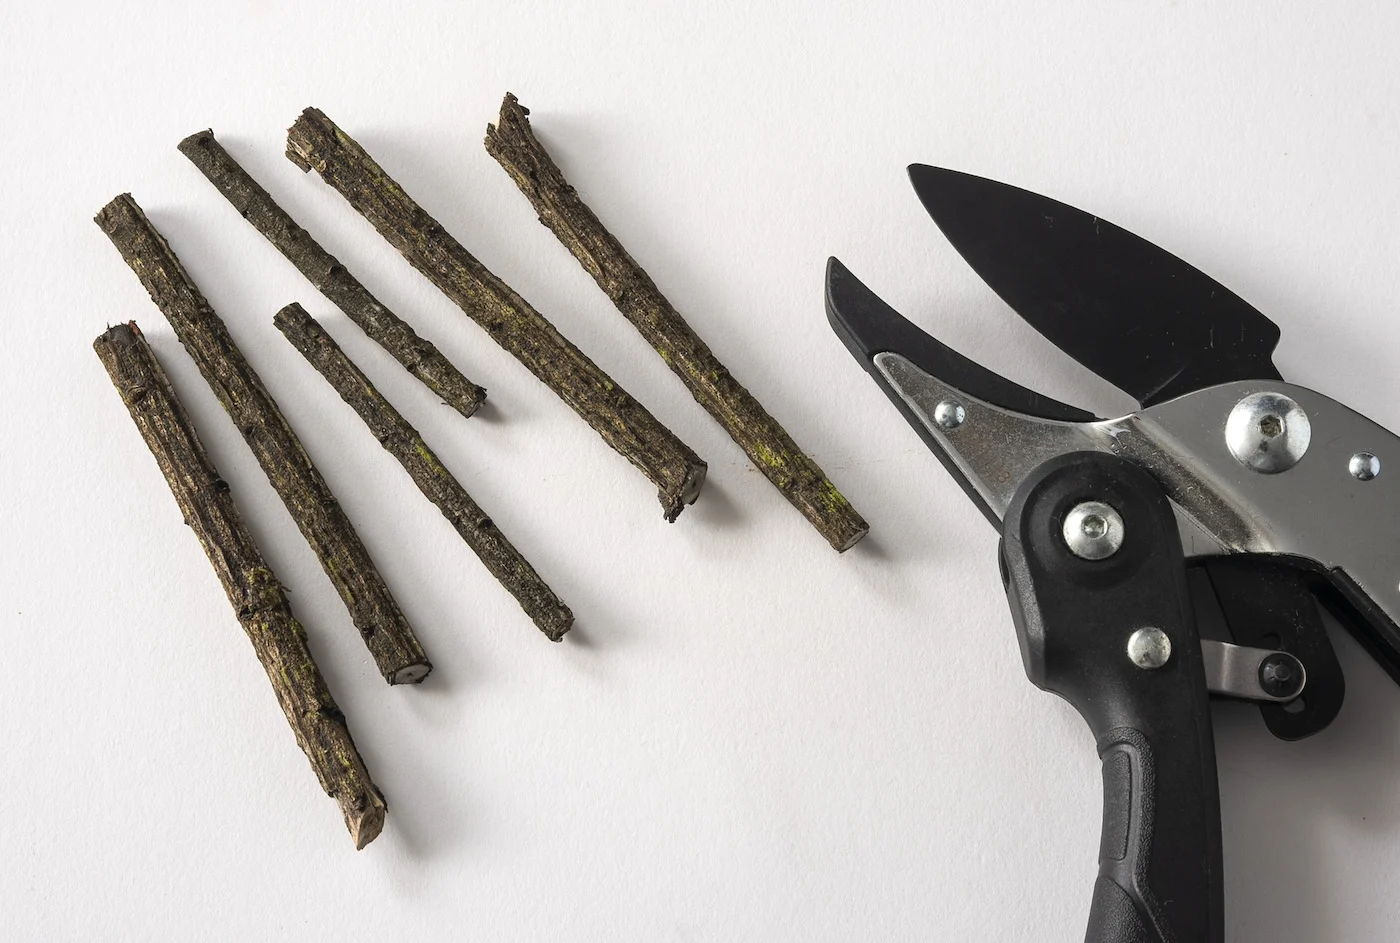
Tip: You’re looking for twigs and sticks that are as straight as possible to create this project.
These look perfect both inside and out! If you want to use them outside, make a hanging lantern. Use an old mason jar or a pasta sauce jar (something with a lip on top). Wrap wire or twine around the lip to create a hanger.

Ready to get the tutorial? Check it out below.
Twig Candle Holders
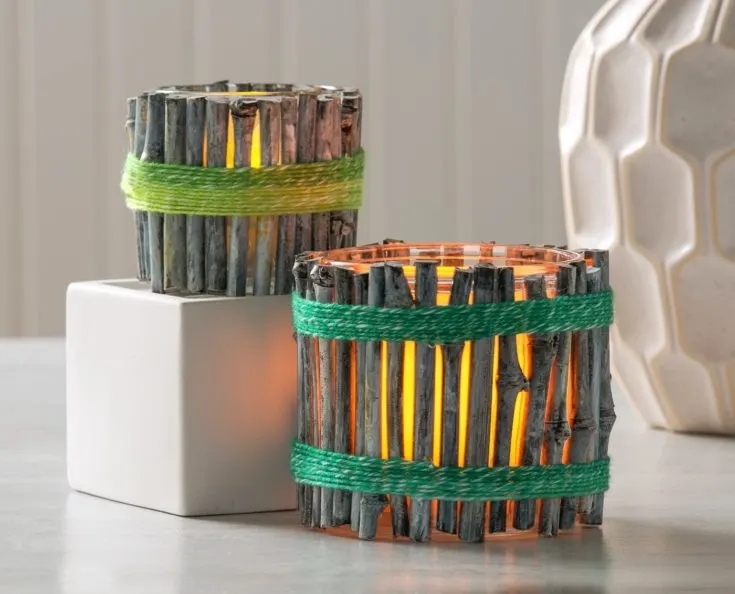
Decorate inexpensive glass candle holders with twigs! This is a beautiful craft that adds natural charm to your home decor.
Materials
- Glass jars or votives
- Thin branches
- Acrylic paint (white)
- Baker’s twine or yarn
- Tealights or LED tealights
Tools
- Clippers or kitchen scissors
- Hot glue gun or craft glue
- Scissors
- Paintbrush
Instructions
- Before beginning, wash and dry your glass jars or votives inside and out with warm water and mild soap. Let dry.
- Choose branches and cut them into lengths the height of your glass jar using kitchen scissors or clippers.

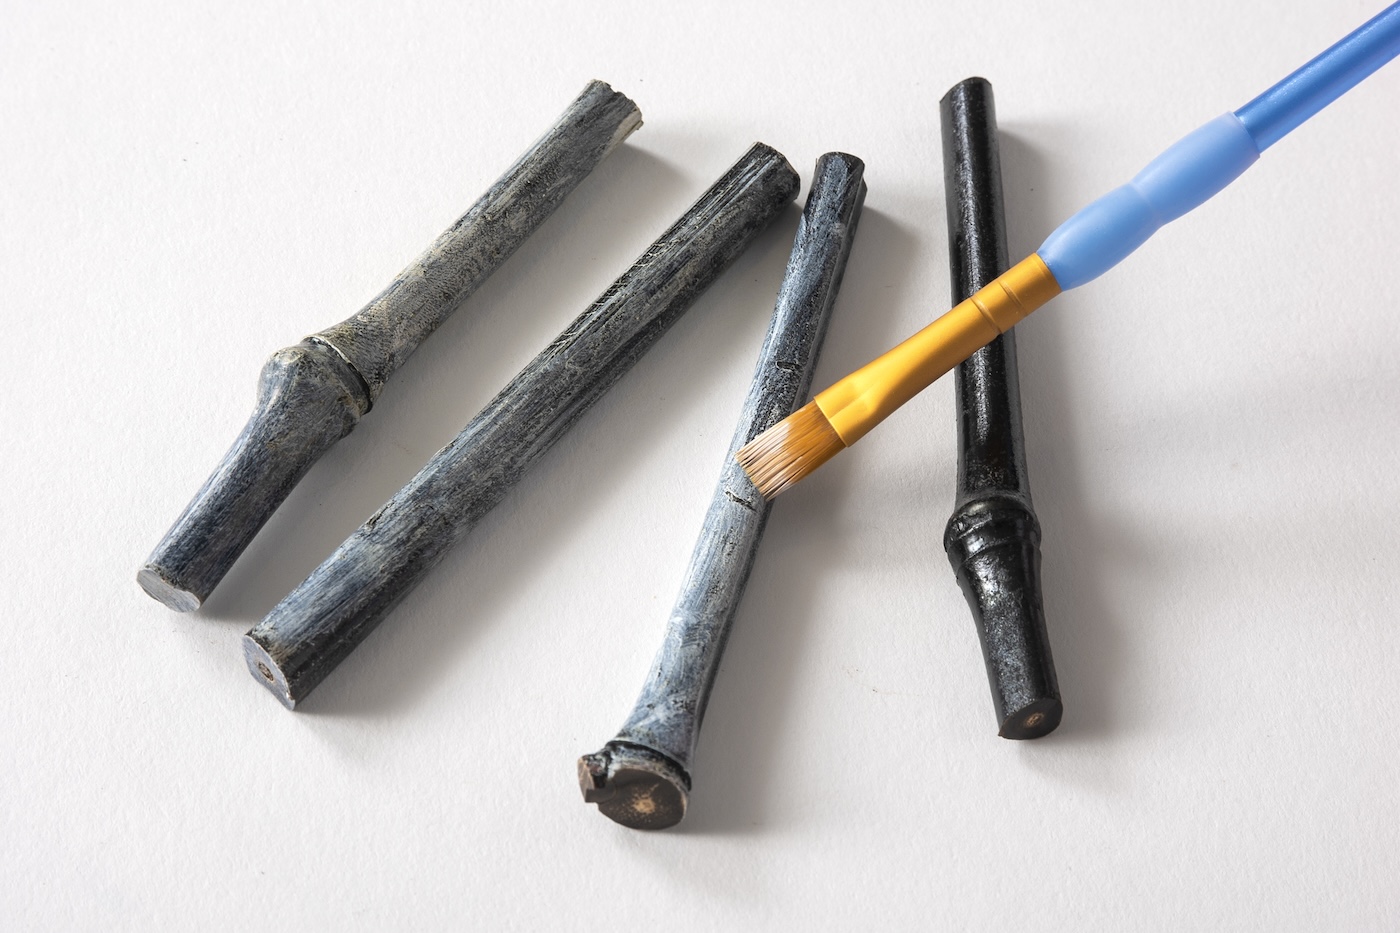
- Give your branches a light brushing of white paint. You’re going to just put a little bit of white paint on the brush and go over the branches (remove most of the paint on a paper towel first).
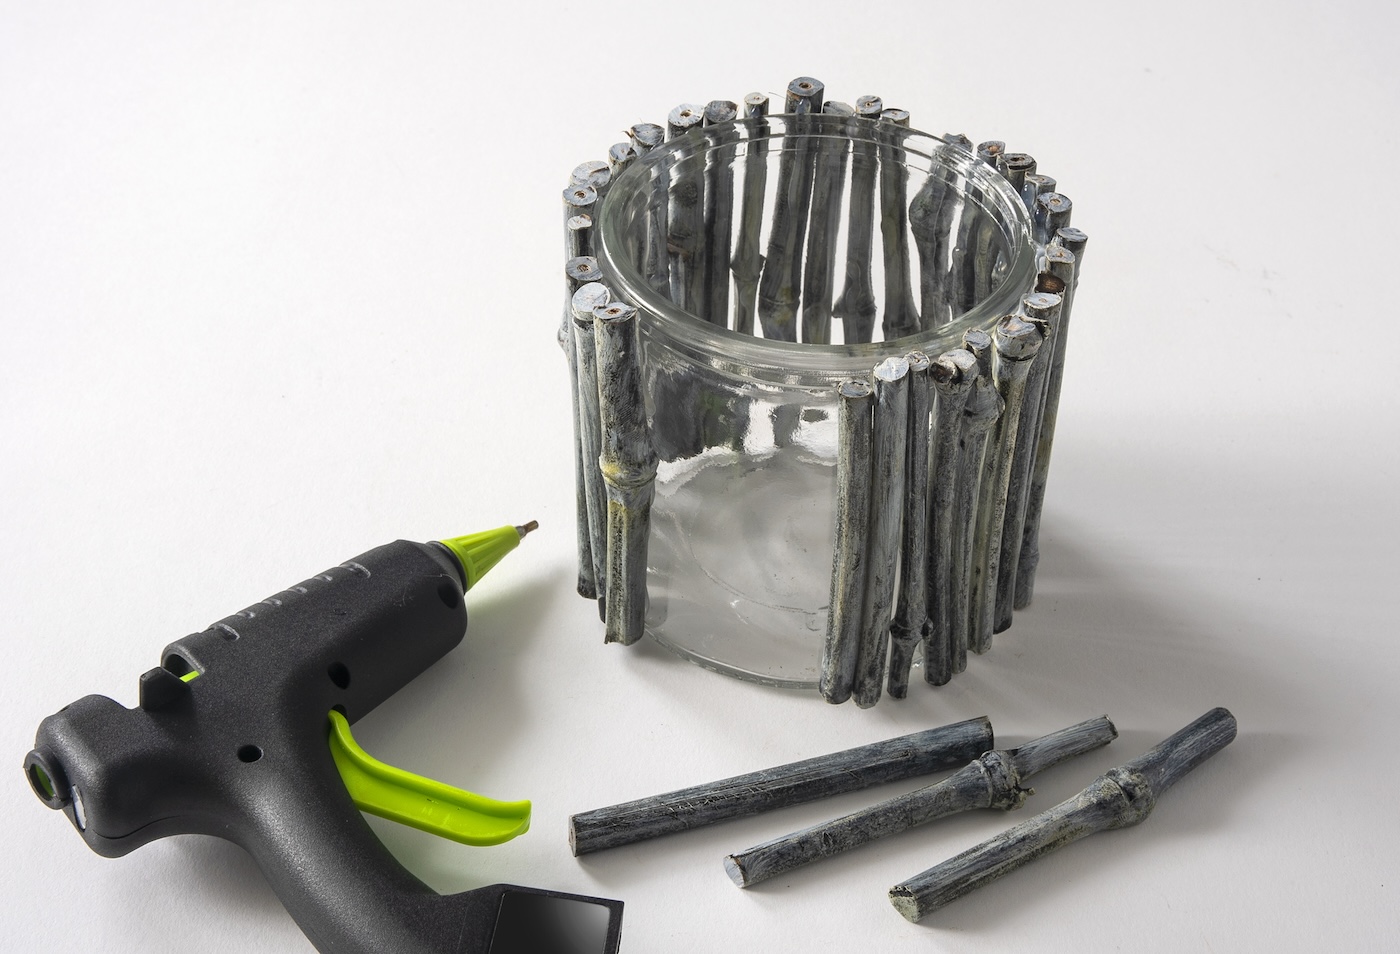
- Begin gluing your twigs around the jar, getting them as close to each other as possible. You can use either craft glue or hot glue. If you use craft glue, you’ll need to position the glass on its side and work one section at a time (and let dry) so the sticks don’t fall off. Once all the twigs have been added, let the glass and twigs dry completely.
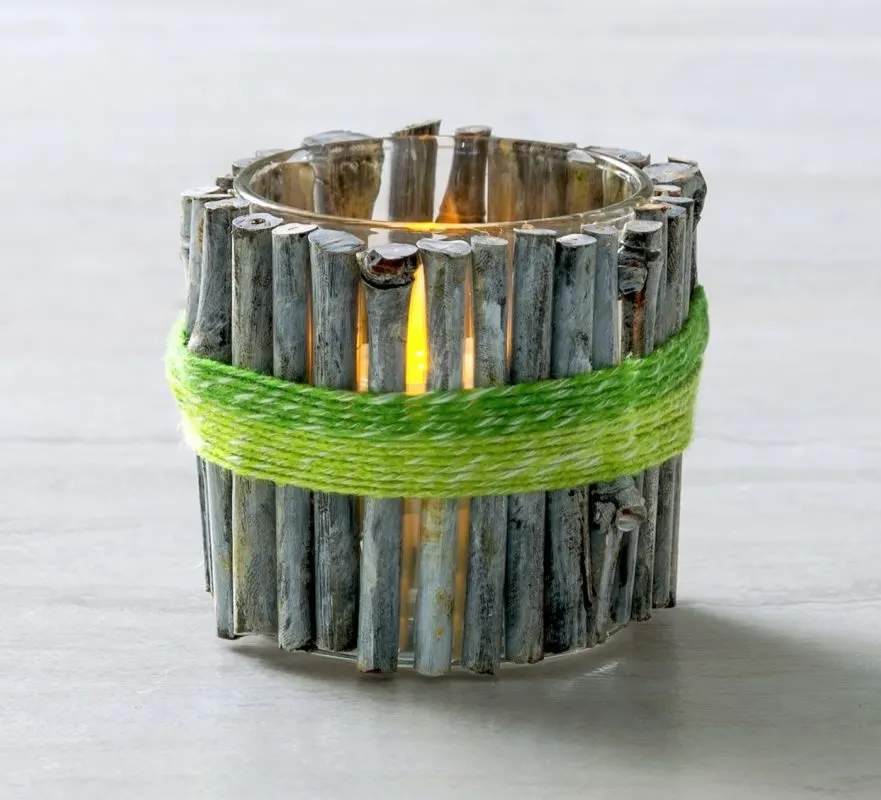
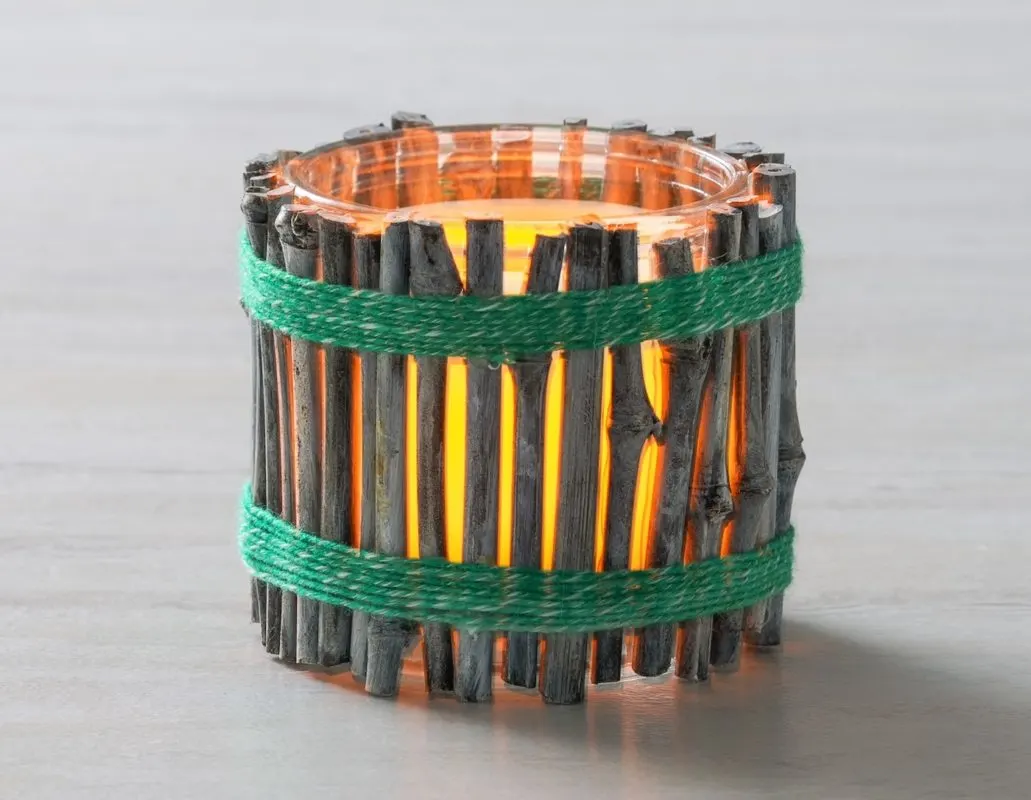
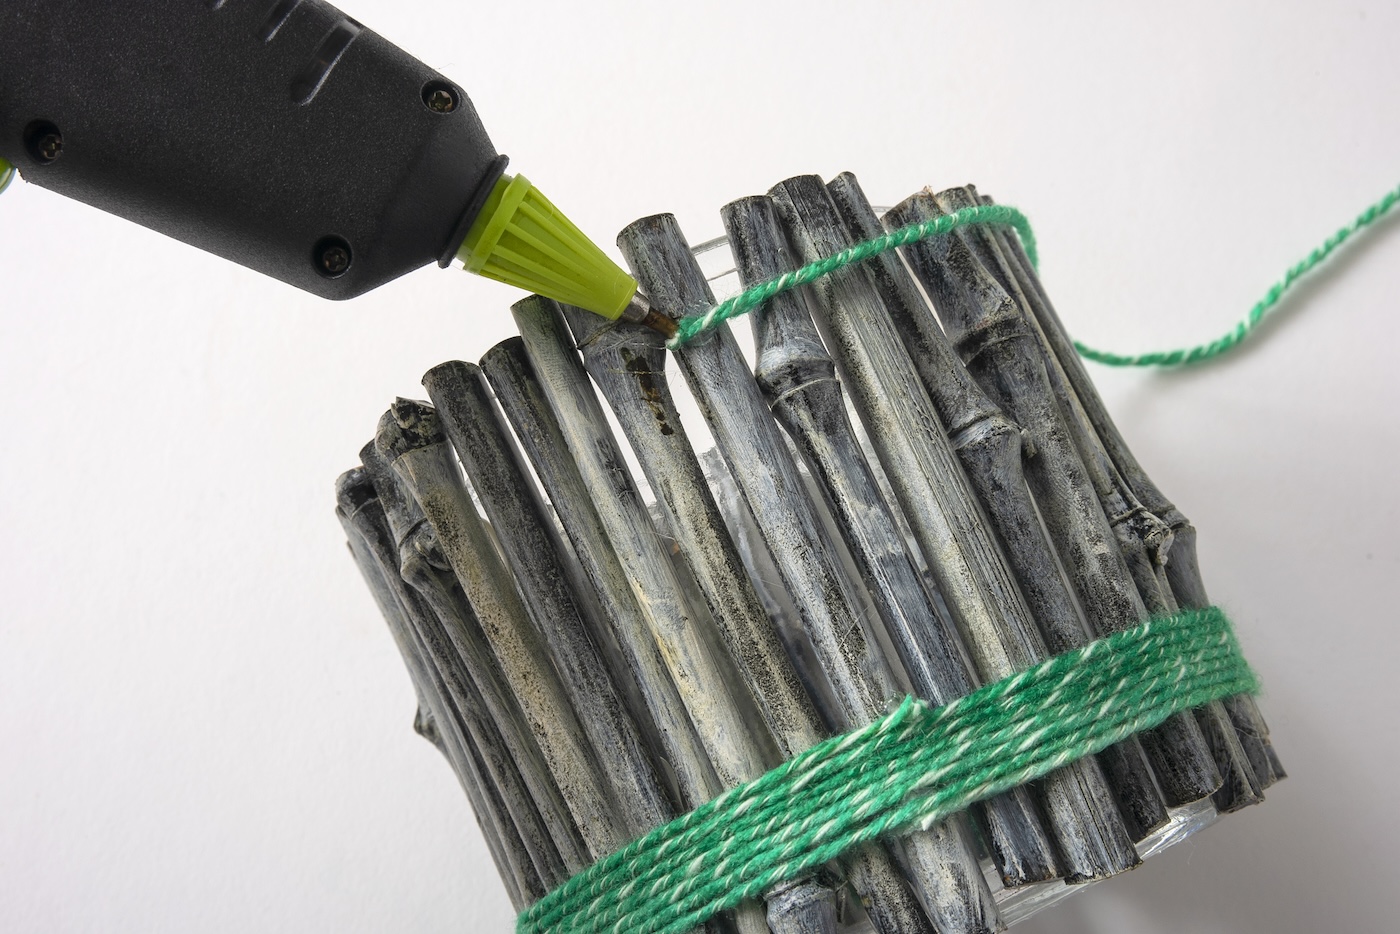
- Add the twine or yarn to the lantern. Place a dab of glue on one twig and place the twine down into it. Let set. Wrap the twine around several times and glue. Trim with scissors.
- Repeat at the bottom with more twine and let your lantern dry completely before using. Add an LED tea light and enjoy the glow.
Did you enjoy this fall project? Let me know in the comments! I’d also love for you to check out these other ideas: