Clay Leaves Are a Pretty Fall Craft
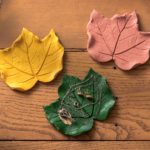
Learn to make unique polymer clay leaves with this easy guide. You can make dishes perfect for gifts or autumn home decor!
Skills Required: None. If you’ve never worked with clay before, this is a great beginner project. Both kids and adults can make this.
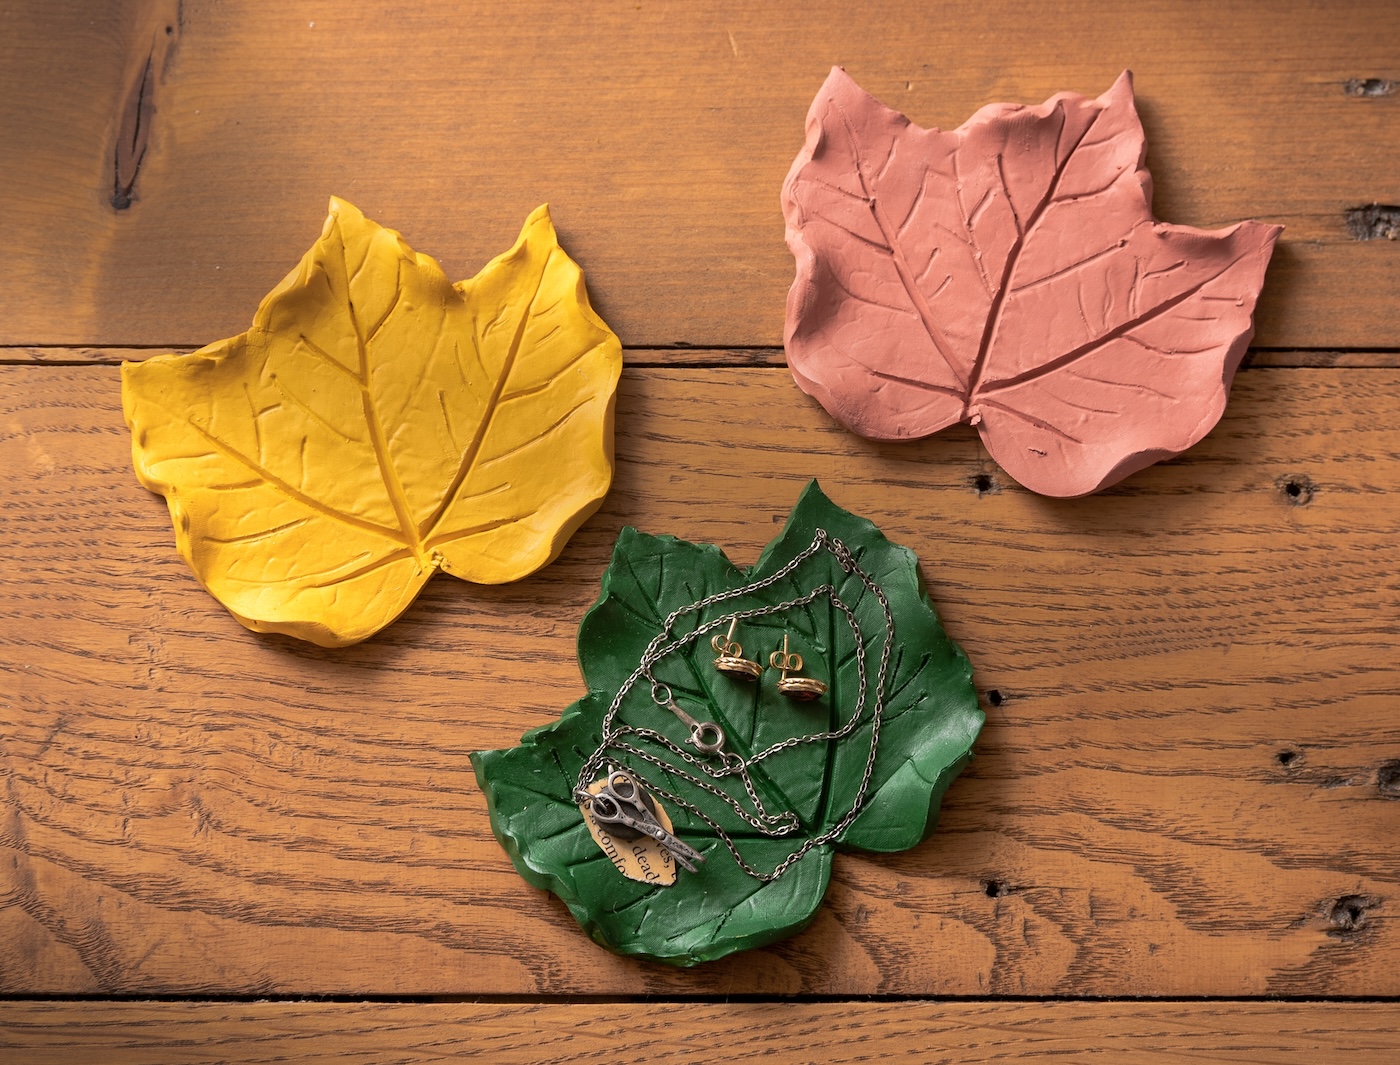
Are you ready to roll up your sleeves and dive into a fun, easy autumn crafting project that will bring the beauty of nature right into your living room?
Let’s grab some polymer clay and a handful of fresh leaves to create stunning, one-of-a-kind clay leaves that are as fun to make as they are beautiful to display.
Perfect for cradling your keys, holding your jewelry, or even gifting a slice of nature to someone special, these leaves are something you’ll end up wanting to make in a variety of sizes and colors.
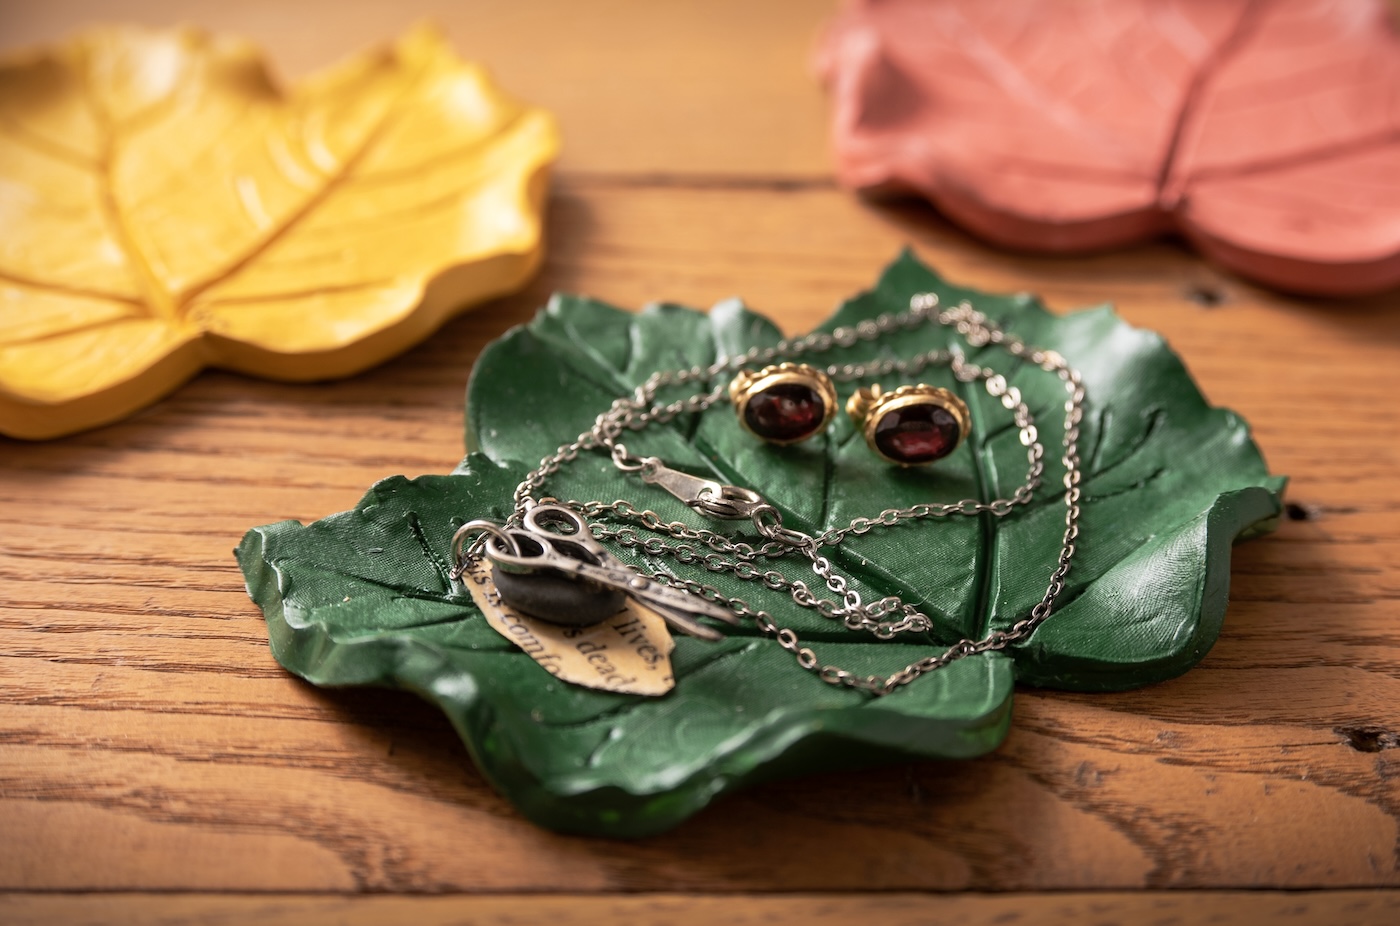
Here’s the deal: We’ll use real leaves as our templates to ensure each piece captures the natural intricacies and textures that only Mother Nature can provide.
Polymer clay is our medium of choice because it’s easy to work with and incredibly versatile, but you can also use air dry clay. For reference, polymer can be baked (follow instructions on the package).
No two leaves are the same, and neither will any two of your clay creations be. Each one will be a reflection of both nature’s perfection and your own creative spin.
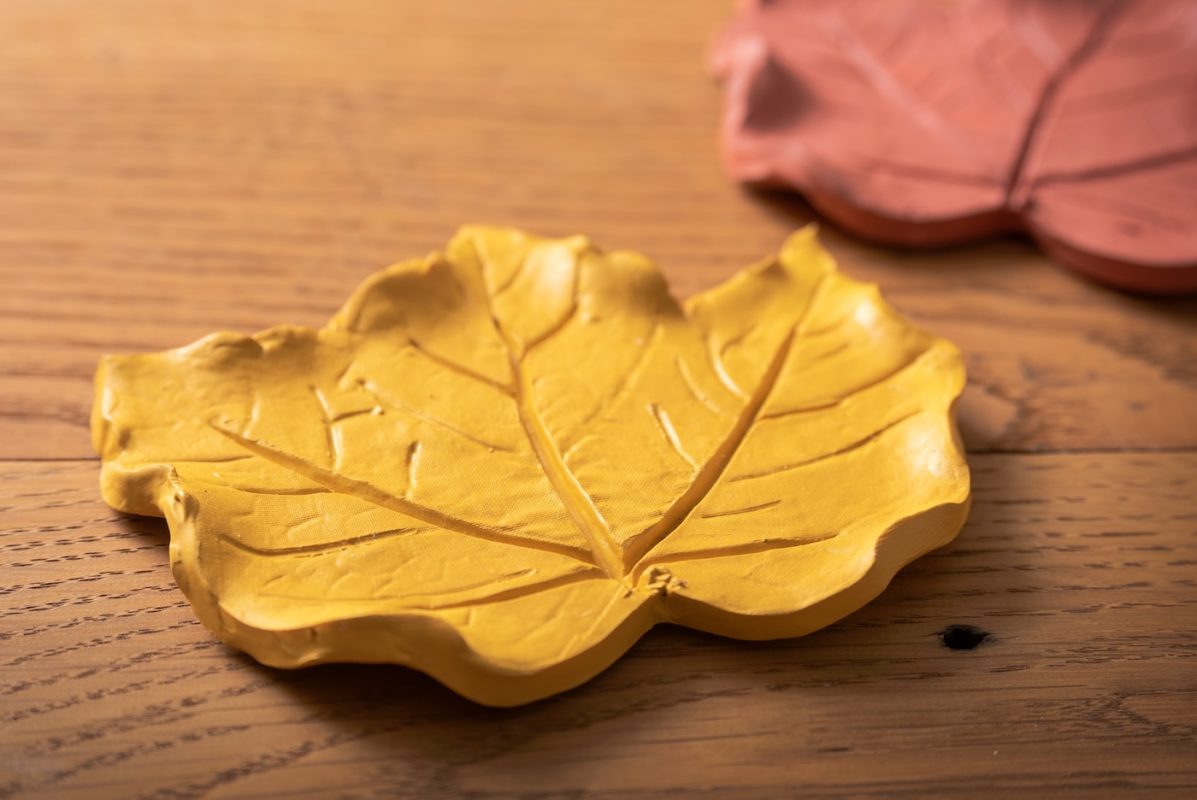
By the time we’re done, you’ll have a set of gorgeous, polymer clay leaves that will make everyone ask, “How did you make those?” Ready to get started?
Gather These Supplies
- Polymer clay (white)
- Acrylic paint (multiple colors)
- Leaves
- Wax paper
- Paper towels
- Decoupage medium (optional)
Tools
- Rolling pin
- Cutting board or clay mat
- Knife
- Baking sheet
- Oven
- Paintbrush
- Sharp object (knife, BBQ skewer, sharpened end of a pencil)
Tips and Thoughts for This Project
The larger the leaves you choose, the more difficult this project will be! You can choose a large oak leaf or a monstera to make a large bowl versus a smaller dish.
Grab the printable how-to card for this project below:
Clay Leaves
Equipment
- Rolling Pin
- Cutting board or clay mat
- Knife
- Oven
- Sharp object (knife, BBQ skewer, sharpened end of a pencil)
Materials
- Polymer clay white
- Acrylic paint multiple colors
- Leaves
- Wax paper
- Paper towels
- Decoupage medium optional
Instructions
- You want to use fresh leaves for this project so they don’t crumble into your clay. Gently rinse the leaves you collected to remove any dirt or debris. Let them dry on paper towels.
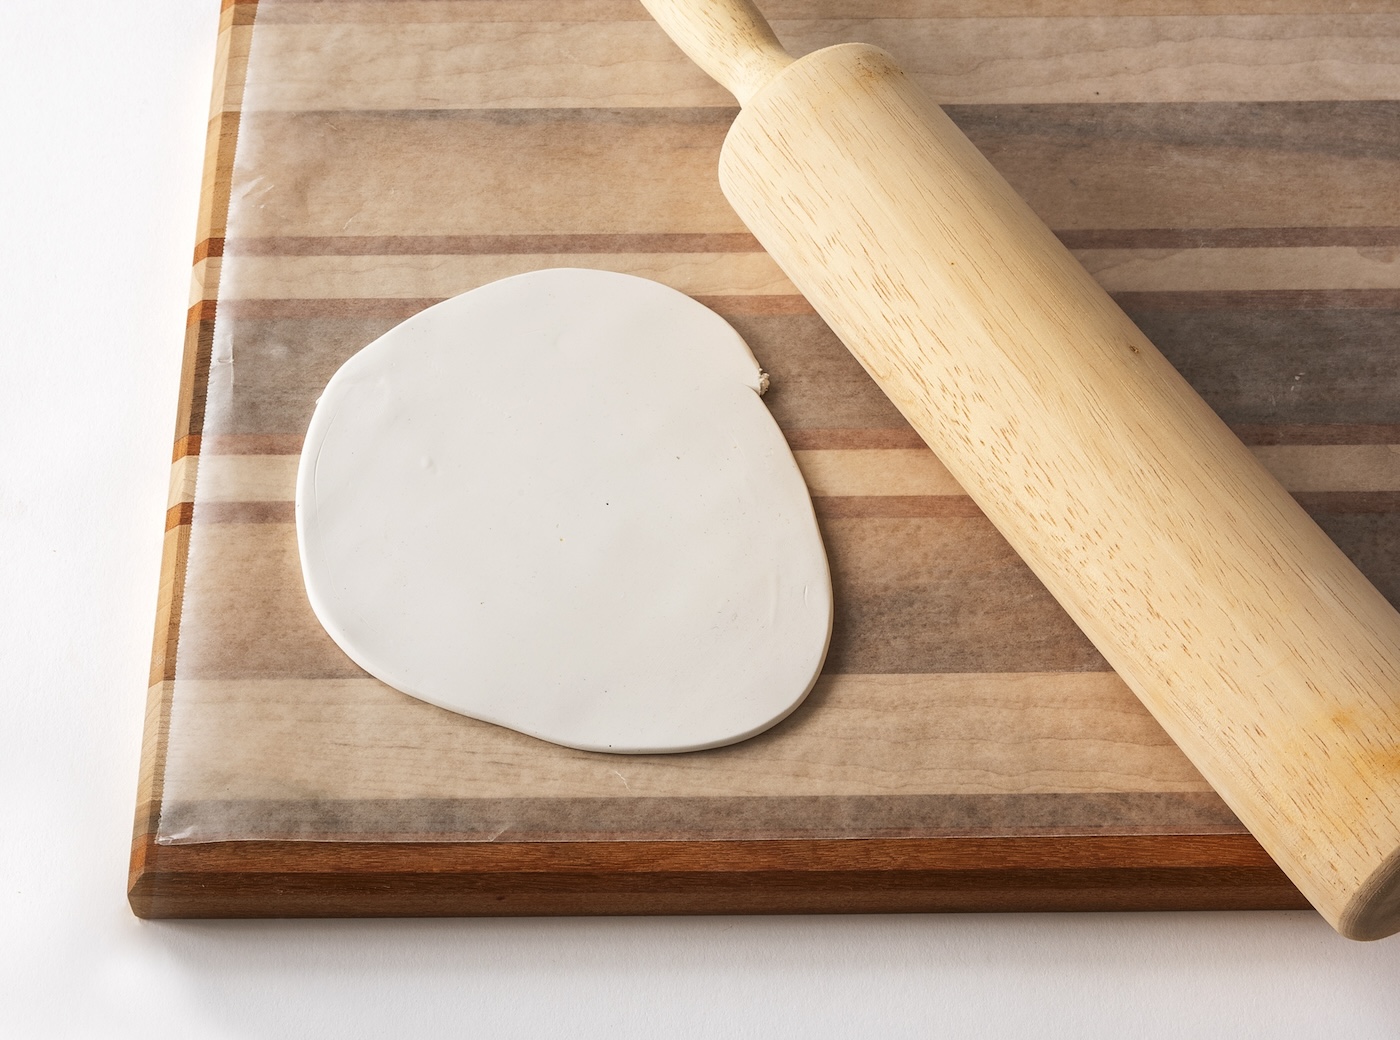
- Roll out the clay on your work surface (which can be wax paper, cutting board, or similar) using a rolling pin.
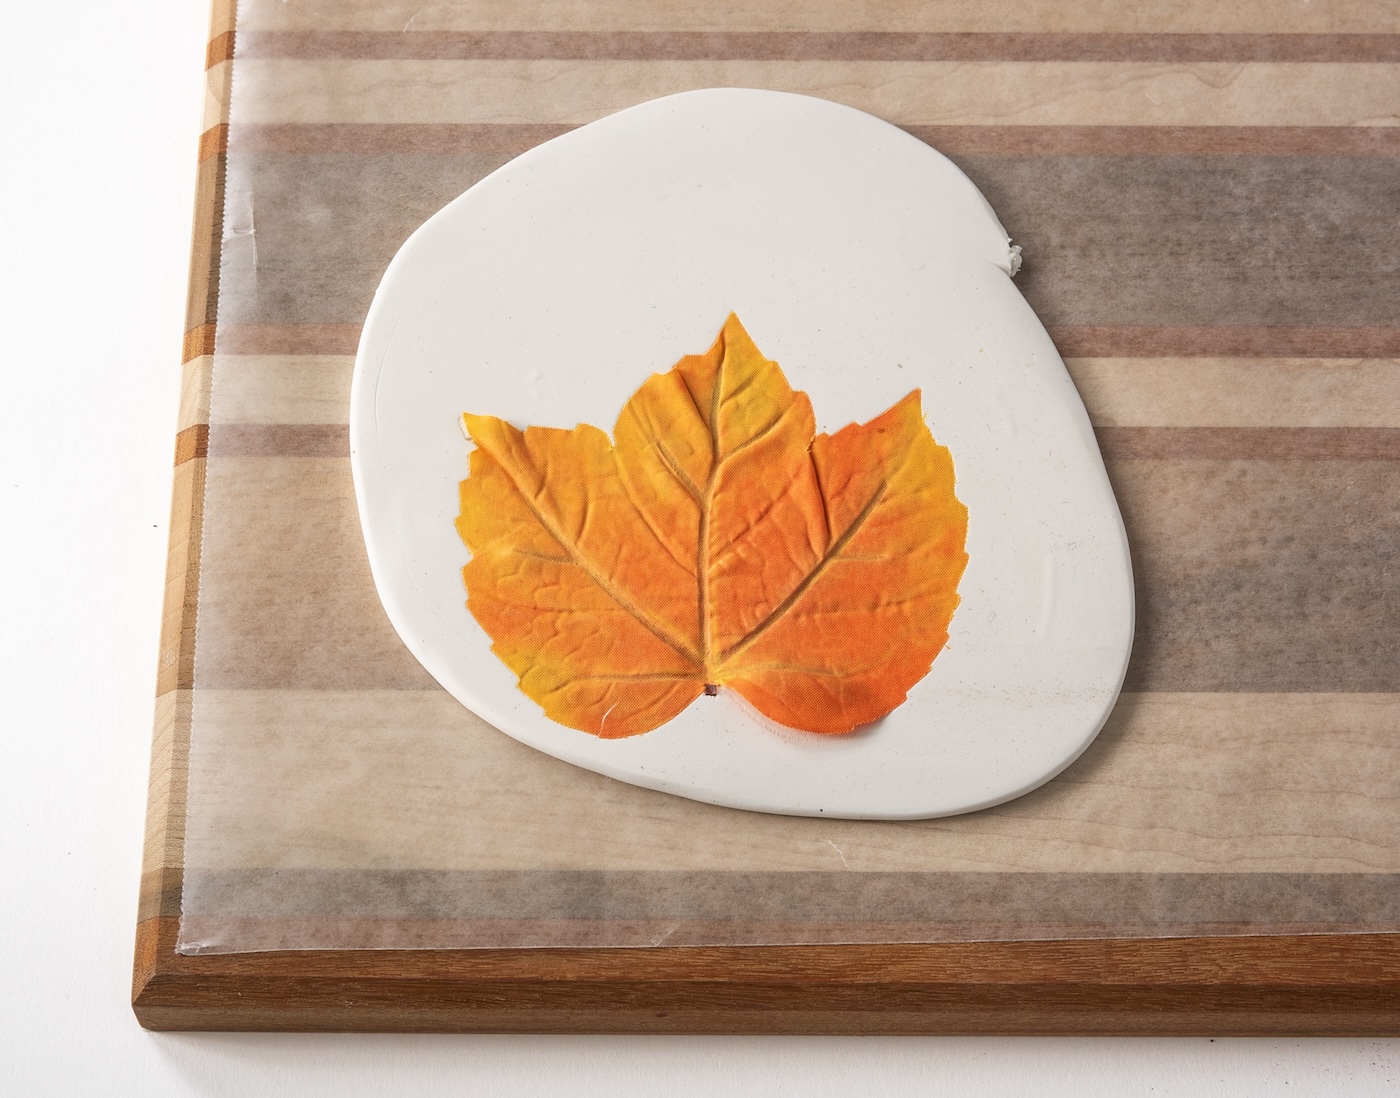
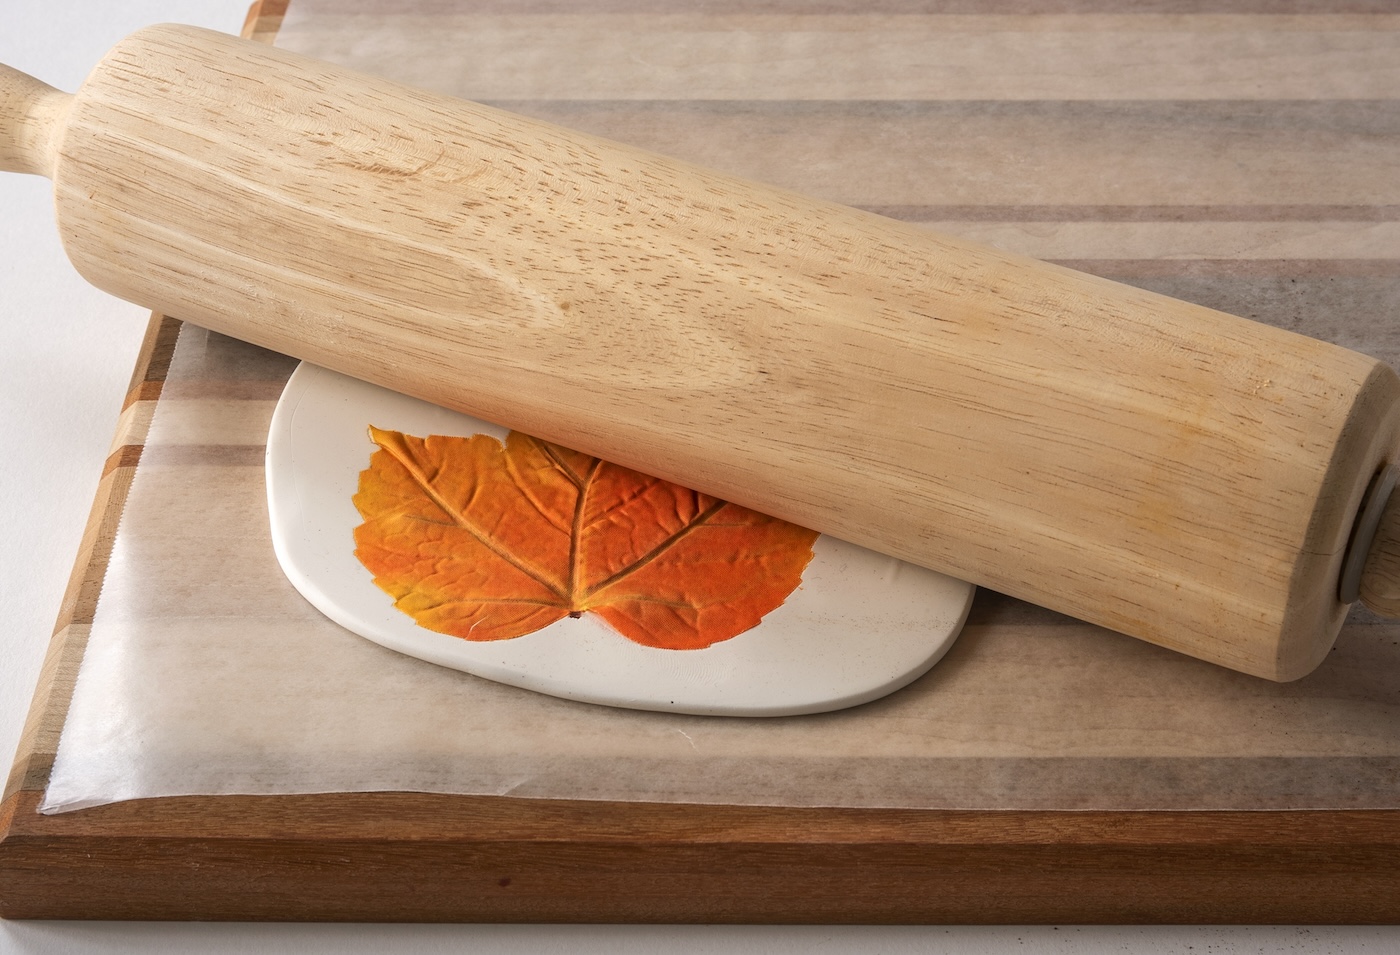
- Place the leaf down into the clay and press with your hand gently.
- Roll with the rolling pin, to transfer the leaf shape and texture into the clay. Remove the leaf from the clay.
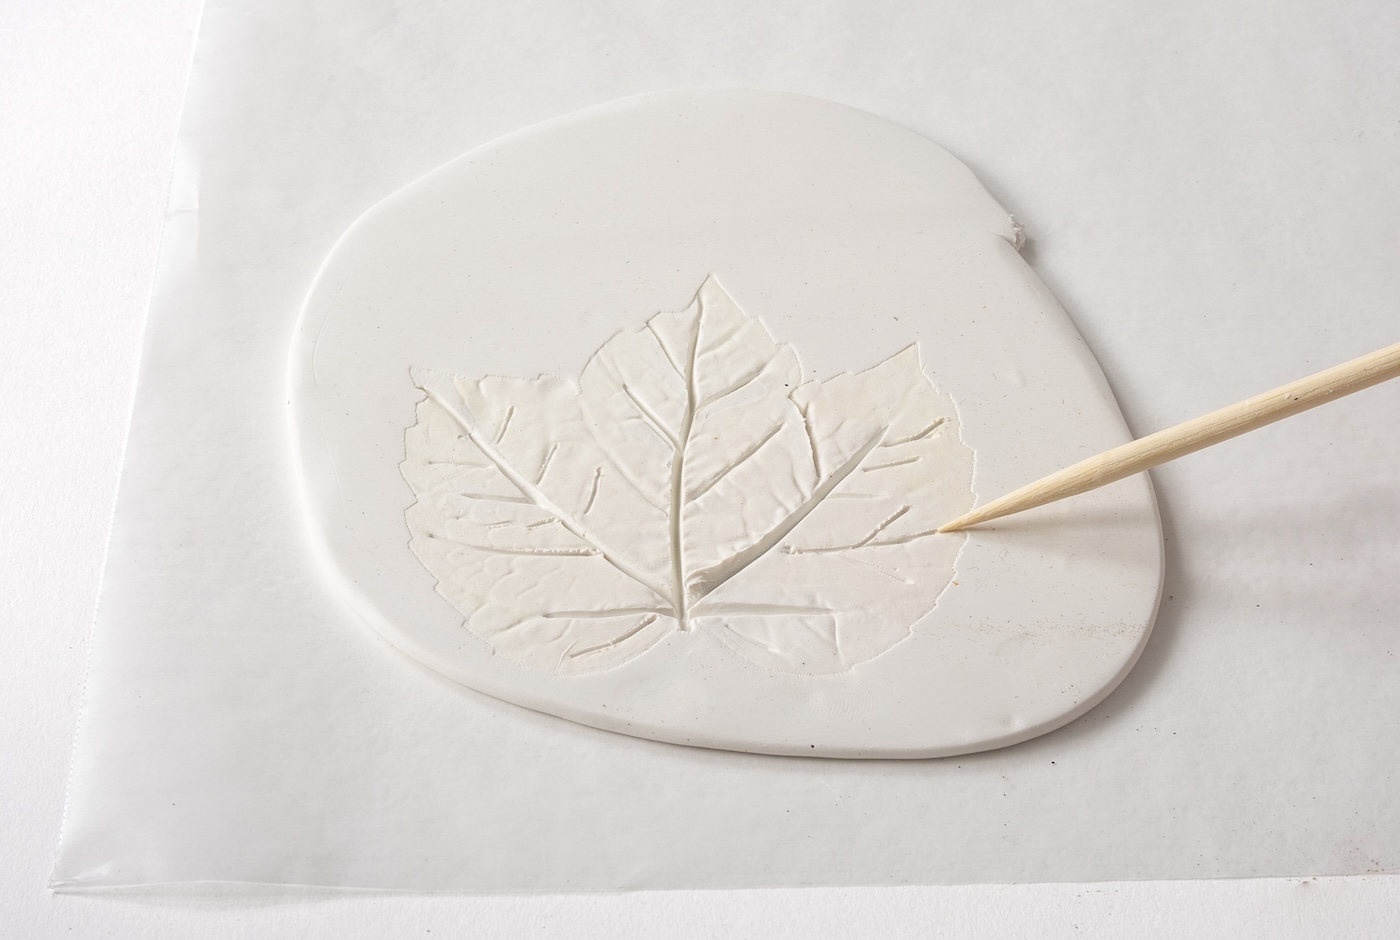
- Use the sharp object to accentuate the lines of your leaf that may not have transferred into the clay completely.
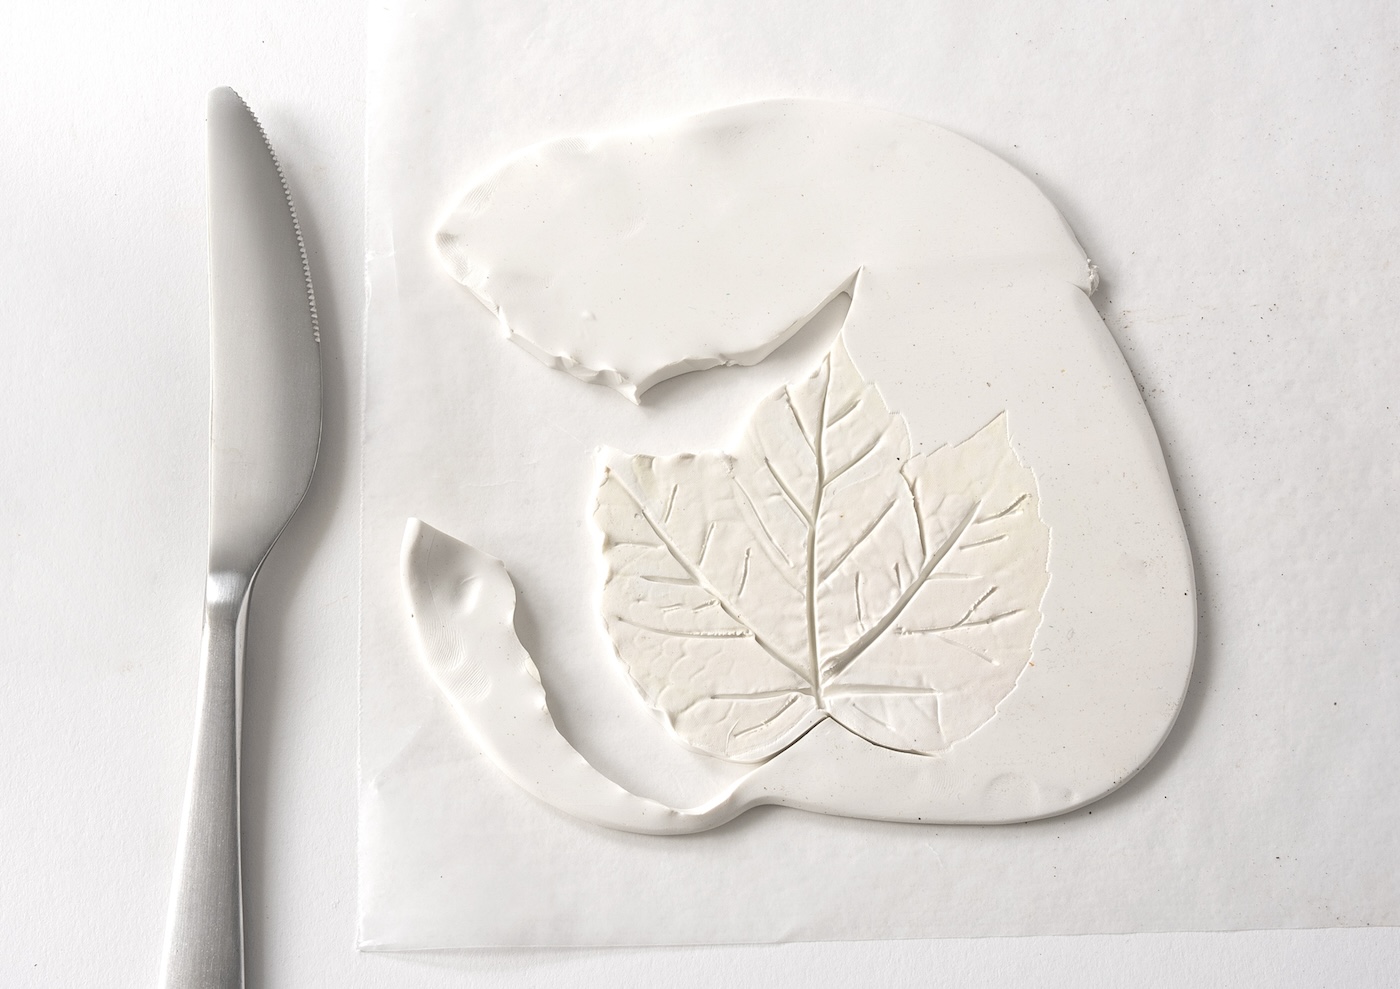
- Cut around the leaf shape using the knife. Save the remaining clay for another project.
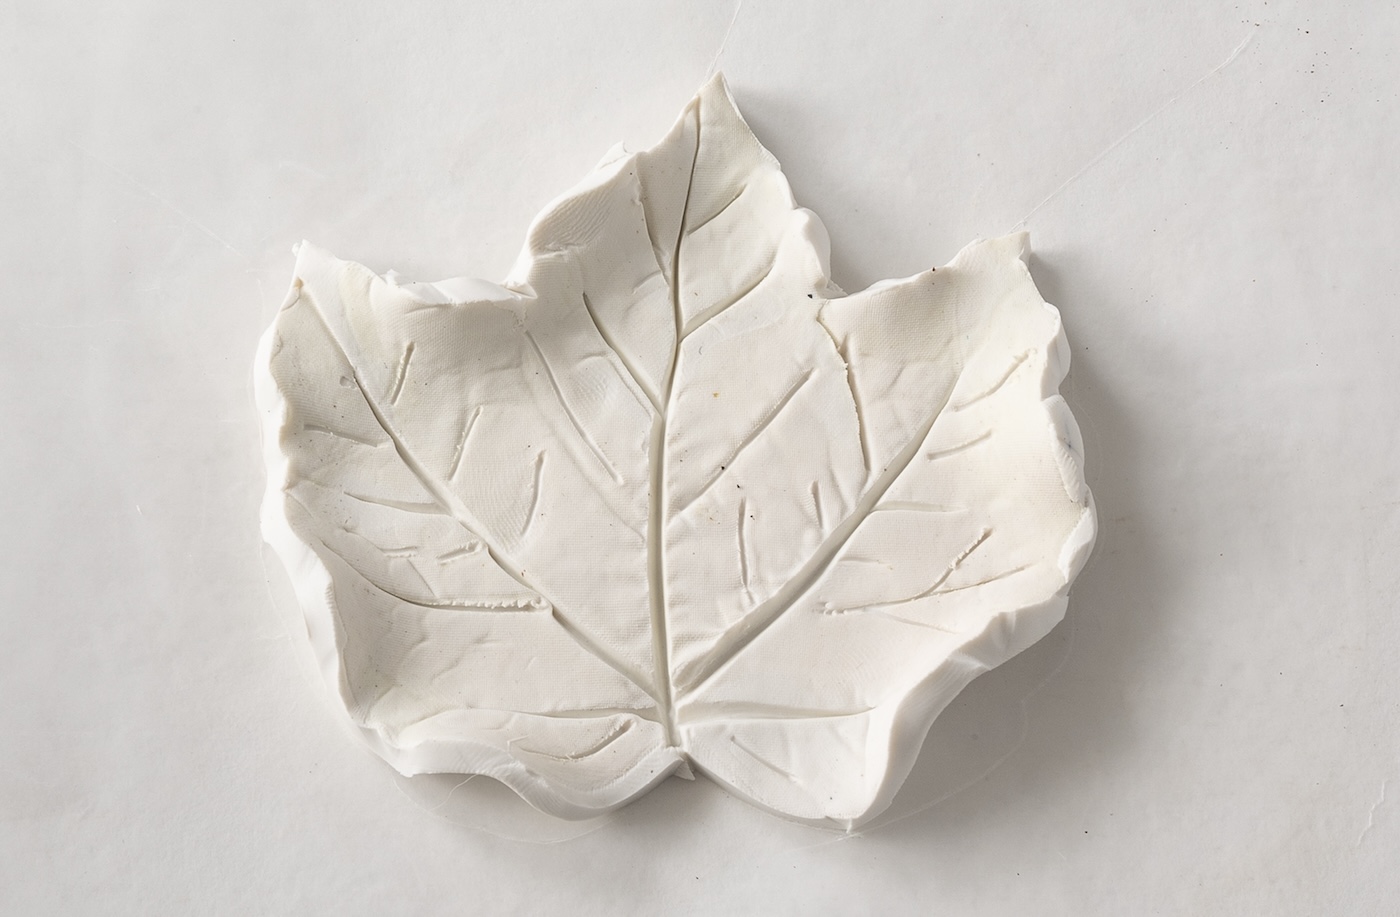
- Gently curl the edges of the leaf shape up with your fingers, just to add a little bit of interest to your project.
- Repeat with additional leaves and clay. Bake your shapes according to package instructions (typically 250 degrees Fahrenheit for a few hours). Remove from the oven and let cool.
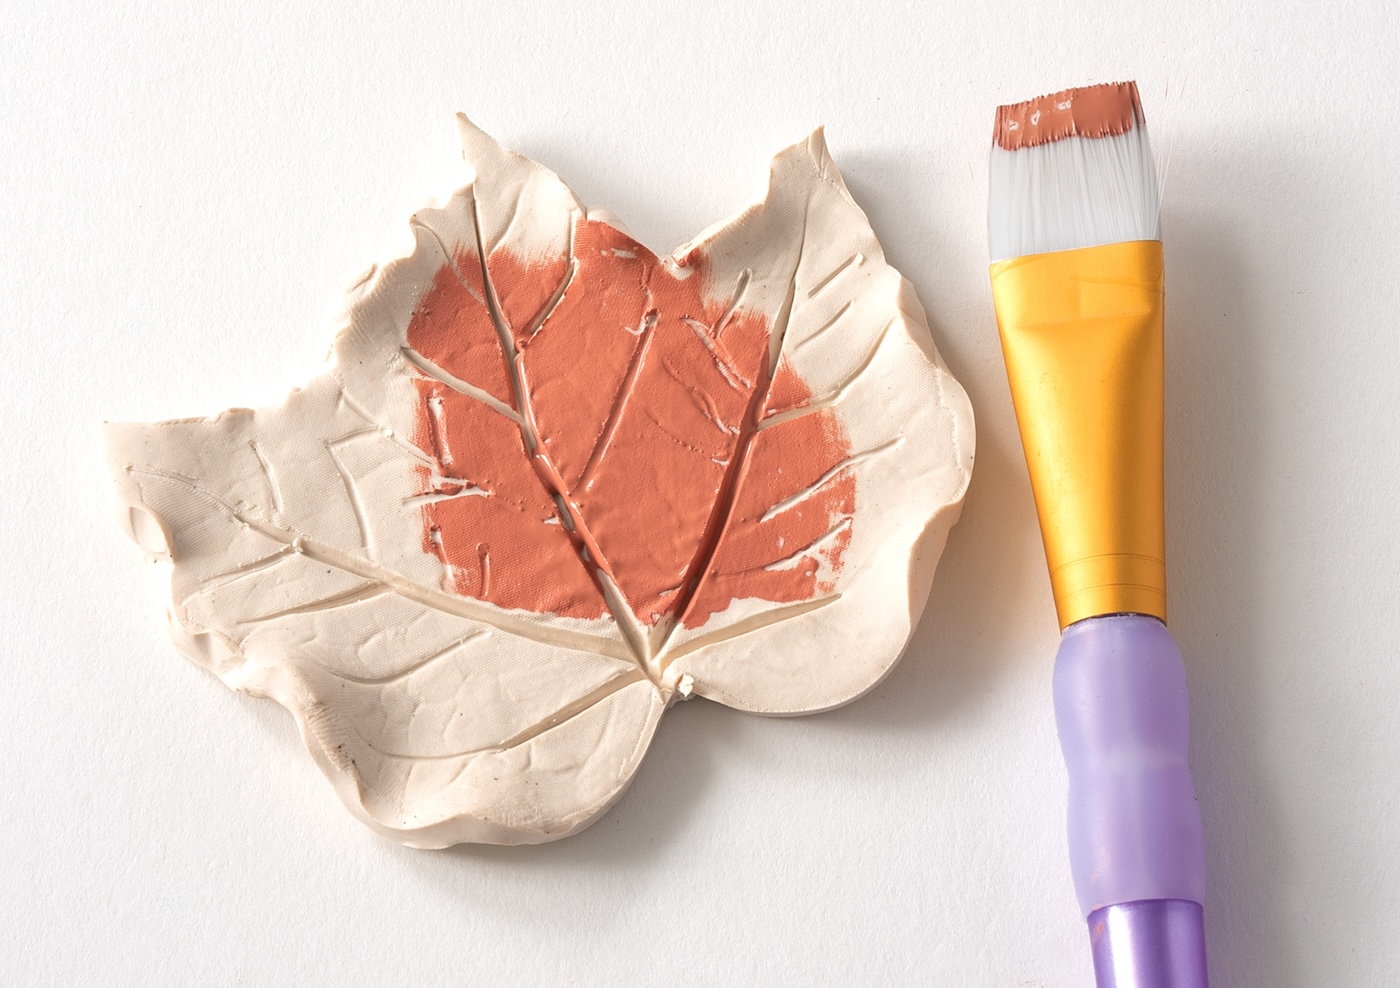
- Paint the dishes with the colors of your choice. Let dry completely before using. Add a decoupage medium to seal and let dry (if desired).
Did you enjoy these leaves made out of clay? If so, please let me know in the comments! I’d also love for you to check out the following projects and posts:

