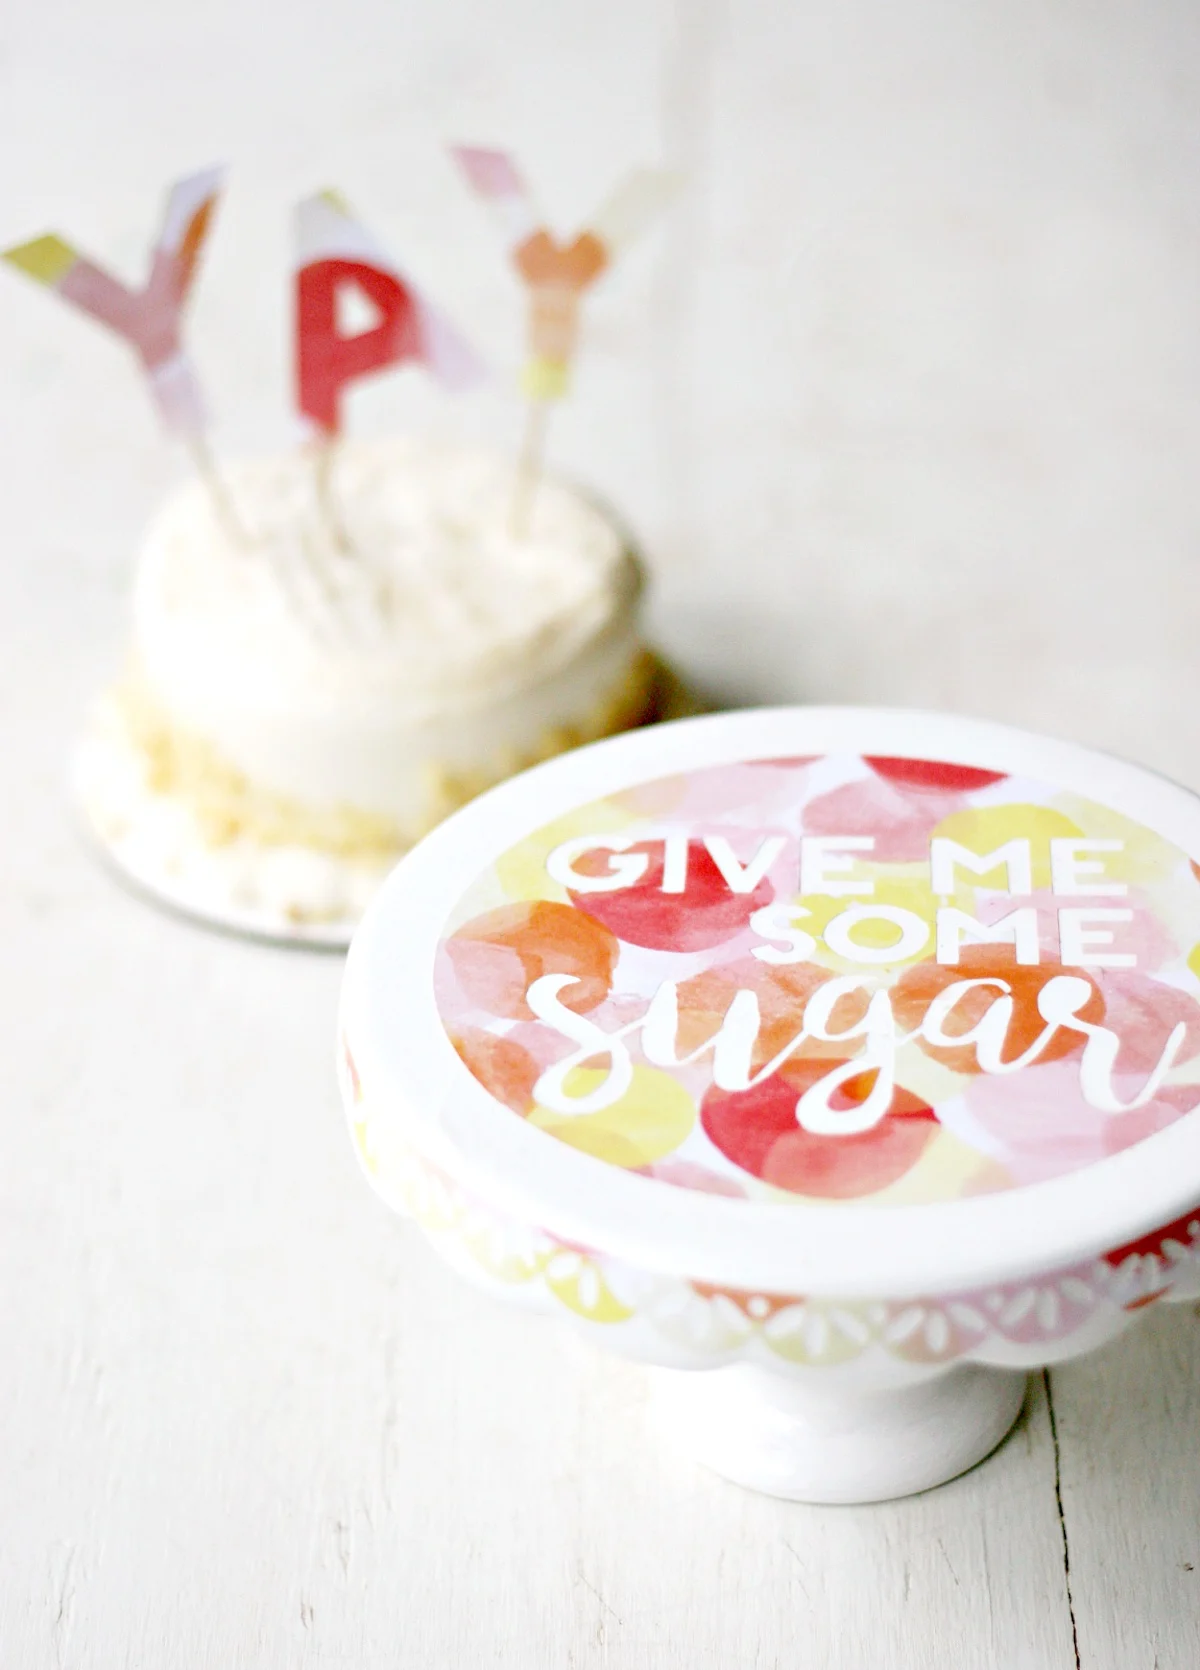
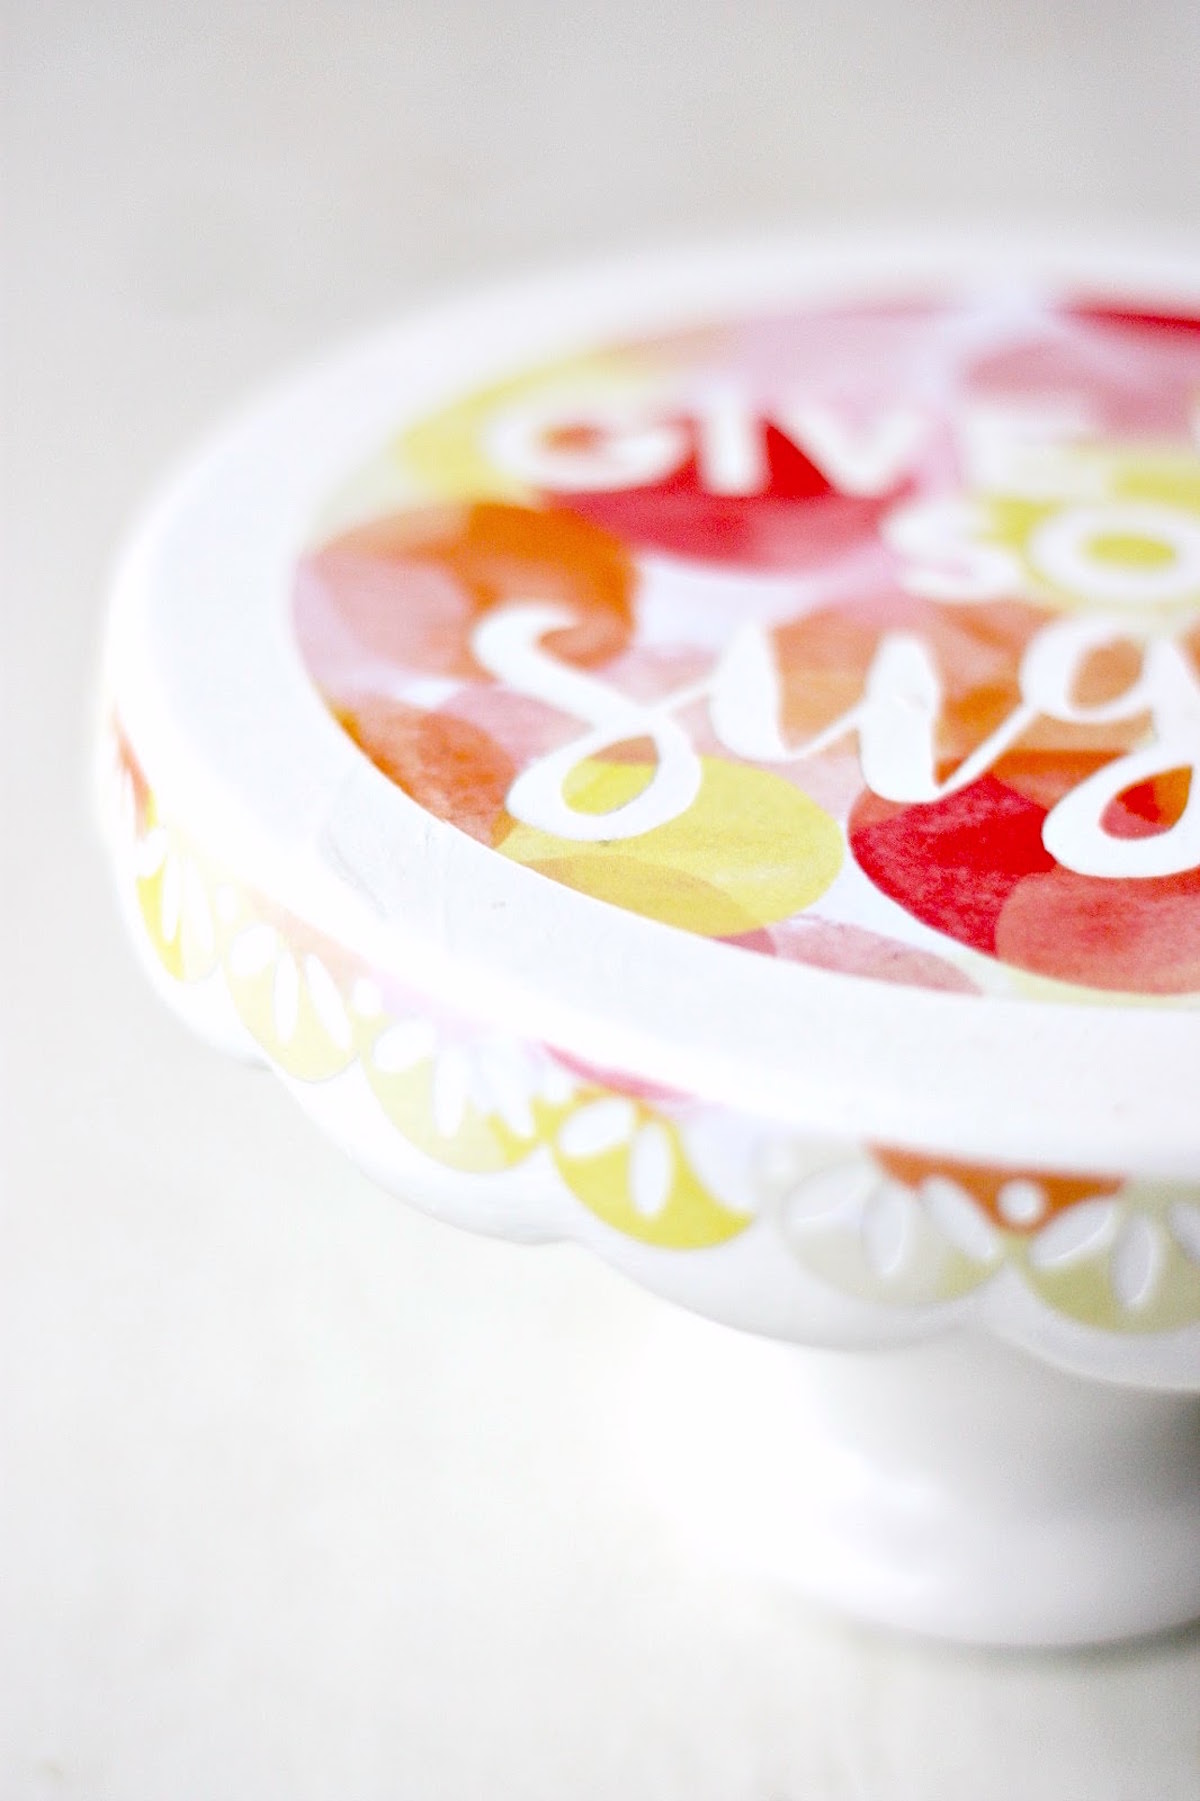
This simple DIY cake stand is easy to embellish with your favorite scrapbook paper and Mod Podge. Decorate all your cake stands for a holiday or party!
Skills Required: Beginner. You’re going to be cutting out a design with a die cutter (or a craft knife and mat), then applying it to a stand with Mod Podge. It’s relatively easy. Be sure to following the curing instructions on the bottle.

Now that spring is here, I’ve been looking for pretty ways to incorporate some spring colors and patterns in my home. I’ve always loved DIY cake stands as one of the ways to fill that role. You can have a variety of styles not just for holding fold, but for storing items on counters and decorating.
After visiting the craft store recently and coming across some new spring prints, I knew that all it would take was some colorful paper and Mod Podge to bring that spring into my home!
So, I decided to start with dressing up one of my old cake plates, and dress it up for a spring brunch with my girlfriends. This project was so easy and the results are darling! Here’s how I made this DIY cake plate.
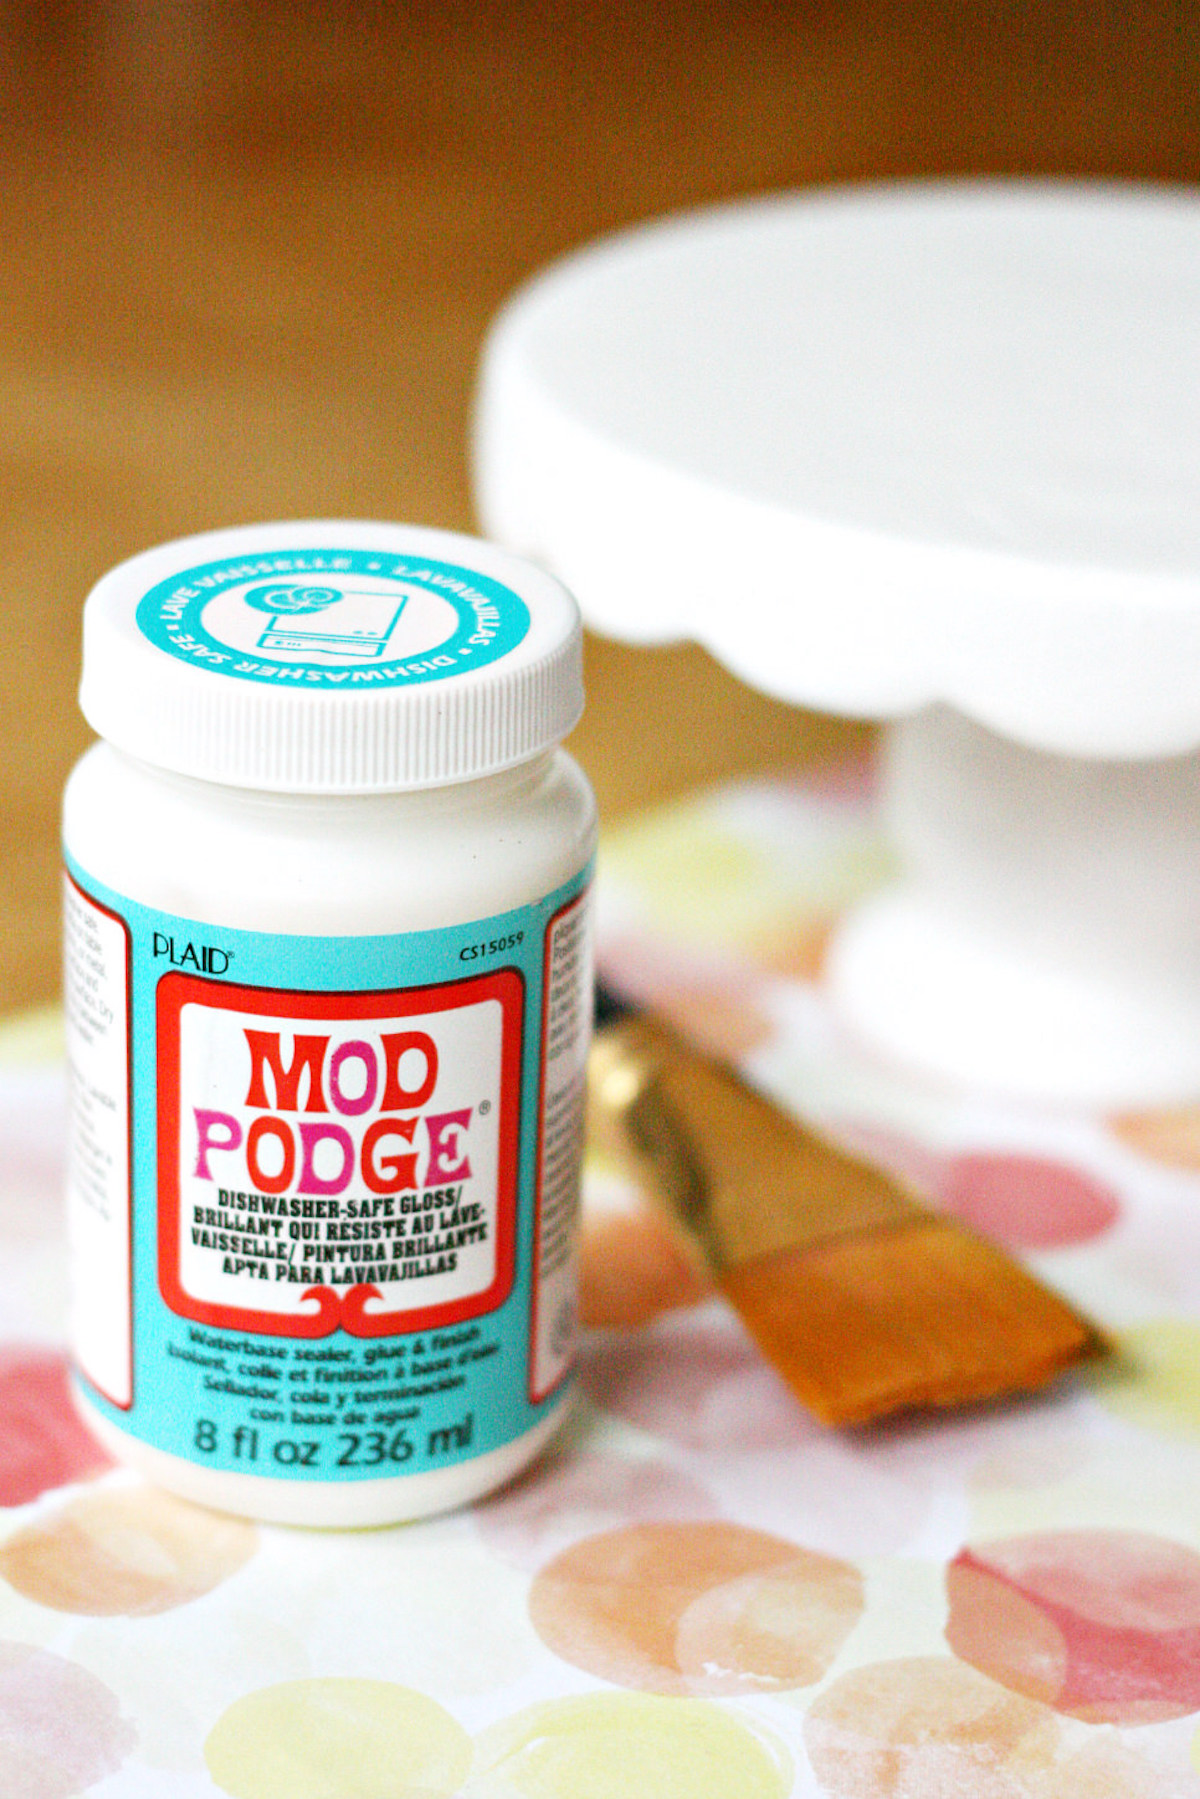
Gather These Supplies
- Cake Plate
- Patterned Paper
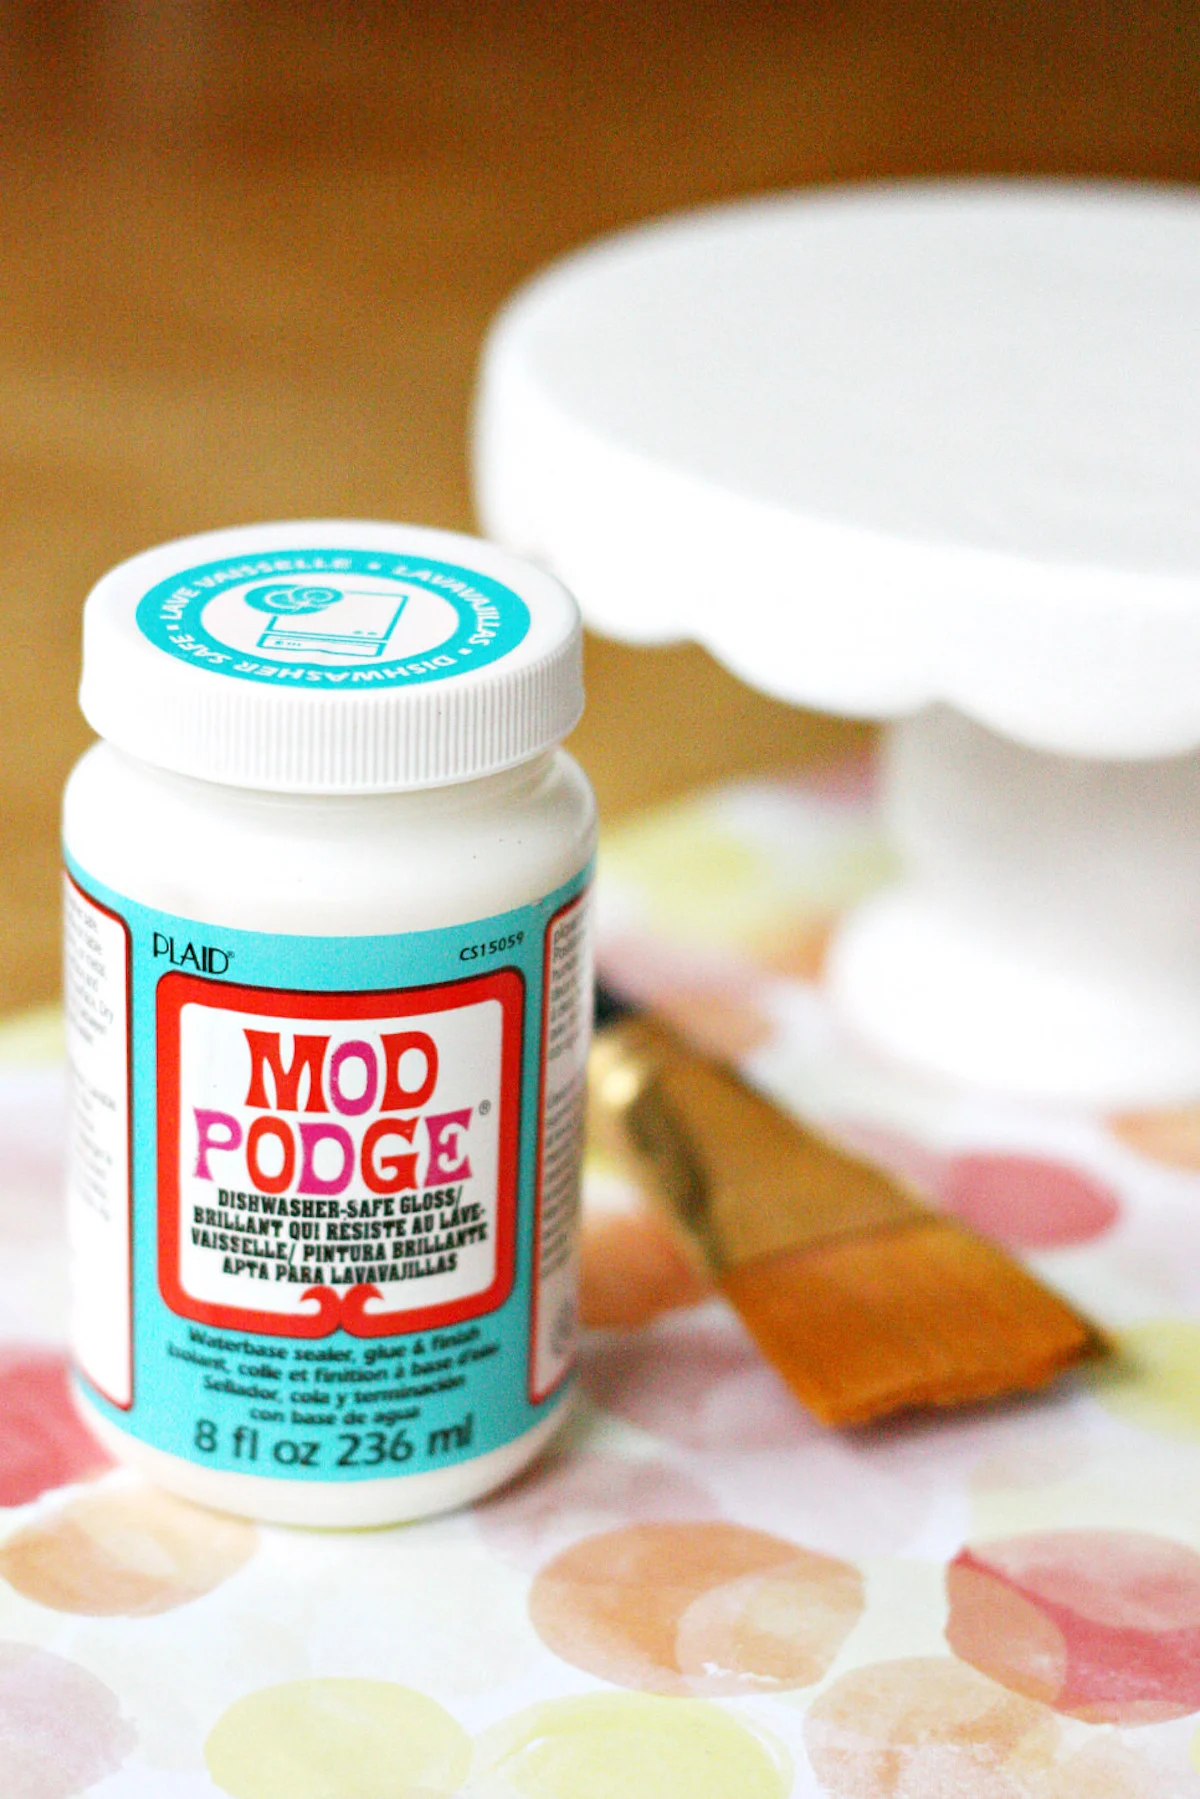
- Mod Podge (I used their dishwasher safe formula but they have a long line of other formulas that would work great as well!)
- Silhouette, craft knife and mat, or scissors (something to cut)
- Paintbrush
If you’re using an existing cake stand, make sure to wash it thoroughly with mild soap and water before beginning so that the Mod Podge adheres well.

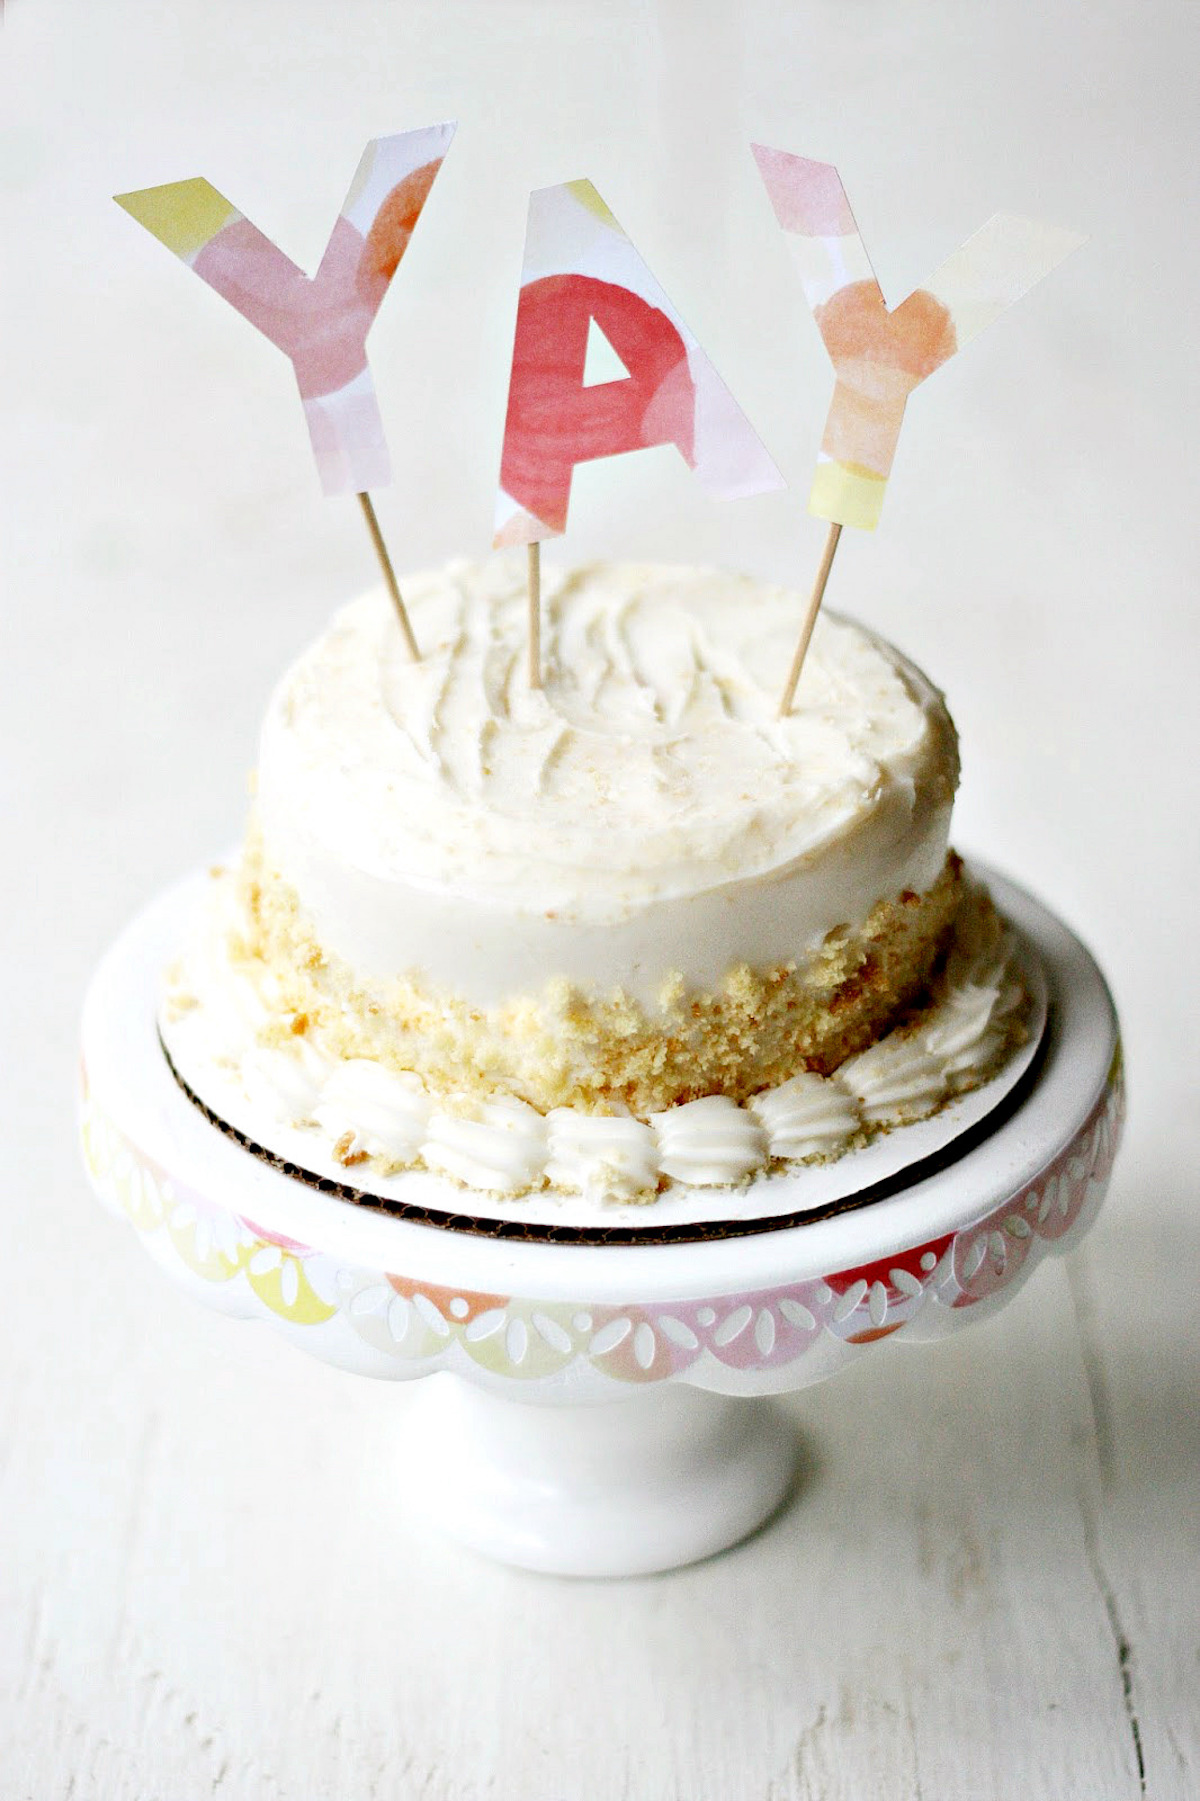
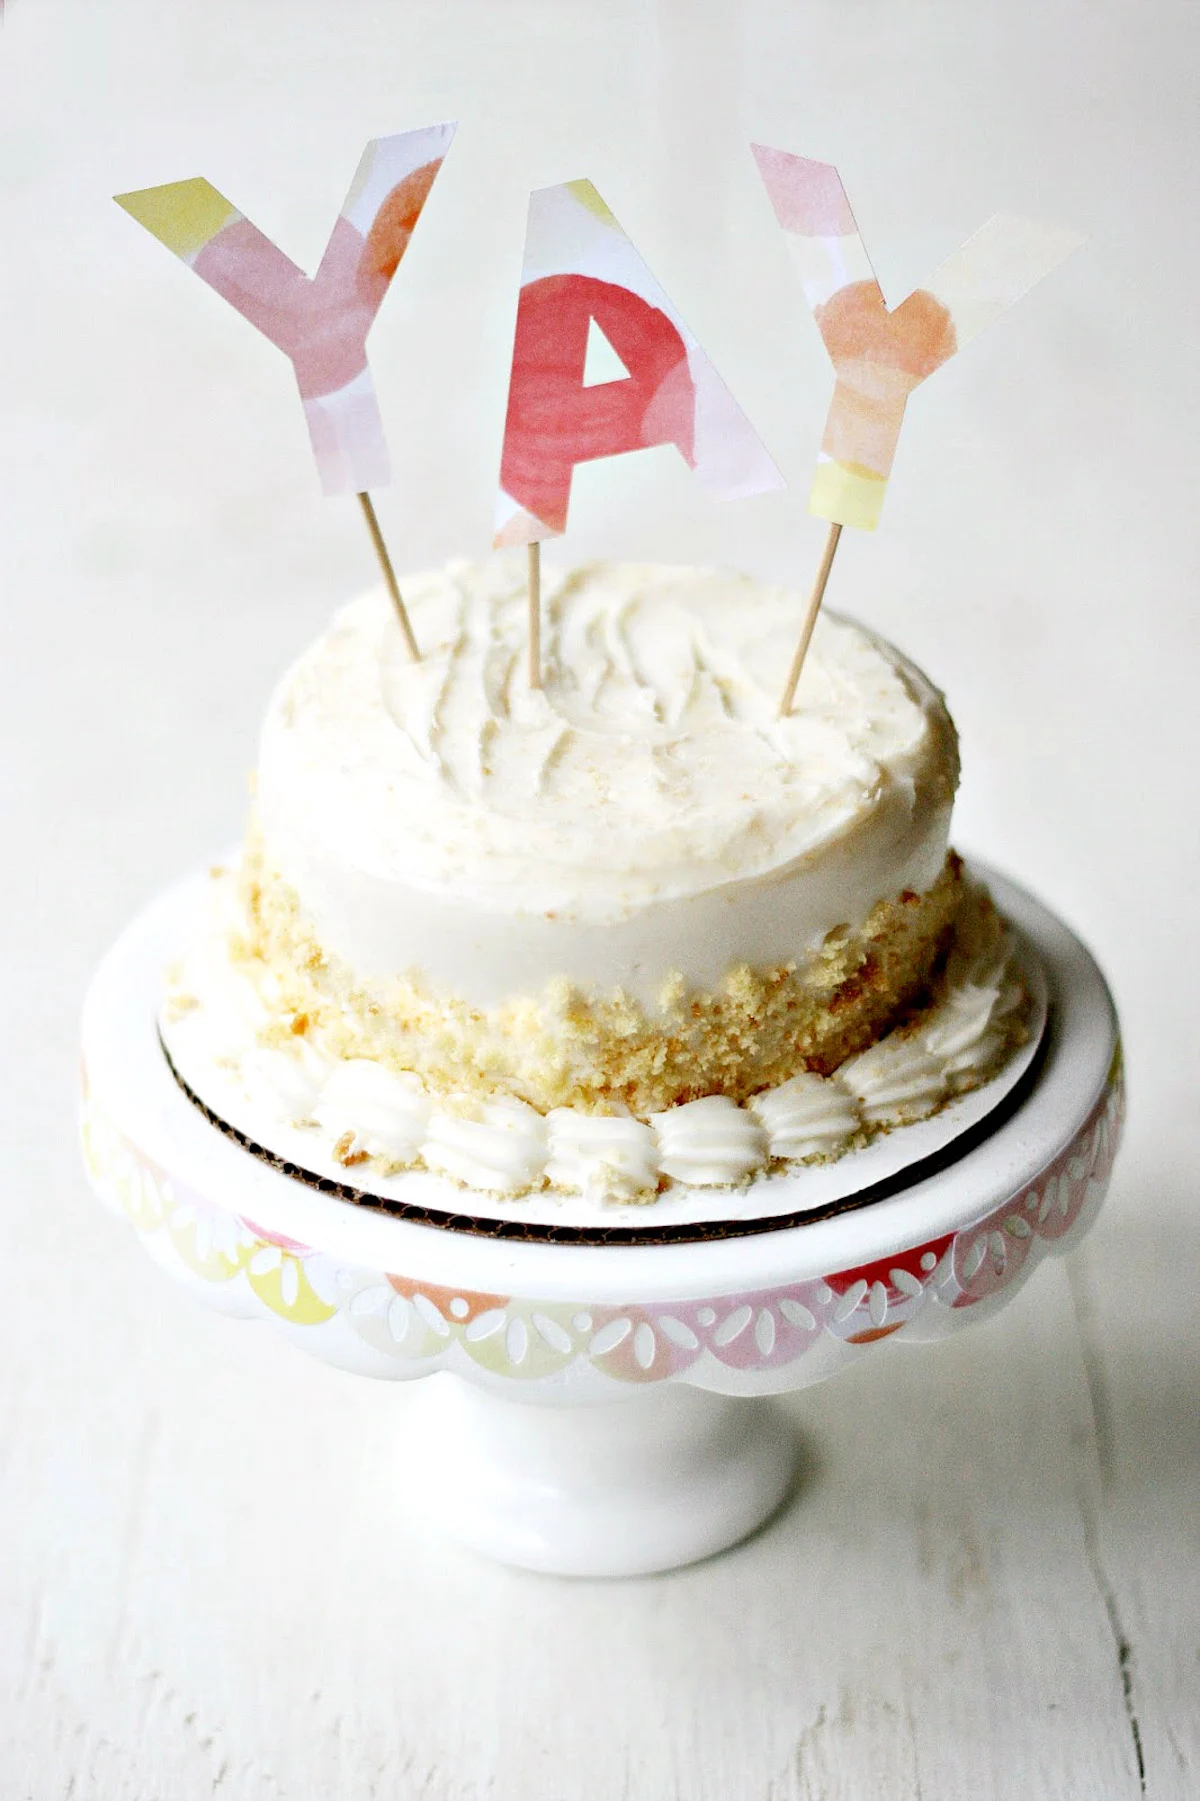
Are you ready to start? Give me some sugar first! No, literally. Let’s eat some cake before beginning. Ha!
Not that cake really need anything else to make it PERFECT, but still, this DIY cake stand is adorable, and you can make it in minutes.
Get the printable how to card for this project below.
Decorate a Cake Stand

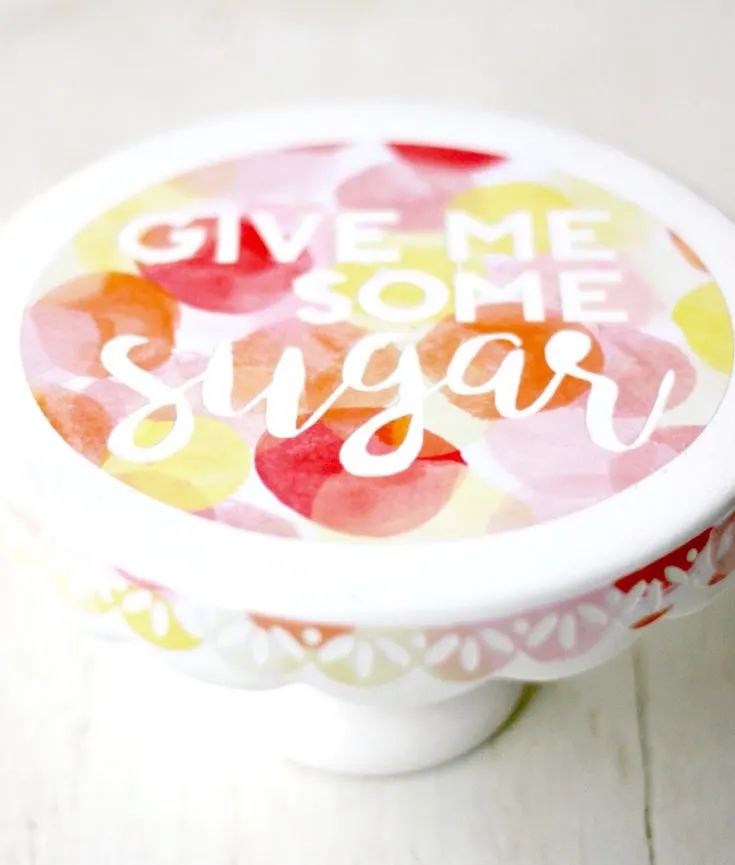
Decorate a cake plate the easy way with Mod Podge! Learn how to do it for parties, decor, and more.
Materials
- Cake plate
- Scrapbook paper
- Dishwasher Safe Mod Podge
Tools
- Silhouette, craft knife and mat, or scissors (something to cut)
- Paintbrush
- Measuring tape
Instructions
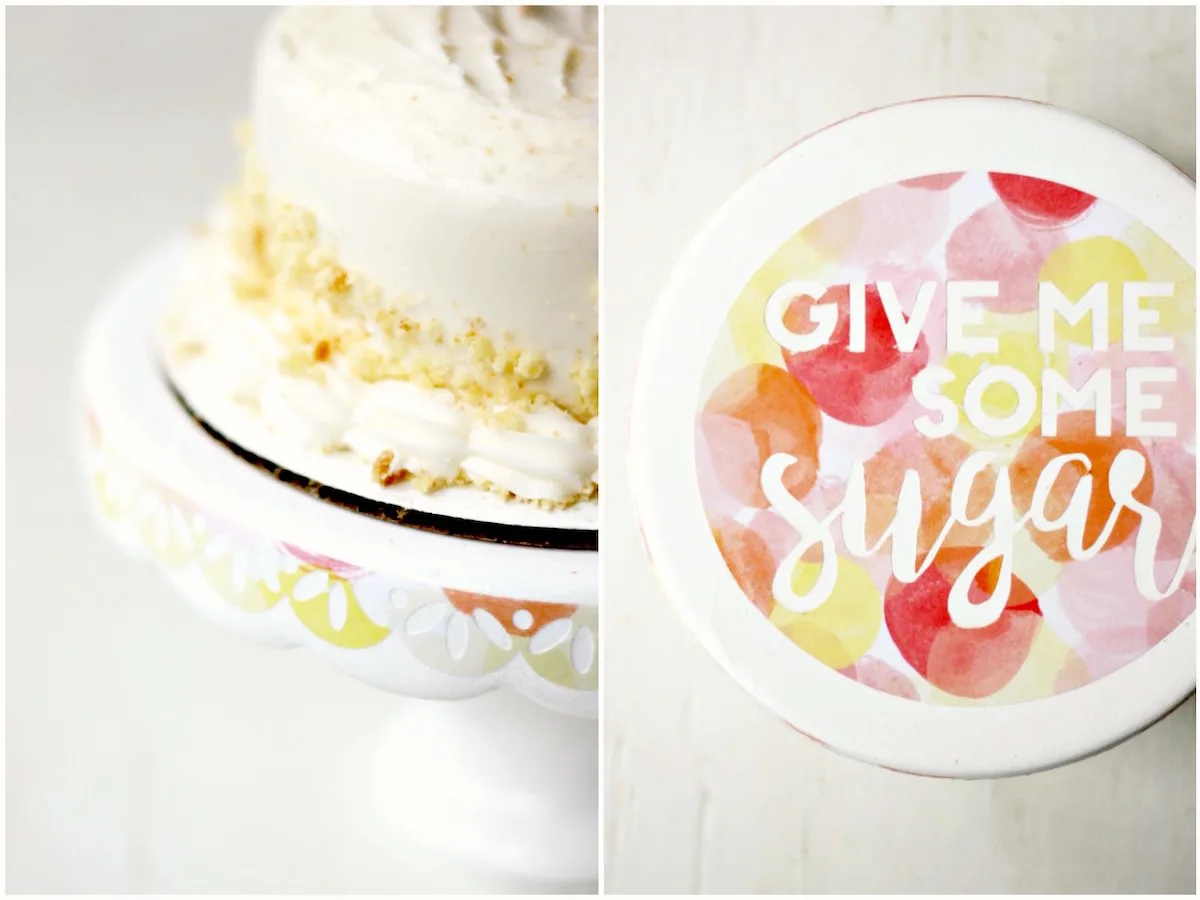
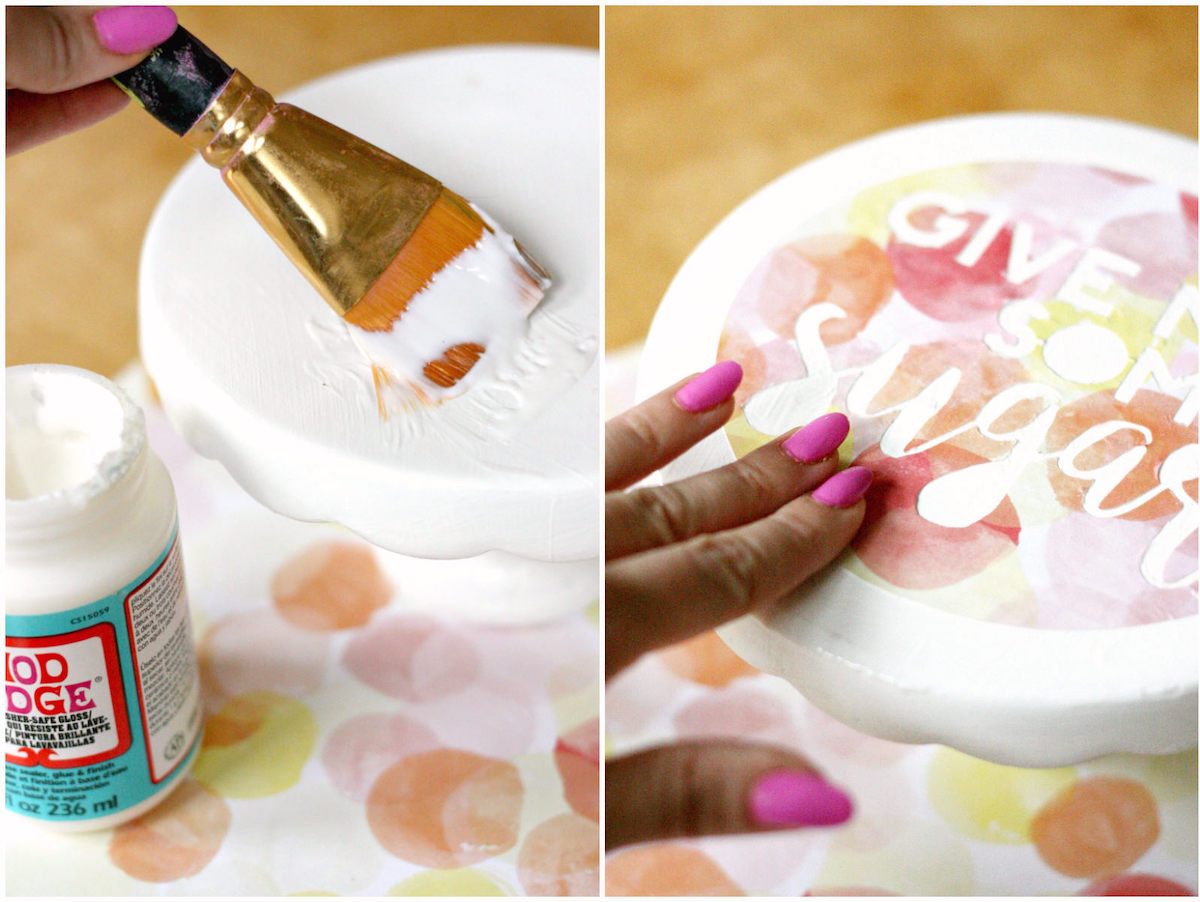
- Start by cutting out your design. Cut a simple circle, a saying (I cut mine with my Silhouette), shapes, etc. You can also cut a border at the same time.
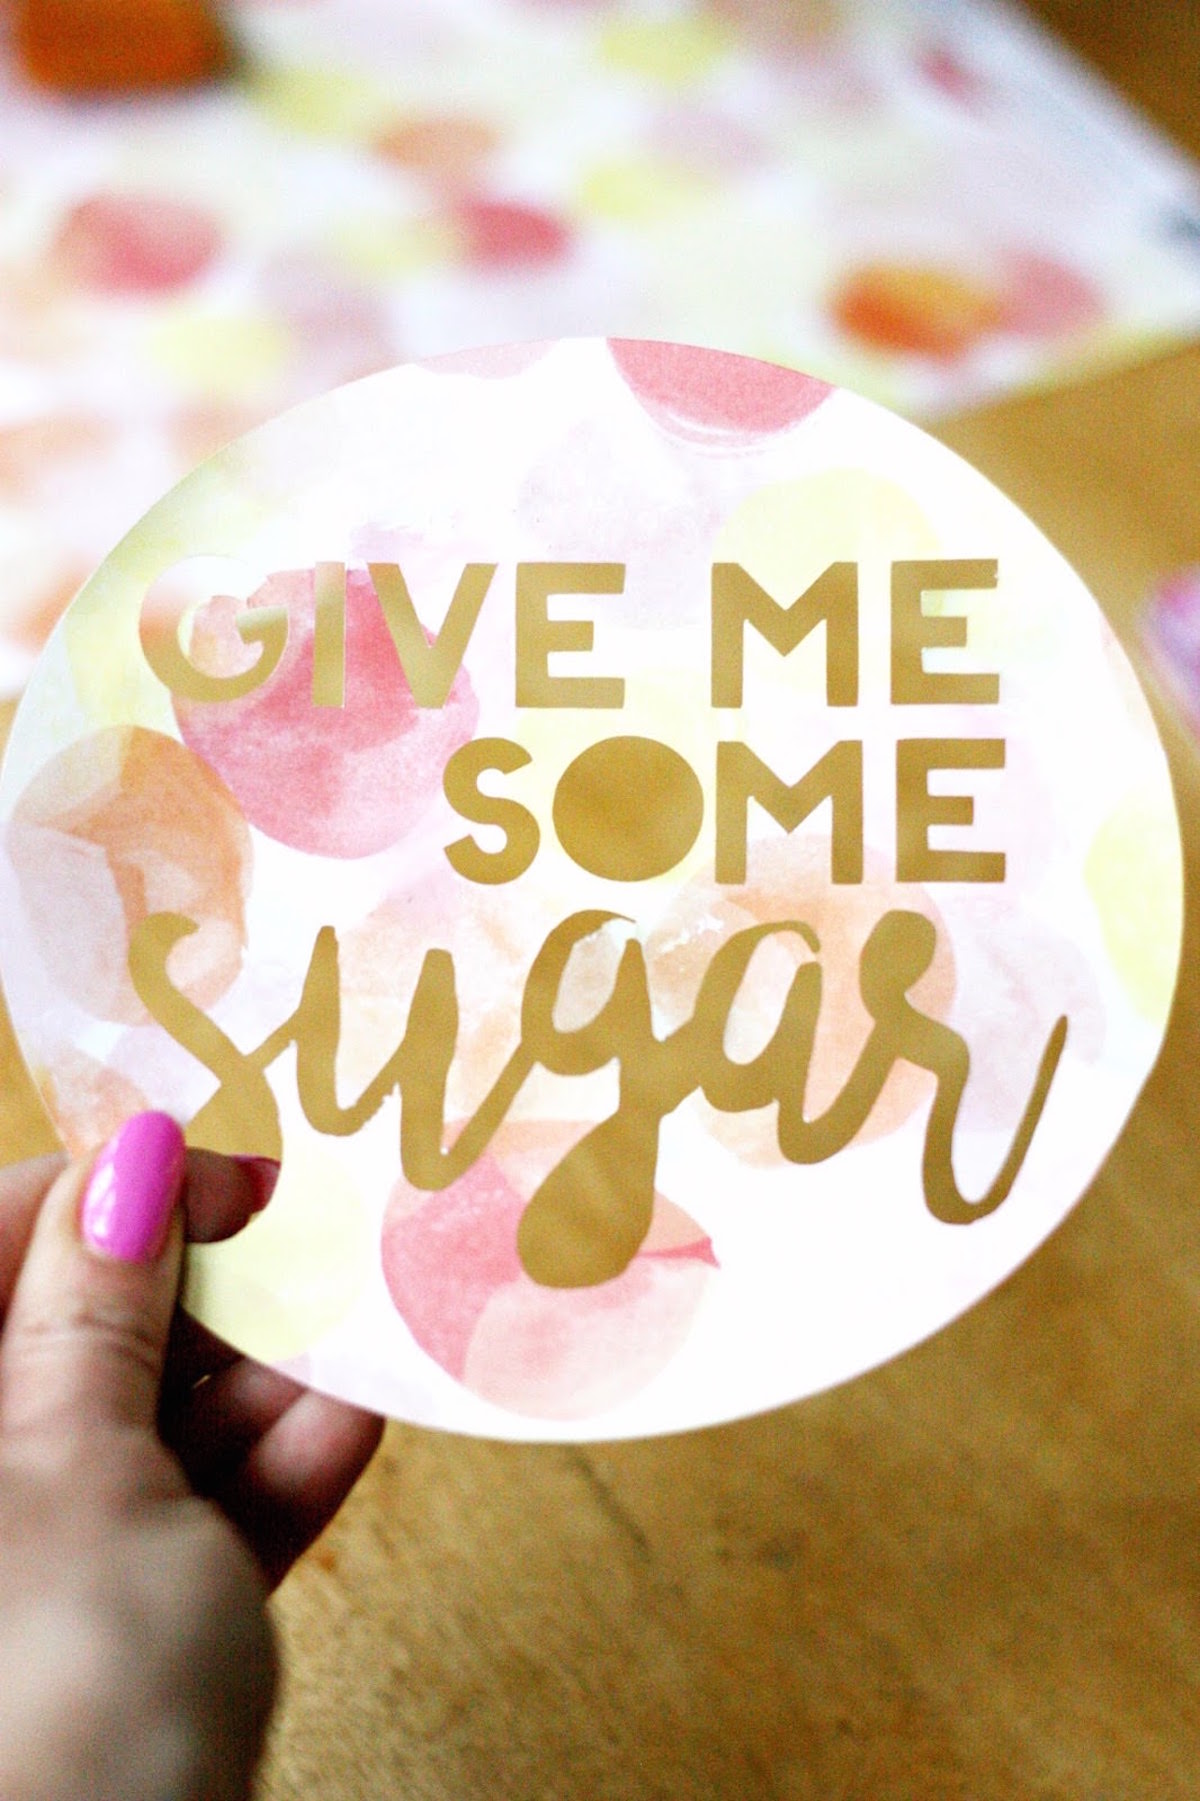

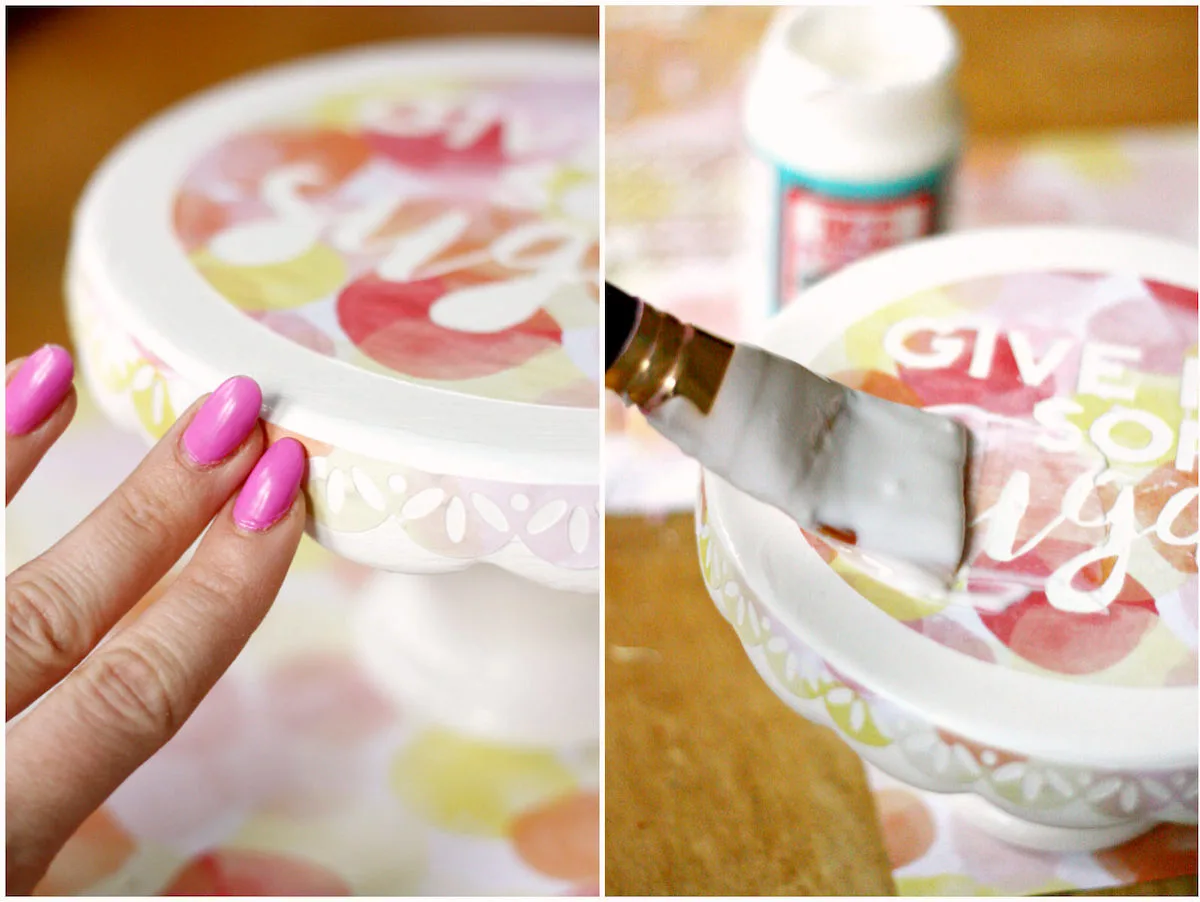
- Apply a generous coat of Mod Podge to the surface of the cake plate and the back of the paper pieces. Then, carefully place the paper on the cake plate and press down, smoothing out all the bubbles. Allow to dry for 15-20 minutes.

- After 15-20 minutes of drying time, apply a coat of Mod Podge to the top of the paper. Let dry.

- You can go ahead and use the cake plate, but you should let it cure 28 days (following label instructions) before washing.

Yay! What fun spring projects have you got up your sleeve? Share away! And be sure to visit us as we blog about style, food, and the things we love over at the Pretty Life Girls. I’d also love for you to visit these other projects:
Special Guest
Monday 18th of April 2016
This cake stand is so cute! I'm obsessed!
Paige https://www.thehappyflammily.com/