DIY Trick or Treat Bags with Halloween Appliques
Have you ever tried reverse applique? Make a DIY trick or treat bag that uses this technique – the results are so cute and perfect for Halloween!
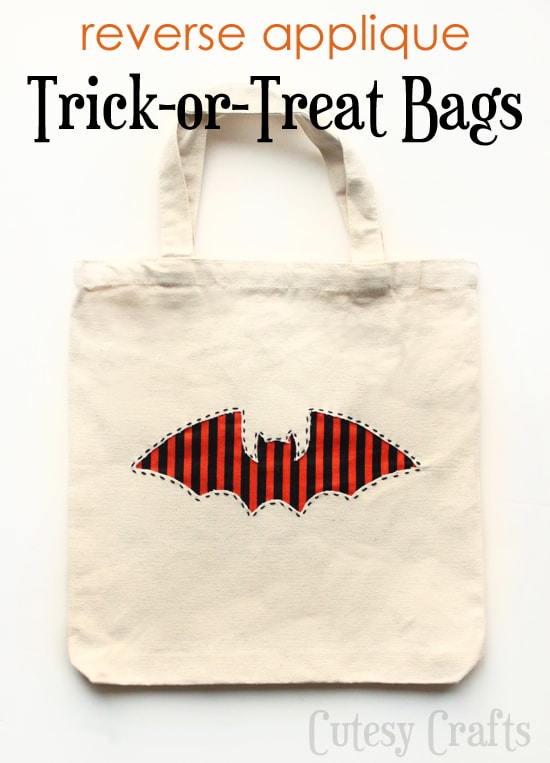
I don’t know what it is, but I just love a reverse applique. Don’t let the term fool you though, these DIY trick or treat bags are so easy to make!
You don’t even have to add the hand stitching to your DIY trick or treat bag if you don’t want to, but the cuteness is definitely worth the effort. My kids are already getting so excited to fill them with Halloween candy!
DIY Trick or Treat Bag
Supplies
- Canvas tote bag
- Fabric (in a Halloween pattern)
- Paper-backed fusible interfacing (Wonder Under or Heat ‘n Bond)
- Embroidery floss
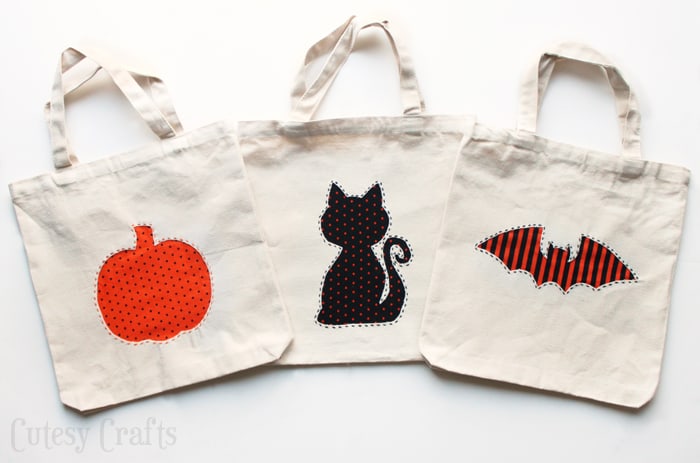
- Free patterns: cat, bat, pumpkin
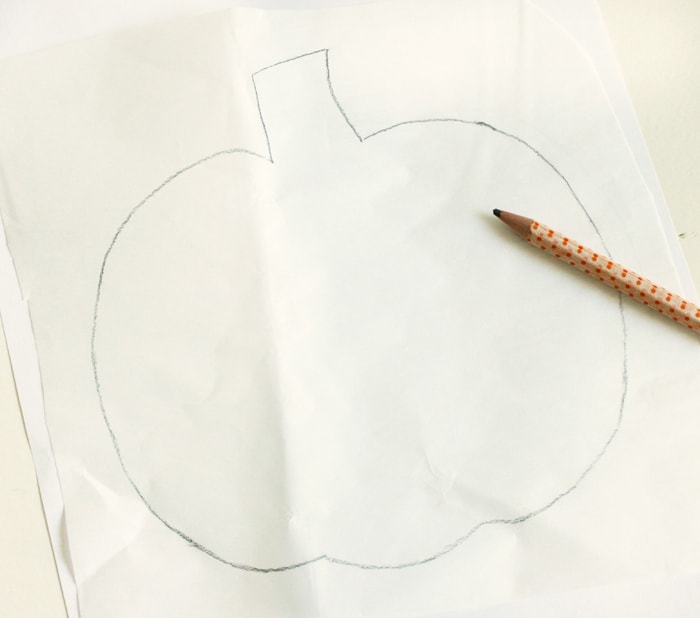
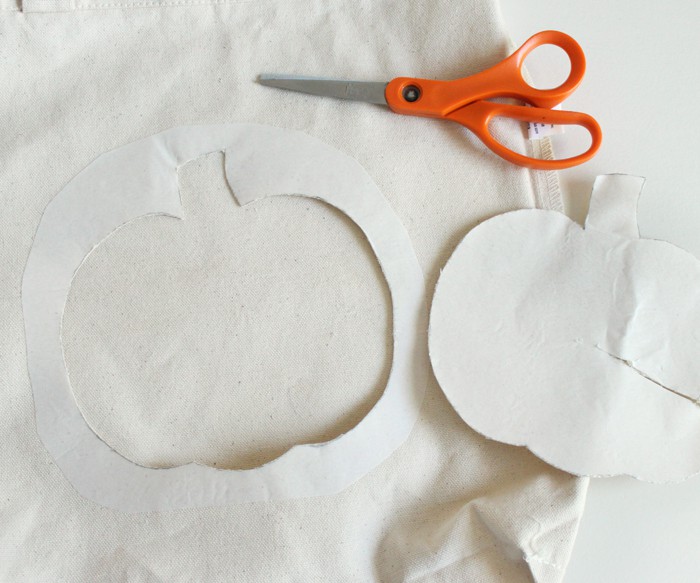
Trace your pattern onto the paper side of the interfacing.
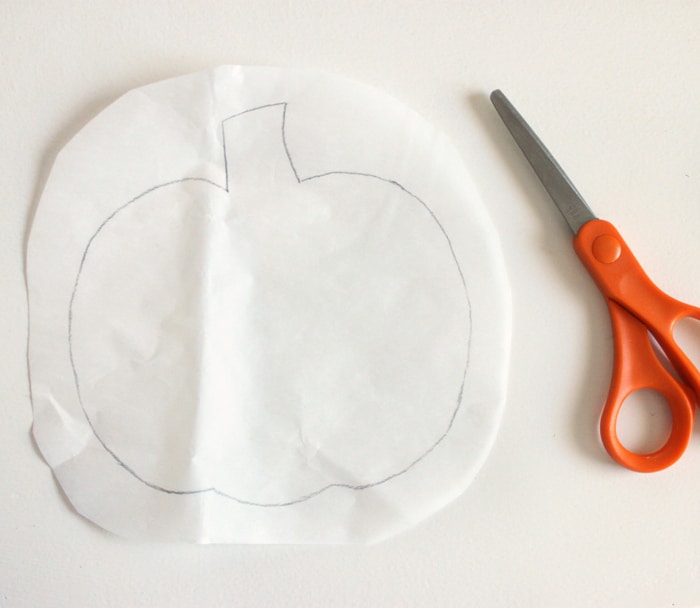
Cut a nice, smooth edge around the outside of the design. That outside edge is going to be staying on the bag, so you want it to look nice.
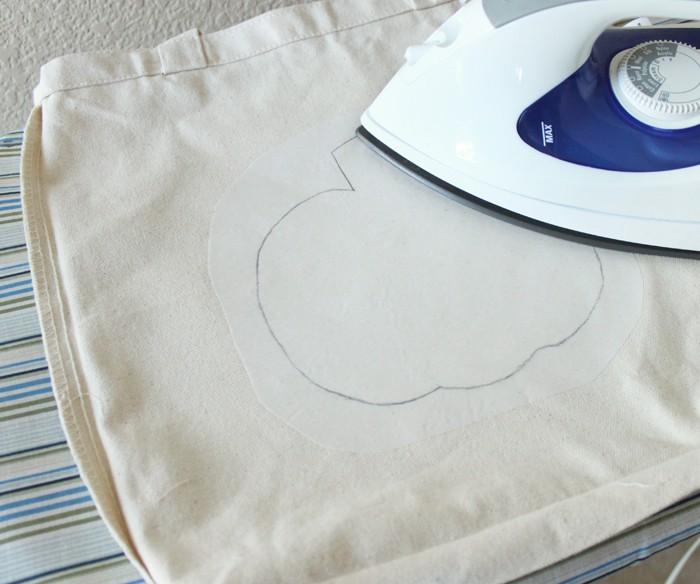
Turn your tote bag inside out and place the interfacing in the middle. Make sure the paper side is up and iron it down with a hot, dry iron.
Cut out the design. Remember that this is a reverse applique, so the inside is your scrap piece. You’ll notice that the cat pattern I’ve provided is slightly different than the one you see on my bag. That’s because I cut into the wrong part of the bag and had to improvise. Oops! Learn from my mistake!
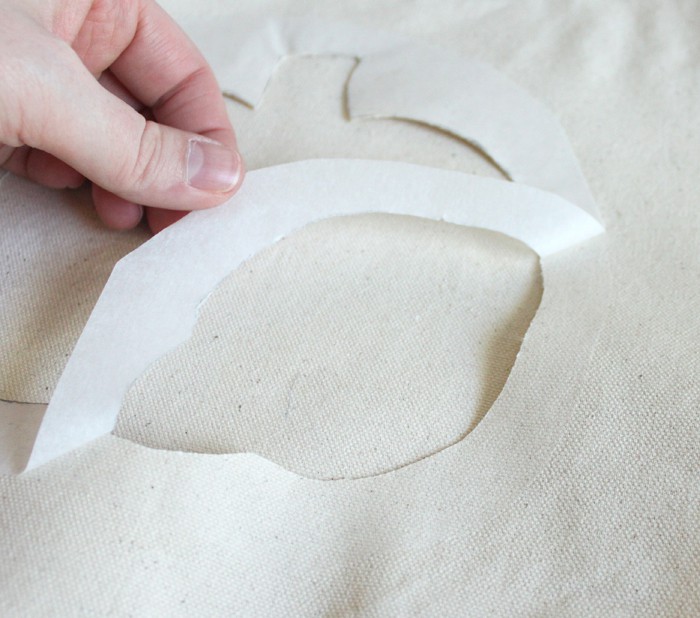
Peel the paper backing off.
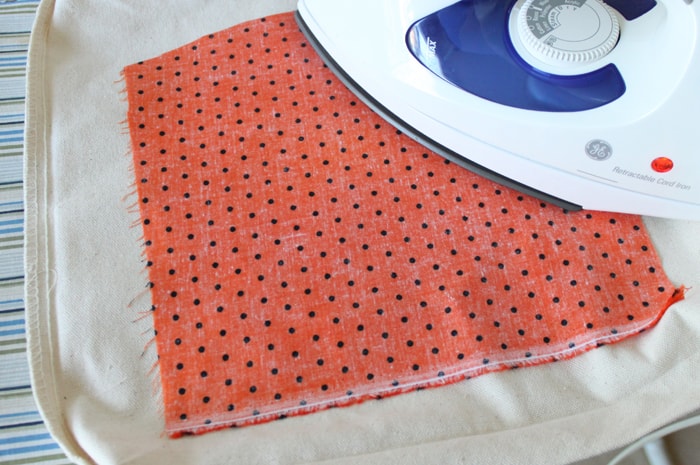
Cut a piece of fabric slightly larger than the interfacing, and lay it face down on top of your bag. Make sure it’s covering all of the interfacing so you don’t gunk up your iron. Follow the instructions on your interfacing, and iron the fabric down.
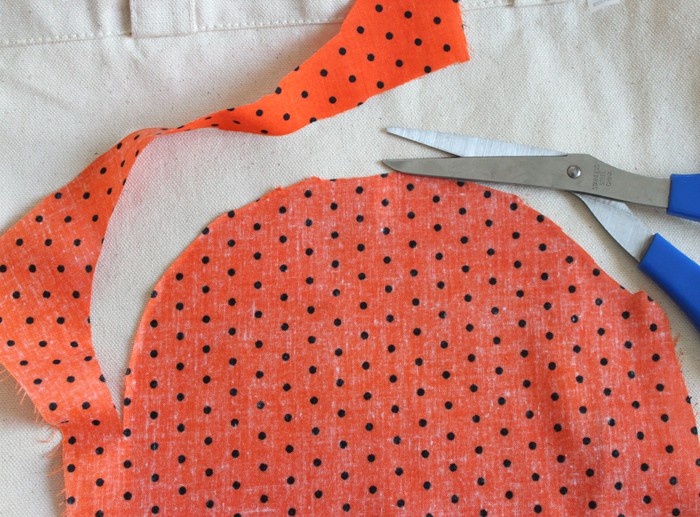
Trim off the excess fabric.
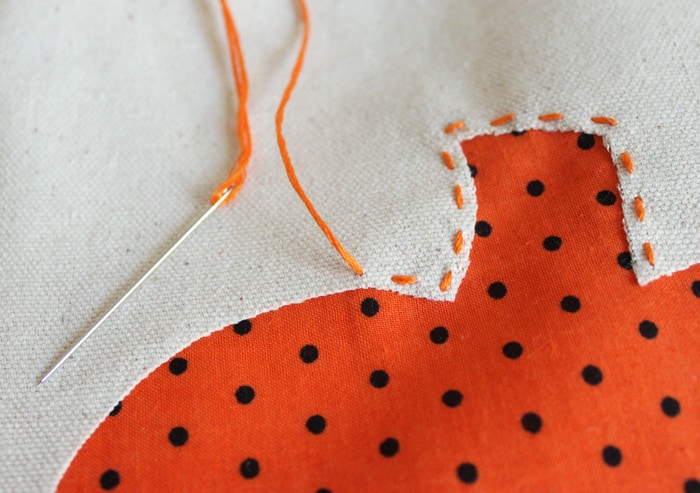
Turn the bag right-side-out. Do a running stitch around the outside of the design with a full strand of embroidery floss. Like I said, this isn’t 100% necessary, but I recommend using a strong interfacing if you aren’t going to sew it. (Heat ‘n Bond Ultrahold or Pellon 725 should do the trick)
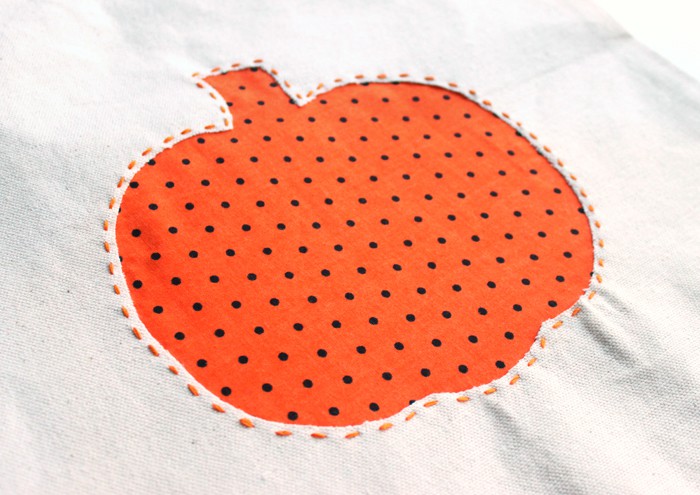
I think the bat one is my favorite DIY trick or treat bag. How about you? Can’t wait to have the kids try them out on Halloween!
Check out my blog, Cutesy Crafts, to find more great ideas. I’d also love for you to visit the following projects:


What size tote bags are being used 🙂