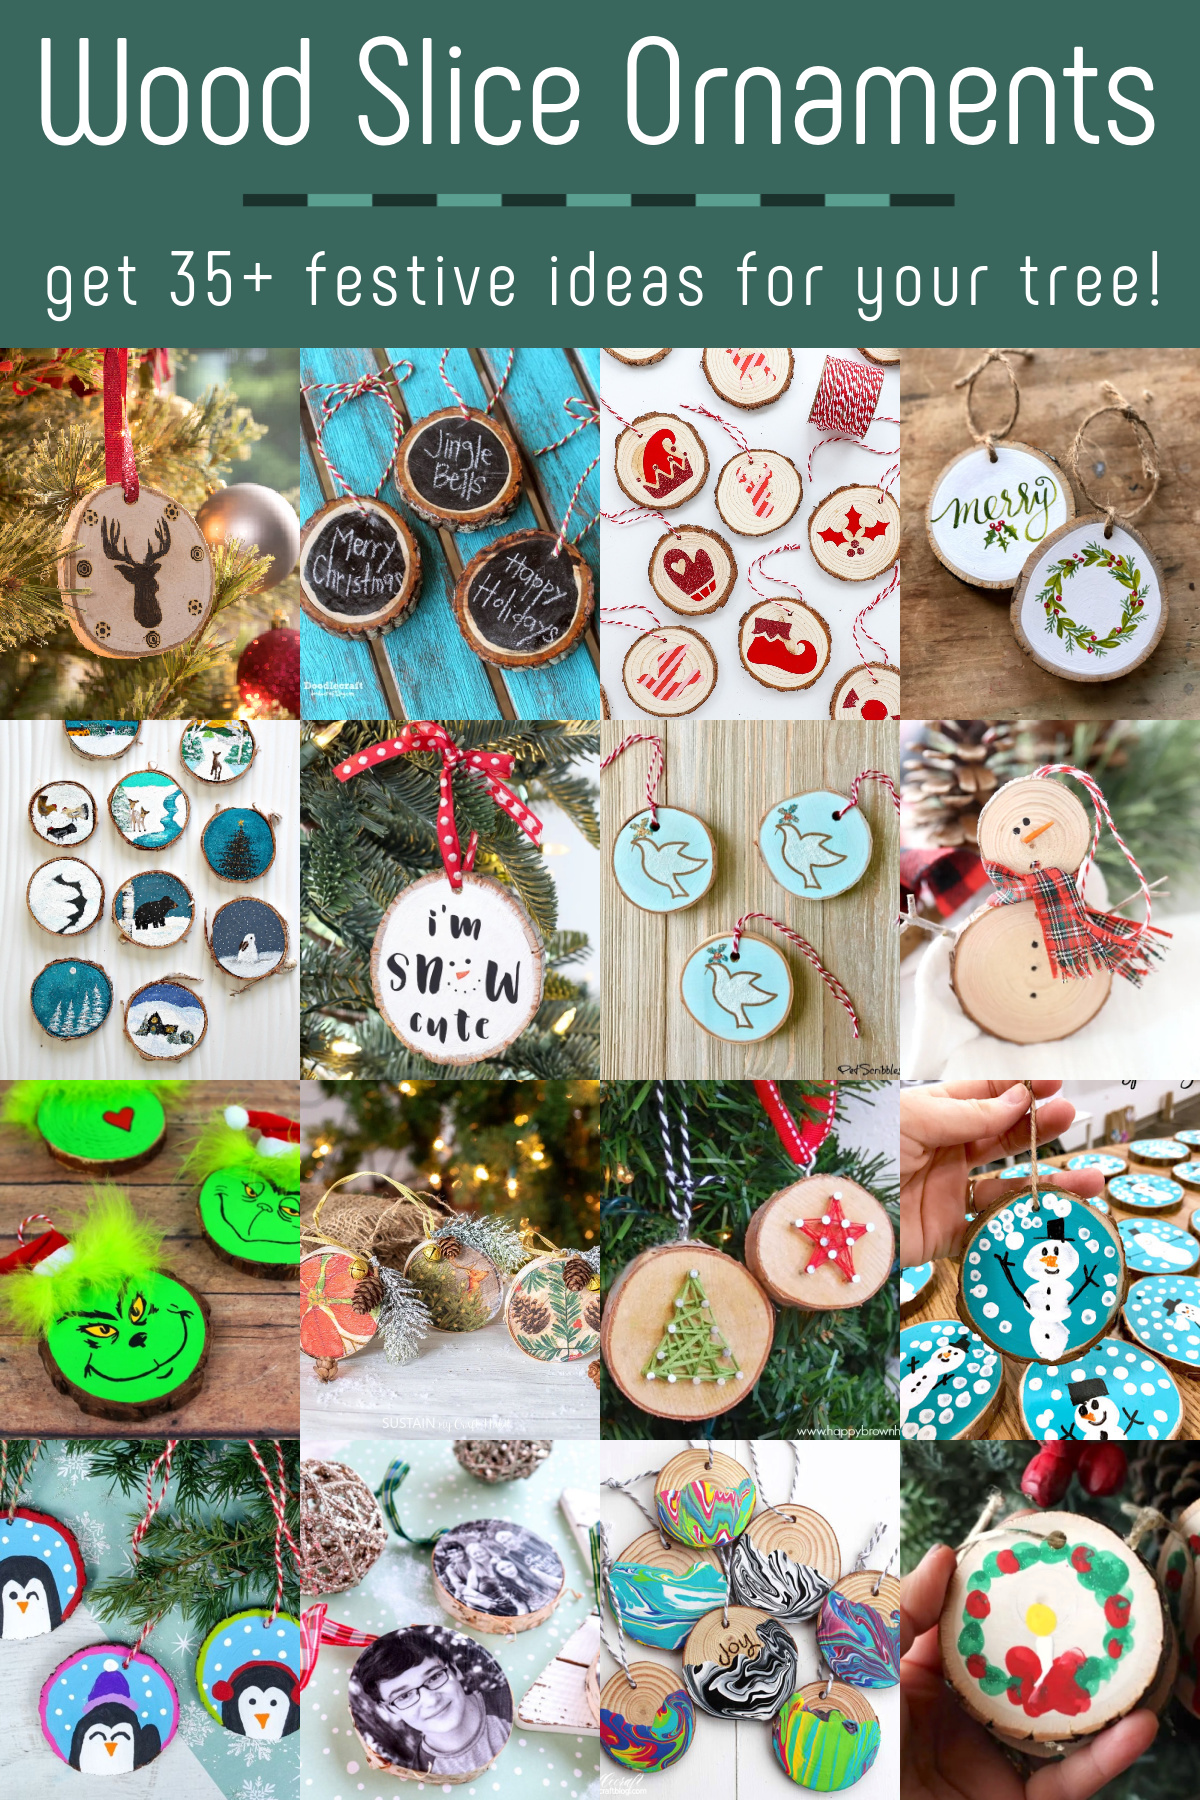
You’re going to love these wood slice ornament ideas perfect for your Christmas tree or handmade gifts! These use a variety of craft materials and are great for beginners.
We love making Christmas ornaments around here! And there’s a very specific reason. Because an ornament is a Christmas craft that is able to meet three holiday objectives: 1) gift tag; 2) tree decor; 3) personalized gift.
Sometimes a handmade ornament is d) all of the above!
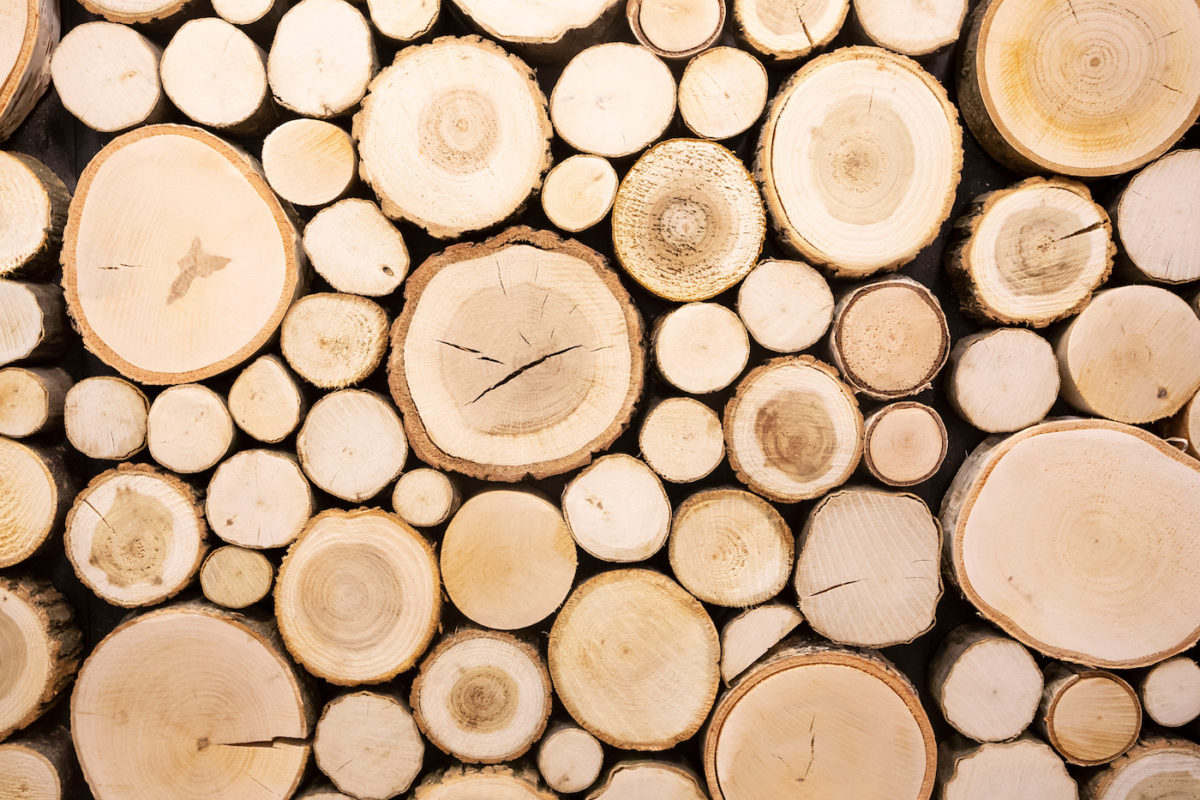
There are all sorts of materials to use for ornaments – like felt, glass, and paper. But one of my favorite surfaces for an ornament? Wood slices!
I love the natural look of this surface, and if you’re here, you probably do too. I’m excited to share with you over 35 wood slice ornament ideas I think you’re going to love!
The list is at the bottom.
But before that, I wanted to share some tips and FAQs with you. If you’re ready to craft, just skip down to get the ideas. If you want to make your own wood slices, read below.
How do you prepare wood slices to make ornaments?
If you cut your own, you’ll need to dry them. If you buy from the craft store, they are ready to craft with immediately.
I have used both wood circles purchased from the craft store in projects as well as ones that were cut from tree branches. Here’s what you should know about both scenarios.
Buying Wood Circles
Wood slices are readily available at most craft stores, but personally they are a crafting surface I always buy online. I tend to use them in a lot of different projects, so I buy large packs and just use them up. If you purchase wood circles online, make sure they are already dried.
Cutting Wood Slices from a Branch
If you’re going to cut your own, it will likely be free, but you’ll also have to go through some steps. You need a chop saw or miter saw, and you’ll cut the branches to whatever width you need for your project. Then you need to wipe away the sawdust and let them dry before using.
But here’s the catch – usually the rule for drying out wood is a year for every inch of thickness. This would mean that, depending on the thickness, it’s going to be about 3 – 6 months before you can use them.
If you cut down a tree in spring, that time frame could work depending on when you want to make your ornaments. Otherwise . . . read the next section for drying information.
How do you dry wood slices?
You can let wood dry naturally (which takes a lot of time), but my other favorite methods that cut to the chase are using denatured alcohol and baking. I discuss both below.
Baking
If you cut your own wood, baking is the easiest option. To do this, set your oven to 200°F and place the slices in on a cookie sheet. Leave for 45 minutes, then flip over to the other side.
This is an easy, fast method – but you will lose some of the wood to cracking. So make sure you have a lot of slices (you can also embrace the cracks as part of the aesthetic).
Denatured Alcohol
Another option is to use denatured alcohol. This blog post describes the details of the method, but essentially you will let the wood sit in a bath of denatured alcohol for about 24 hours, and then dry out for 24 hours.
Keep in mind that this type of alcohol is toxic, so you would have to be careful about how and where you use this method.
Are you ready to check out the wood ornaments? Take a peek at the list and let me know your favorite in the comments! And if you have a favorite technique I haven’t shown, let me know that too. Happy crafting!
DIY Wood Slice Ornaments
1
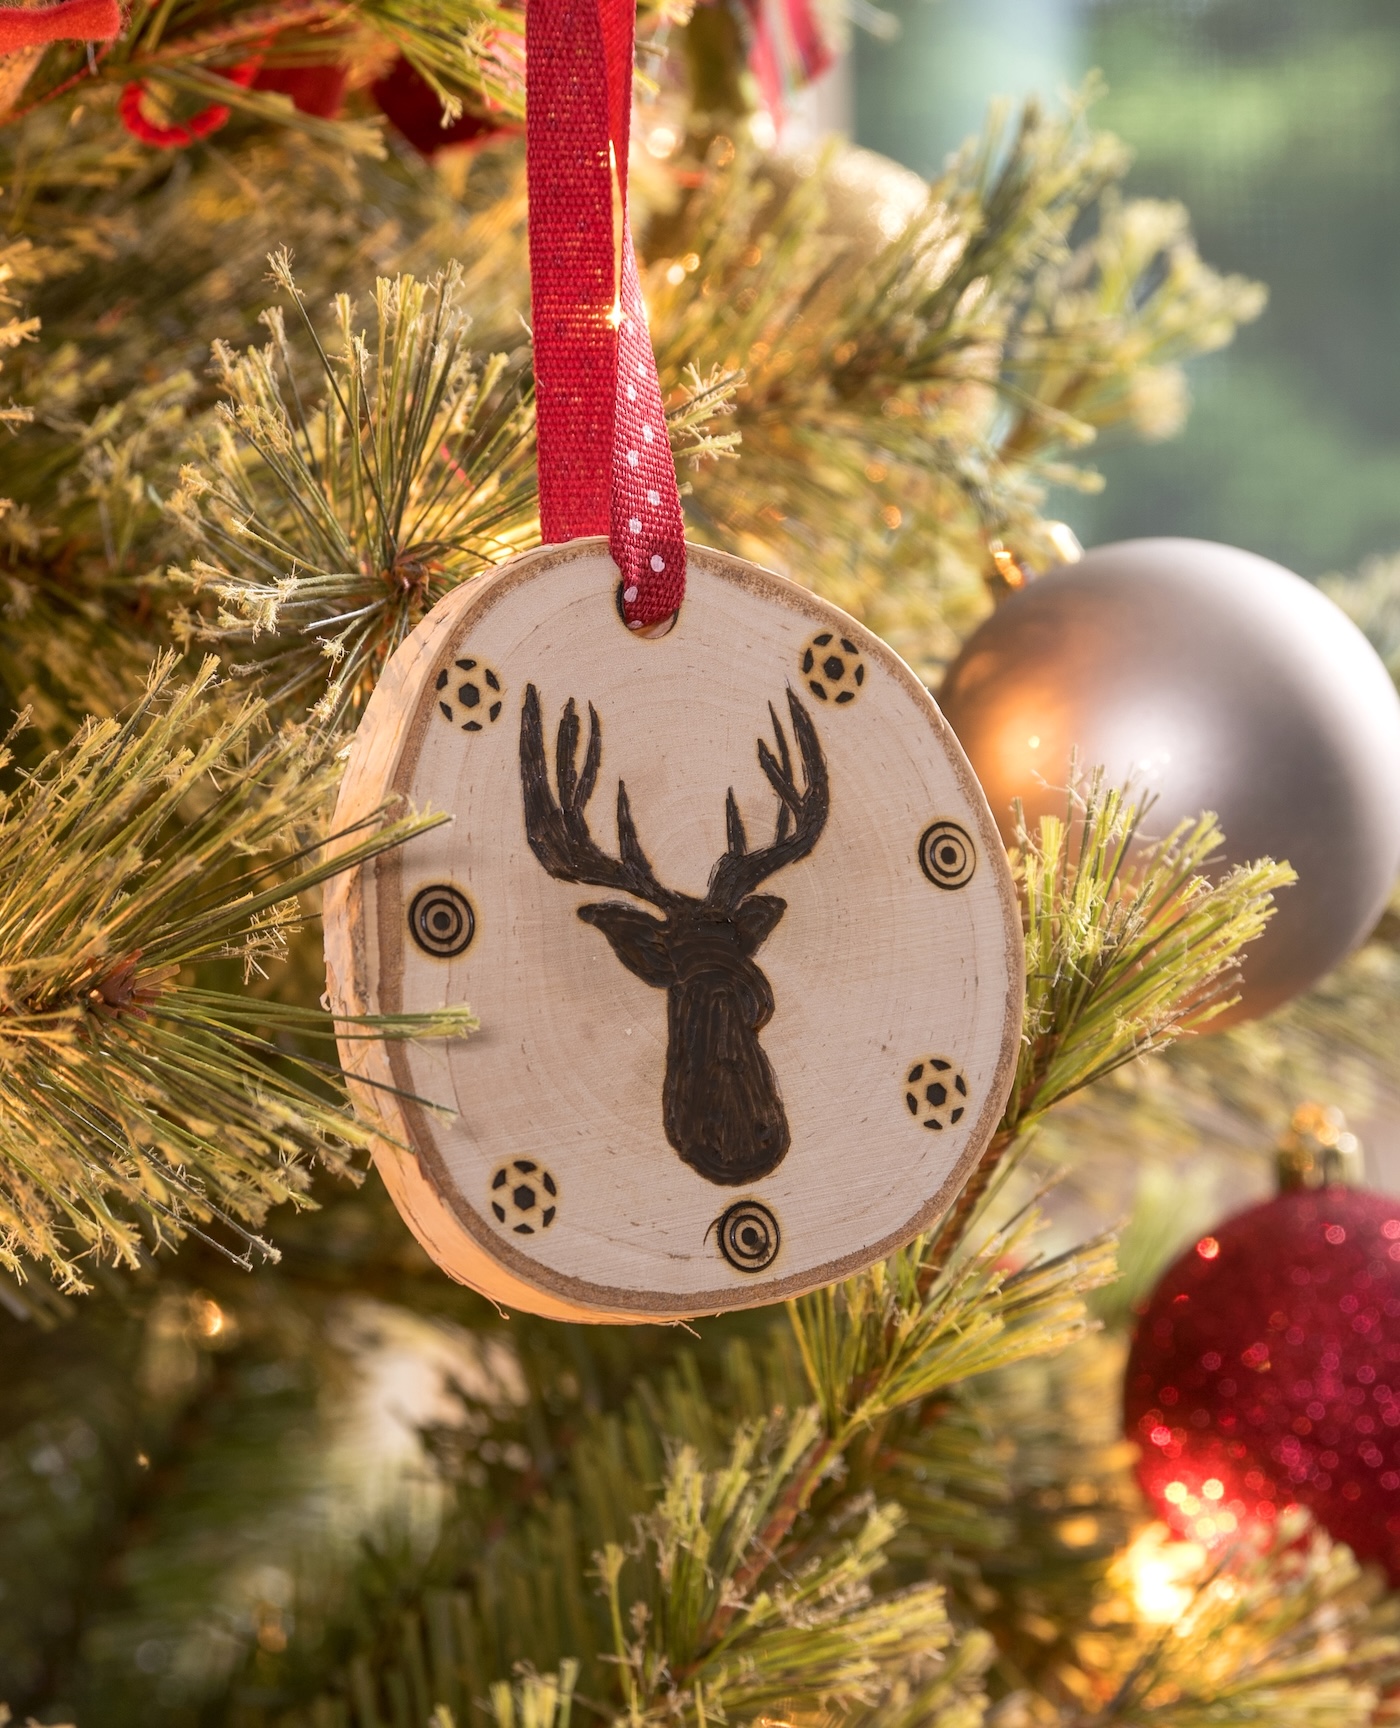
Wood Burned
Learn how to make wood slice ornaments for your Christmas tree and other holiday decorating. These are SO easy and inexpensive.
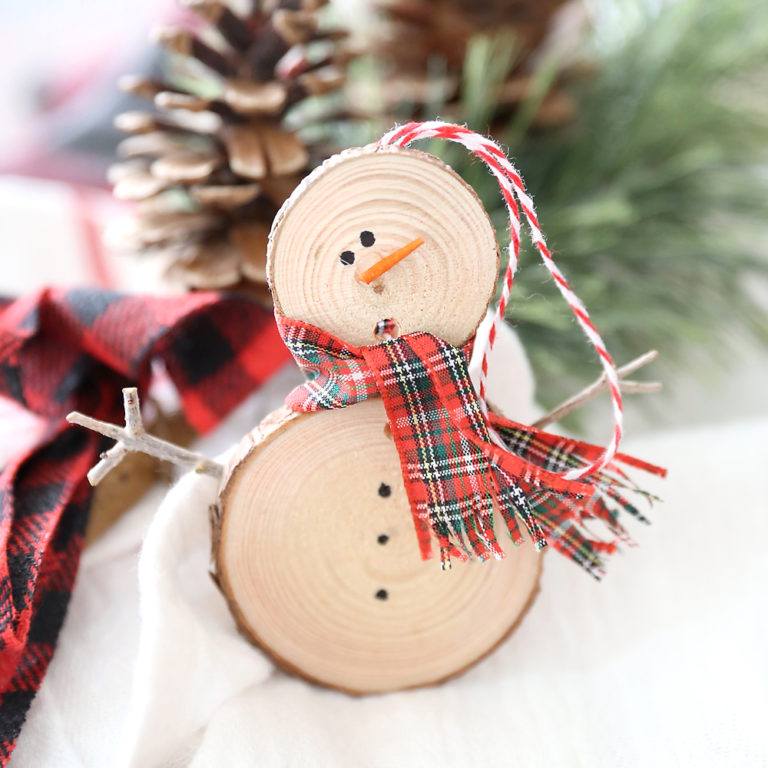
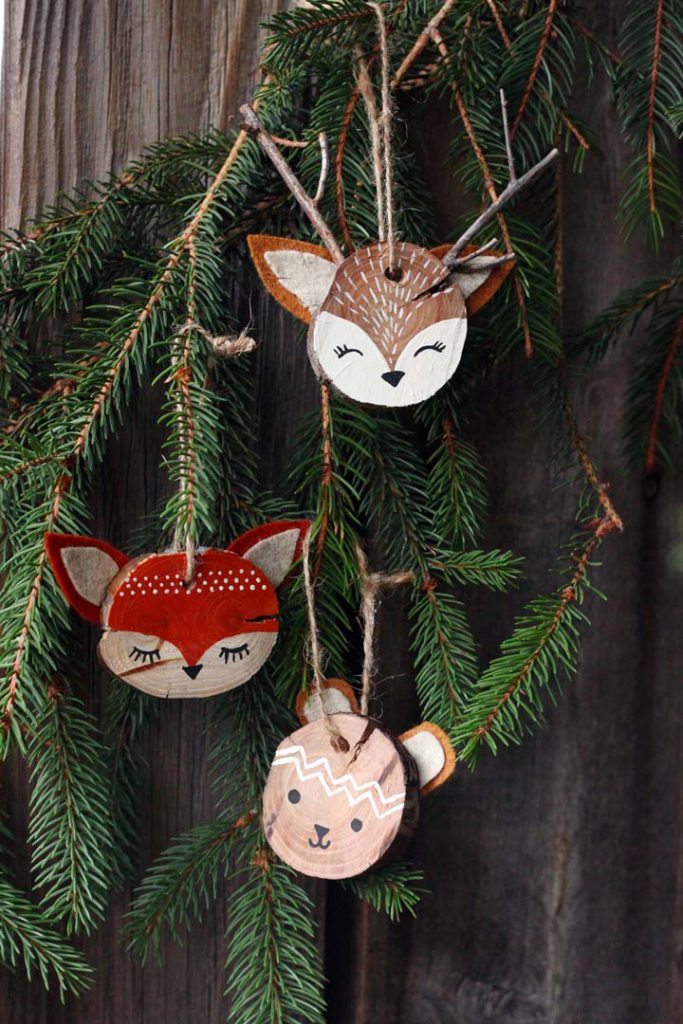
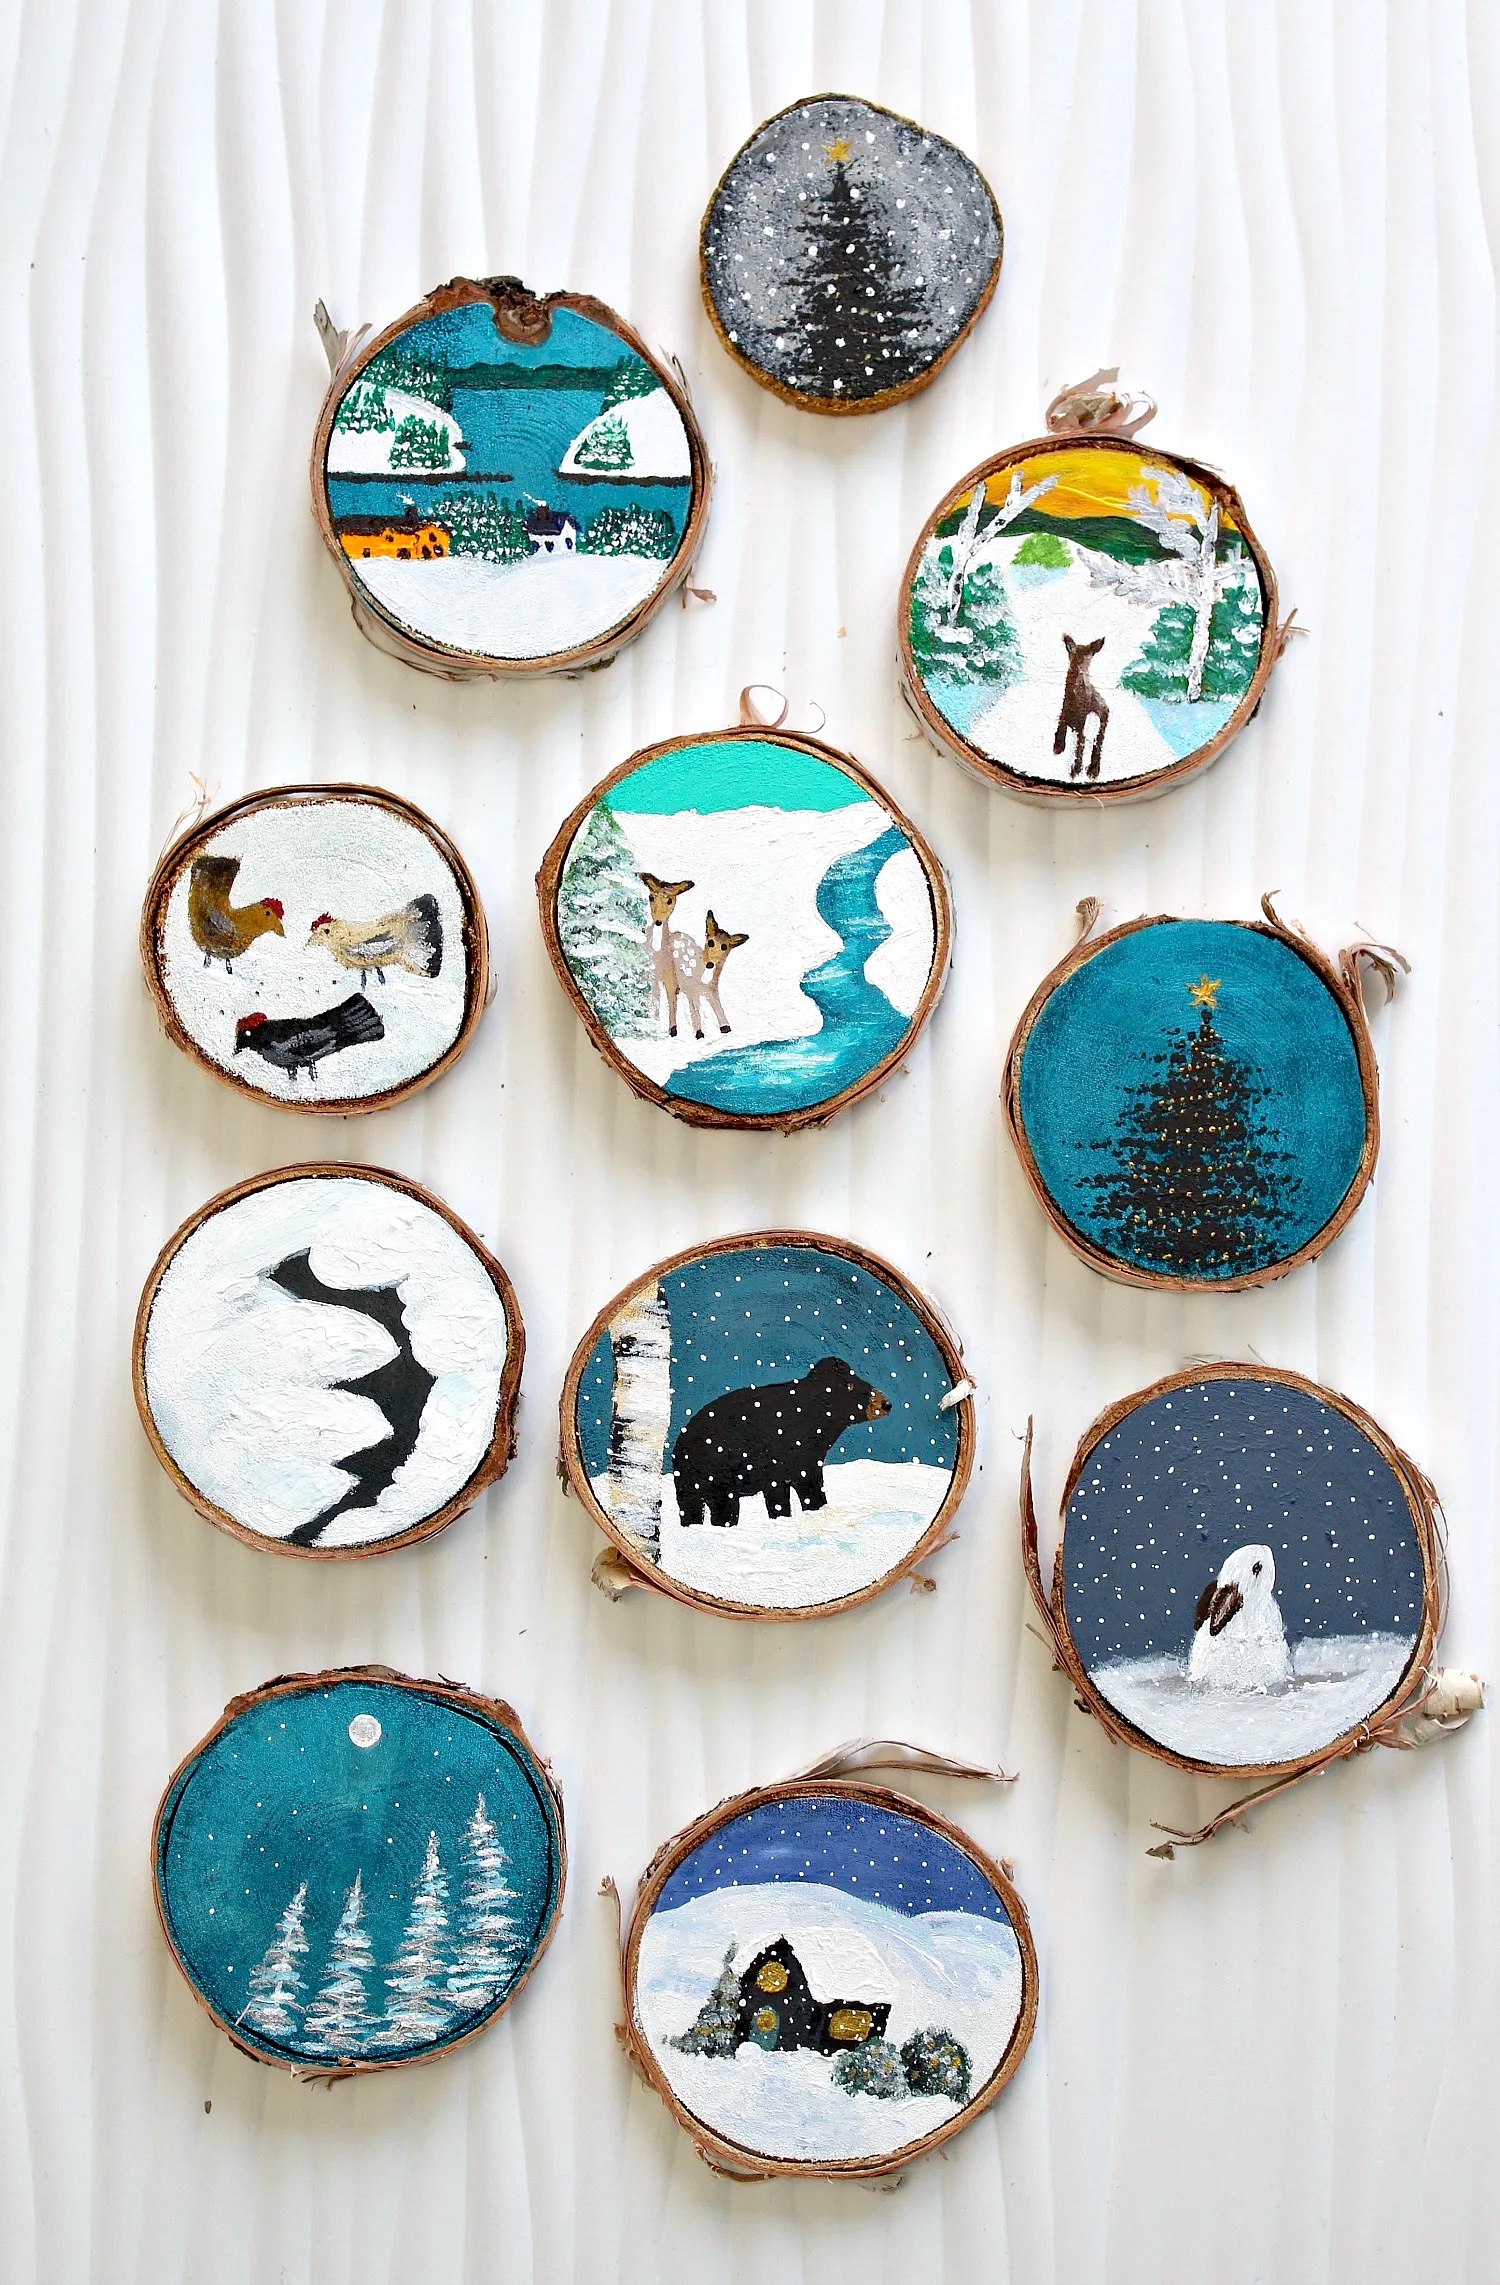
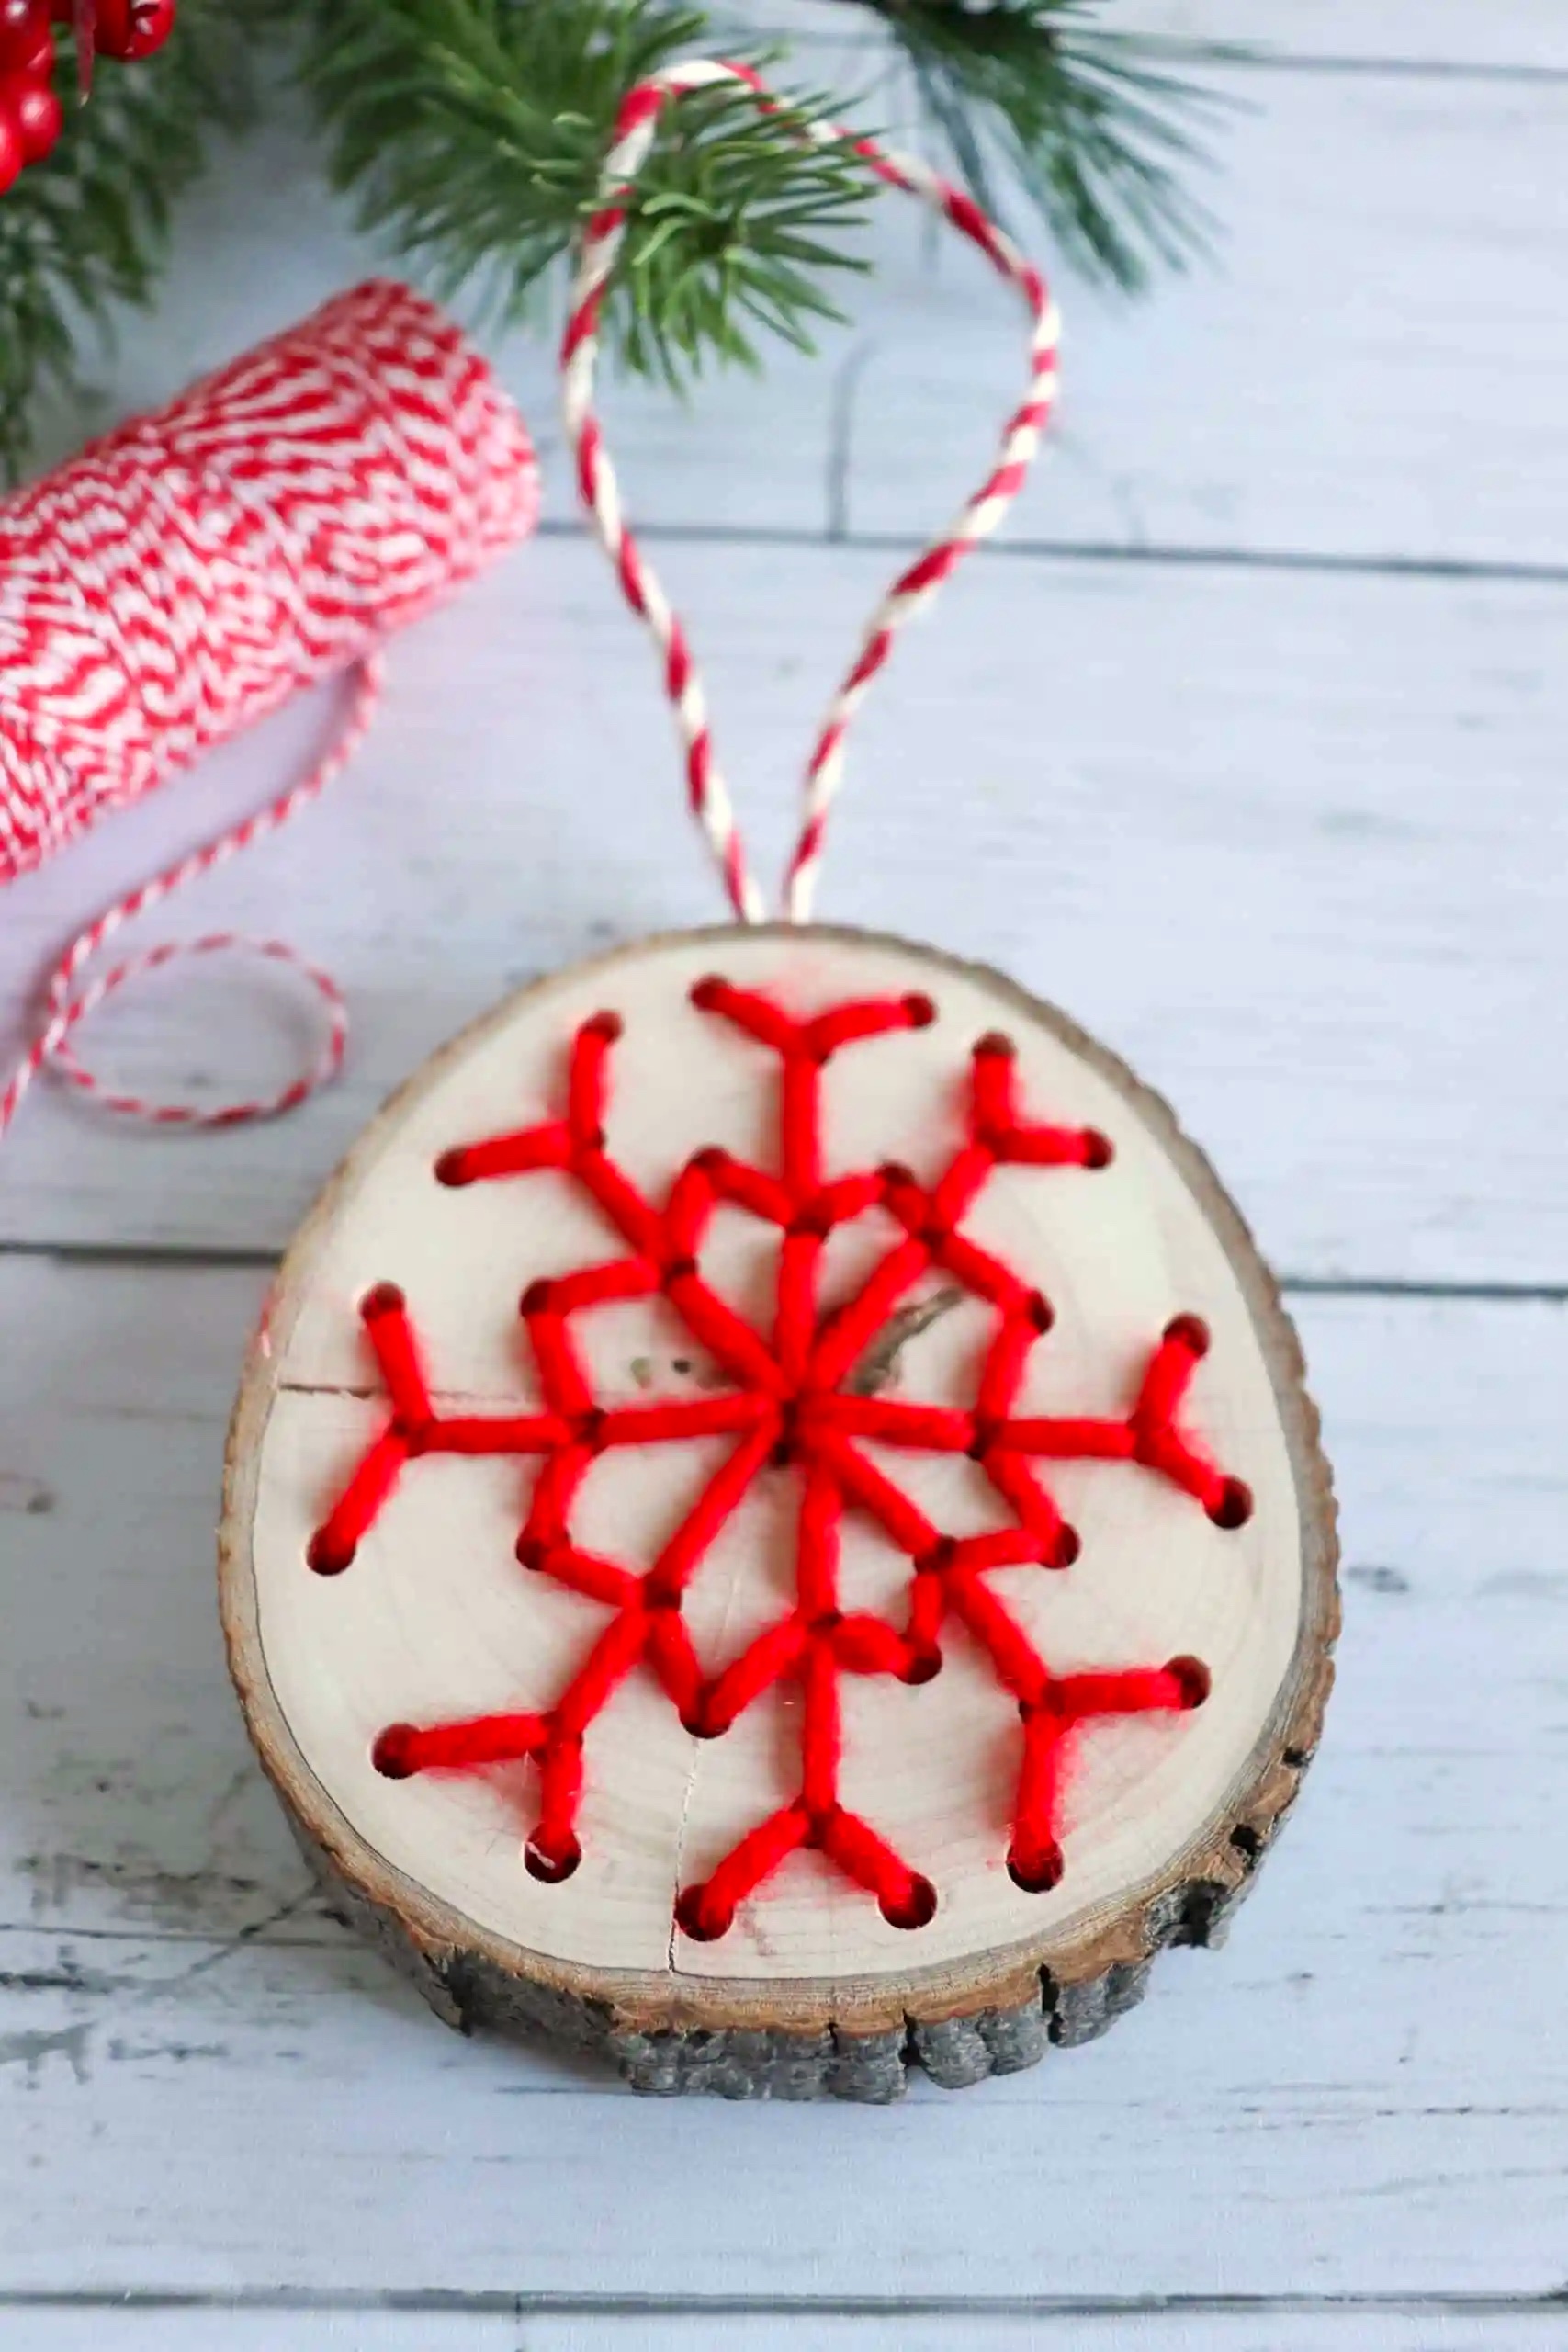
Make your Christmas extra special with hand painted wood slice ornaments you can make yourself! There are easy step-by-step instructions so you can achieve similar results.
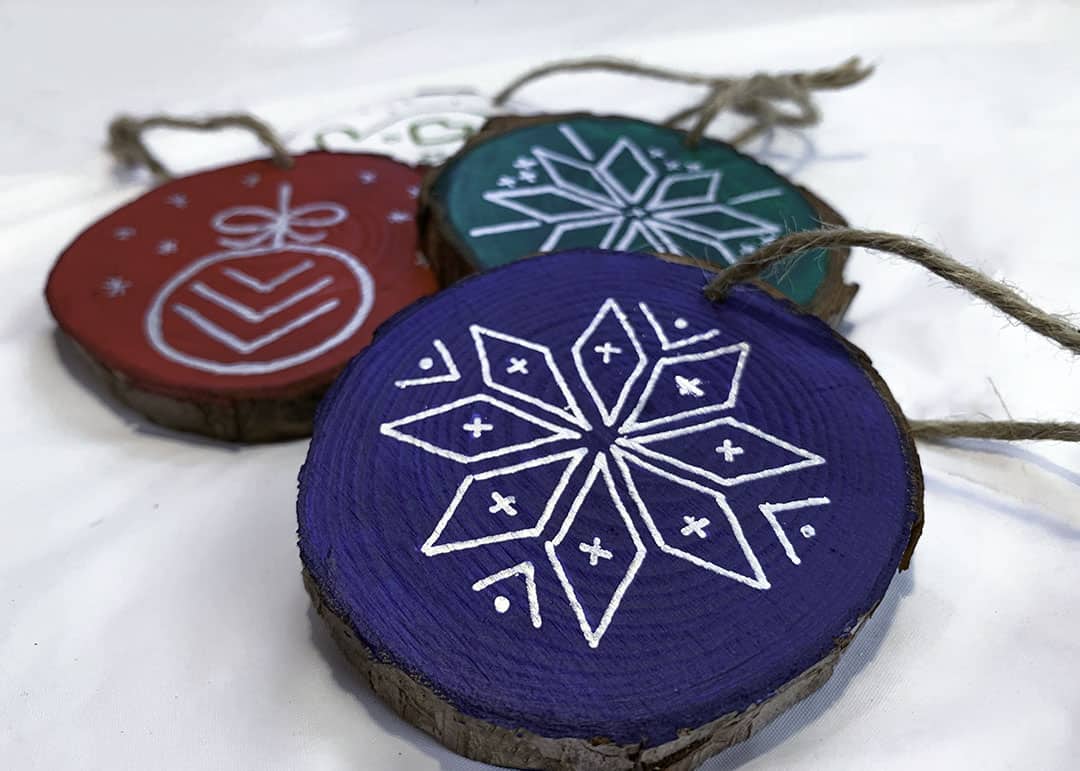
Make your own DIY painted birch slice ornaments for your Christmas tree or to give as handmade ornaments or gift toppers. You're going to love these beautiful designs!
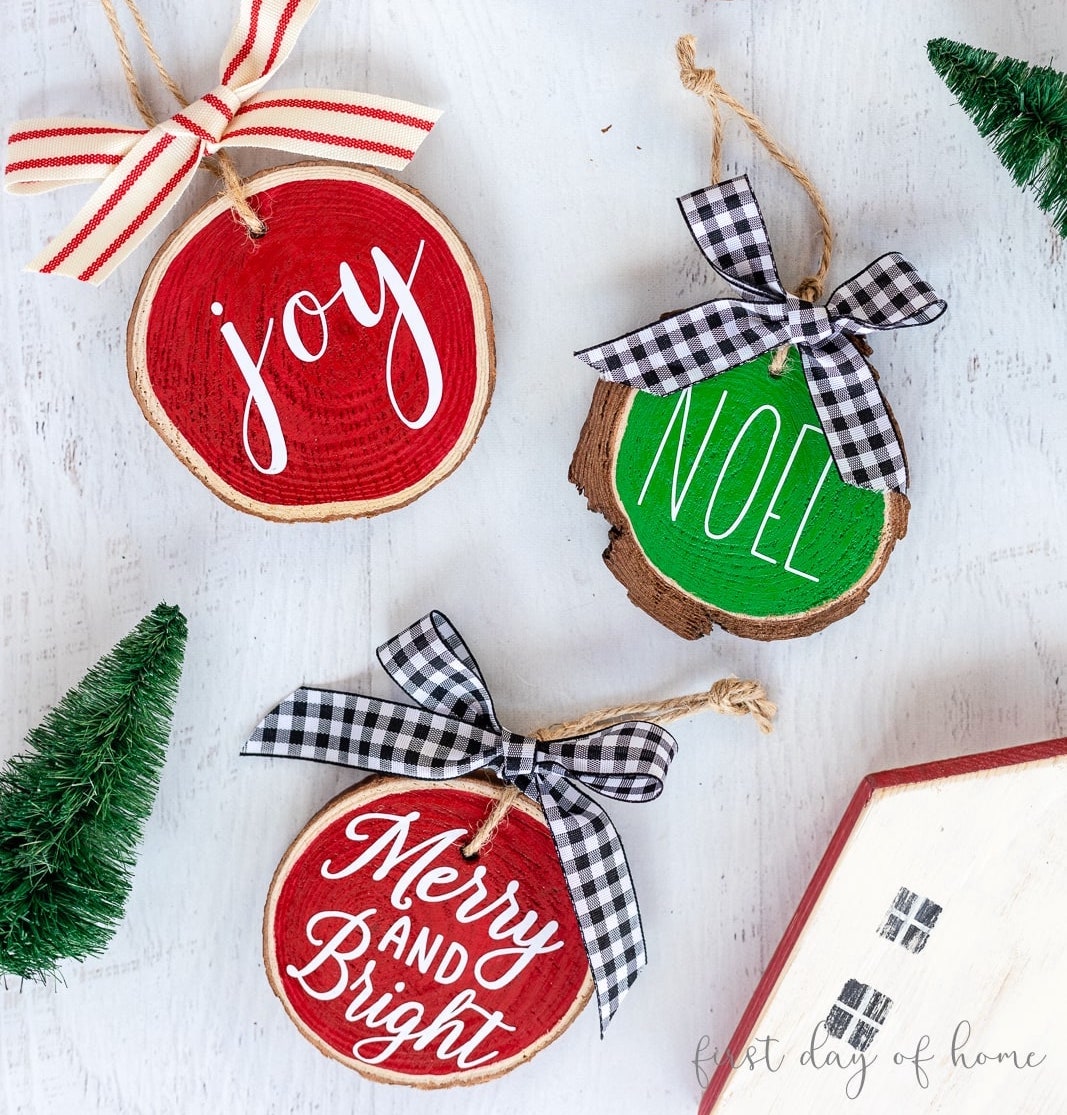
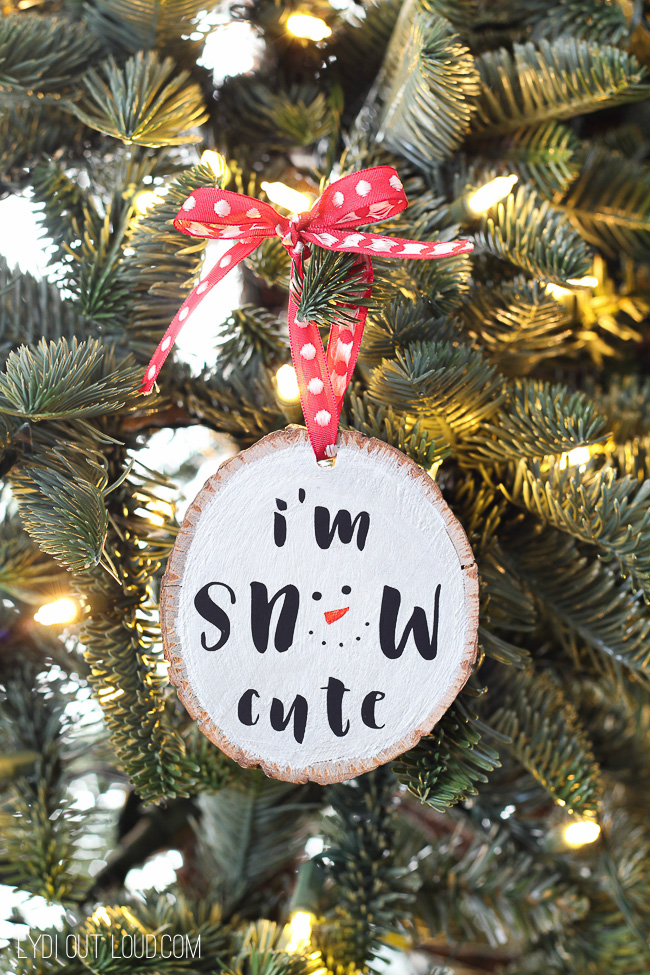
Crissy shows you two different wood slice ornament ideas, but I love the one with the vinyl stickers using a Cricut! Paint the rounds, add a word or phrase, and tie on a ribbon. Done!
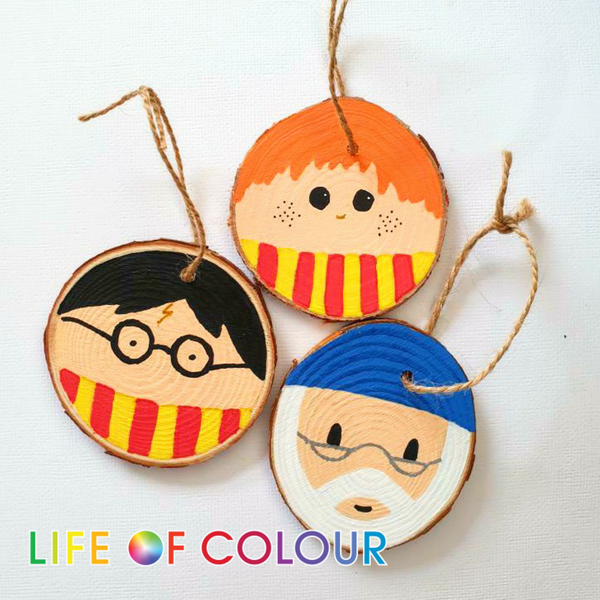
You'll only need wood slices and paint pens to make this wizarding craft! Start with Harry Potter, Ron Weasley, and Dumbledore. Then make your way into the entire collection of witches and wizards!
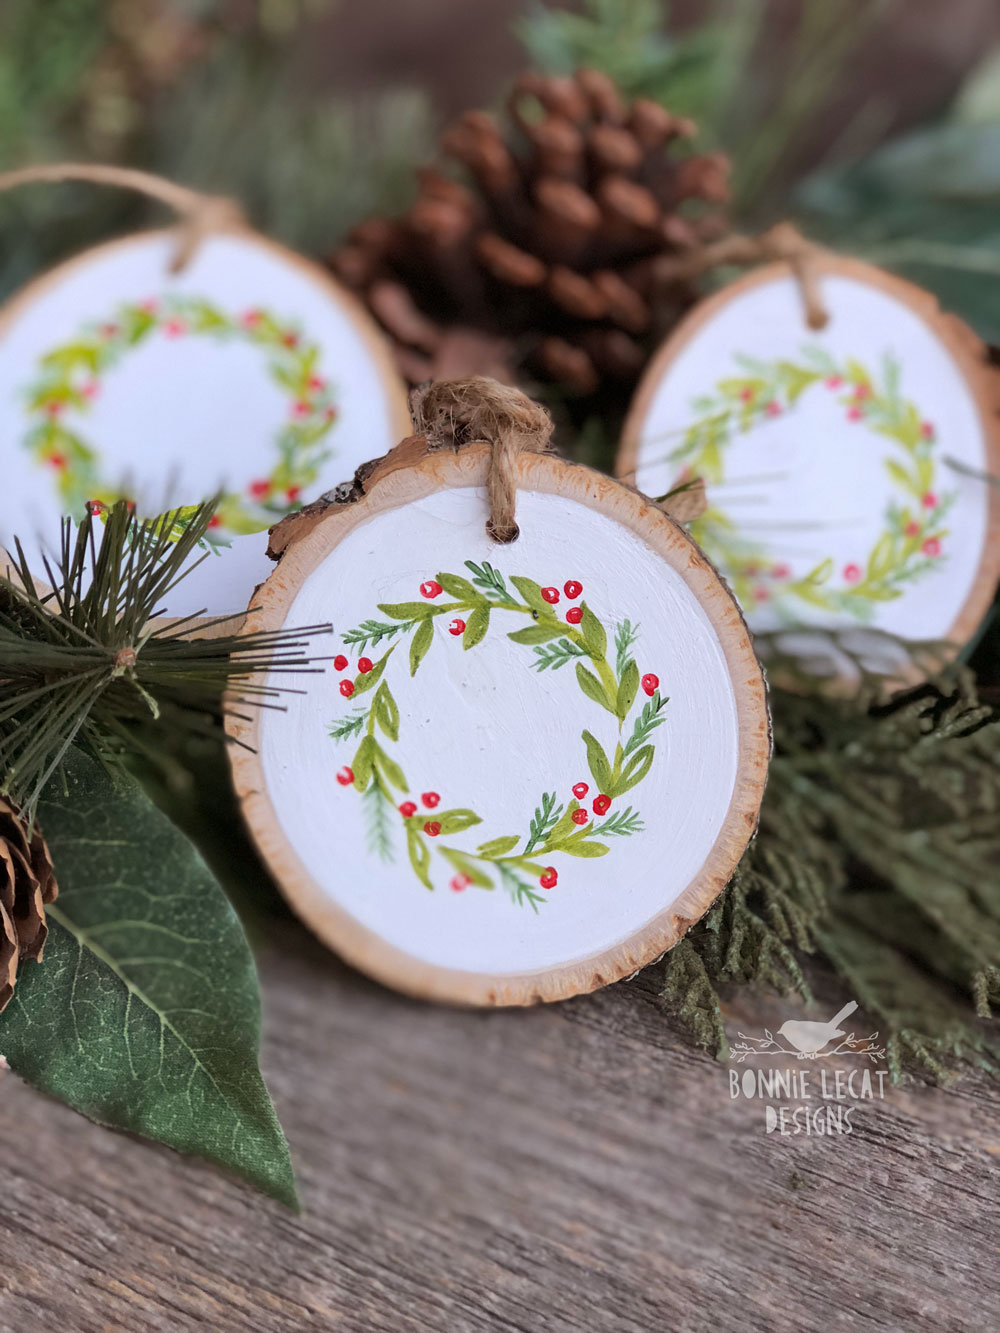
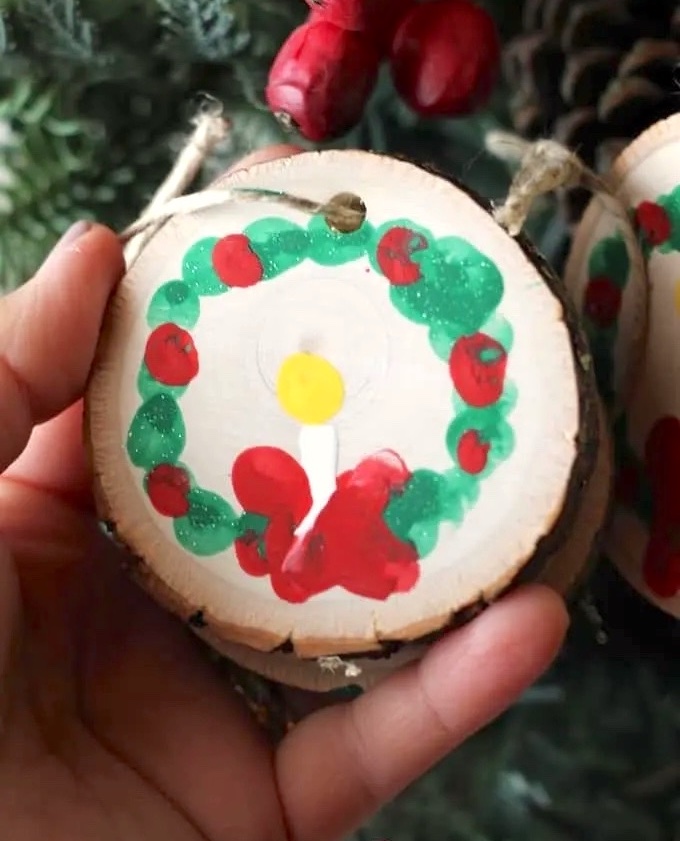
Kids love painting with their fingers! I mean, I'm an adult and I love it. Make this cute wreath on a wood ornament base using paints and dots made with fingers.
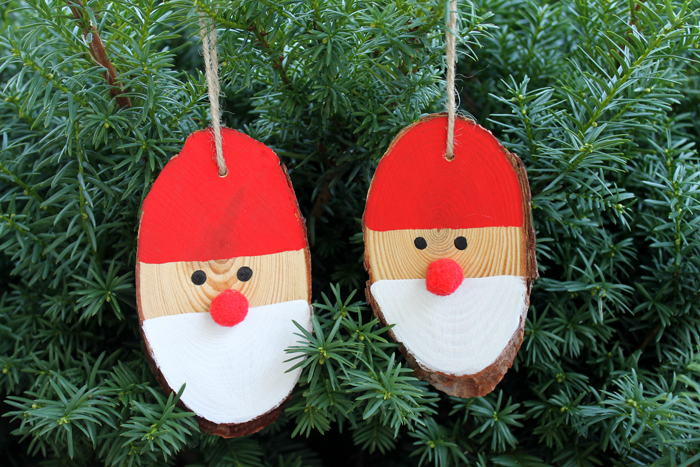
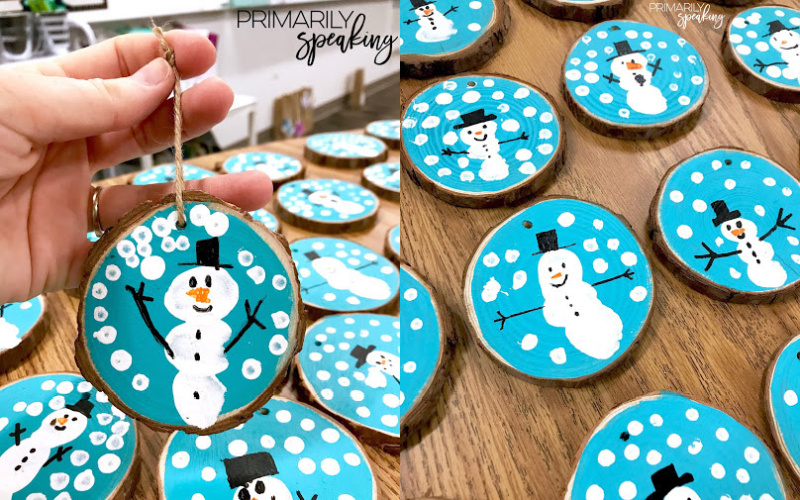
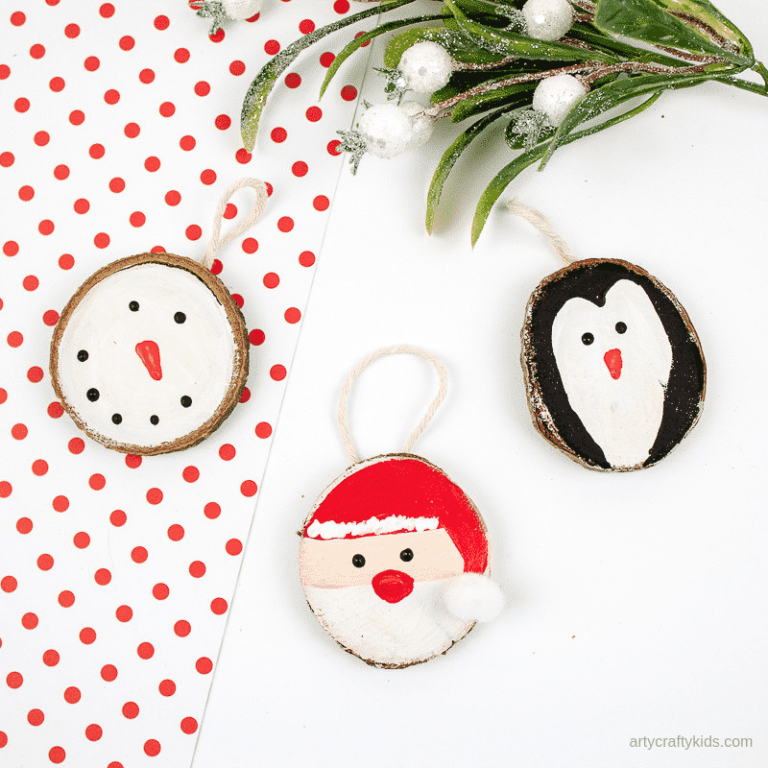
I showed you some cute fingerprint wreath ornaments above. These snowmen are made with thumbprints as well! These are a great idea for a winter kids' party or classroom activity.
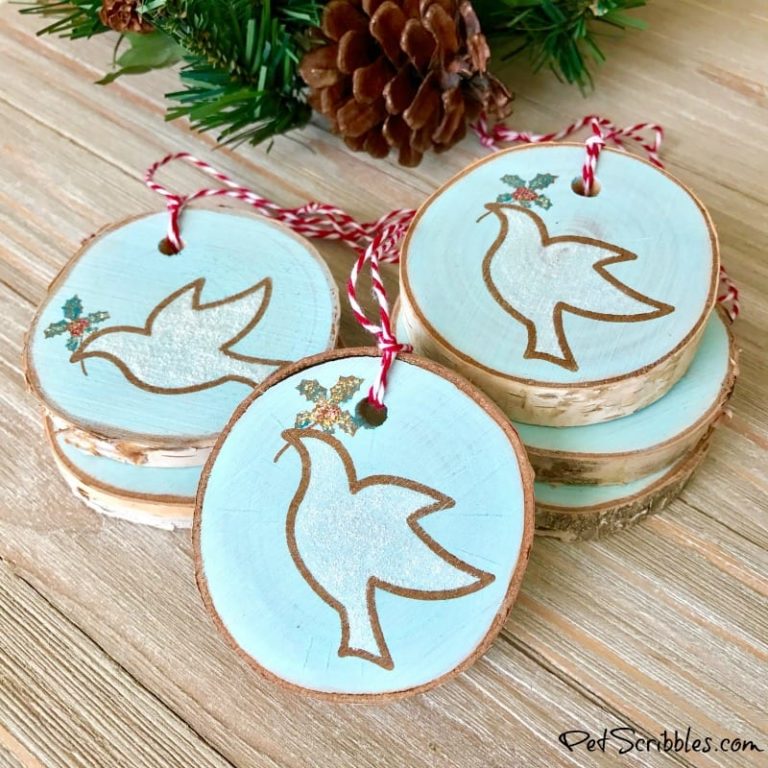
I love the blue background with gold outlined doves on these ornaments! It goes to show that you can put just about anything on wood rounds and hang it on the tree.
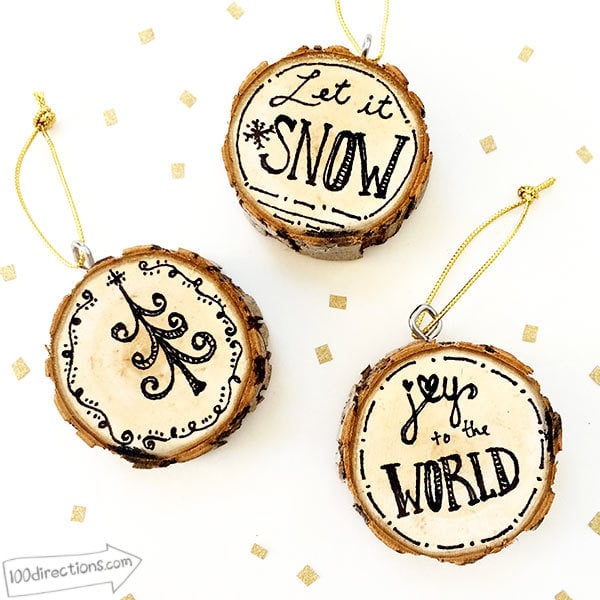
Wood burning is a fun technique, but if you don't have wood burning tools, you can still create pretty wood slice art. Grab some black ink pens like a standard fine point Sharpie marker and just start doodling!
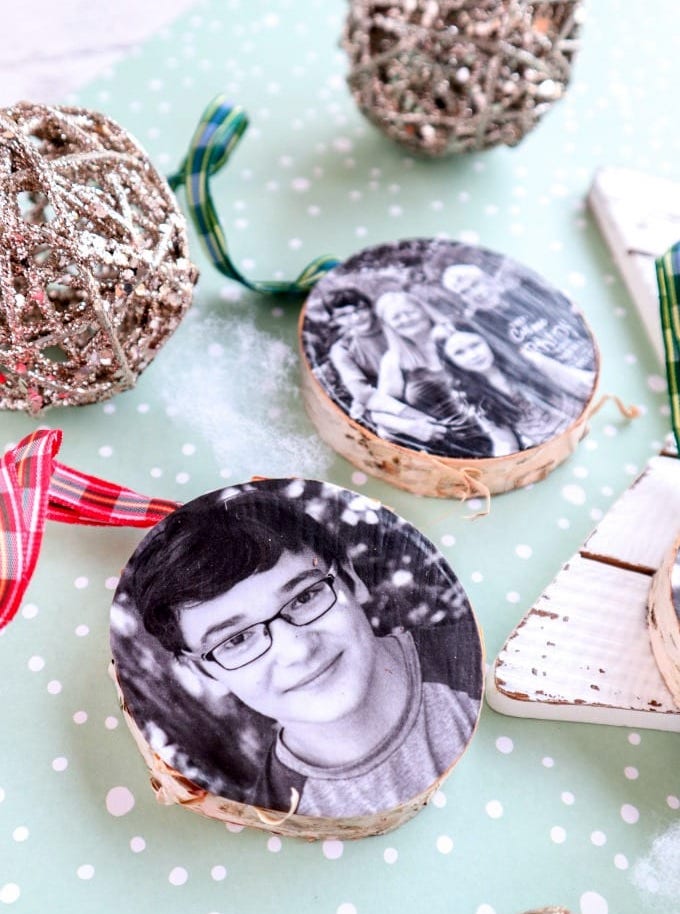
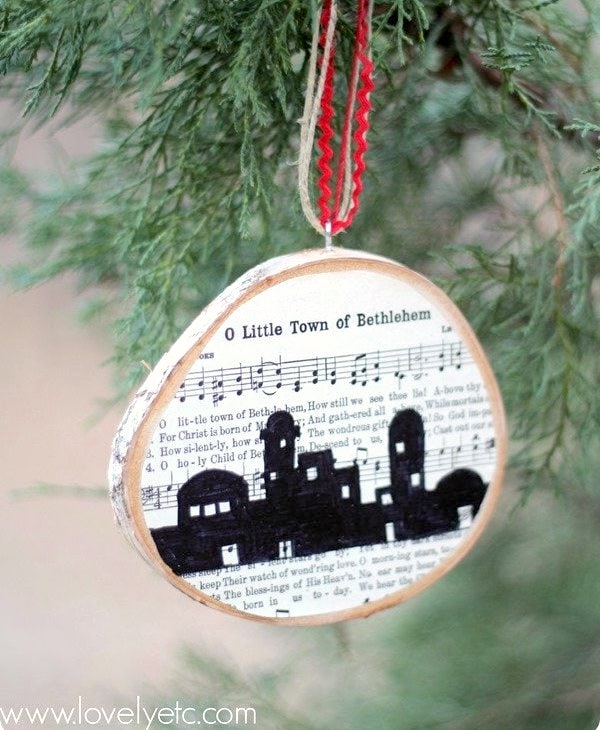
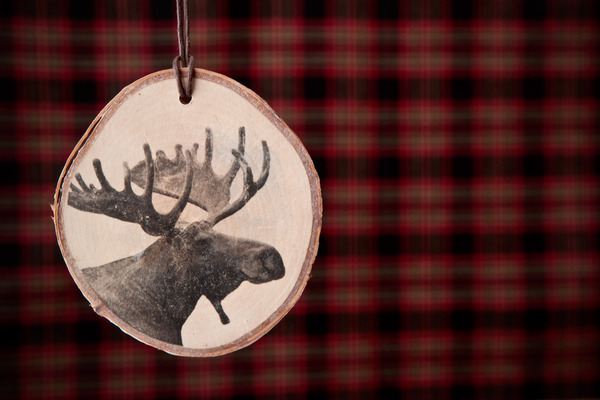
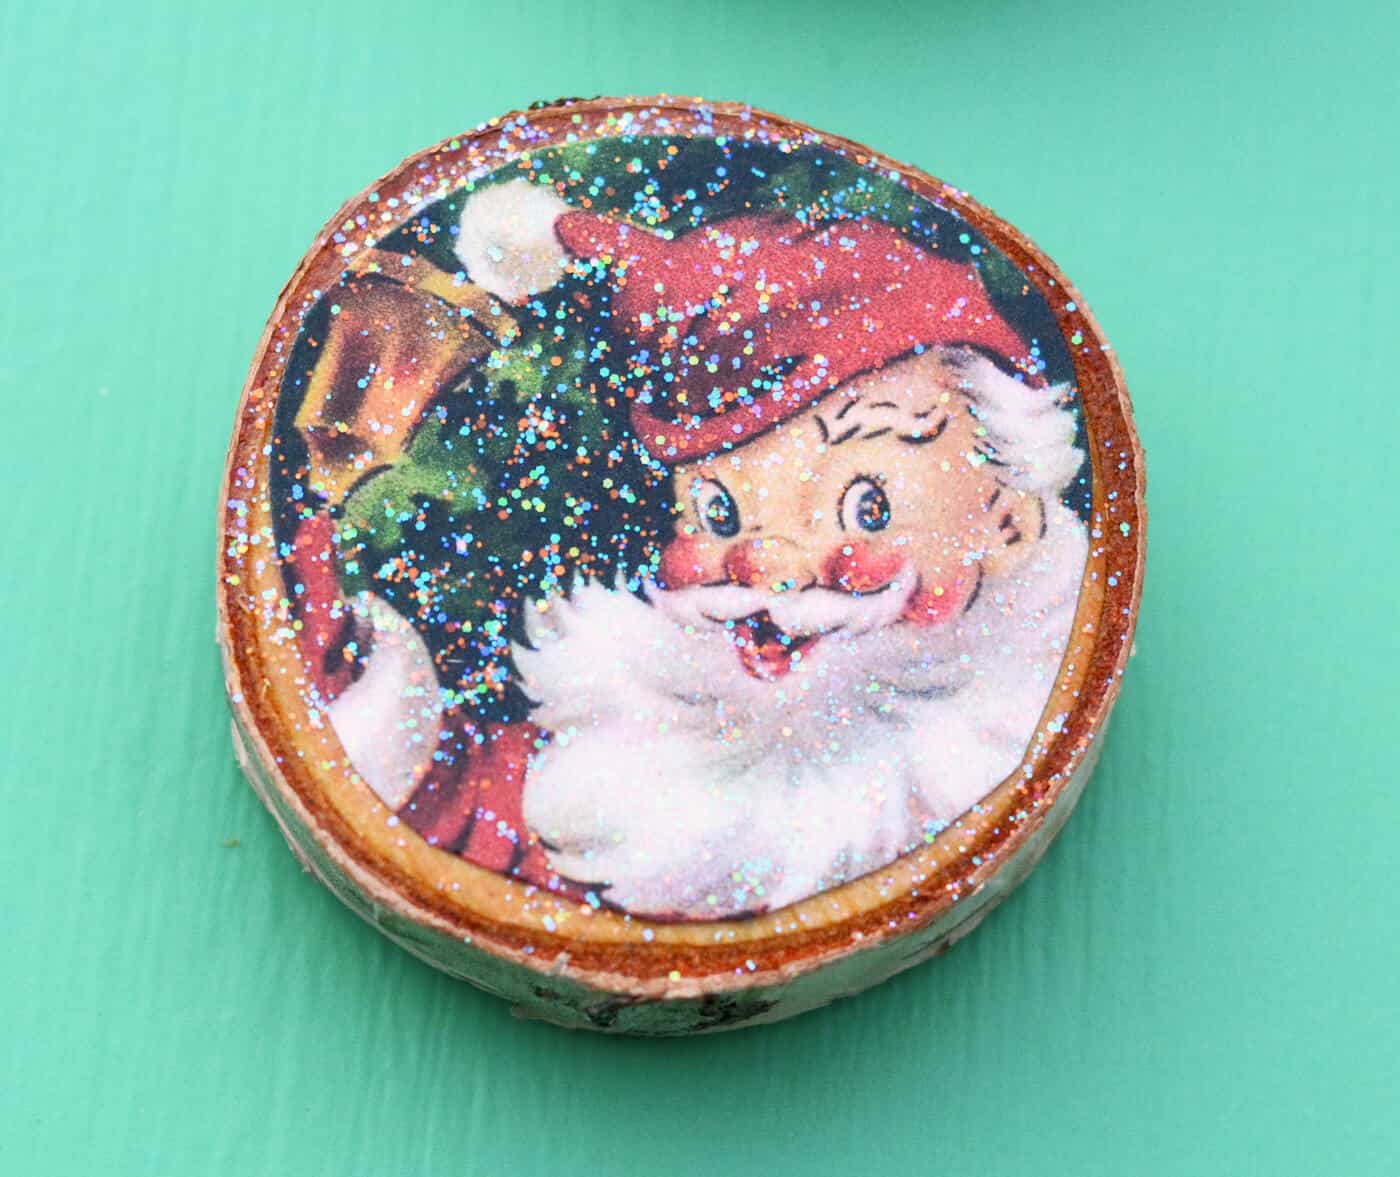
Love the rustic look of a wood slice ornament and don't want to cover it all up with a photo? Here’s how to apply your own images and the background still shows through.
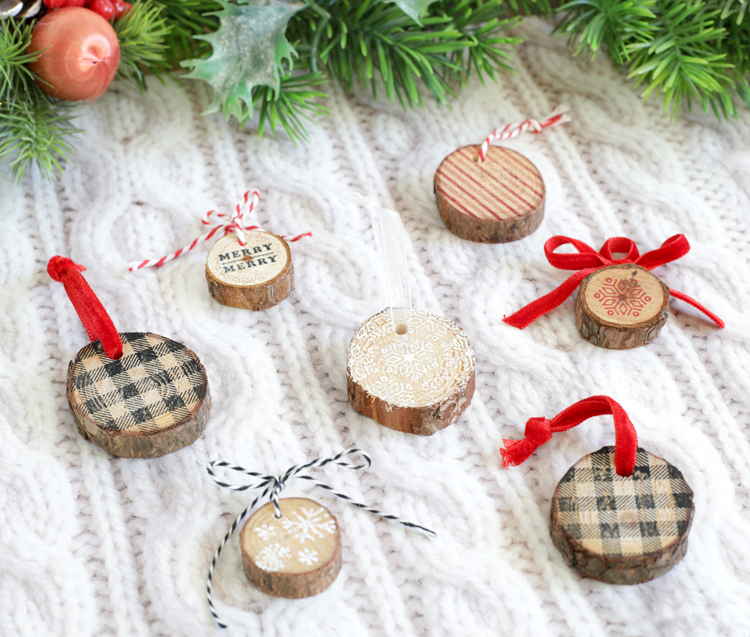
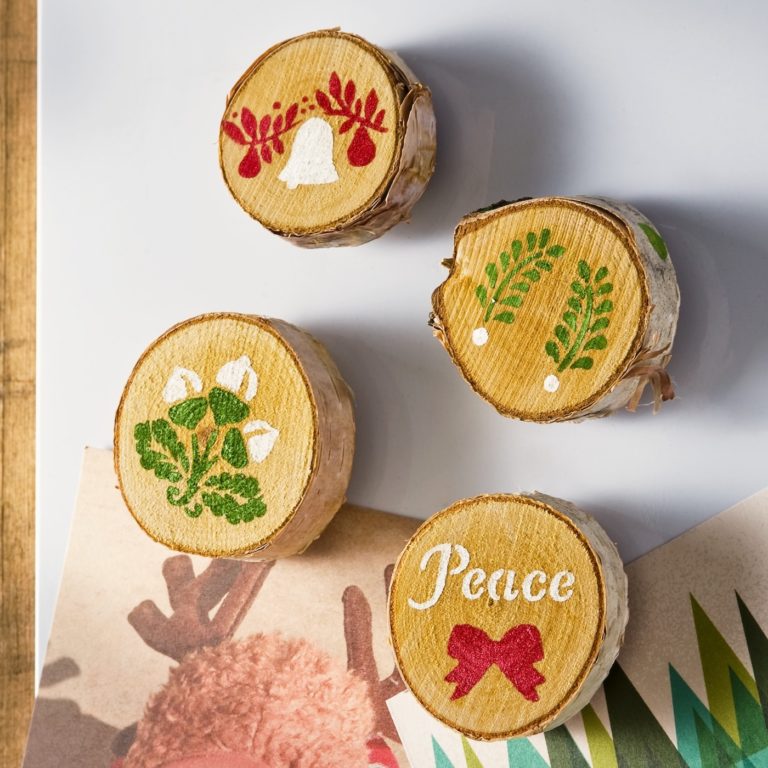
While these were originally magnets, it's another way to decorate wood slices! Learn how to stencil on the front (using adhesive stencils). Then just glue a ribbon to the back and hang.
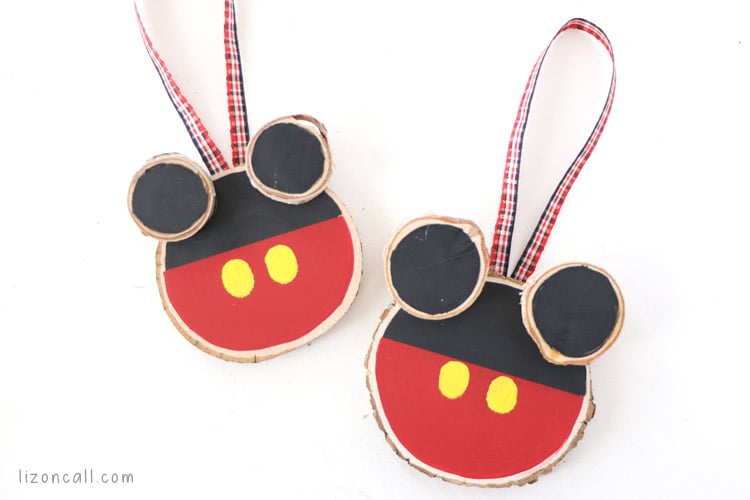
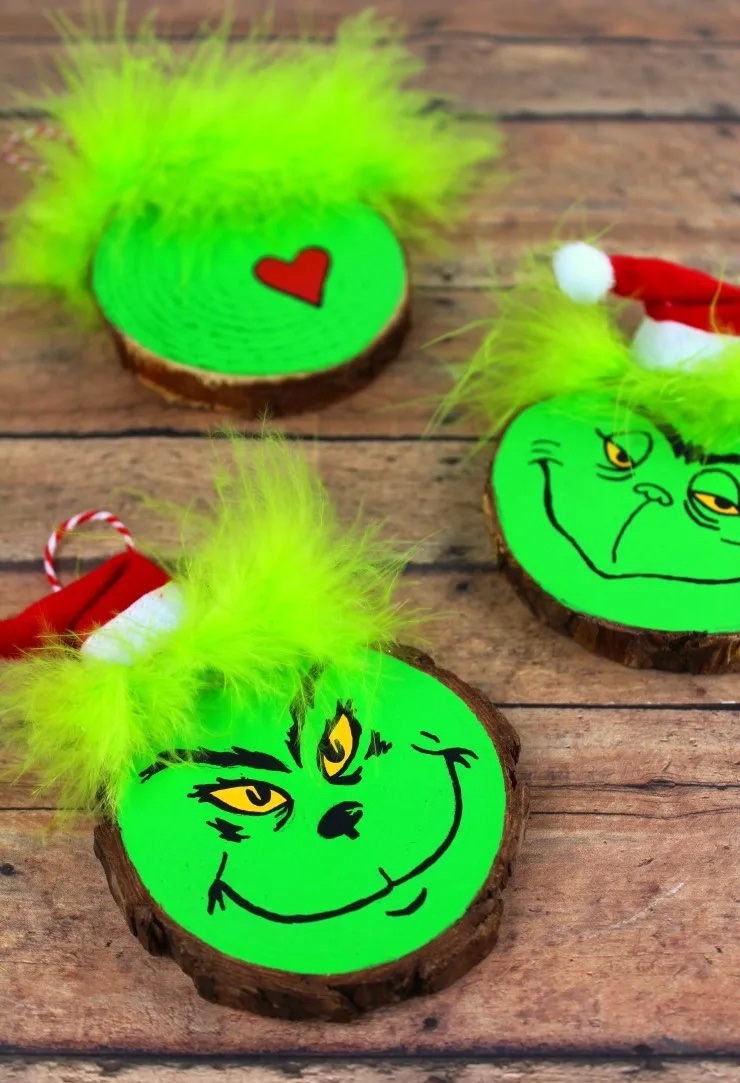
These Grinch ornaments are a fun and festive holiday craft that make great gifts and look fun on a Christmas tree! The bright colors make them really stand out.
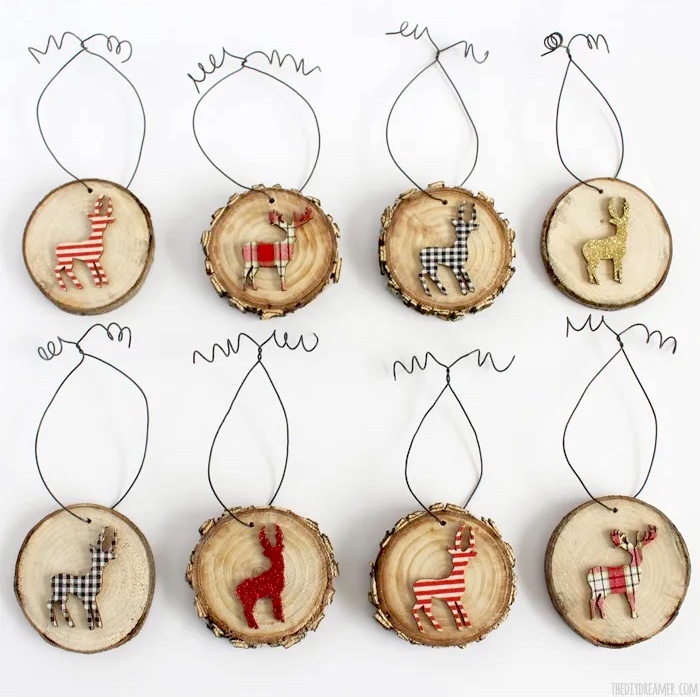
Wood slice ornaments don't have to be rustic! They can also be bright and colorful, like these. Did you know you can iron vinyl onto wood? I had no idea!
These wood slices are easy to decorate with Sparkle Mod Podge, and there's a free printable too. Turn them into magnet gifts or add a string on the back to make an ornament.