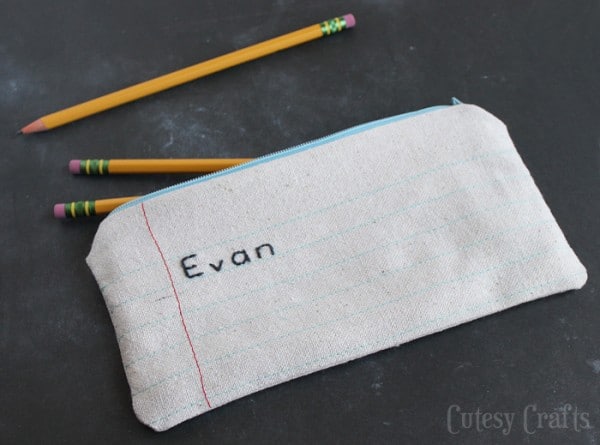
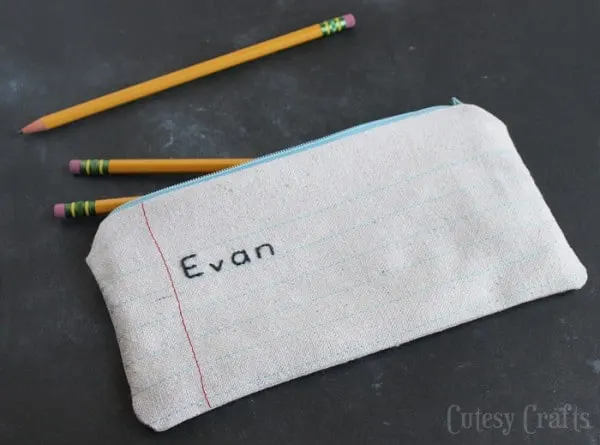
Learn how to sew the cutest zipper pouch with this simple tutorial! It looks like notebook paper – and you can embroider a name in it too.
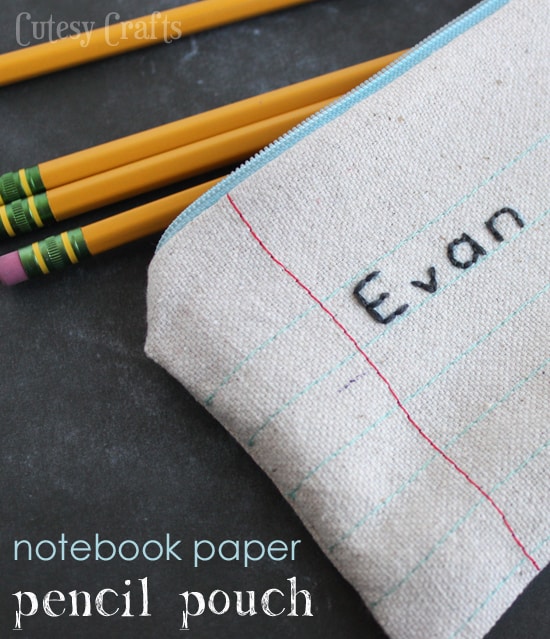

I can’t believe that summer is almost over! How did that happen? We’re getting all of our back-to-school shopping done, and I thought it would be fun to make a cute zipper pouch for my son to hold some of his supplies in.
Everything at school has to be labeled with names, so I made it extra cute by embroidering his name on the front. I just love the look of hand embroidery!

This is a very simple sewing project! Learn how to make it below.
How to Sew a Zipper Pouch
Gather These Supplies
- fabric (I used canvas)
- blue and red thread
- dark gray embroidery floss
- embroidery needle
- 9 inch zipper
- disappearing fabric pen
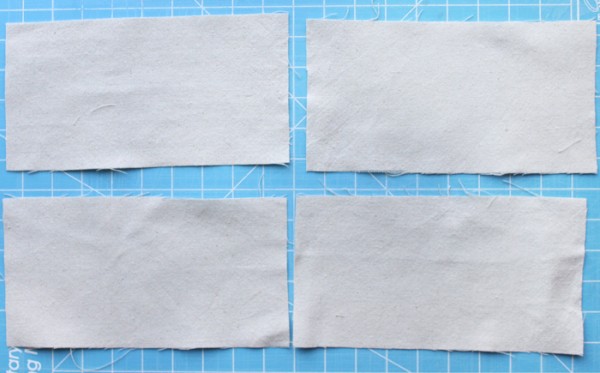
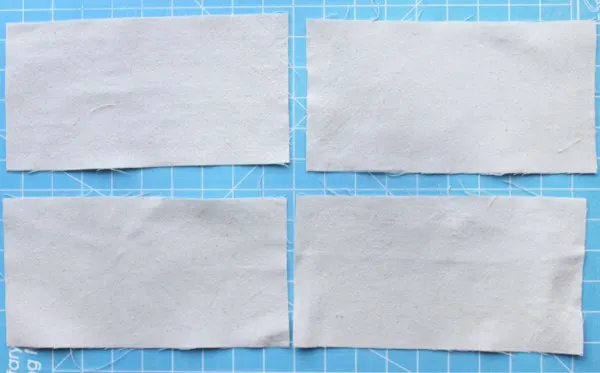
Cut your fabric into four 9 1/2 by 5 inch rectangles. Two of the rectangles will be the outside of your zipper pouch, and two will be the lining.
You can make the lining a different color/fabric if you want. This fabric is actually part of a big canvas drop cloth that I’ve been using to make things.
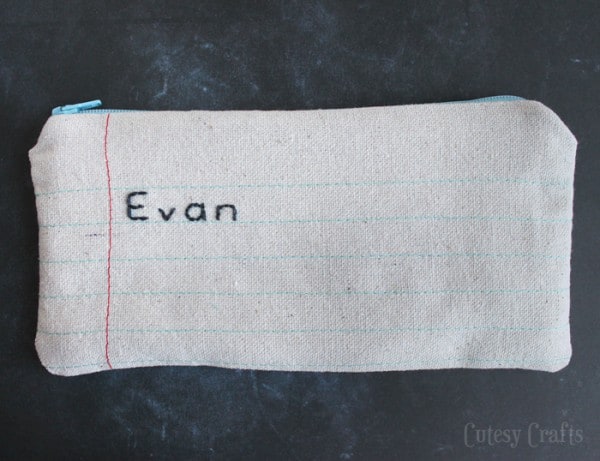
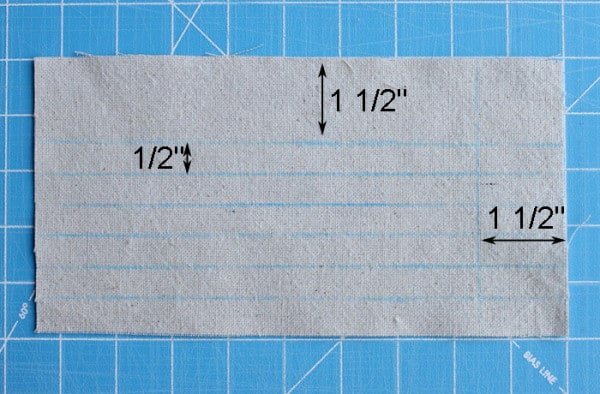
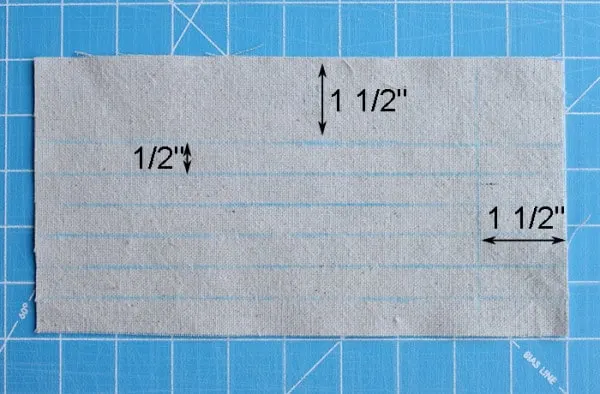
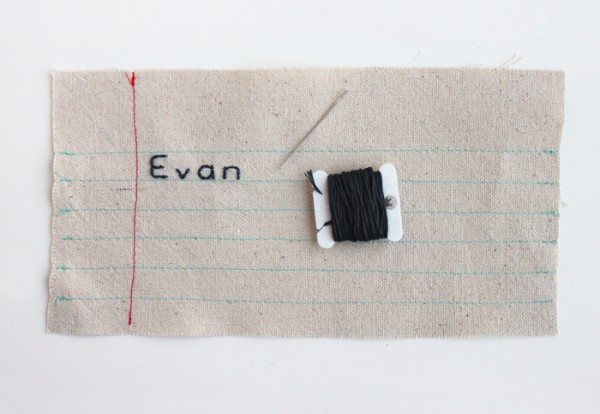
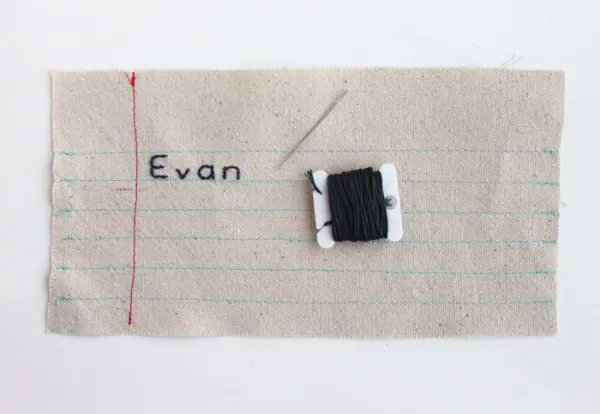
Take one of the rectangles and mark lines on the back as shown below. Since it’s the back, it will be reversed.
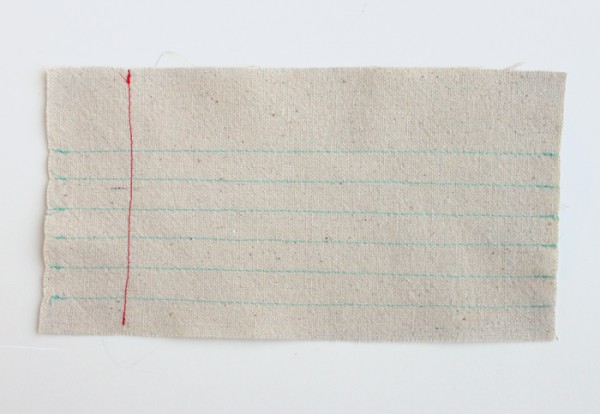
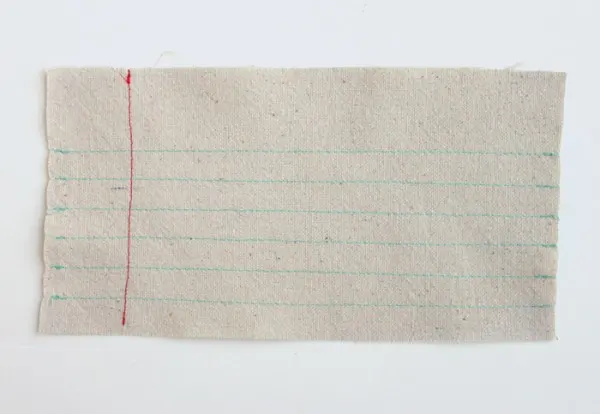
Machine sew along the lines using a long top stitch. Turn your fabric over and the bobbin thread stitches become the front. You can iron it to get rid of any puckering.
Embroider a name or whatever you want on the front. You could “write” a love note, or make some doodles. Sky’s the limit! I used a full strand of dark grey floss and a back stitch.
To sew the pouch together, I used this fantastic tutorial from Noodlehead. She makes sewing a zipper pouch super easy!
The measurements are different since she was making smaller pouches, but the steps are all the same. Just don’t include the key ring loop.
If you like this DIY zipper pouch tutorial, head on over to my blog, Cutesy Crafts, where you’ll find lots of other fun things to make. I’d also love for you to check out the following projects:
Stephanie Theisen
Friday 22nd of August 2014
What a great idea! I love making zipper pouches and these are so cute!