All you need for this simple dog Halloween costume is a doggy tee, a bunch of felt, and a glue gun! So easy to make and cute as can be.
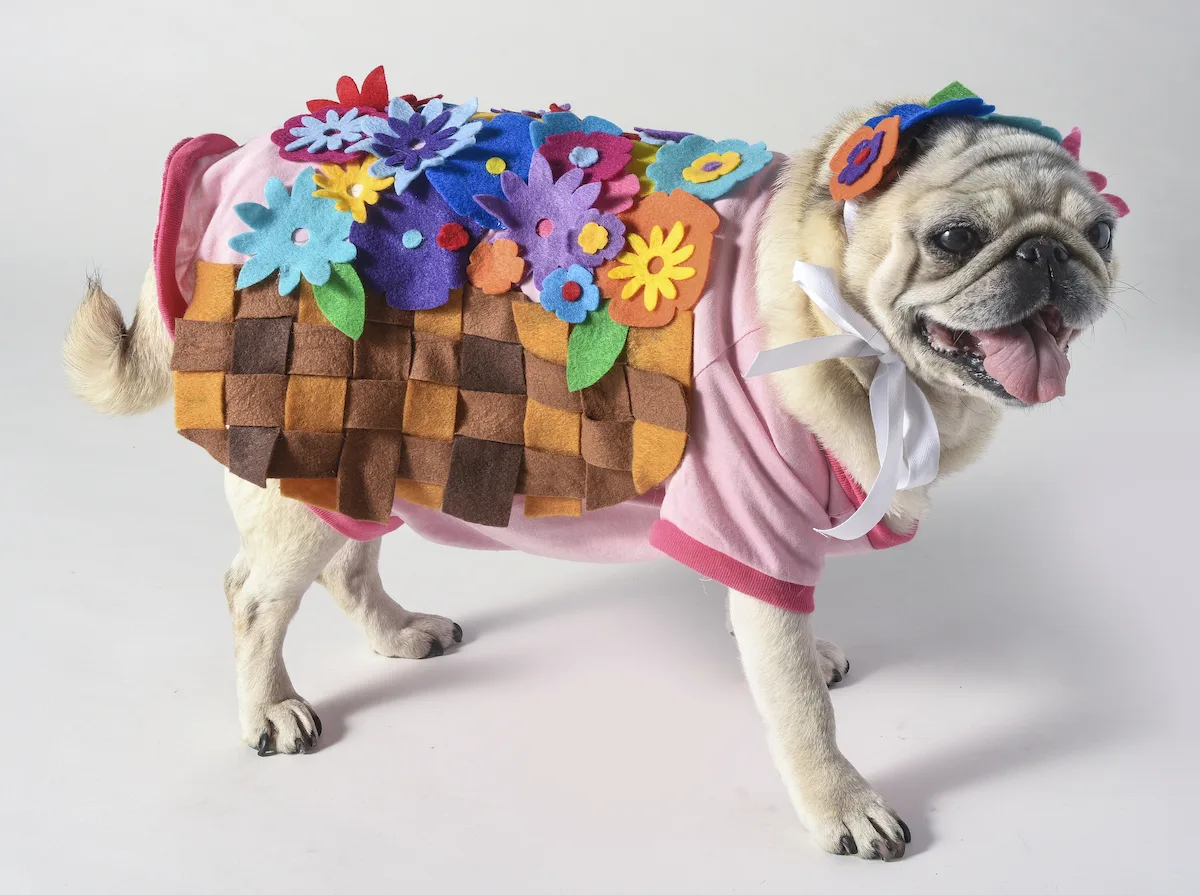
I absolutely love a good dog Halloween costume! Who doesn’t, right? Especially when your pug is a good model and looks so cute in them . . . that makes it easy! :0
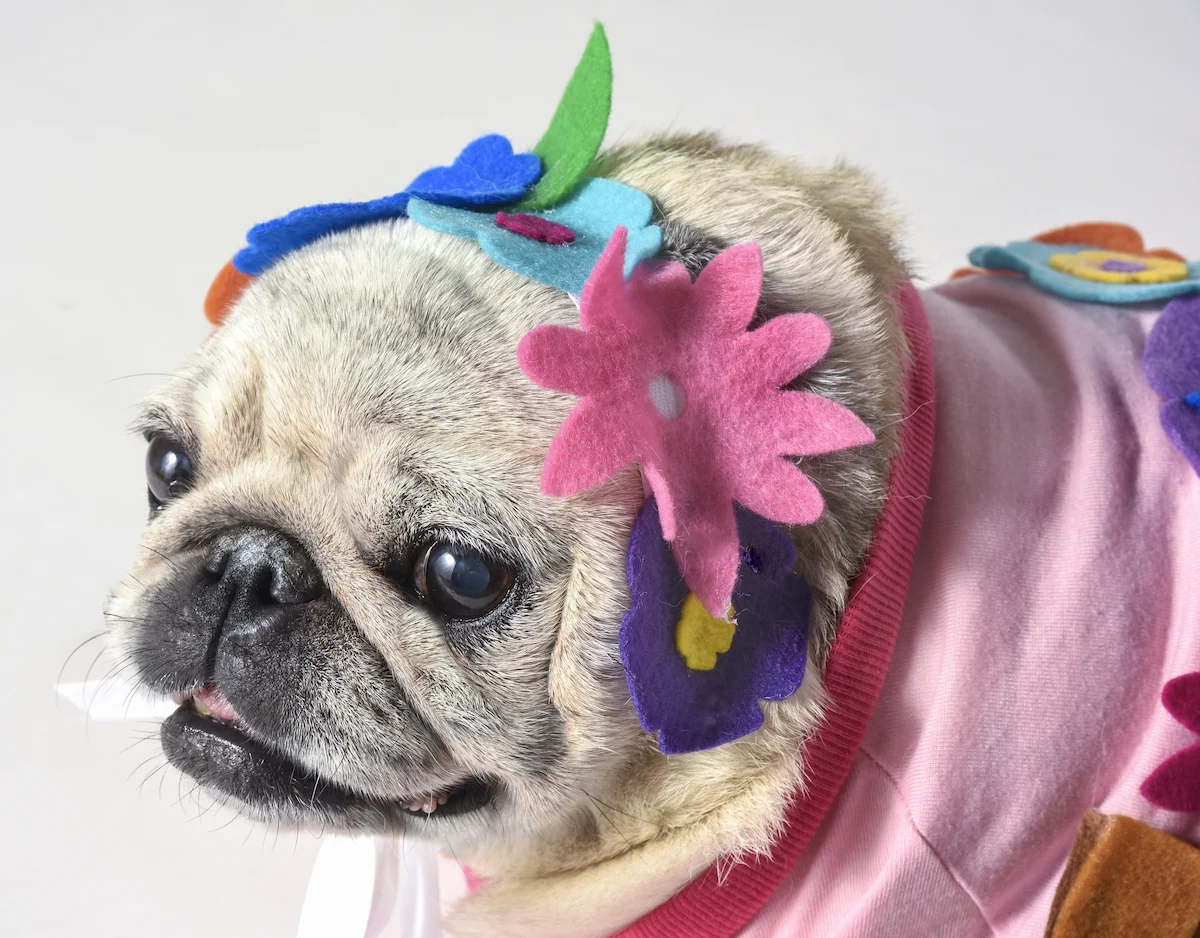
I came up with this idea when staring at a pile of rainbow felt I purchased at Michaels. I’d actually bought a ton of colors for another project, and I had a lot left over. The colors of felt were so pretty mixed together that they reminded me of a floral bouquet.
I decided to make a flower basket Halloween costume as my Michaels Makers project this month, and I’m so thrilled to share it with you! My flower basket just all came together, and here’s how I did it.
Flower Basket Dog Halloween Costume
Gather These Supplies
- Dog t-shirt – it can have graphics on the back, as long as they are small enough to be covered
- Rainbow felt – I used many sheets of the Creat-o-logy brand at Michaels; the amount you use will depend on your dog’s size. I grabbed a sheet of every color they offered!
- Sizzix Big Shot with floral dies OR floral clip art
- Scissors
- Hot glue gun and glue sticks
- Ribbon – about 12″ or enough to wrap around your dog’s head and tie underneath
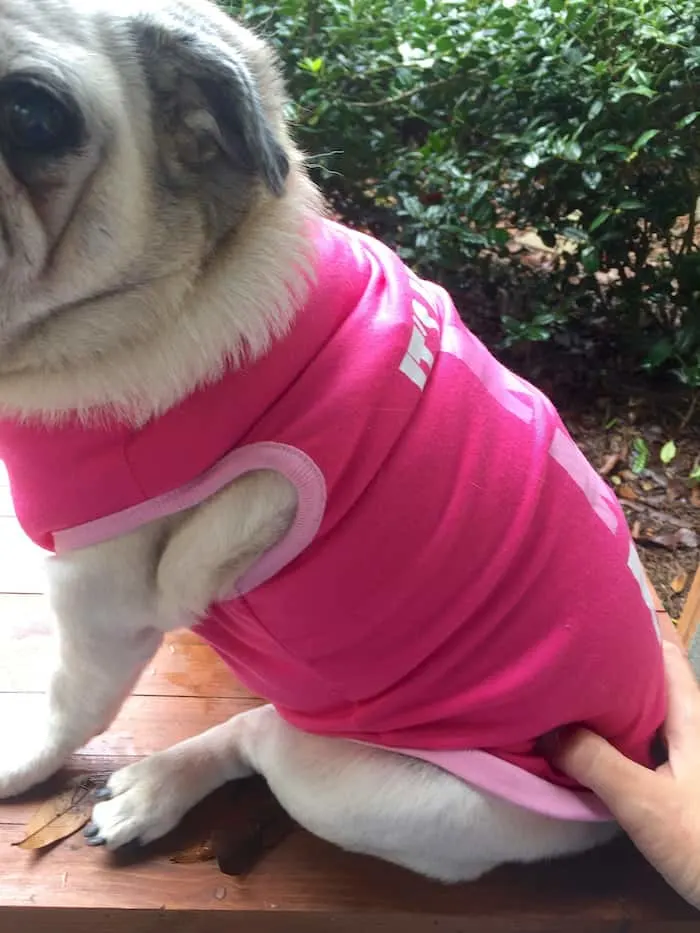
Your first order of business will be putting the dog t-shirt on your pup and deciding where you would like the basket to be. I didn’t end up using this t-shirt, but it’s the same idea – put the shirt on the pet and take measurements if need be.
The length of Roxie’s body was about the length of one piece of felt, so I was good there. If your dog is longer, never fear – I’ll explain that in a minute.
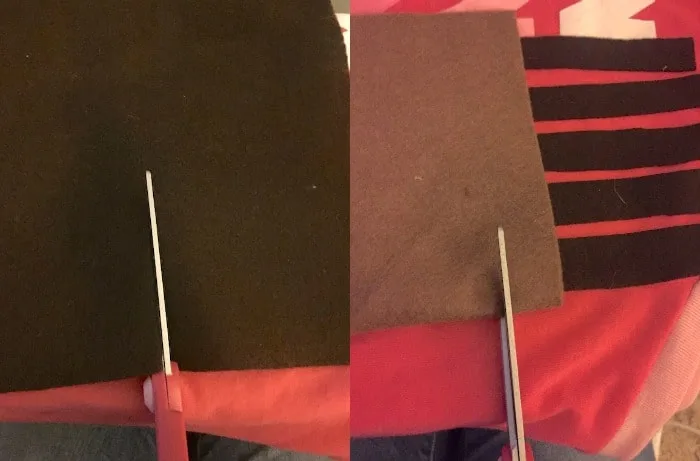
The next step with the felt is to grab your browns that you’d like to use for the basket. I used three shades total – so three sheets per side – that’s up to you. Begin cutting strips of felt that you can weave together. I didn’t measure here though you can if you like. I cut each strip about 3/8″ – 1/2″ wide.
I picked a medium brown color that would be the length of my basket and cut that on the long side. The other strips were about 1/2 a sheet of felt long (and still 3/8″ – 1/2″ wide).
Remember that you need enough for two baskets. And if your dog is longer/bigger, cut a little extra felt. OR you can still make the basket small and just center it in the middle of the shirt – there’s no reason that the basket has to cover the entire dog.
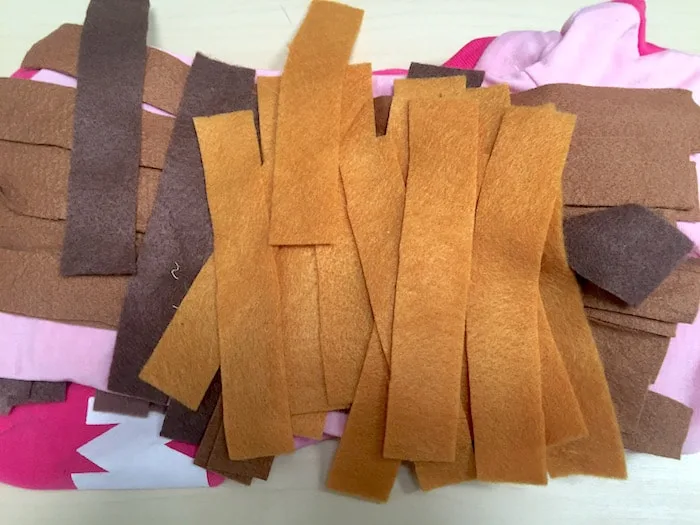
Here are all of my strips for the basket. I ended up changing the shirt to a light pink one that I have (I thought the basket would look better on that color).
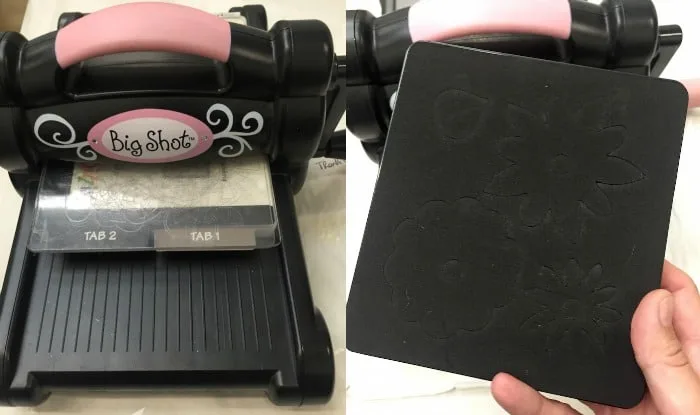
Now you’re going to cut out your flowers. You have a few choices here for how to accomplish this. I have a Sizzix Big Shot that has been my tried and true sidekick for many years . . . and I have a few floral dies that go with it.
If you don’t have a Big Shot, never fear – you can print out flowers from the internet. Just do a search for “flower clip art” and print out several pages of florals that you like. These will be your templates to cut your flowers. Now, they might not be as clean on the edges or detailed as mine, but they’ll be flowers!
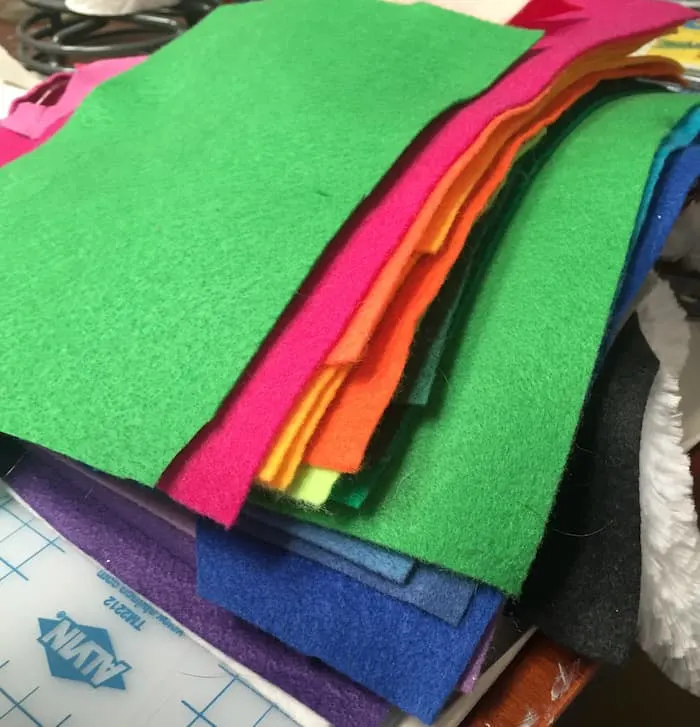
Grab a ton of felt in various colors. Felt is only 30-something cents at Michaels per sheet, so there’s no reason not to buy as many colors as they have!

Cut out all of your flowers. As I said before, I used the Big Shot, which means I ran each color of felt through separately, several times. Set them aside.
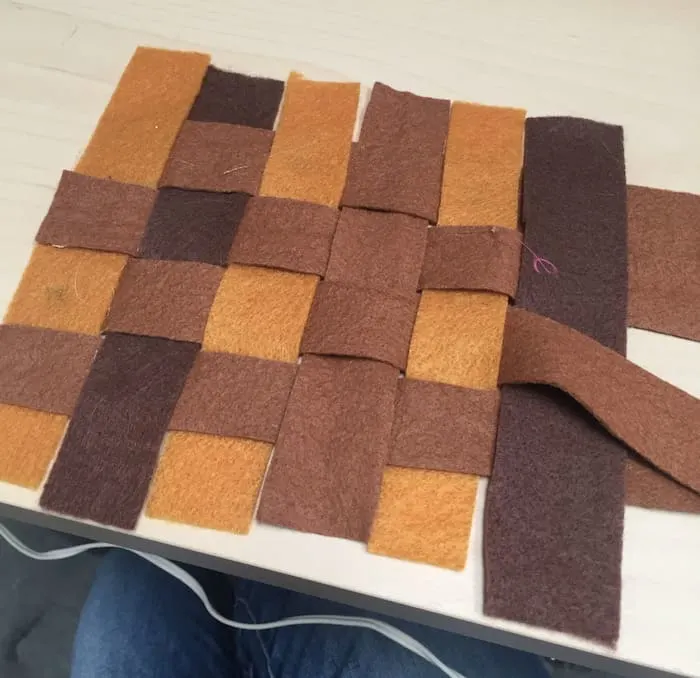
Now it’s time to weave the basket together. Heat up the hot glue gun. While you are waiting for it to warm up, lay your long pieces down on the surface, horizontally. Place one piece at the end to be your base piece, and hot glue it down to all four long pieces
You can begin weaving now with the remaining pieces, alternating colors as shown above. You only need to anchor your cross pieces to the top and bottom if you like, since your base piece will hold it in.
Remember that you need to make TWO baskets! One for each side.
Tip for those with longer/bigger dogs – just add additional pieces to the ends of your felt with hot glue. And do it BEHIND the weaving rather than in front so it won’t be visible!
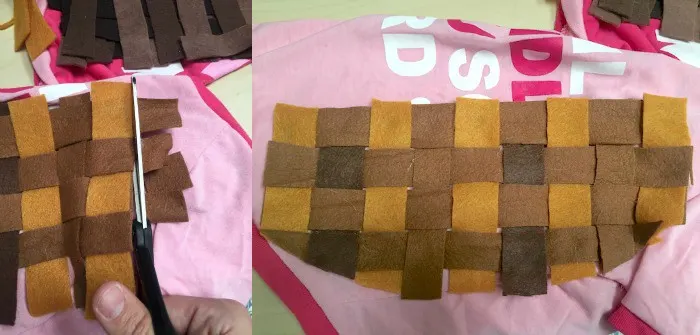
Trim down the edges of your basket, including down the sides and along the top. You’ll have a rectangle. In order to make it look more like a basket, I trimmed a curve into the bottom. Your basket can remain rectangular if you like.
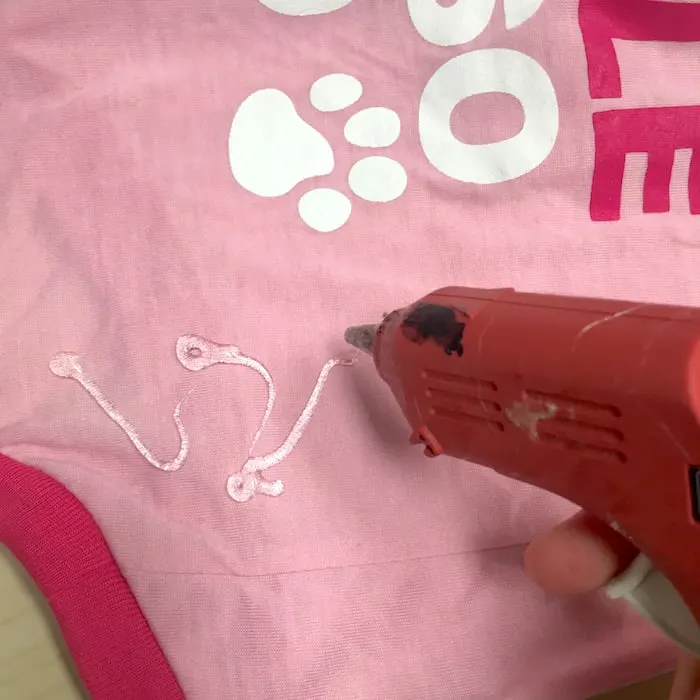
You’re going to glue your basket down. Note that you’ll be gluing approximately the top 1/2 of the basket to the shirt – not the whole thing. You want the basket to hang down on the side and look . . . “basket-like.” To do this, smooth the shirt out so that one side is visible and there are no wrinkles in the fabric. Apply your hot glue . . . .
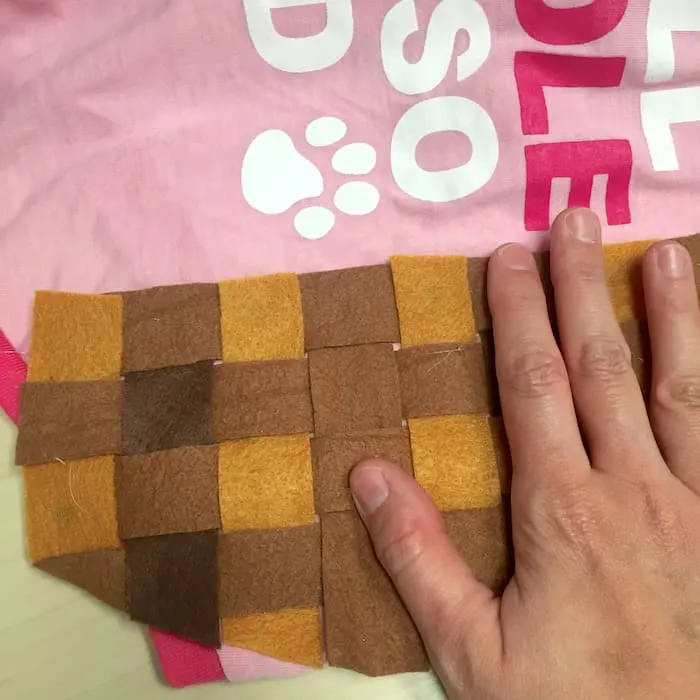
and then quickly smooth down your basket onto the hot glue, before it cools. Wait until it cools completely and then try to pull up areas to see if you need to add hot glue anywhere.
Remember that the bottom of the basket is going to hang down so that portion doesn’t need to be glued – but you do want to make sure that the top of the basket is secure. Repeat with the other side of the shirt.
Now it’s time to place the flowers!
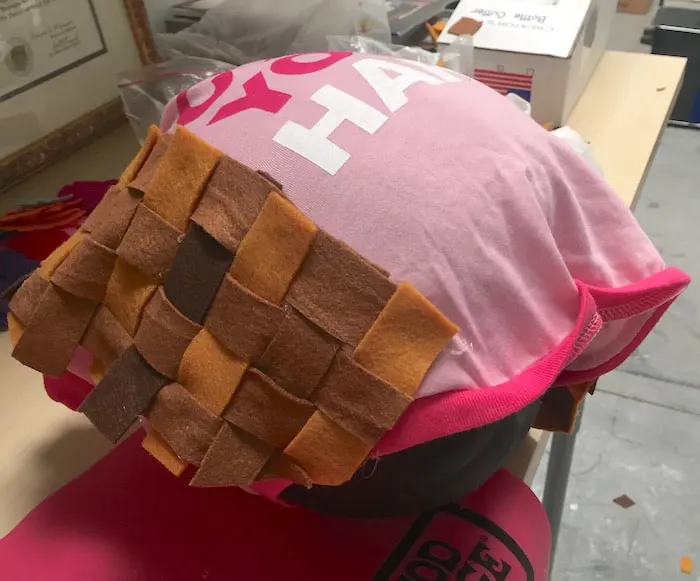
I realized that my shirt didn’t sit flat anymore with the baskets glued down and that I couldn’t very well glue the flowers onto the shirt while Roxie was wearing it – so I used a pumpkin as a substitute Roxie. It’s pretty fitting though maybe just a little more plump than she is (just slightly). Haha!
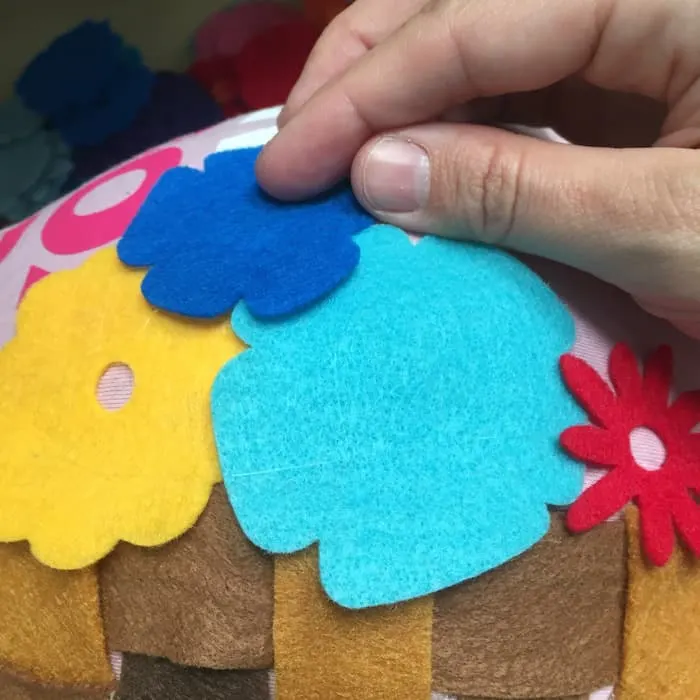
Start applying the flowers with hot glue, and let them overlap the basket a little so it looks as “natural” as possible.
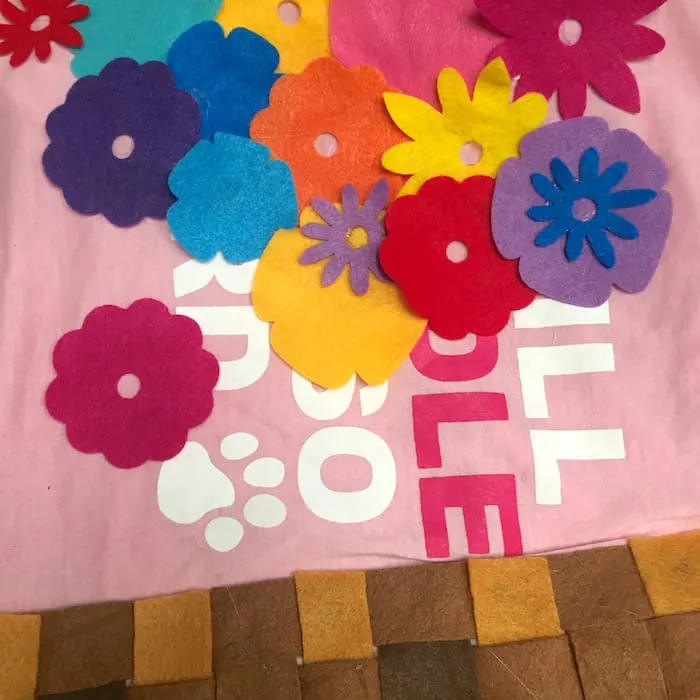
Continue applying flowers with hot glue from one side of the shirt/basket to the other . . . and overlap too.
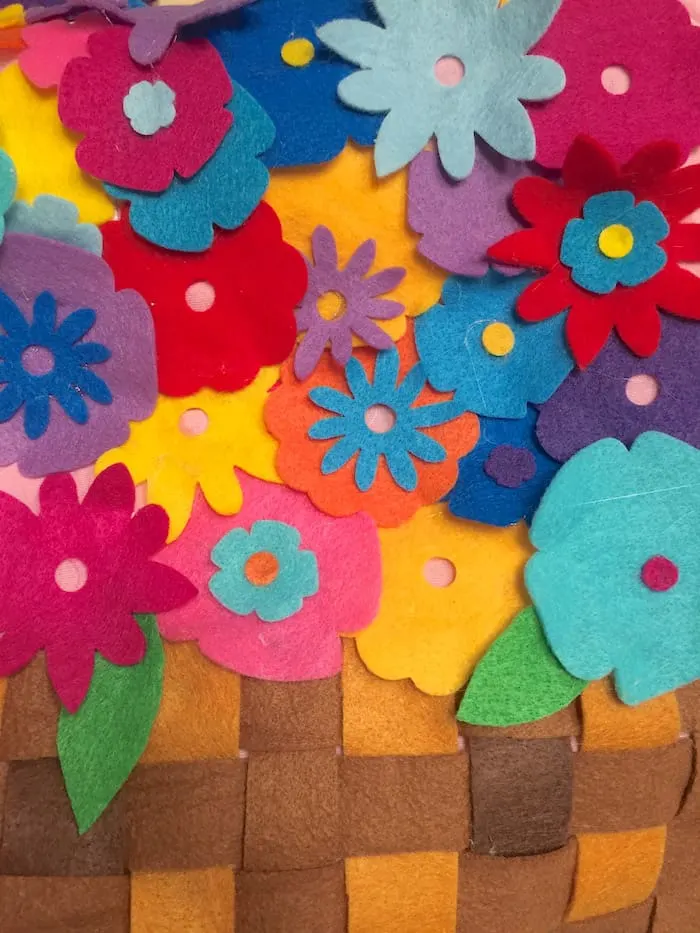
I freehanded some leaves out of green felt with scissors . . . and then I let the shirt cool and put it on Roxie to see where I needed to fill in. You want to make sure there are no areas of the shirt peeking through in the middle of your flower basket!
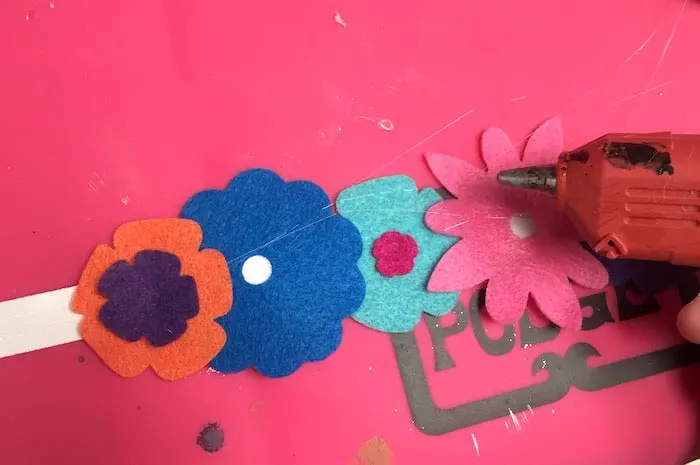
To finish the look, I made a headband with some leftover flowers and white ribbon. It just adds something!


That’s all there is to it! What do you think about my dog flower costume? Would you make this for your pup? Let me know in the comments!
Happy Holidays!

Alexandra
Friday 9th of October 2015
Poor dog - but it's just soo cute! I am pinning this idea for when I get around to making dog clothes for my Grandma's dog.
Paige
Thursday 1st of October 2015
Oh my goodness! This one is so cute too! Your dog is such a good sport to model for you!
Paige https://www.thehappyflammily.com/