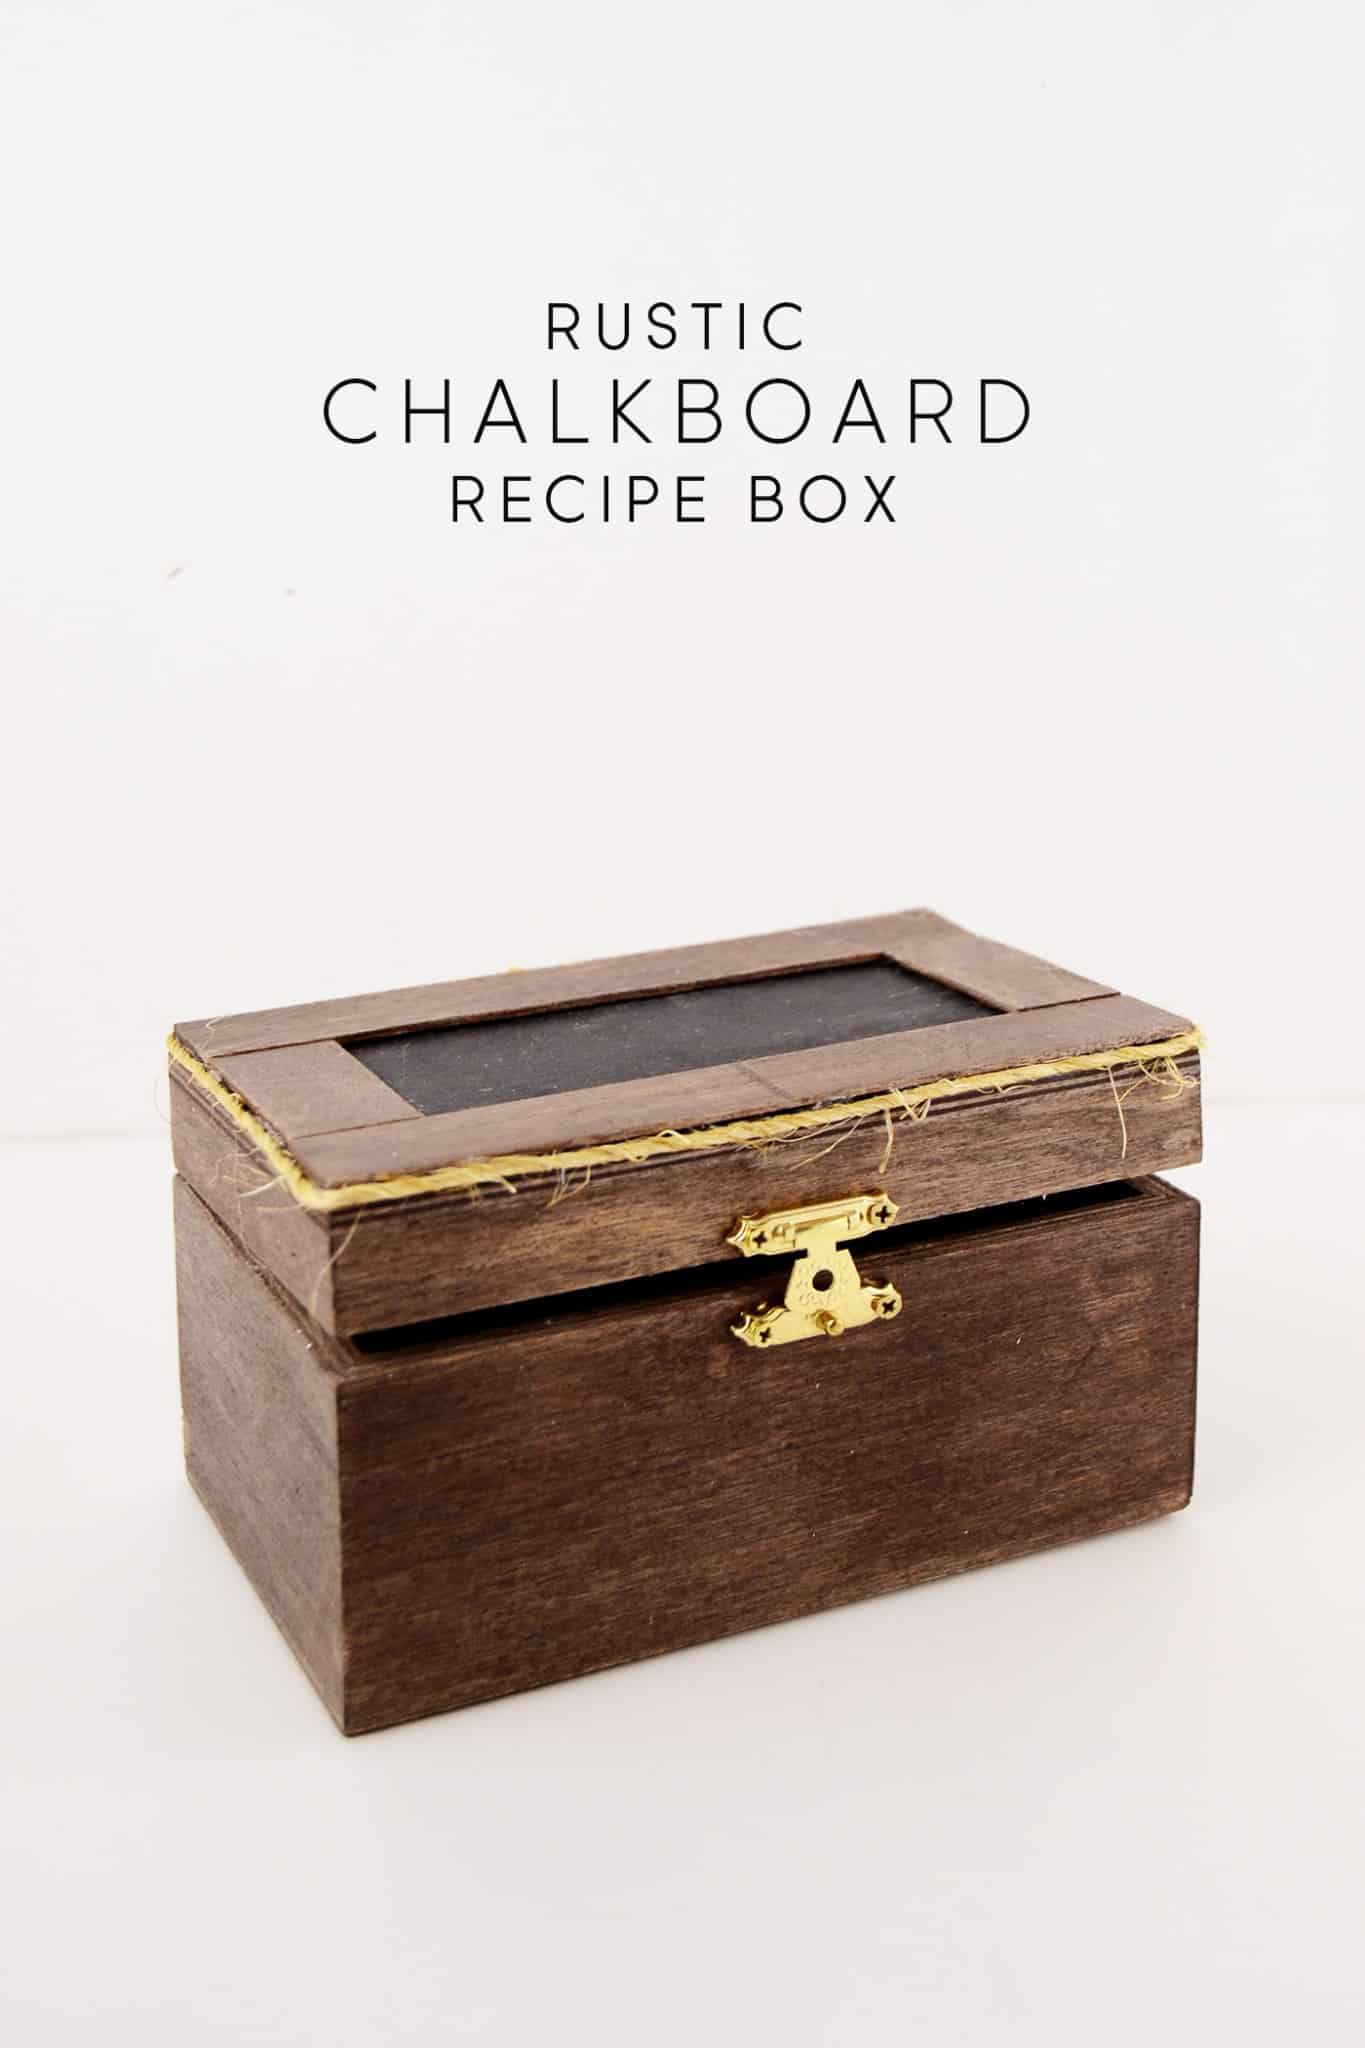
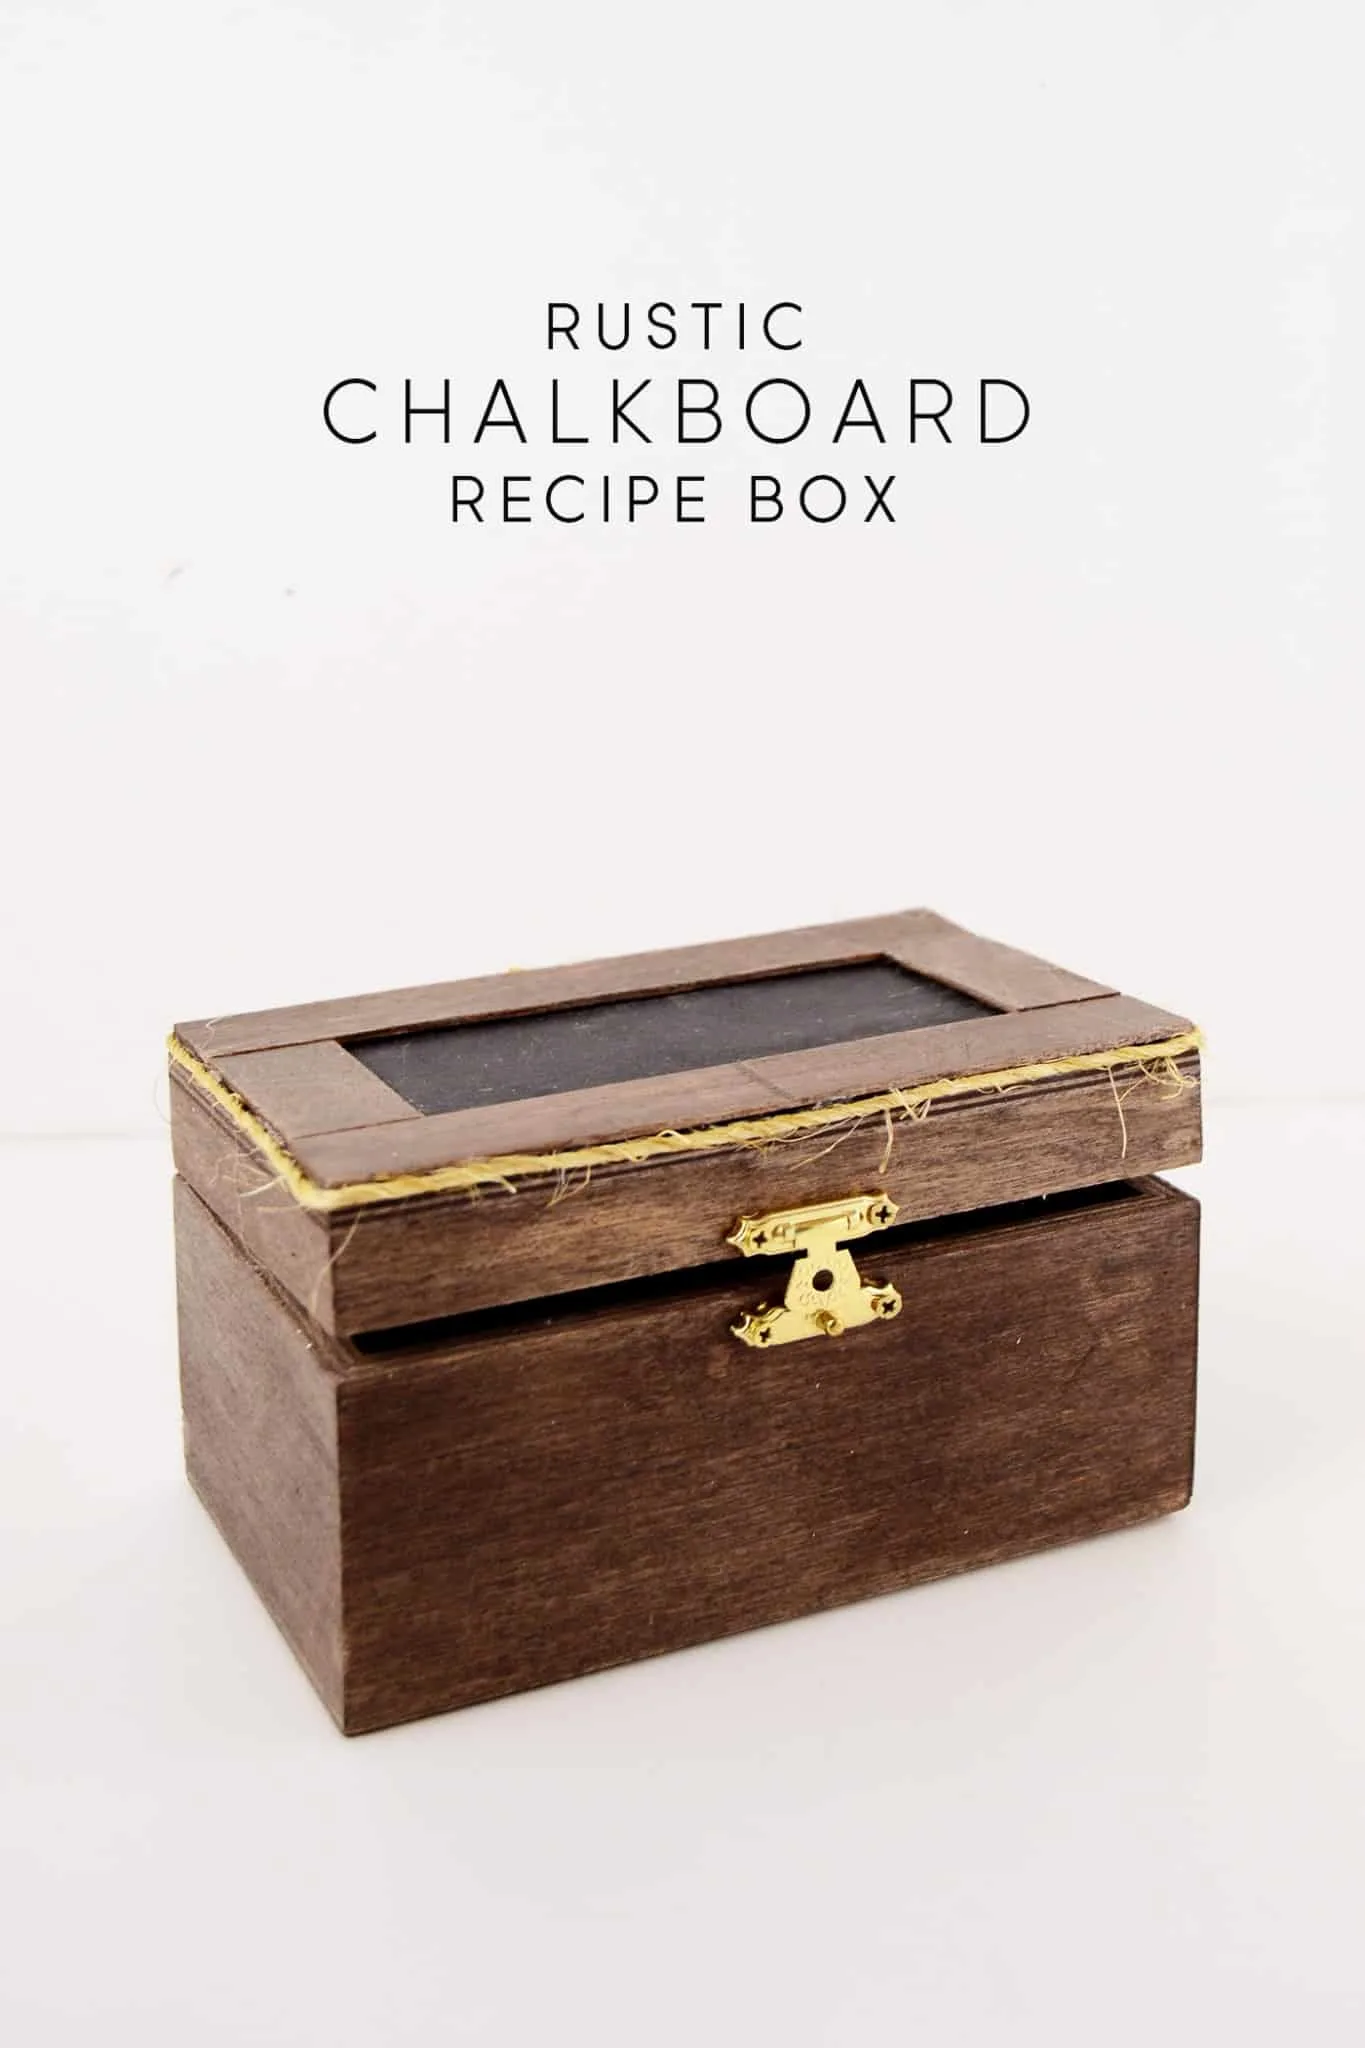
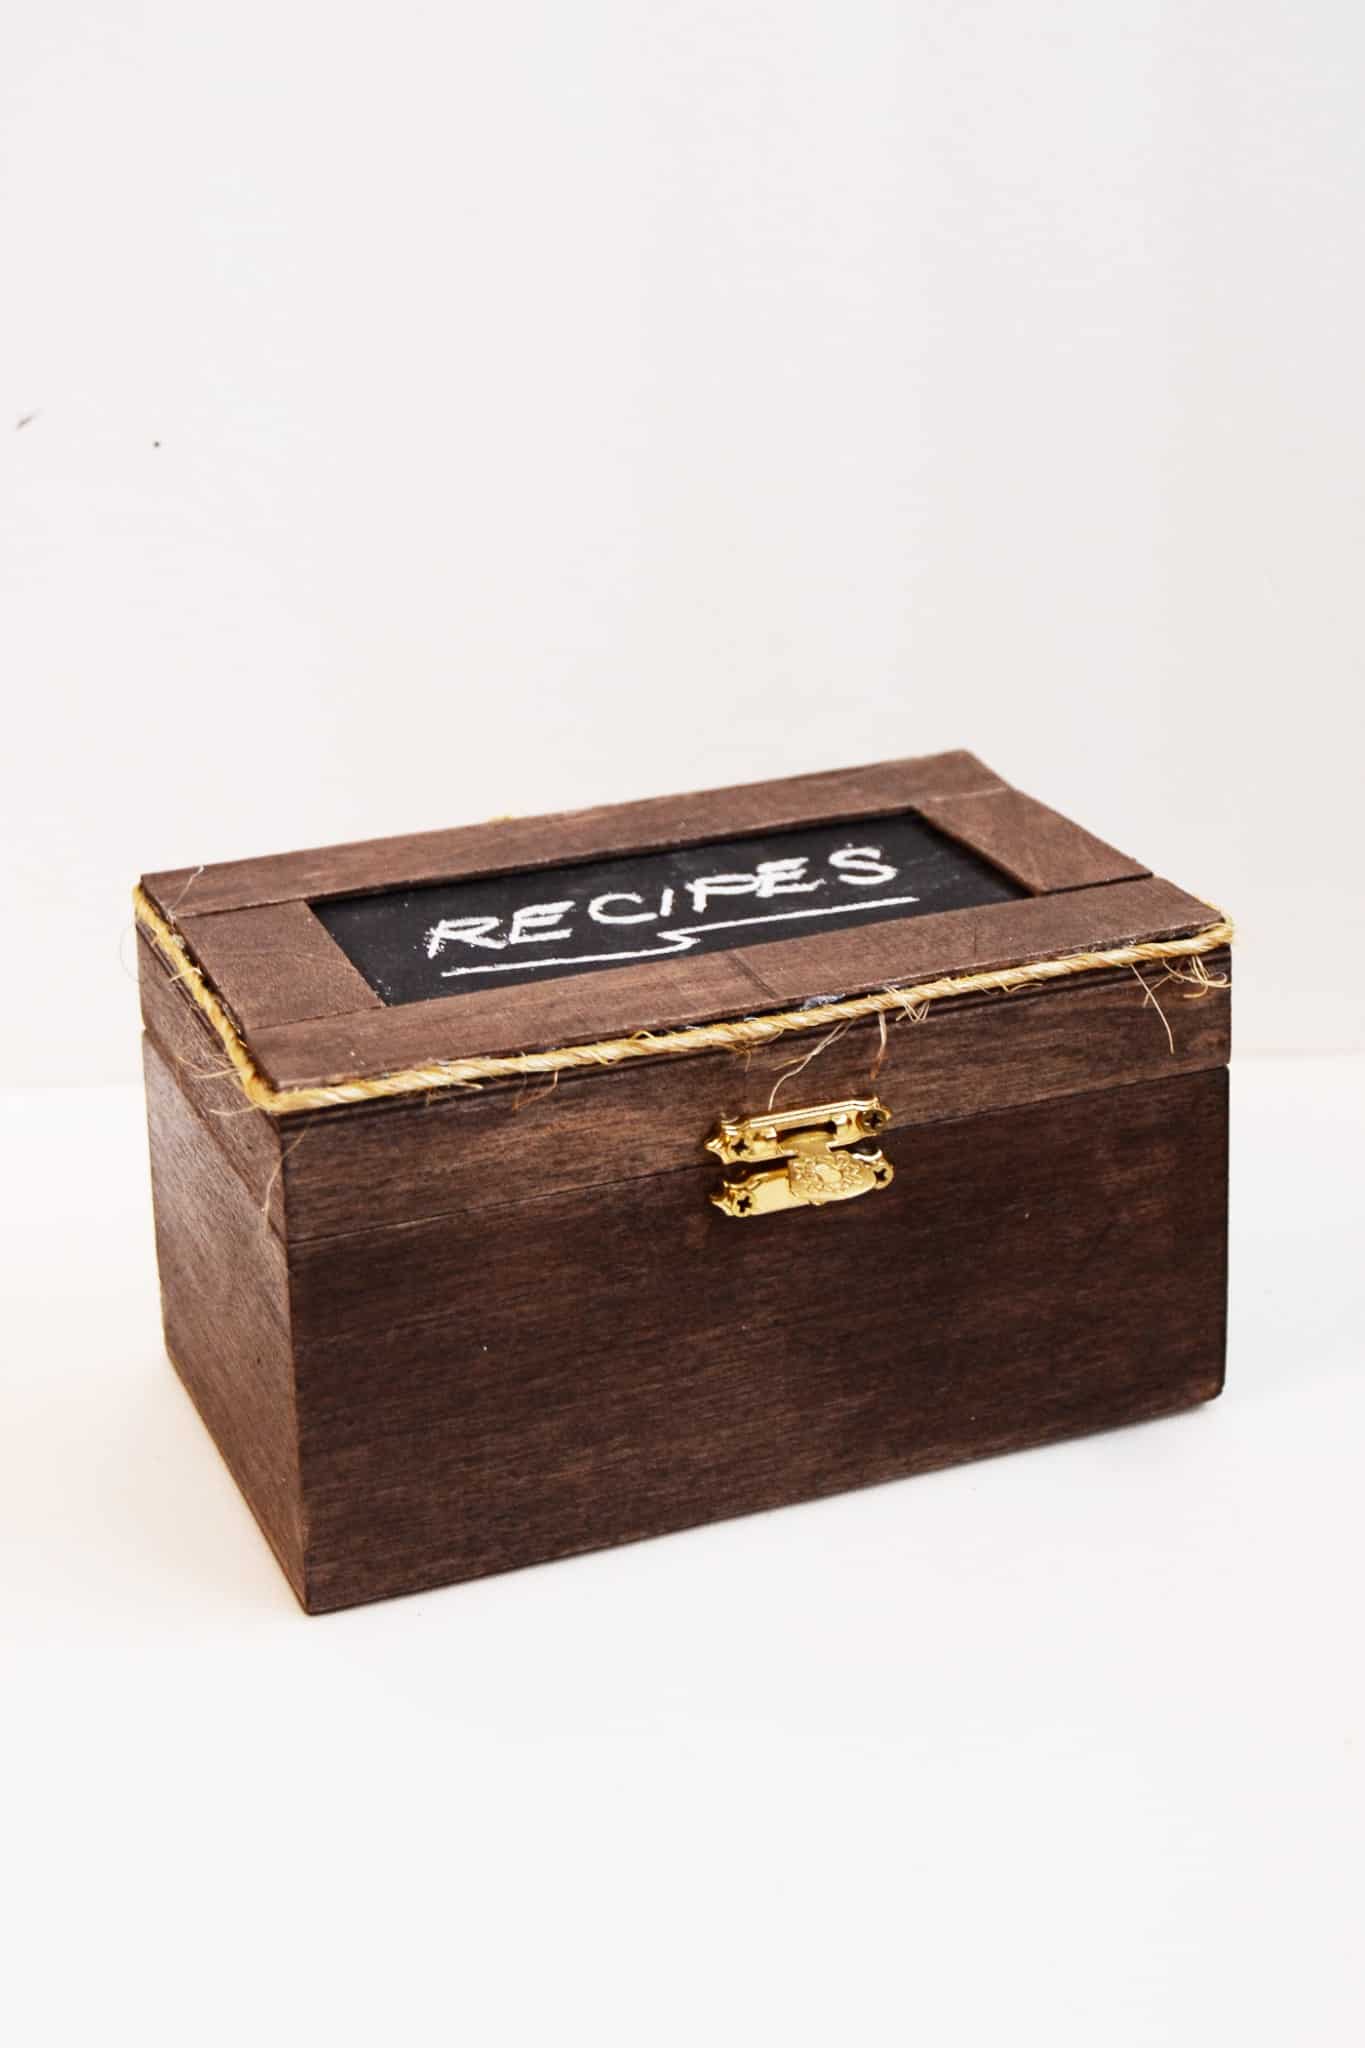
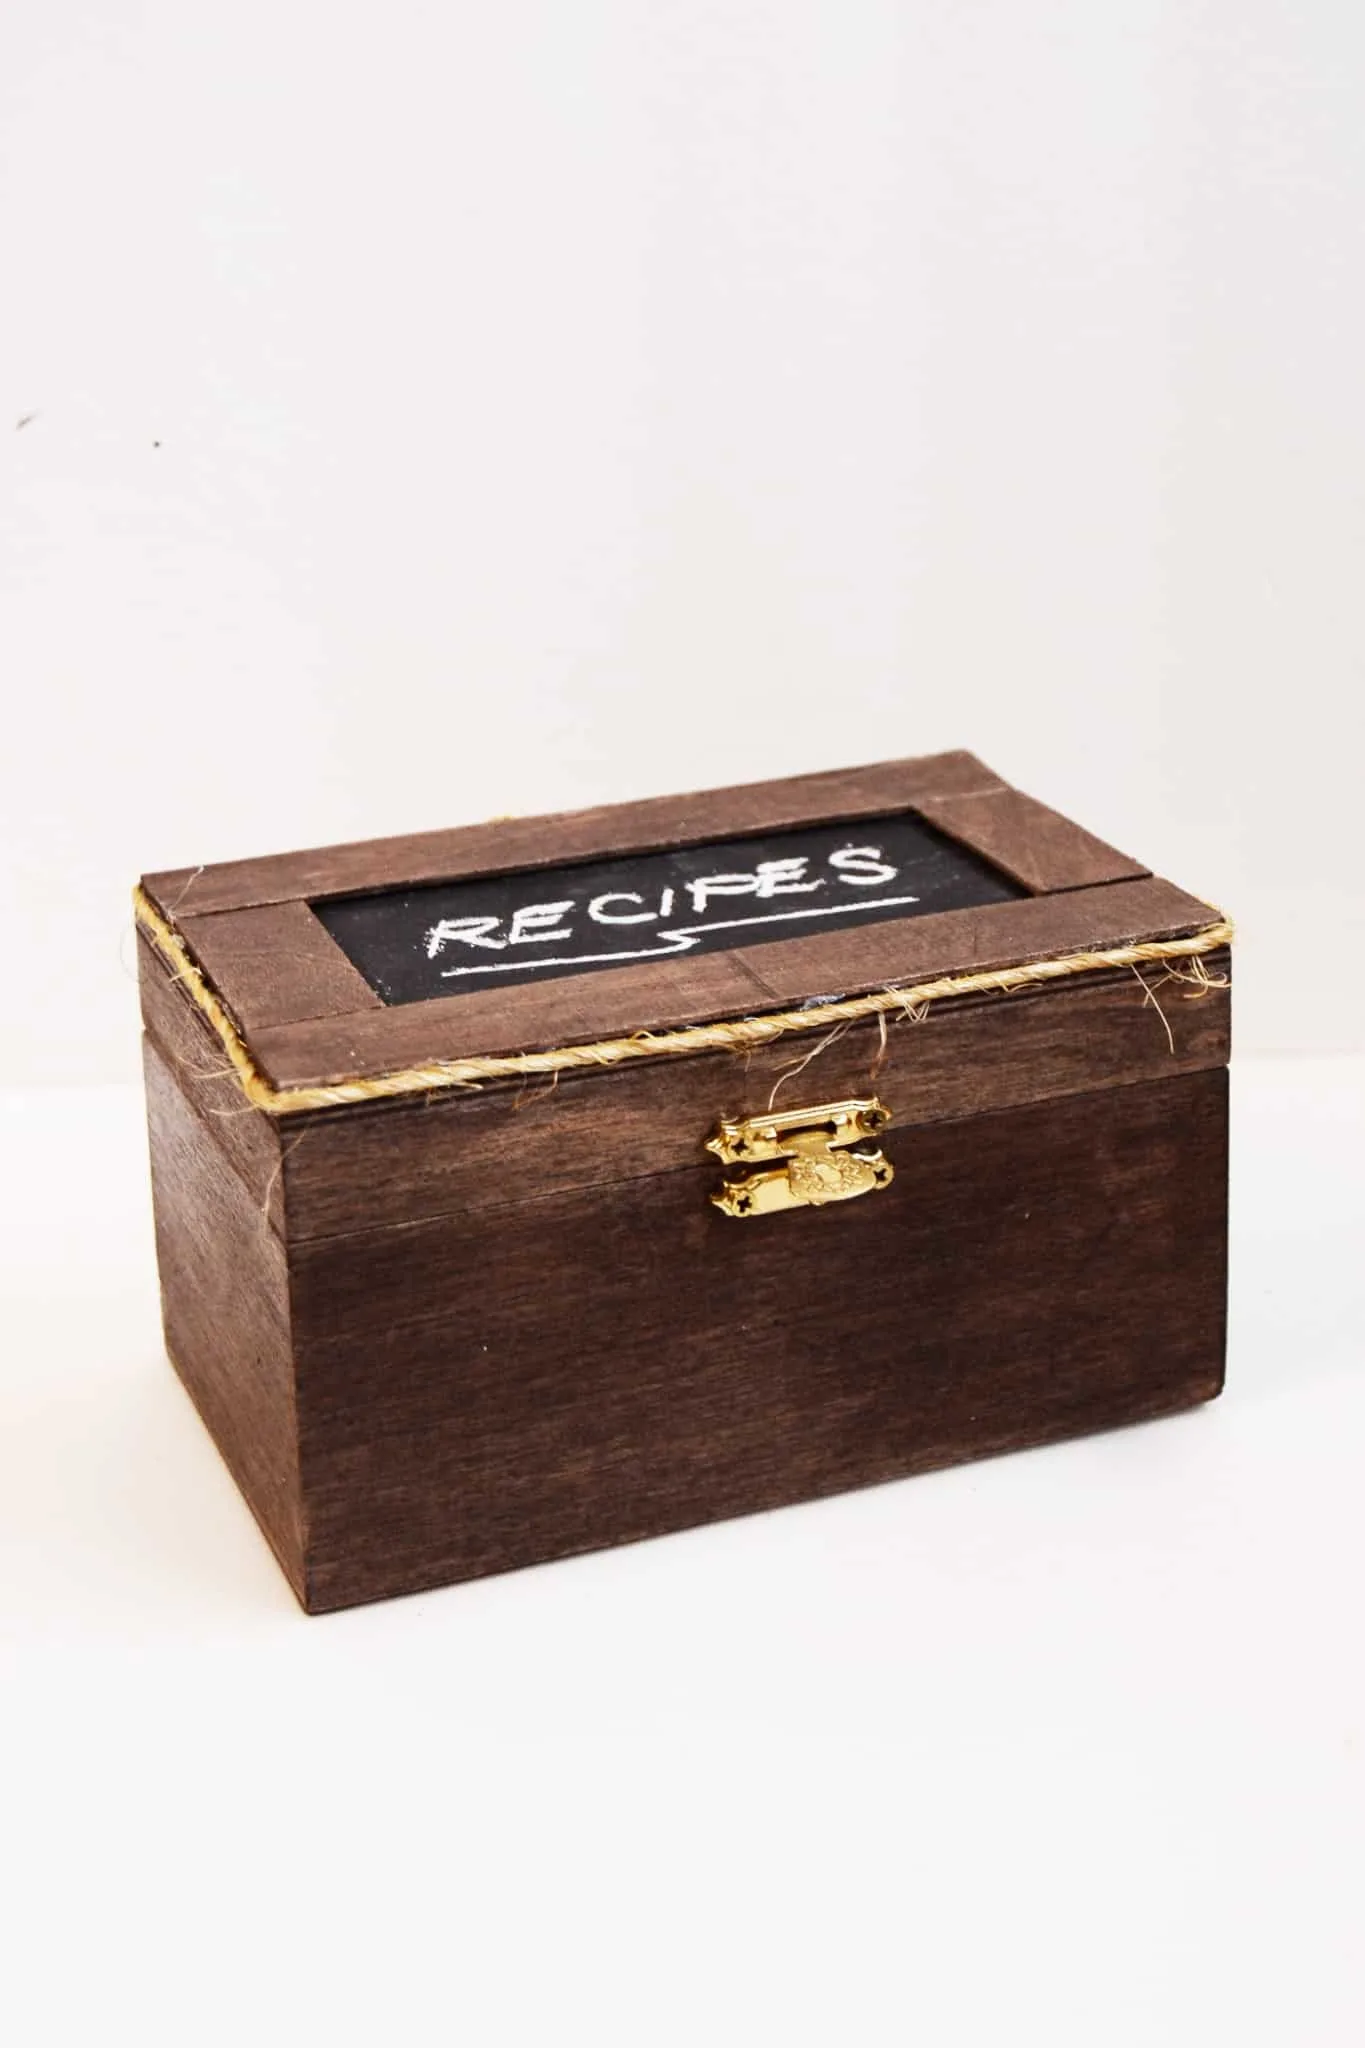
Store all of your treasured recipes in this unique, rustic recipe box! It’s easy to make with chalkboard paint and perfect for gifting.
It seems to me that people ask for recipes the most during the holiday season – and why not? You have Halloween, Thanksgiving, Christmas, and New Year celebrations – so much food to try and love. And when you have the recipes, you would need a recipe box. Make a really easy and rustic one by following this tutorial!
It makes a great decor idea to go with your kitchen, but I also love the idea of giving this to mom for a Mother’s Day gift with some of her treasured recipes in it. You won’t believe how easy it is to make with chalkboard paint!
Farmhouse Recipe Box
Supplies:
- Pine box
- Acrylic paint in brown and black
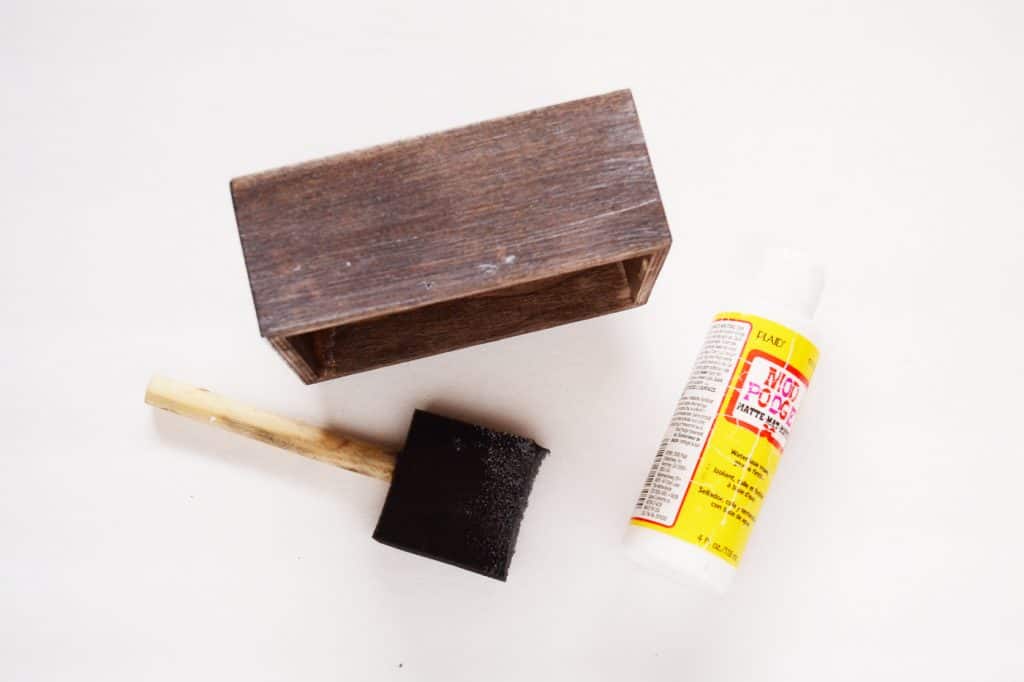
- Matte Mod Podge
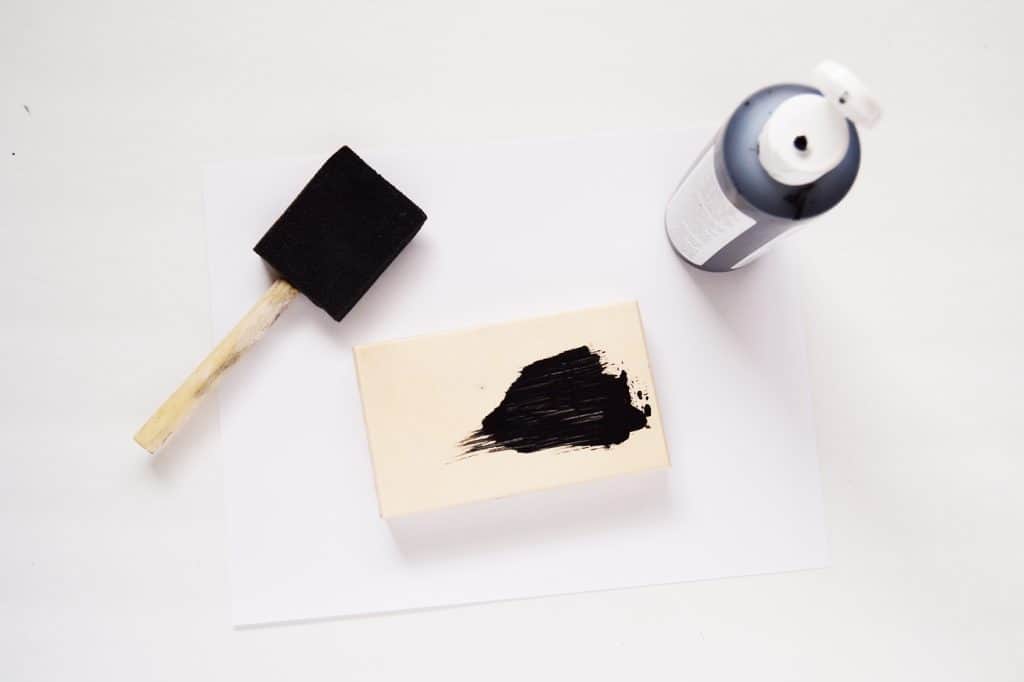
- Chalkboard paint
- Scissors
- Popsicle sticks
- Wood glue
- Foam brush
- Sandpaper
- Twine (optional)
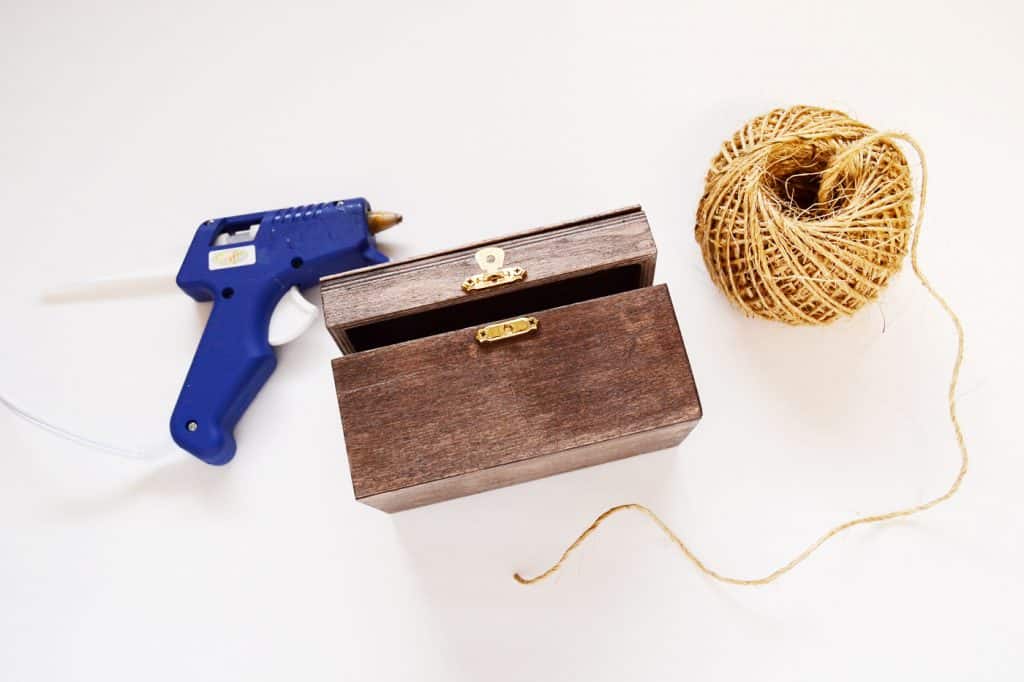
- Hot glue
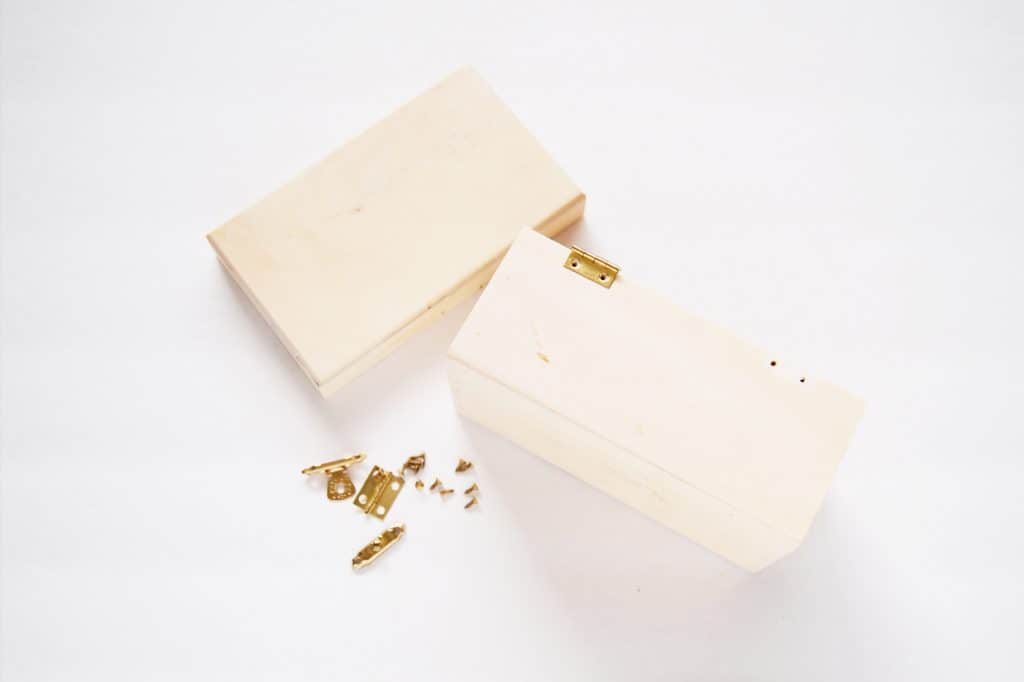
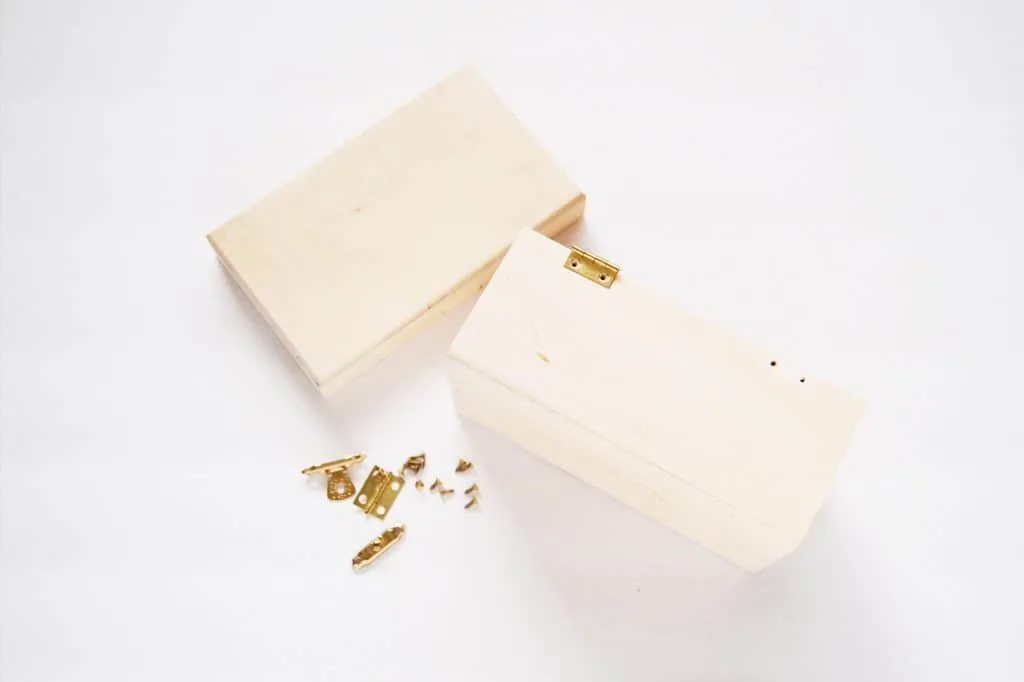
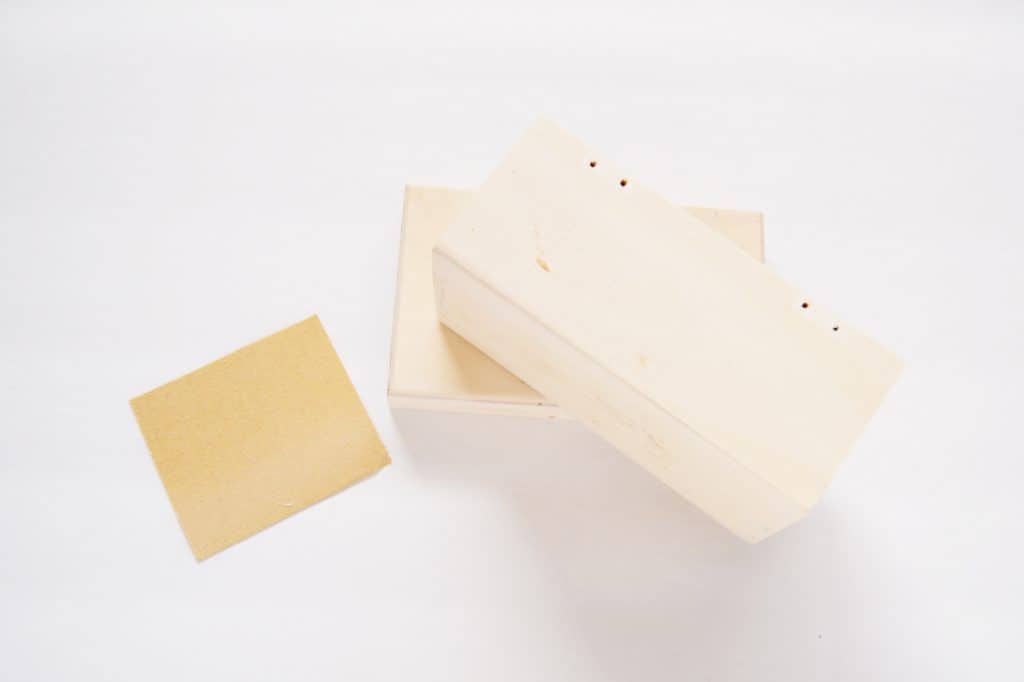
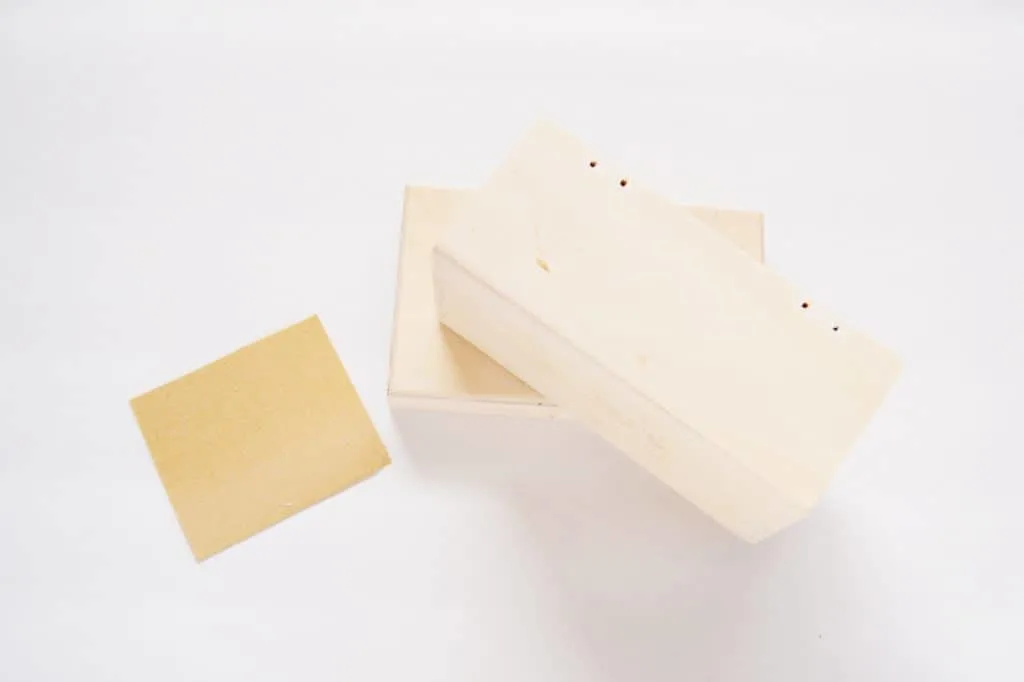
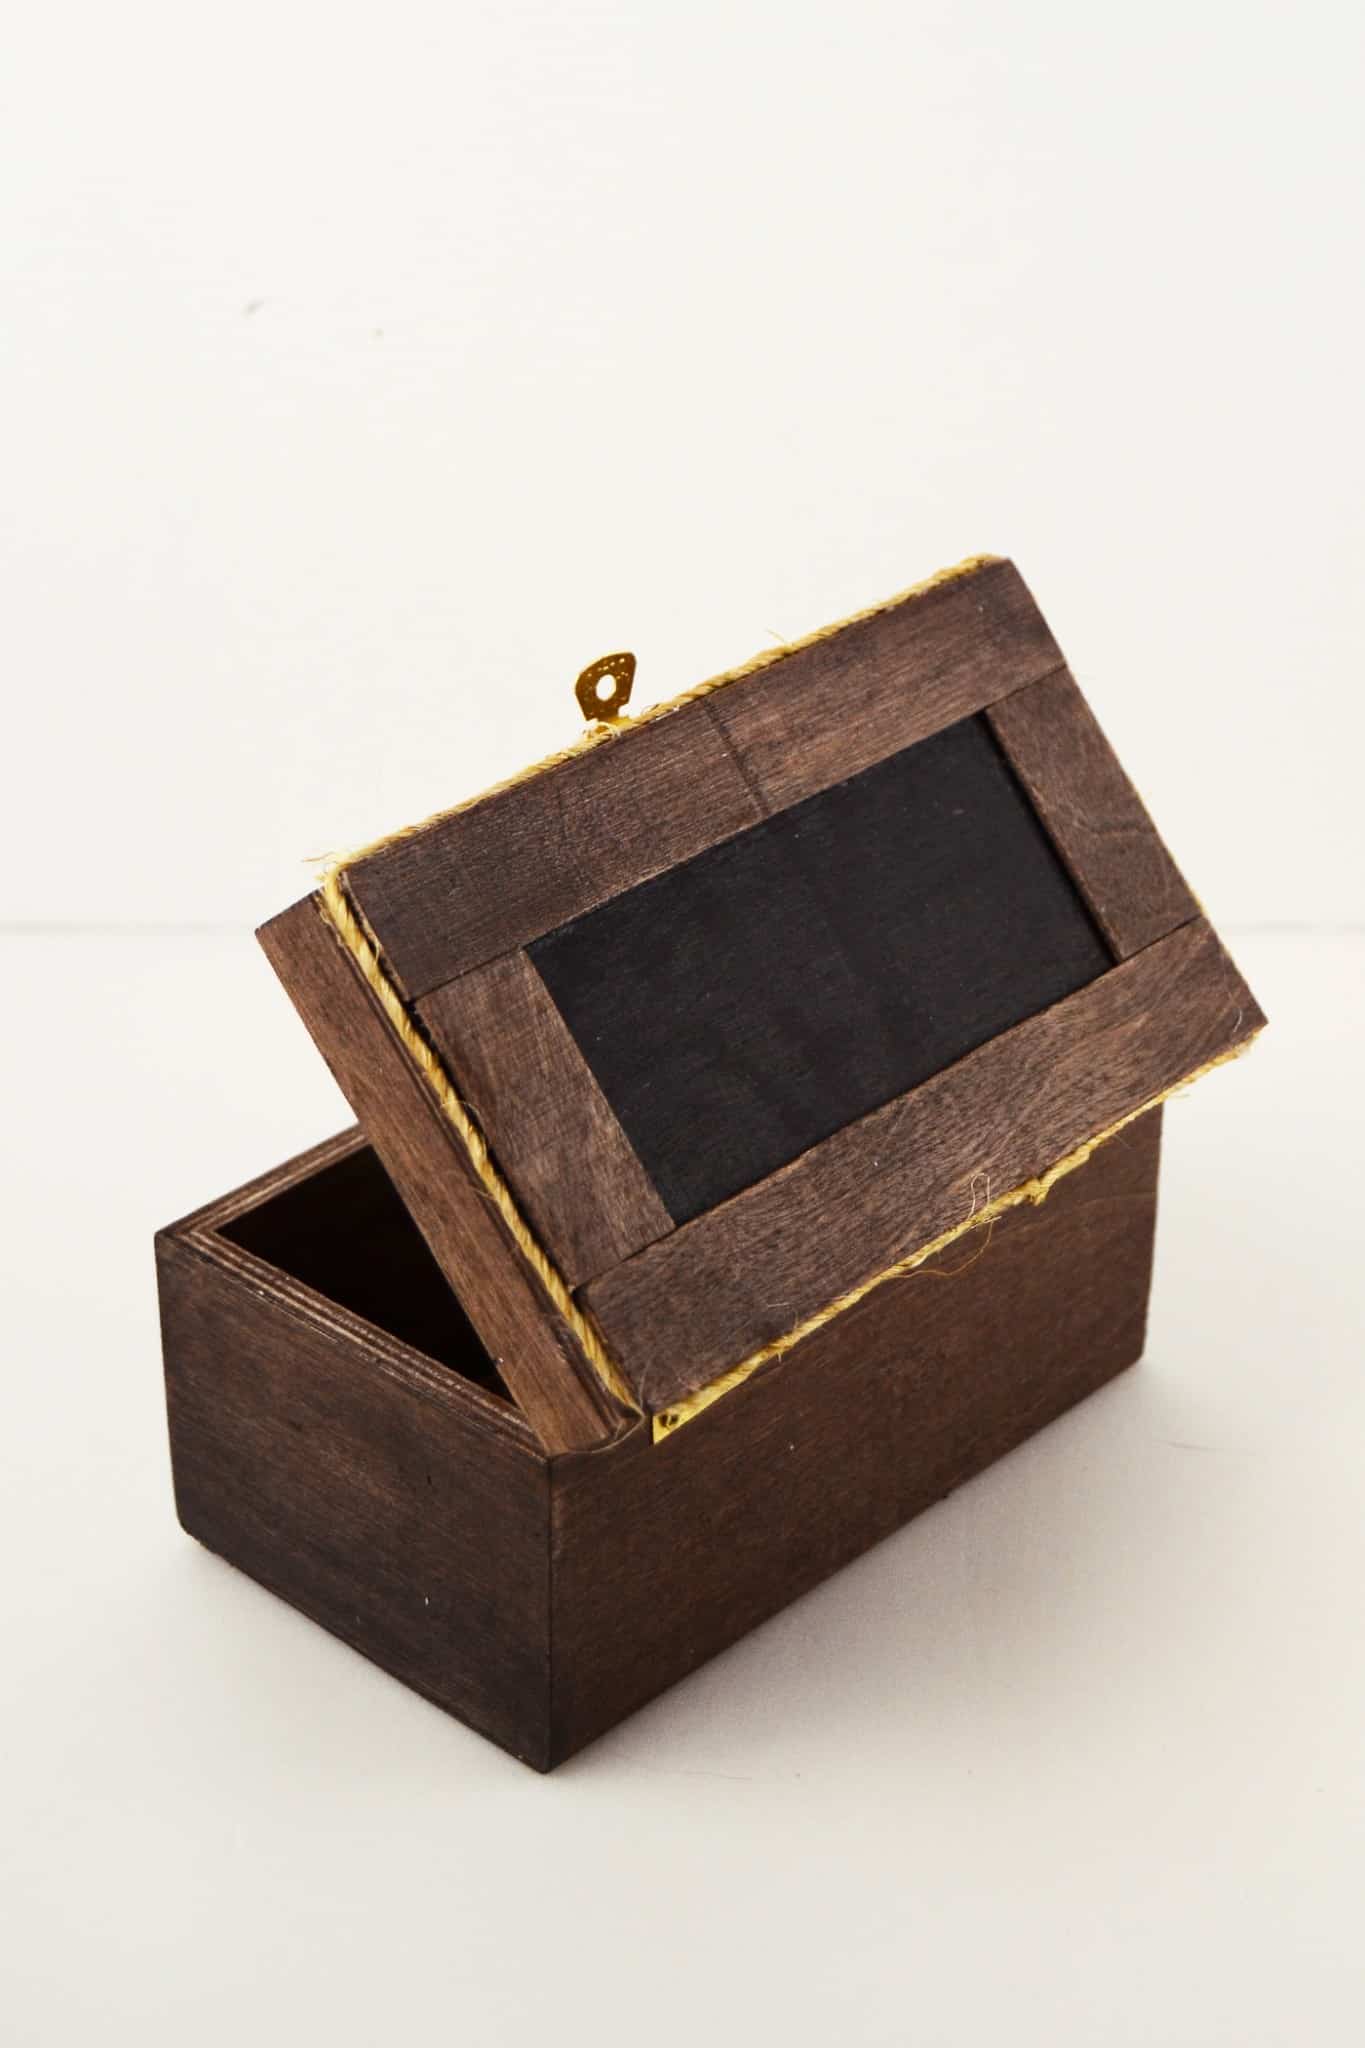
Step 1. Remove all the hardware – this step is optional but would give your box a nicer finish since you won’t be painting over them!
Step 2. Sand all the sides of the box lightly with a piece of sandpaper.
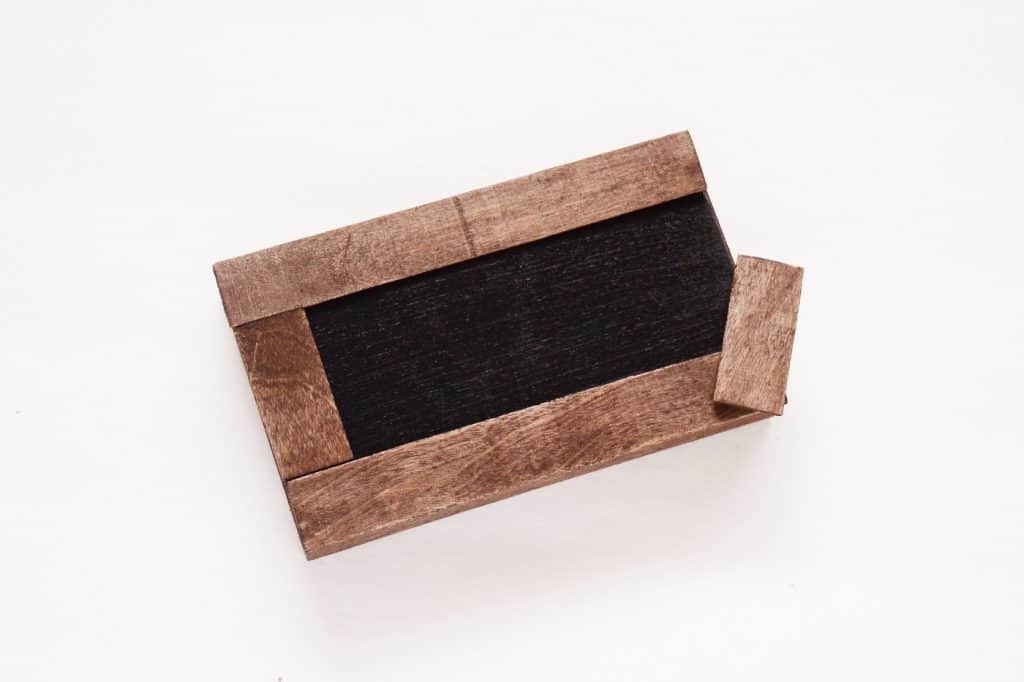
Step 3. Measure and cut the popsicle sticks for the top frame. Cut with a pair of scissors to make it easier. Start by cutting the longer pieces first.

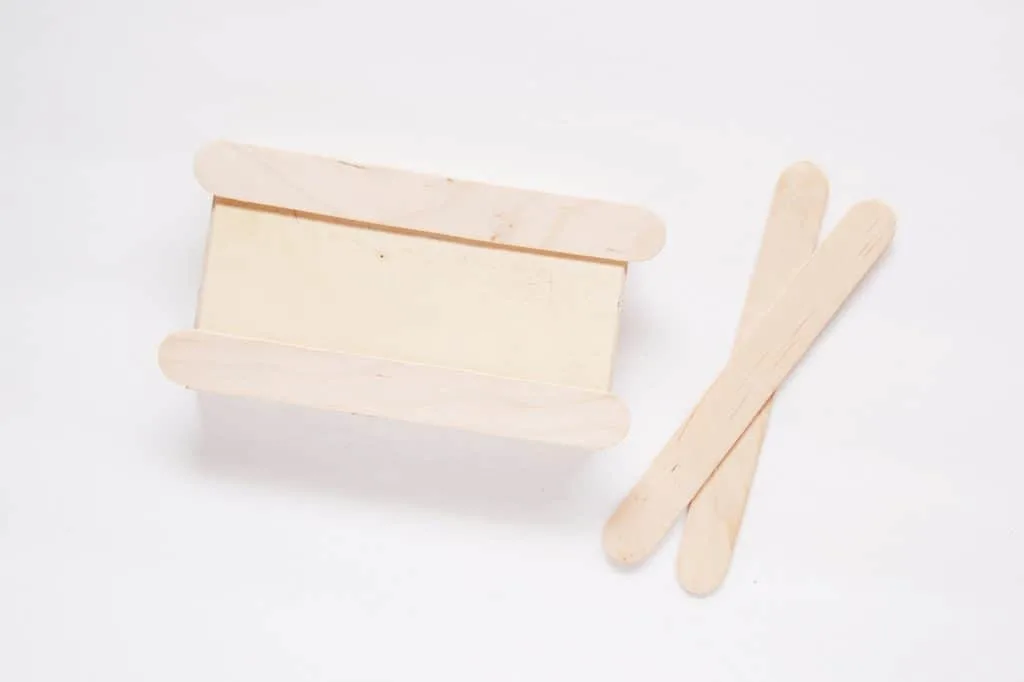
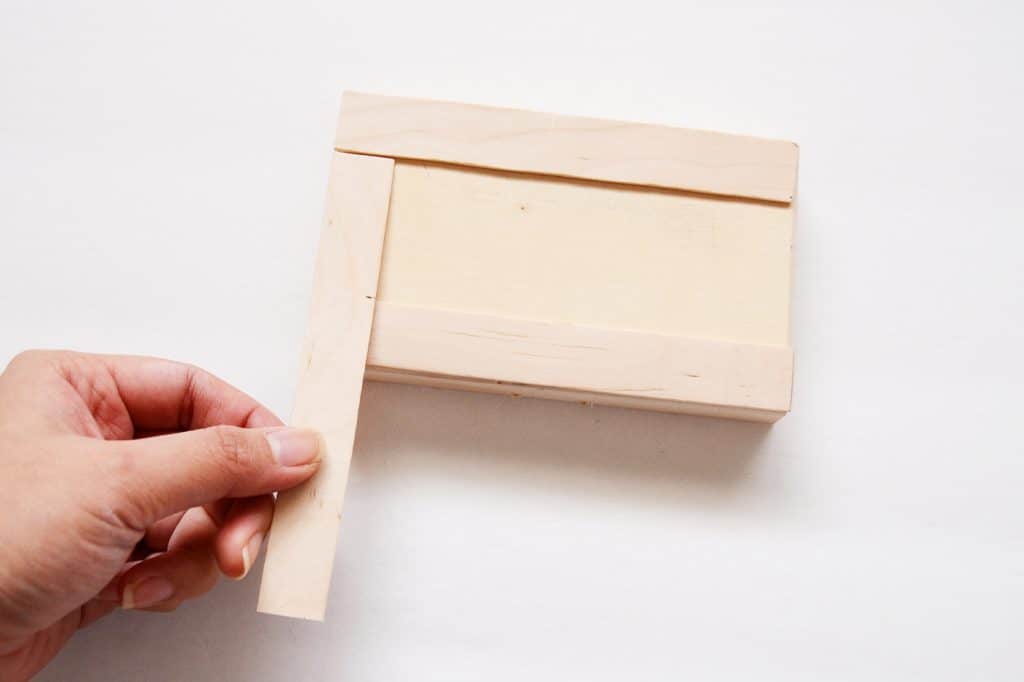
Step 4. When you have the longer pieces of the frame, place it on the top, measure the short sticks and cut.

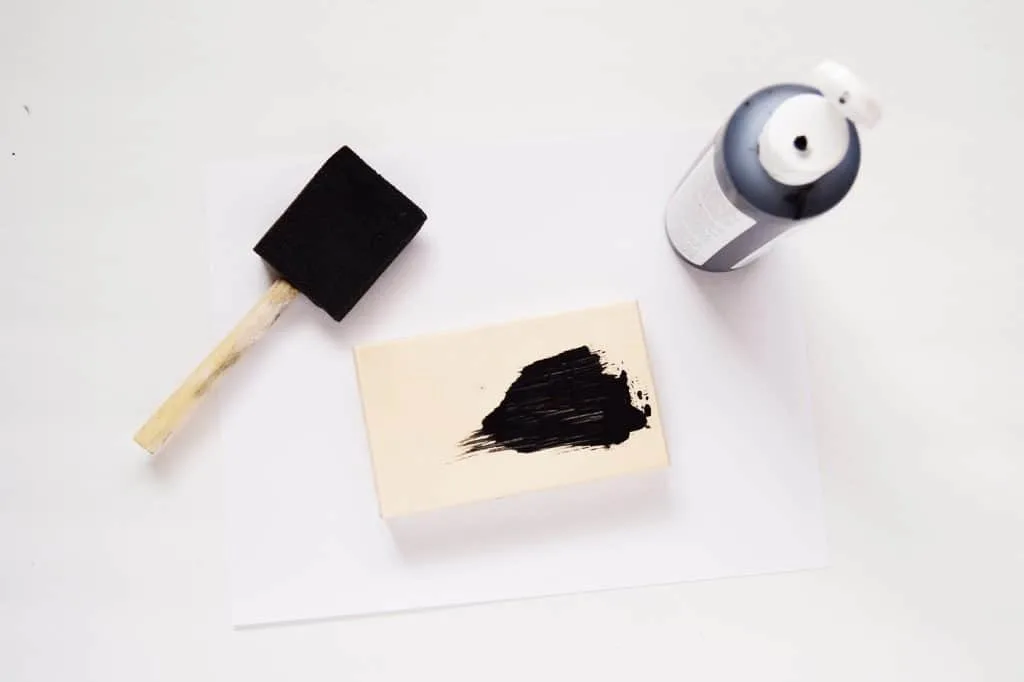
Step 5. Paint the top with a chalkboard paint, about two coats and then wait to dry.
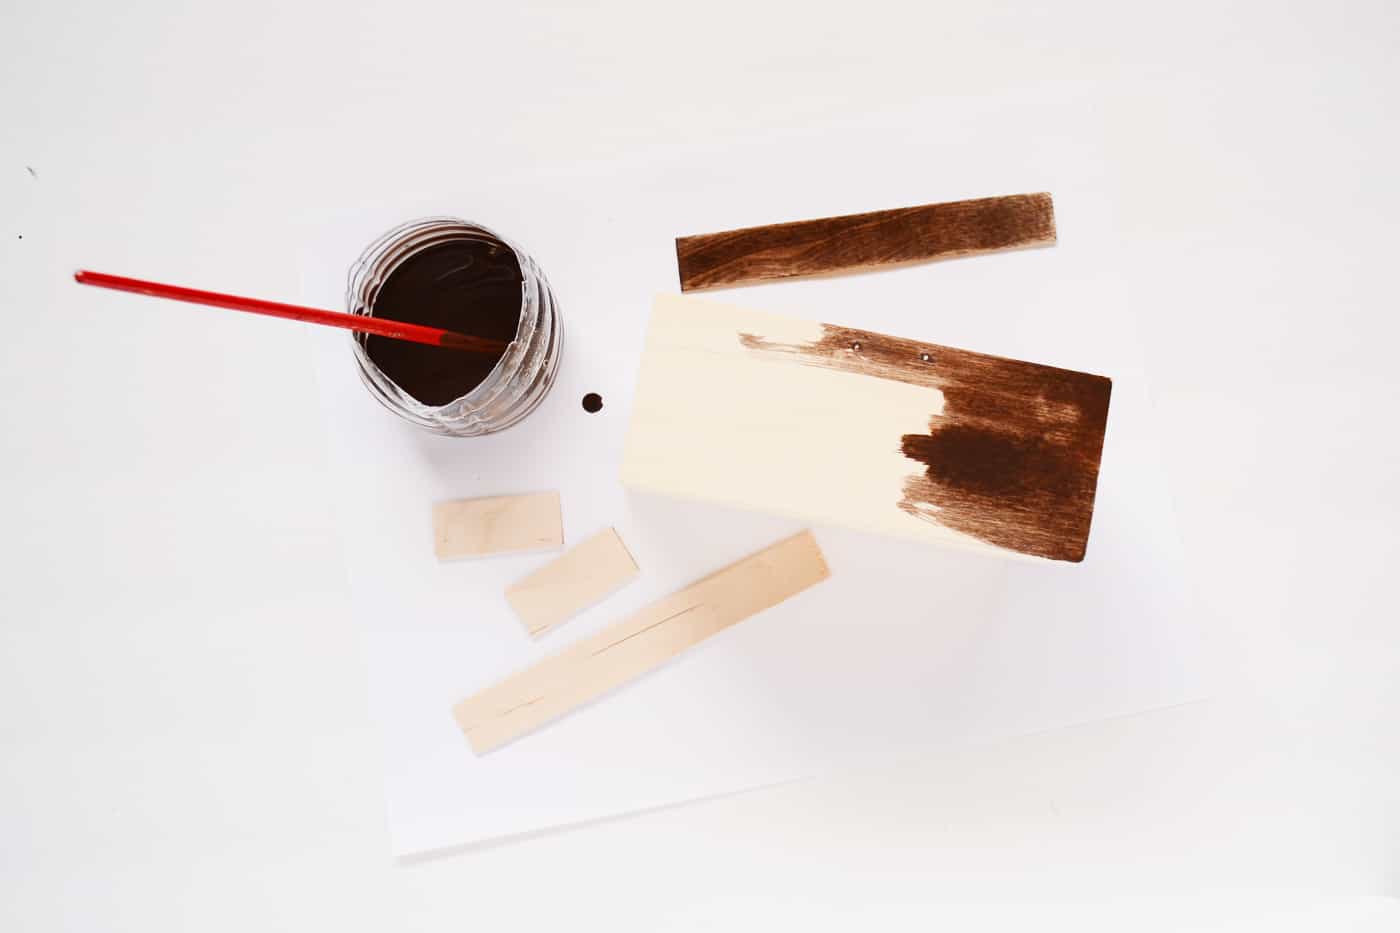
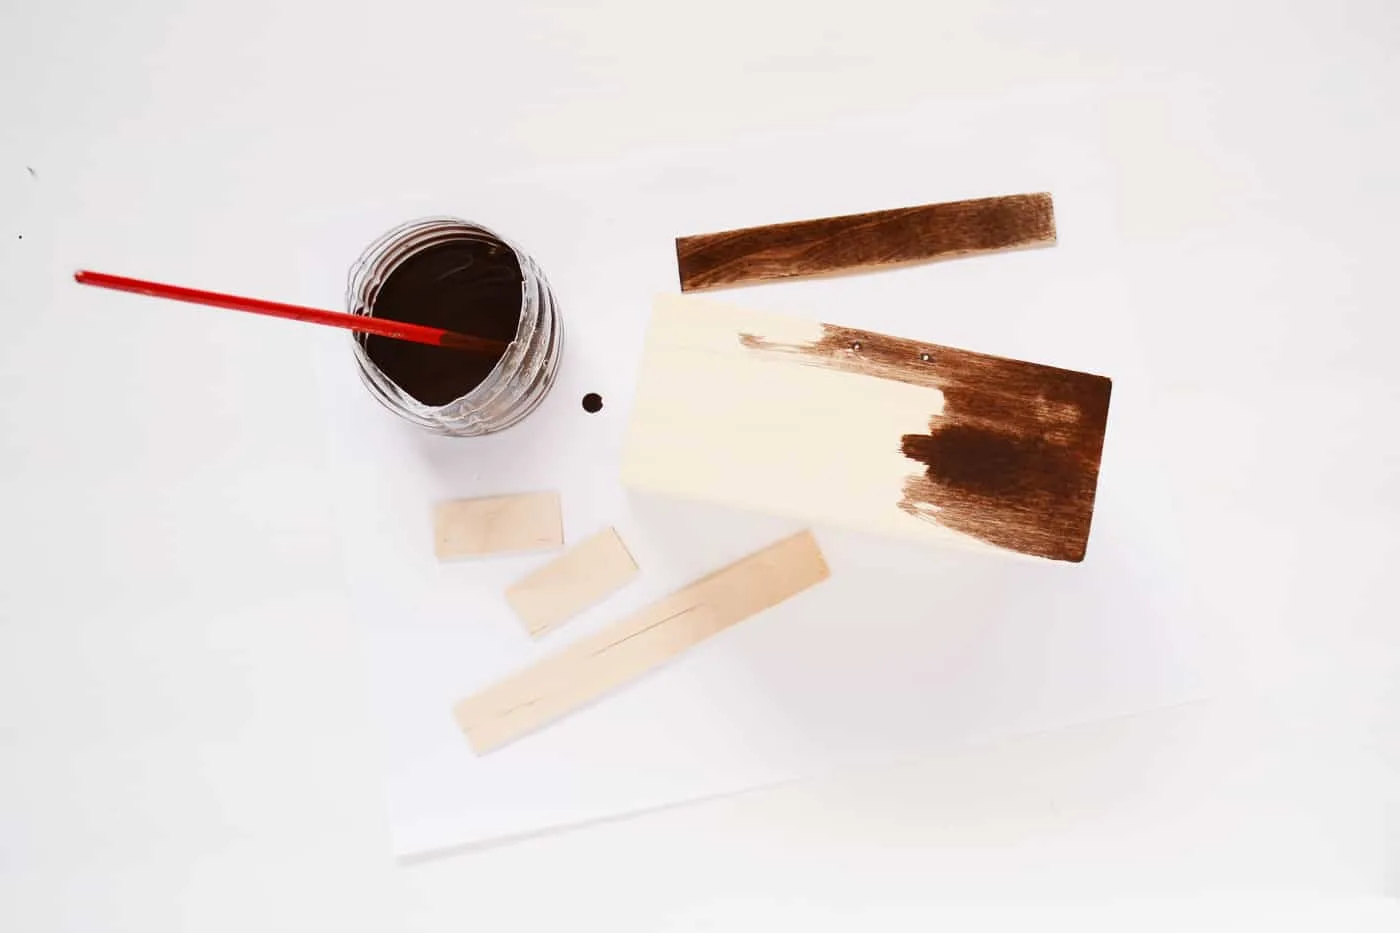
Step 6. Once dry, coat the box and the sticks with a watered down mix of black and brown paint until you are happy with the shade of the box – wait to dry. Mine took about two coats until I was happy with the shade my box took.
Step 7. Adhere the stick frame using wood glue. Wait for it to dry before proceeding to the next step.

Step 8. To give the box a nicer finish, use Mod Podge to leave a nice gloss on it and liven up the wood. Once dry, attach the hardware on the box again.

Step 9. I trimmed the top of my box with some twine to give it a more rustic look – this step is totally optional but I think it lends a nice texture.

And you are done! It’s very apt for Thanksgiving, no?
Would this look amazing in your kitchen? Or how would you customize a recipe box?

Hope you liked this rustic recipe box tutorial – if you do, don’t forget to follow me on my blog and social media. I’d also love for you to check out the crafts below. Happy crafting, friends!
Paige
Thursday 29th of October 2015
Such a fun and cute box! I'll have to make one of these soon t o hold all my recipes! It fits with the decor in our home perfectly!
Paige https://www.thehappyflammily.com/