Star Wars R2D2 Luminaries on a Budget
This Star Wars craft is SO easy to make! I used dollar votives and paint pens to celebrate my love of R2D2 and create some cool luminaries.
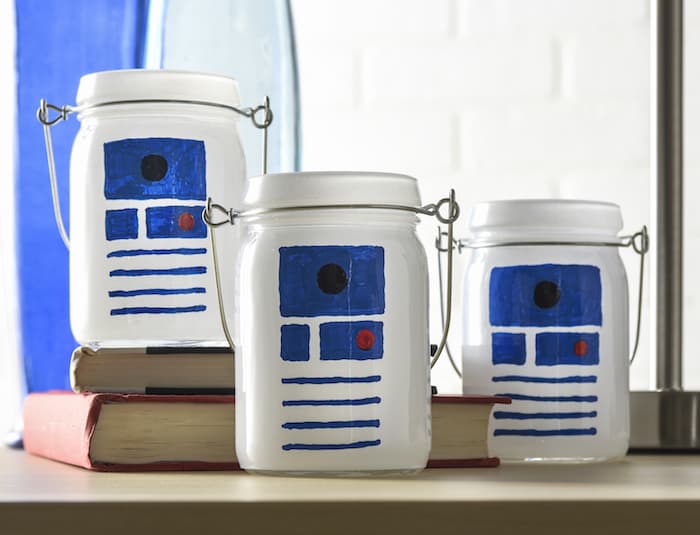
I’m a HUGE Star Wars fan but there’s a sad truth – a scary truth – I’ve never posted a Star Wars craft. I know that it’s really easy to doubt my love of the movies when you hear this, but I promise you that I’m a devout fan!
Luckily since I posted this original tutorial, I’ve done a Droid Christmas tree and Droid pumpkins. I need to expand outside of robots, but I just really love them.
Did you know that C-3PO is the first character that talks in episode IV, released in 1977? I just love R2 and C-3PO as the odd couple of the series.
It was recently that I saw some $1 white votives at Target in the budget bins, and I knew I had to turn them into something Star Wars related.
I actually thought “those are little R2 units” when I saw them. Because that is how my mind works. Everything is Star Wars related. And that’s how this Star Wars craft was born!
Star Wars Craft: R2D2 Luminaries
So here’s how you make these fun R2-D2 votives.
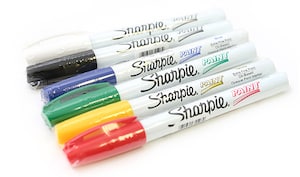
Really the only thing you’re going to need besides the lanterns for this project are some Sharpie Oil Based Paint Markers. I personally didn’t want to do any hand painting on the glass (with brushes) for this project, so did a little research and found that this is what people were using to draw right on it. Sounds good to me!
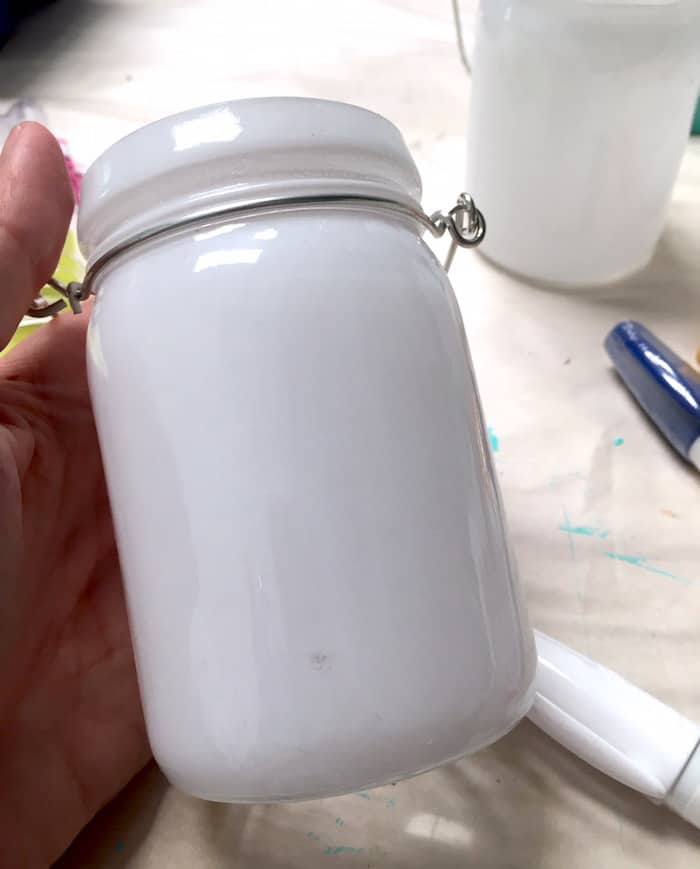
I first cleaned the glass with rubbing alcohol (you can wash and dry it too with regular soap) to remove all of the fingerprints. This is recommended before doing any crafts with glass.
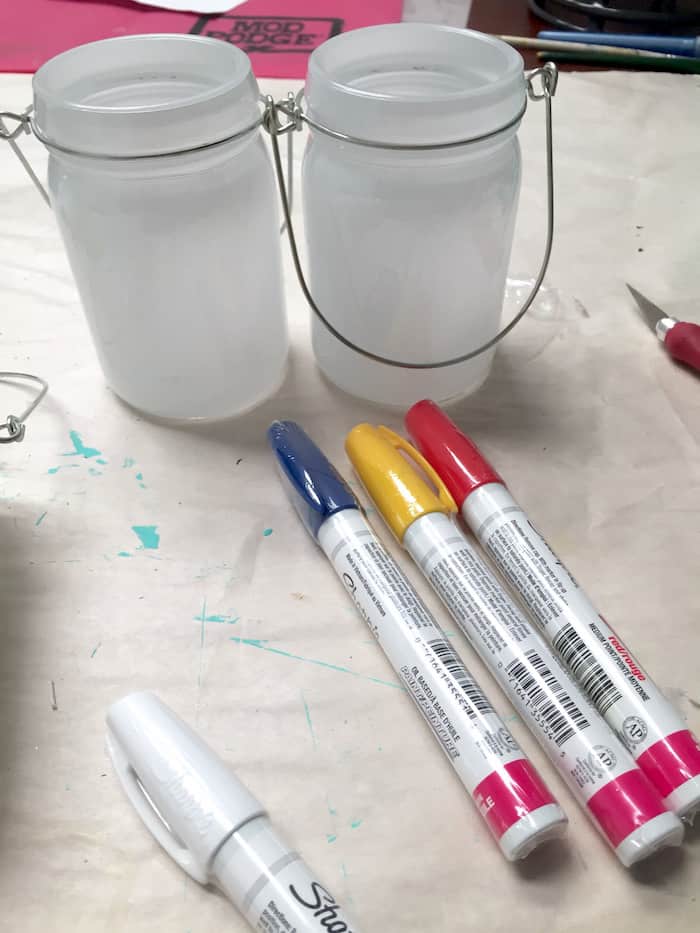
Make sure you have the colors you need for your R2 units. I know R2 has more than just black, red, and blue, but I wanted to keep it simple. R2 isn’t a complicated guy and neither am I.
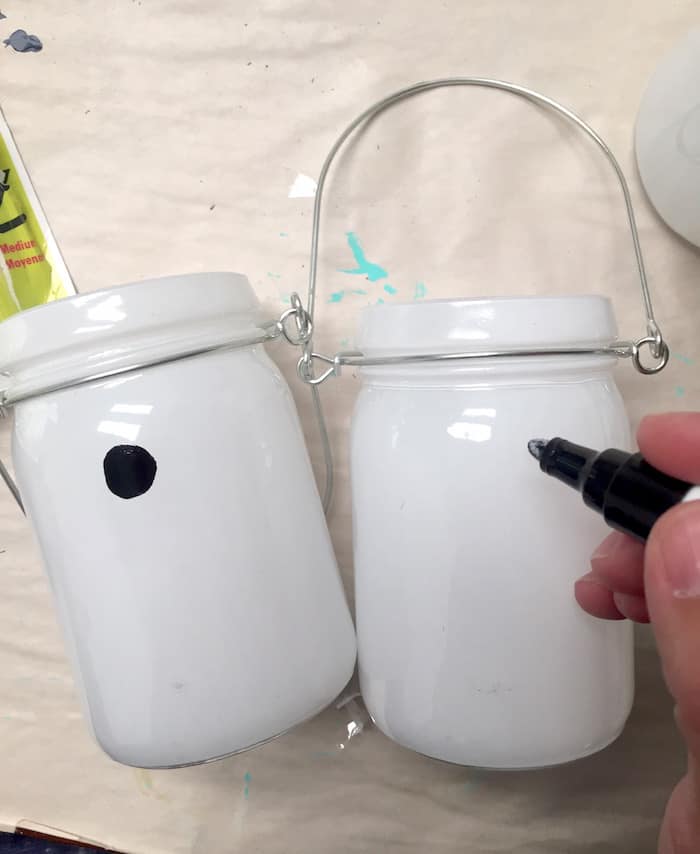
Start in the center of the glass. SO . . . I did NOT transfer a pattern to the glass.
You can do it with transfer paper if you want to . . . or you can put a pattern of R2 behind the glass with tape (which might work, this white was somewhat transparent). I decided to freehand and used one black dot as my “center.”
I then loosely interpreted R2-D2’s midsection with the rest of the colors.
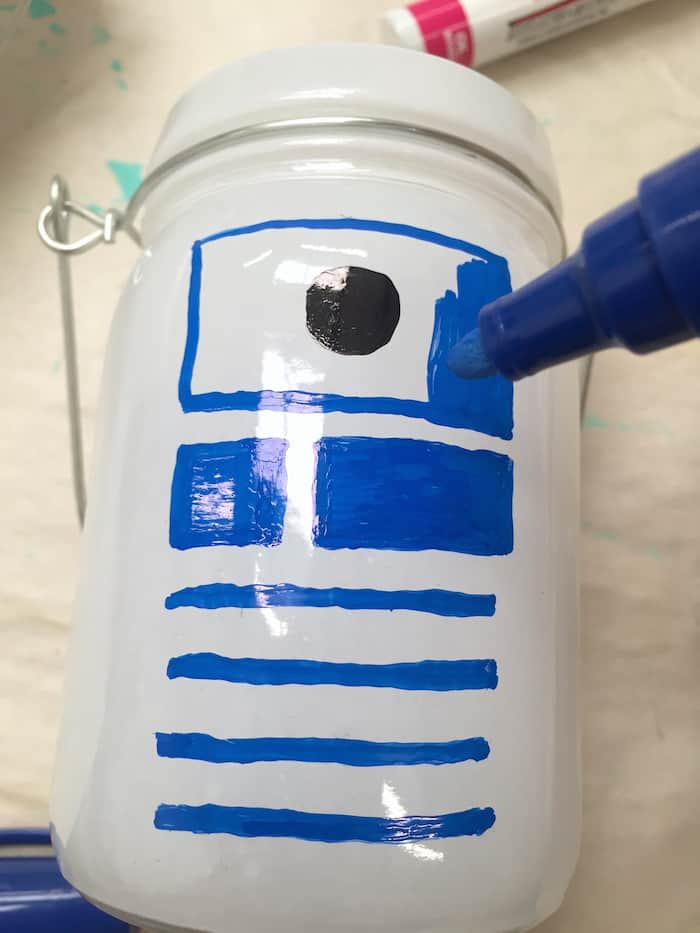
If you want to get particular with a ruler, I’ll leave that up to you. I was fine with everything not being completely straight. Tip on using the paint markers: wait until it’s dry to draw over it again, or you’ll just pick up and erase what you just drew. You can color in areas, but don’t over do it. Let them dry and you’re done!

“beep boop”
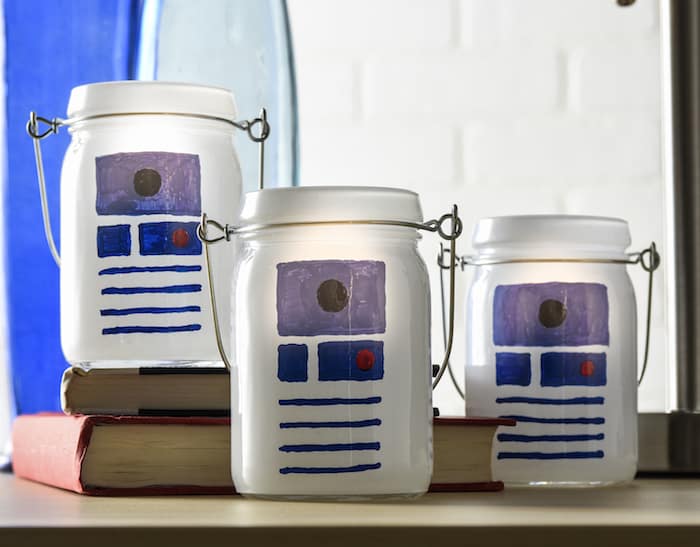
And . . . I’m in love.
Want more Star Wars crafts ideas? Visit my roundup of Star Wars crafts . . . my Darth Vader paper hat . . . and our Star Wars perler beads.
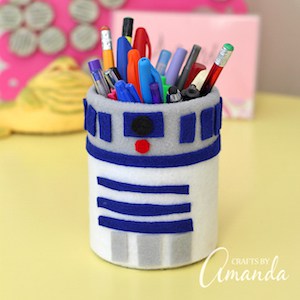
And if you want another cute R2-D2 project, my friend Amanda made this awesome pencil holder. It’s a craft from her book Star Wars Mania, which is a must have!



These are so fun! my nephews are total star wards geeks and would LOVE these!
Paige
https://www.thehappyflammily.com/
Oh my gosh these are SO STINKING CUTE! I love them so much 🙂