
Discover how to transform everyday beans into stunning mosaic art with this easy, fun tutorial. Perfect for DIY decor! You can make this with no crafting skills.
Skills Required: None. You’ll be painting and gluing. Even children will be able to do this craft.

If you’ve ever looked at a bag of beans and only seen dinner, it’s time to view them through a different lens! Welcome to the unexpectedly colorful world of bean art!
Today, we’re not cooking or baking – we’re creating! This post will guide you through the (easy) process of making your own bean mosaic art. With just a few simple supplies and a sprinkle of creativity, those everyday pantry items are about to become something extraordinary.
Specifically, we’re going to explore the whimsical realm of “bean mosaic art.” You don’t need to be a seasoned artist to join in. This project is all about fun, creativity, and perhaps getting a little messy!
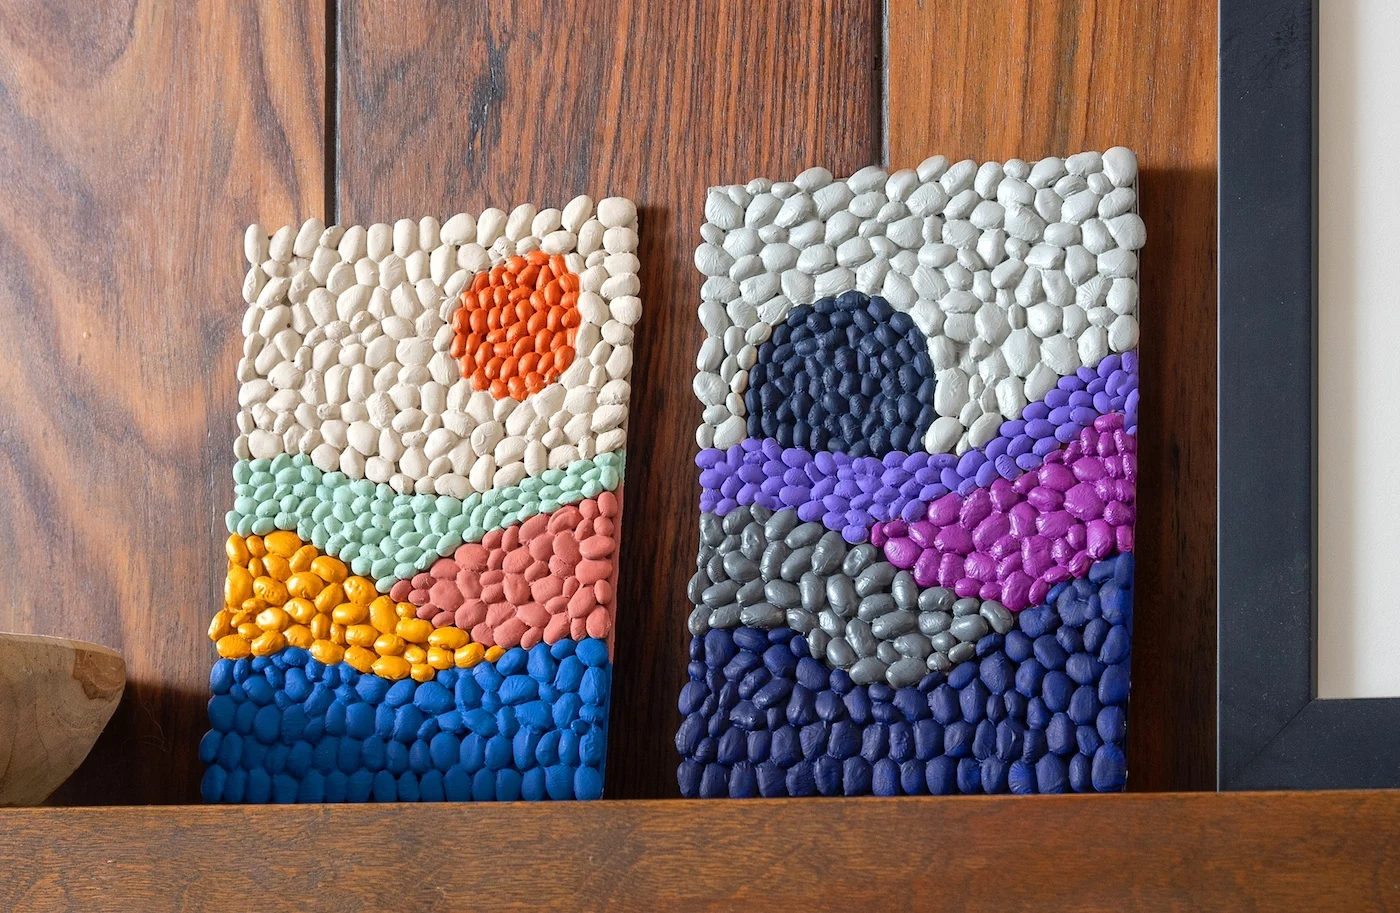
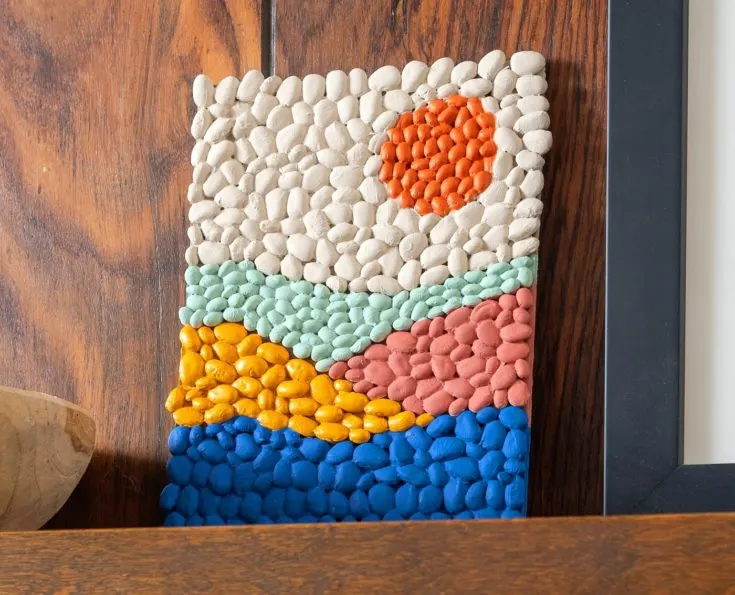
You’re going to take a simple piece of cardboard, a handful of beans, and turn them into an art piece that could grace the walls of your kitchen or add a homemade touch to your living room decor.
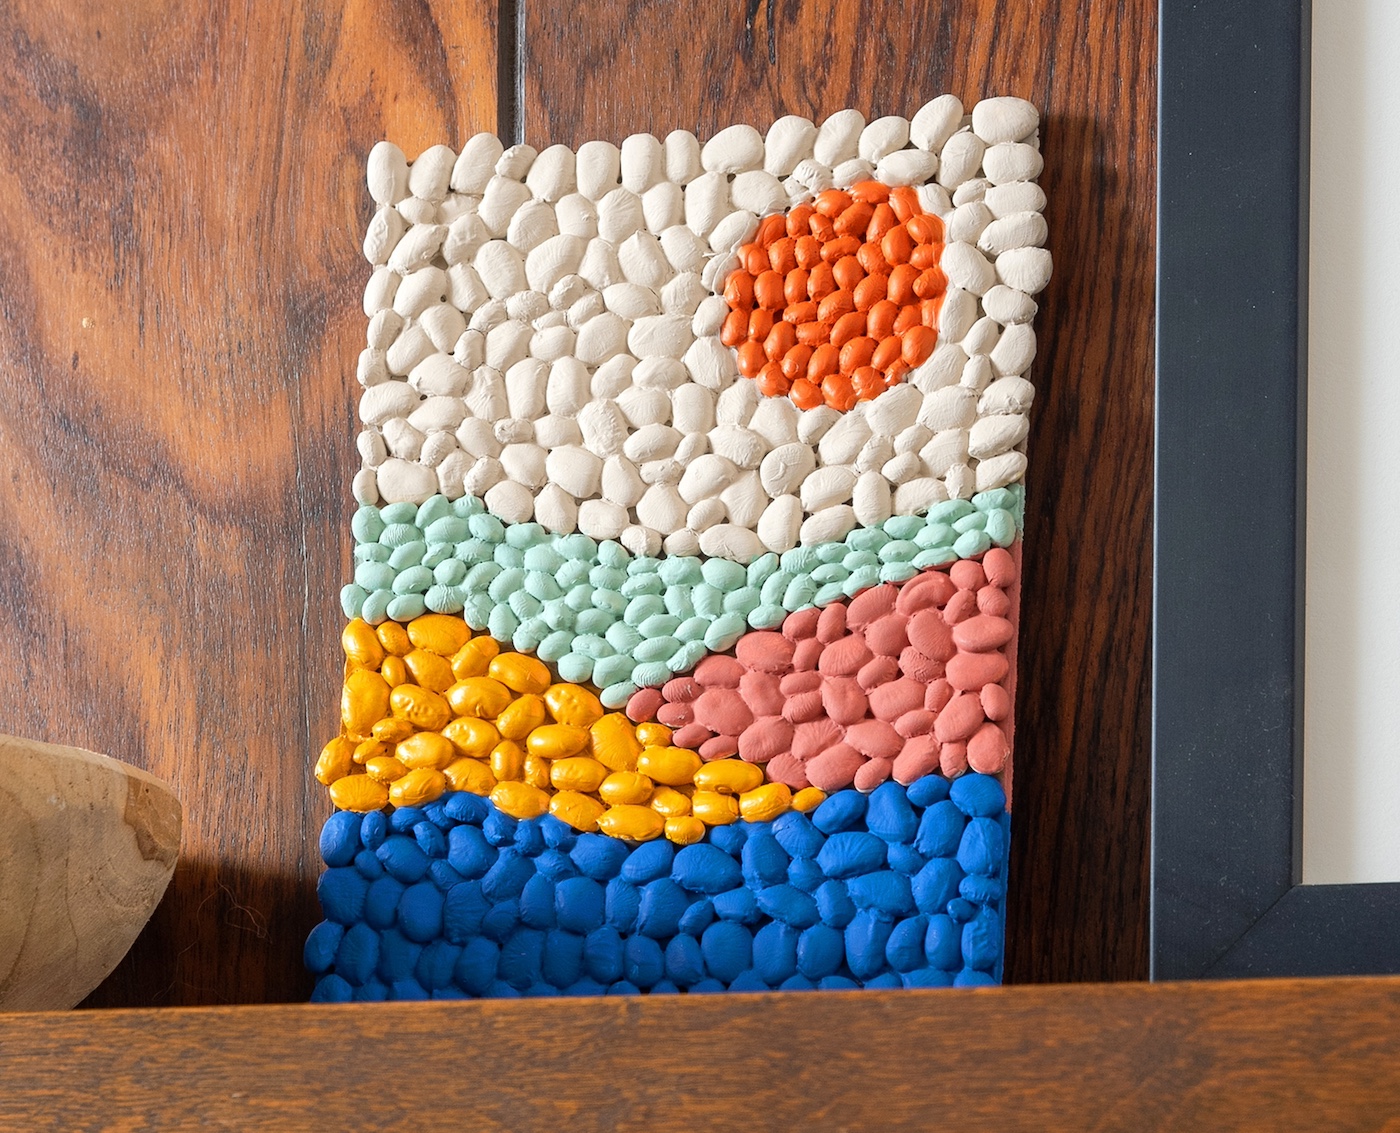

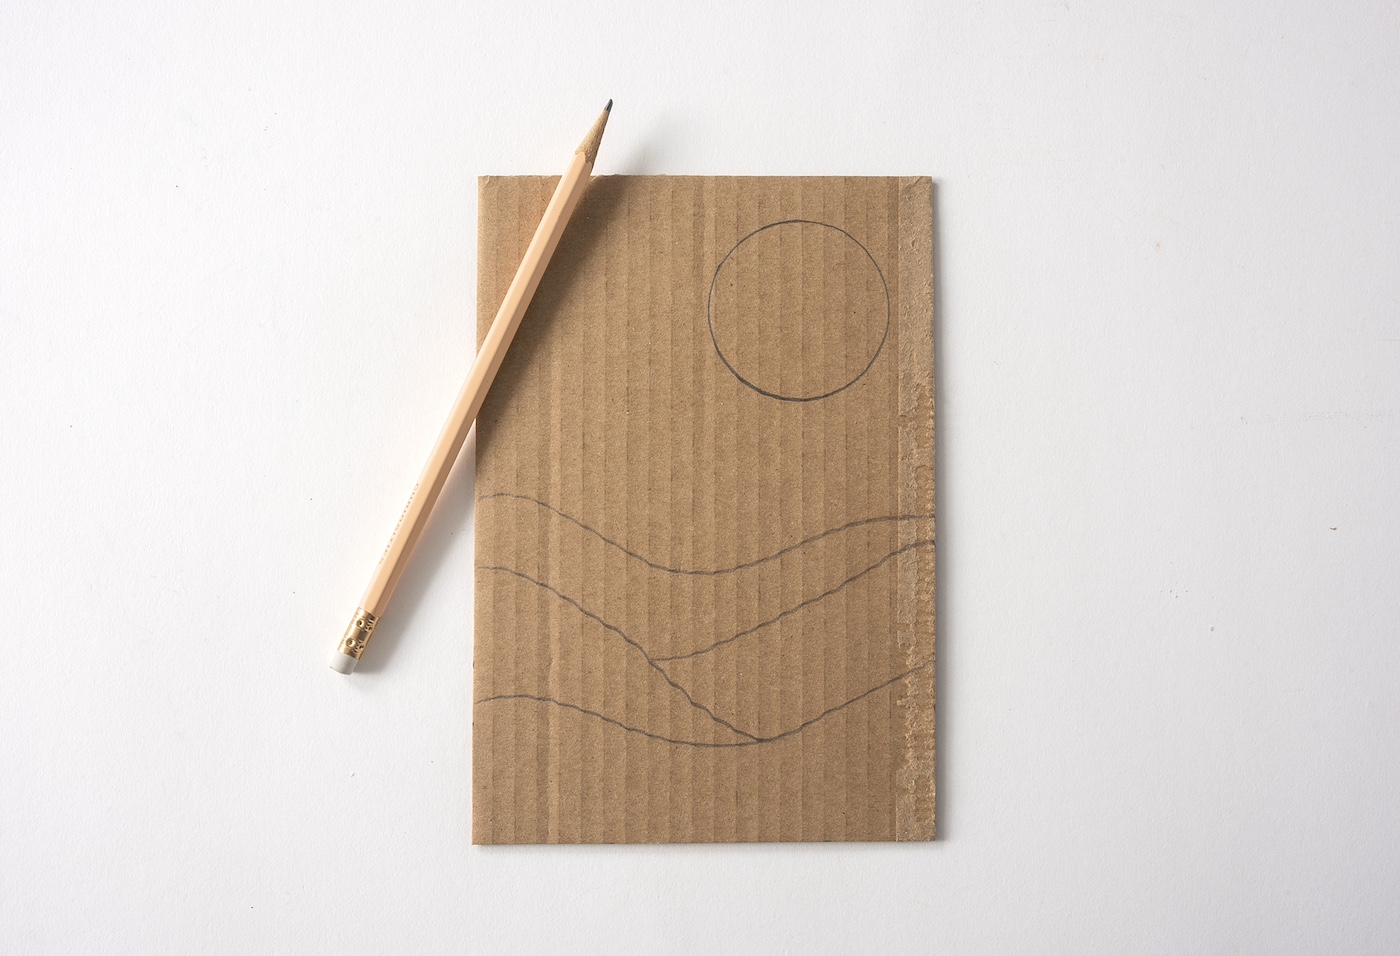
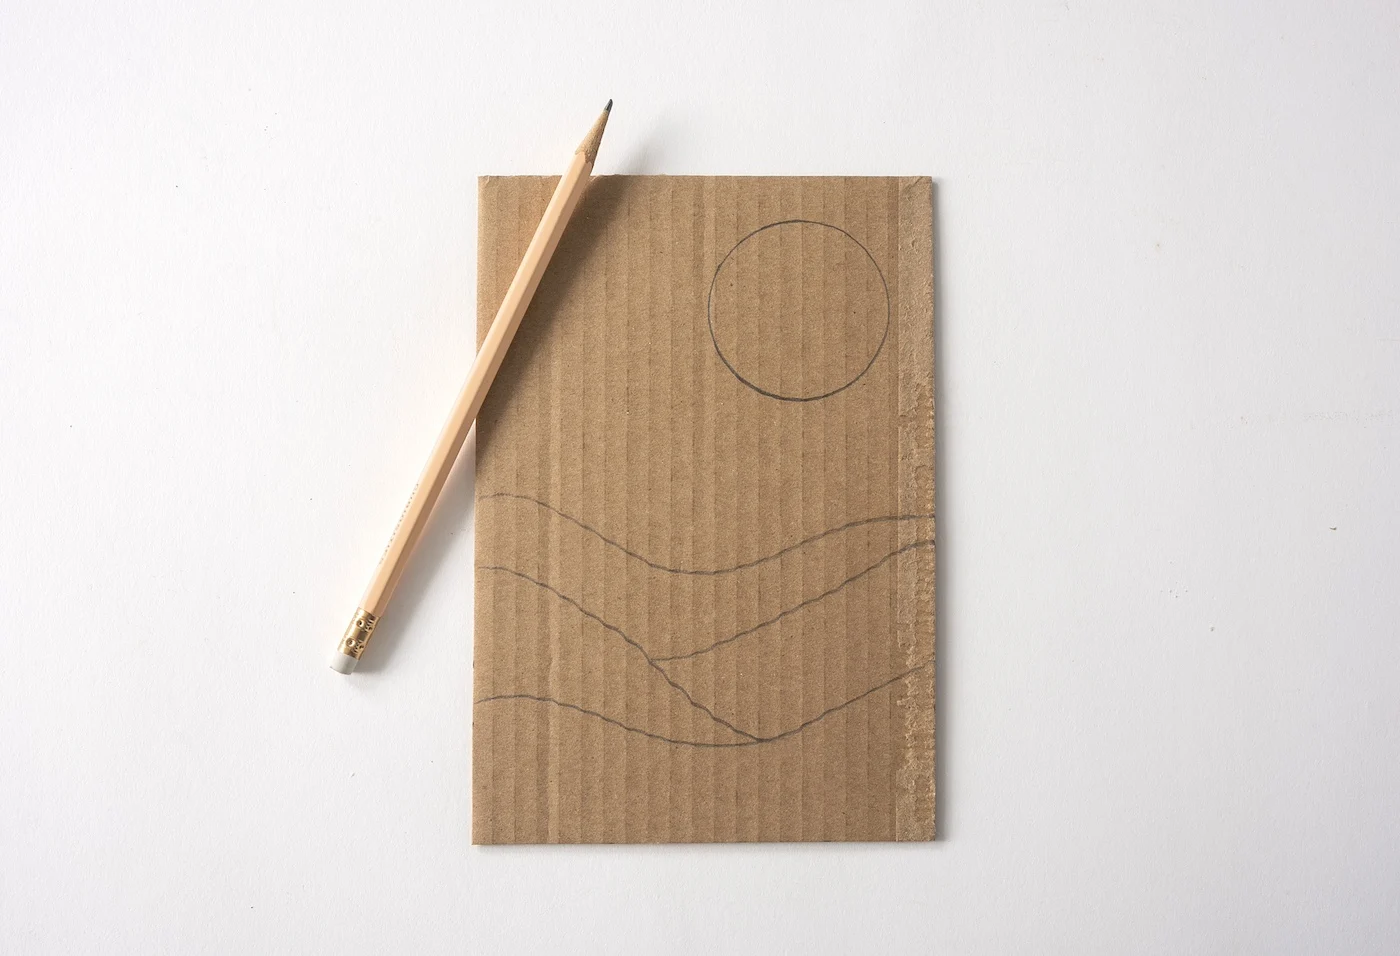
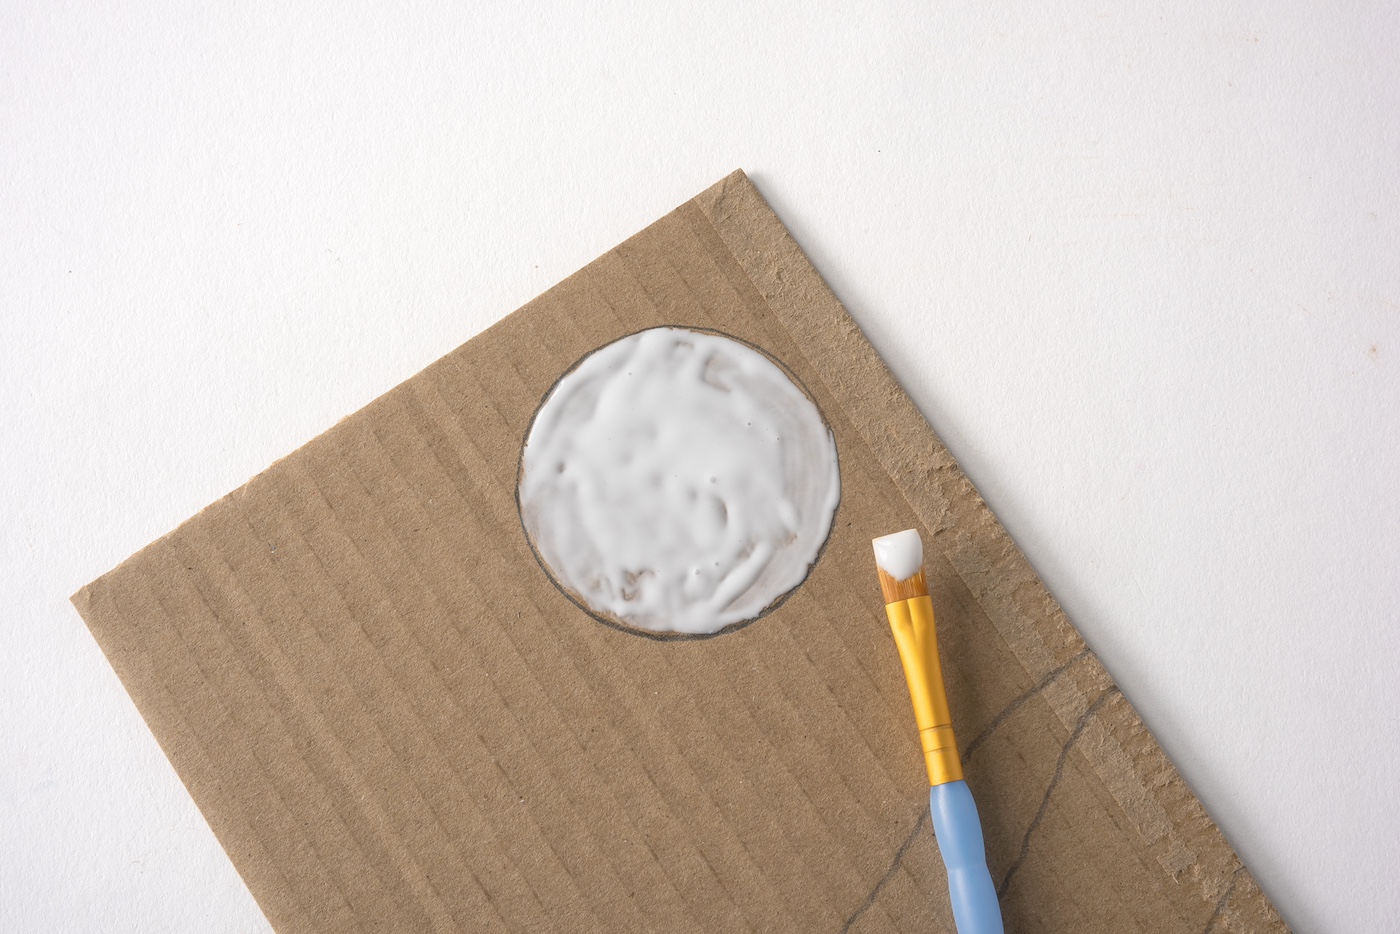
You’ll grab a pencil and sketch out your design. Nothing too complex; simple, bold shapes work best. This is where your personal touch begins, and remember, there’s no right or wrong here.
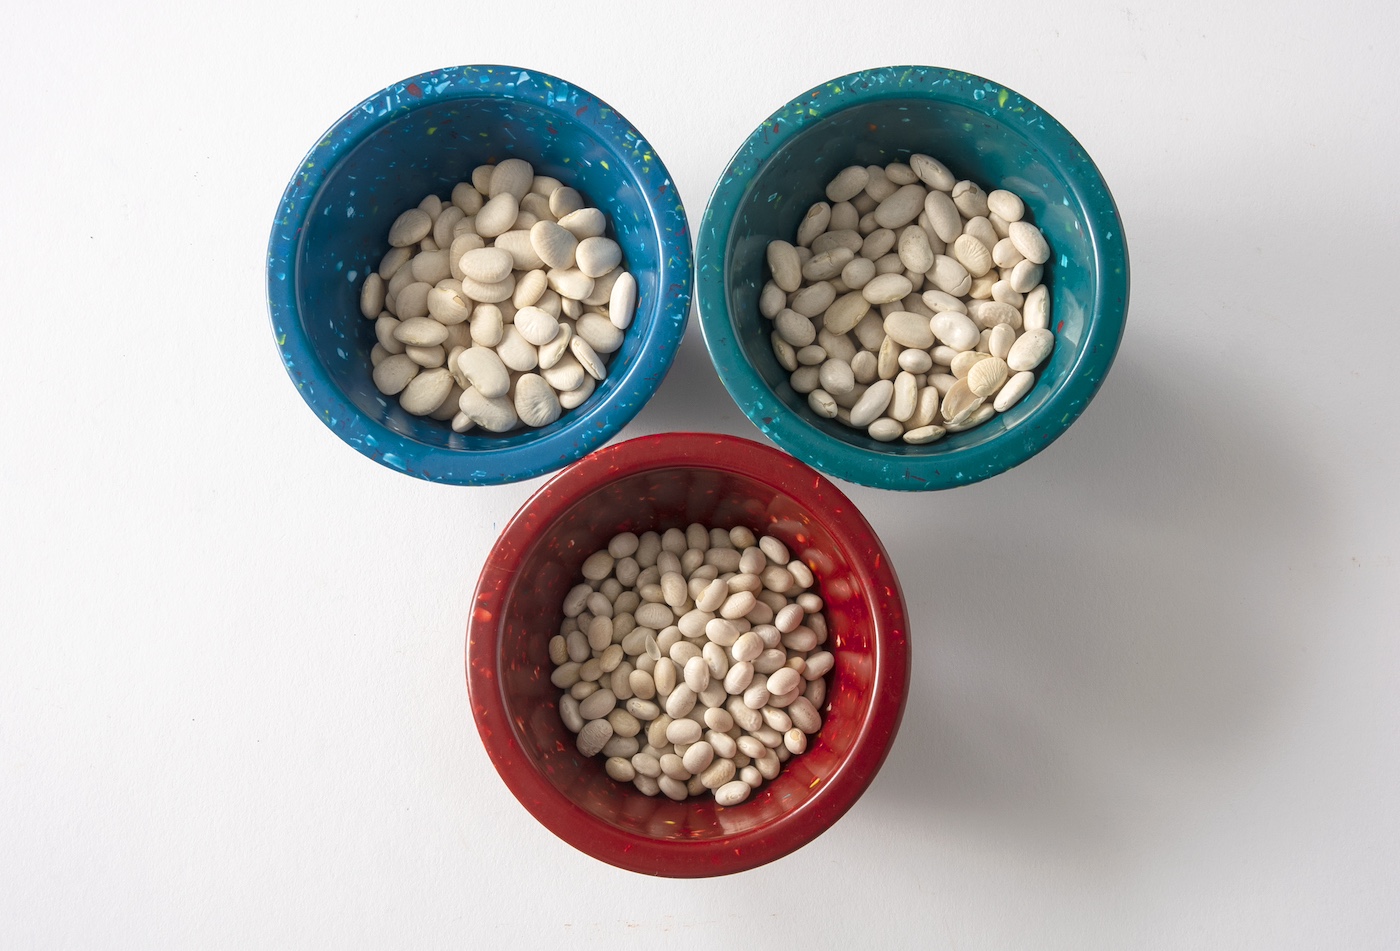
It’s your vision brought to life with beans – yes, beans! Whether it’s lima, navy, or any small white bean, each one will add its unique texture and shape to your mosaic.
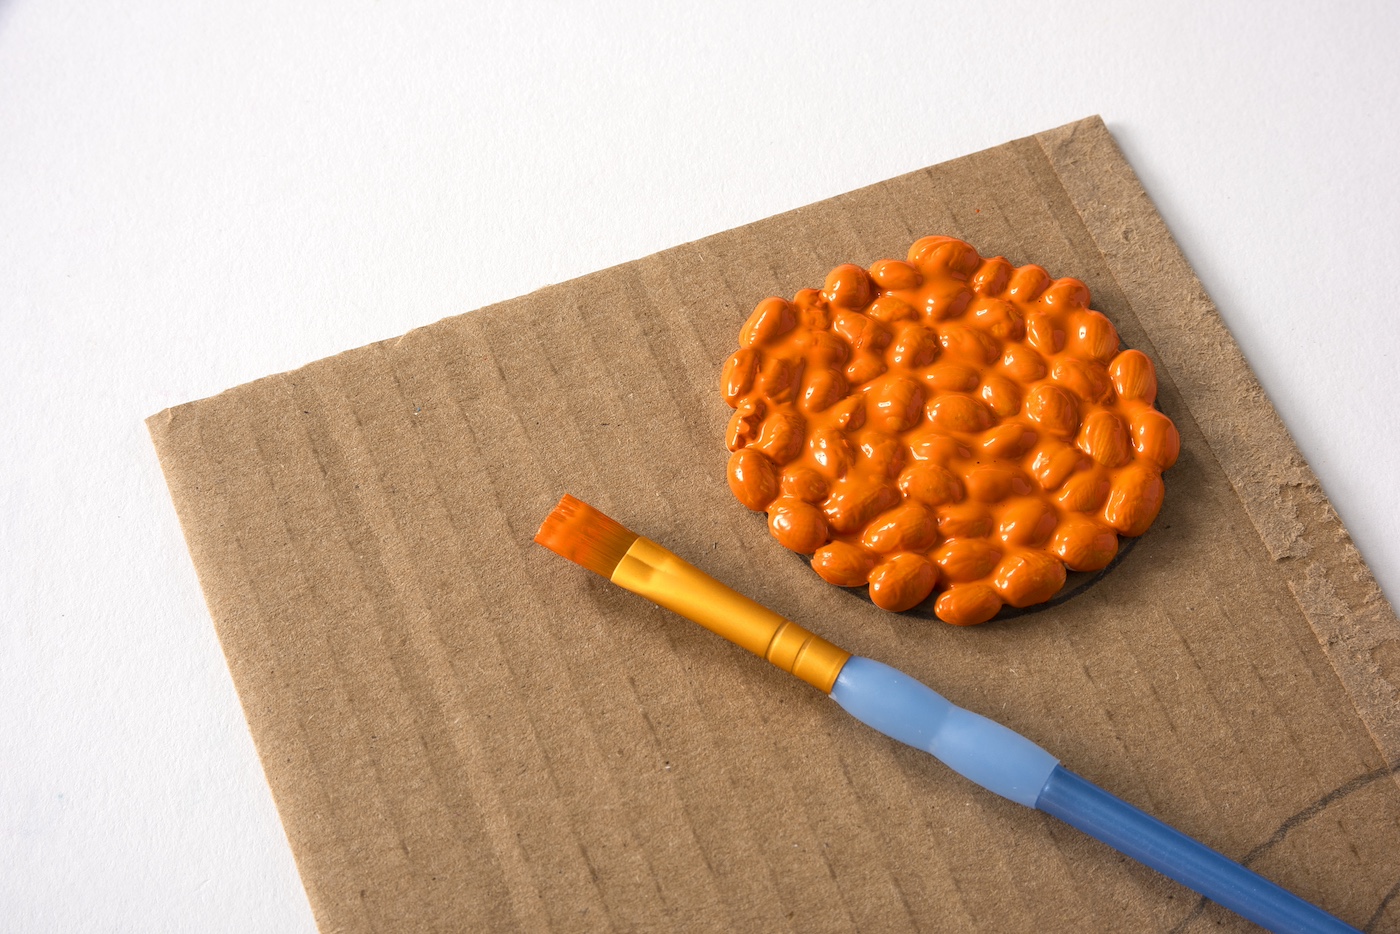
Once your design is fully beaned (that’s a technical term, right?), and the glue has dried, you might choose to add a splash of color. Painting your bean mosaic is optional, but it’s a fun step that can bring a vibrant lift to your artwork.
I love this project because you don’t need expensive supplies or any previous crafting experience. It’s also incredibly versatile; you can choose any design that resonates with you, ensuring your artwork is not only an expression of creativity but also a personal emblem of tranquility or joy.
So, grab that bag of beans and get started! By the end of this tutorial, you’ll have a unique piece of art that not only adds a splash of style to your home but also tells a story of creativity and fun. Let’s get those beans out and start creating something beautiful.
Gather These Supplies
- Cardboard (at least a 5 inch x 7 inch piece)
- Beans (lima, navy, or any small white bean)
- Pencil
- Scissors
- Craft glue
- Paintbrush
- Decoupage medium (optional)
- Acrylic paint (any colors, optional)
Tips and Thoughts for This Project
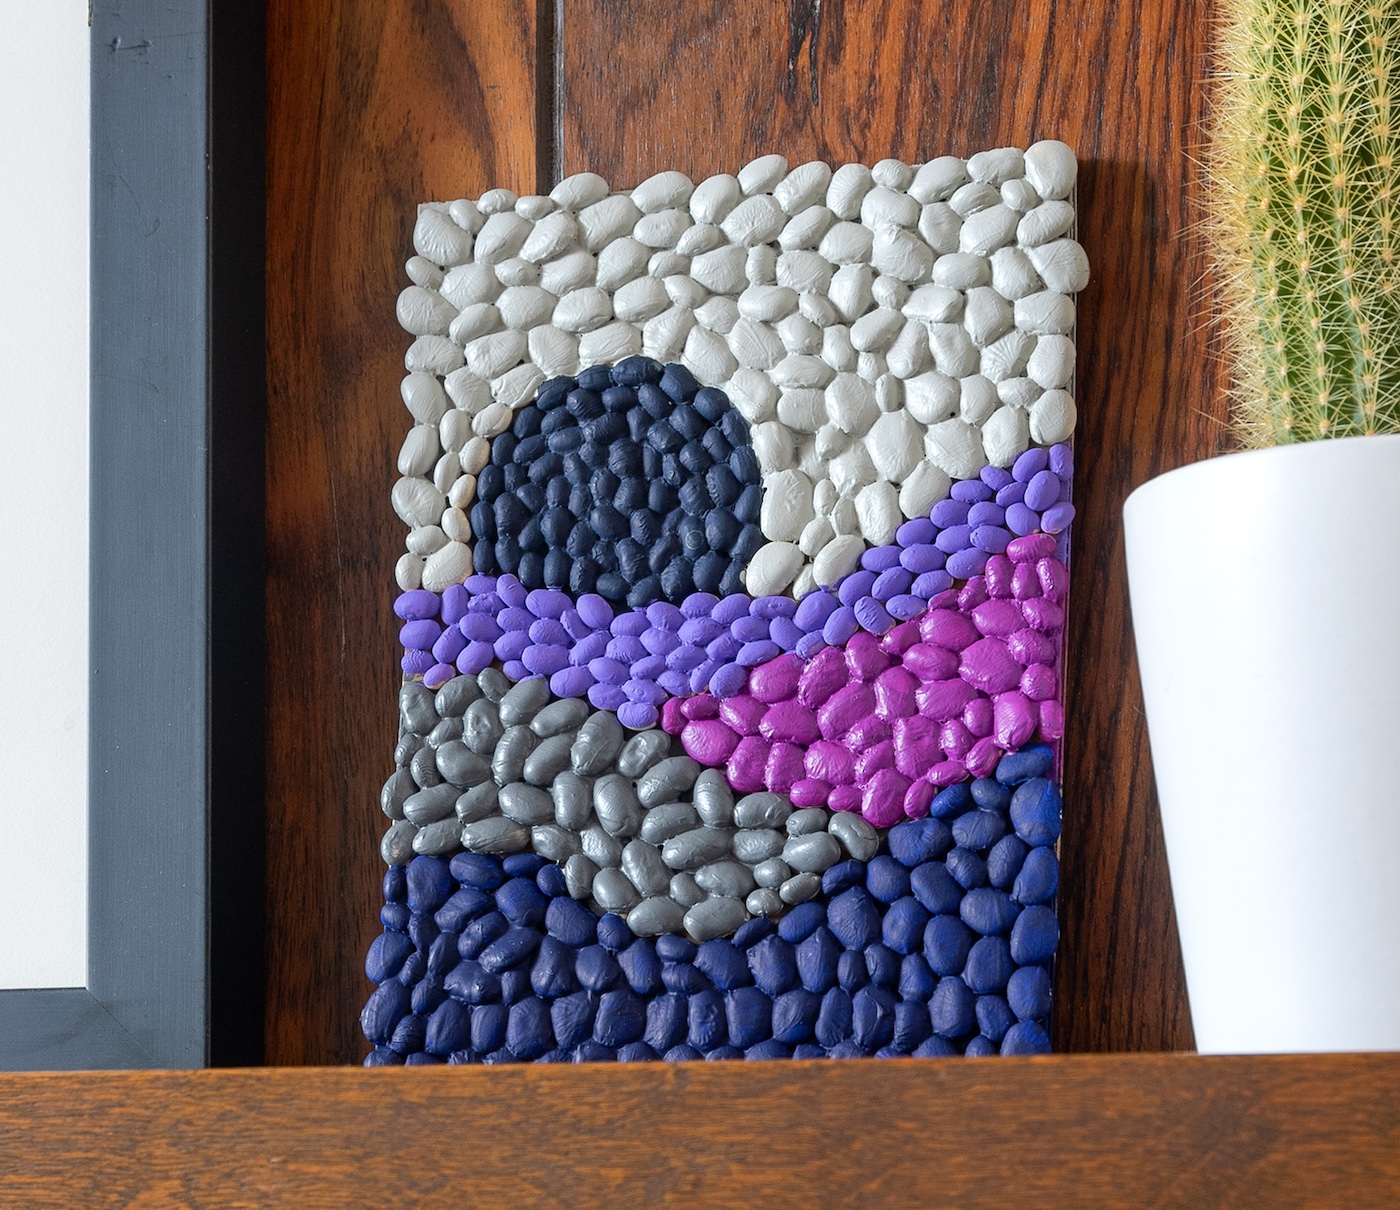
Three sizes of beans were used in this project, but you can scale it up by making a larger canvas and more detailed designs. You can add additional beans like black beans, legumes, chickpeas, and more. This will not only change the texture but the colors of your art.
Get the printable how-to card for this project below:
Bean Art

Learn to create beautiful bean mosaic art with this simple tutorial. Transform beans into stunning, homemade decor!
Materials
- Cardboard (at least a 5 inch x 7 inch piece)
- Beans (lima, navy, or any small white bean)
- Craft glue
- Decoupage medium (optional)
- Acrylic paint (any colors, optional)
Tools
- Pencil
- Scissors
- Paintbrush
Instructions
- Cut out a piece of 5” x 7” of cardboard using scissors.
- Place on your work surface and sketch your design with a pencil (it should be relatively simple). Use small or round items like pill bottles or cups to make various shapes.
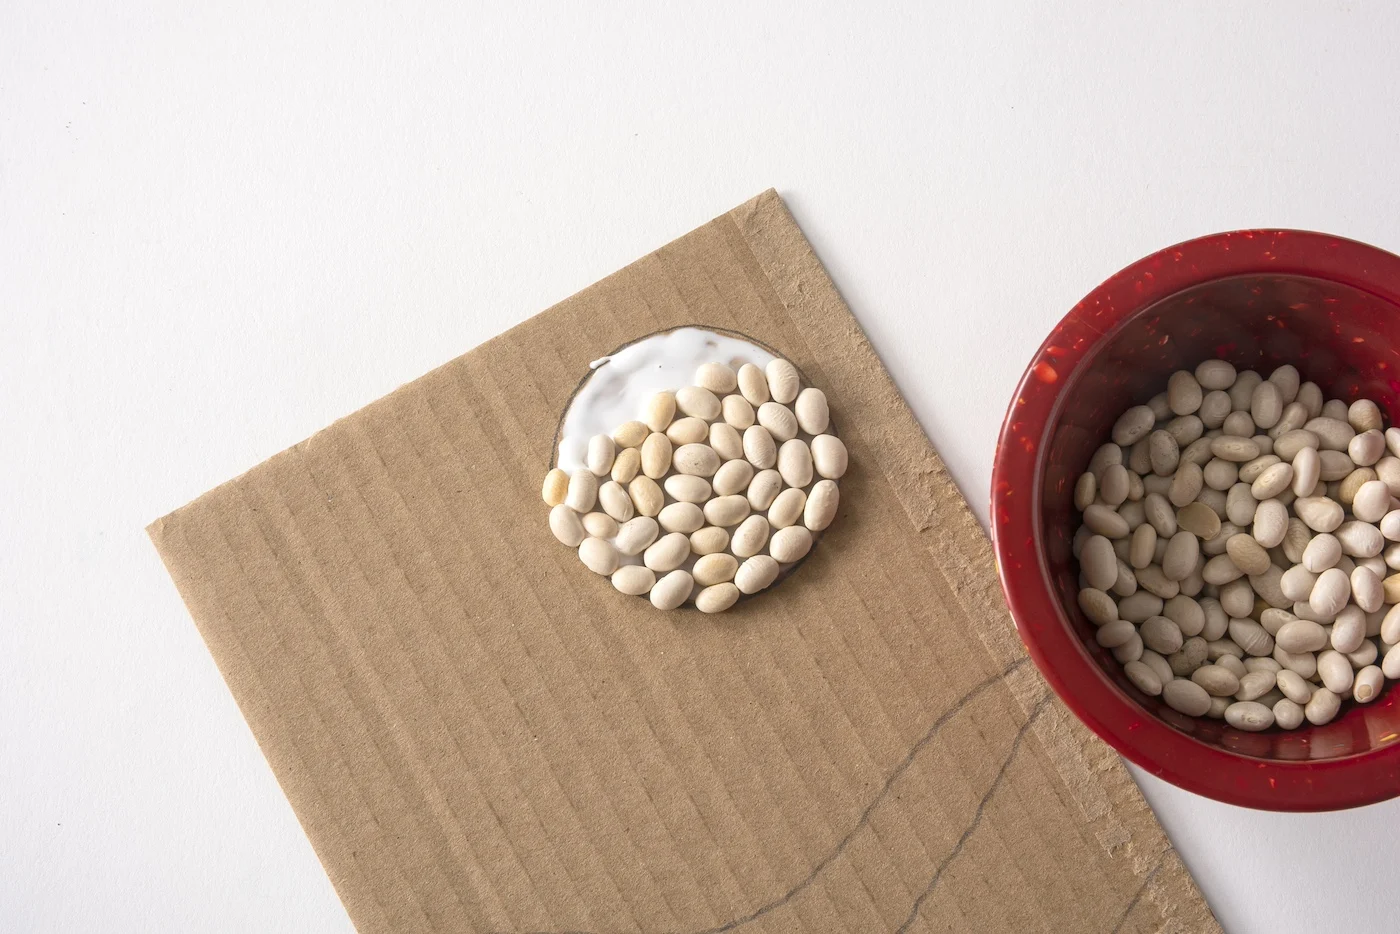
- Place your beans in various containers on your work surface.

- Paint a smaller area of your mosaic design with craft glue using the paintbrush.

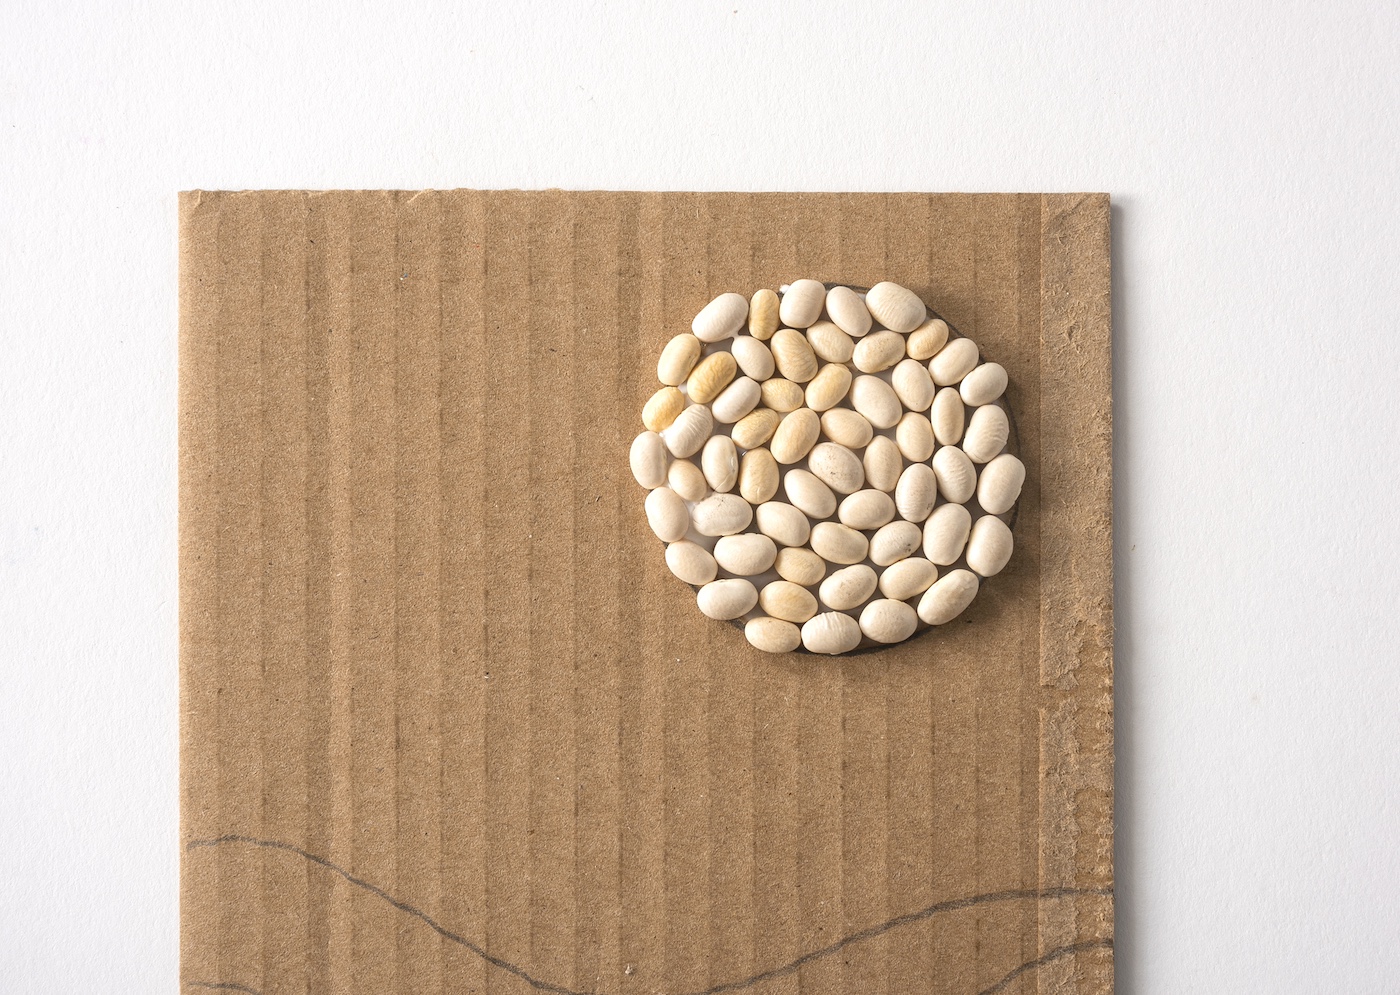
- Apply beans to the area, pressing them down into the design until you’ve covered the section. If you find a bean doesn’t fit the area, you can remove it and place down another bean (it’s easy to set the bean aside or wash off the glue).

- Fill in the area and let dry completely before beginning the next.
- Paint over the beans (and down into the cardboard and over the glue) with the paint color of your choice. Let dry.
- Repeat steps 4 through 6 with the remaining areas of your mosaic. Do final touchups with paint and let your art dry completely before displaying.
If you enjoyed making this bean artwork, let me know in the comments! I’d also love for you to check out these other projects and posts:
Felt Ball Garland • Food Coloring Art • Glue Art • Hot Glue Mushroom Lights • Pool Noodle Wreath • Sand Terrariums • Skull Bean Art • Song Lyric Art • Yarn Art