Use a Nintendo 64 controller to make the coolest geek earrings! This is one of those cool clay crafts that everyone will ask you about.

Every once in a while I come up with a craft that gives everyone a little peek at how secretly geeky I am. This is definitely one of those geek crafts.
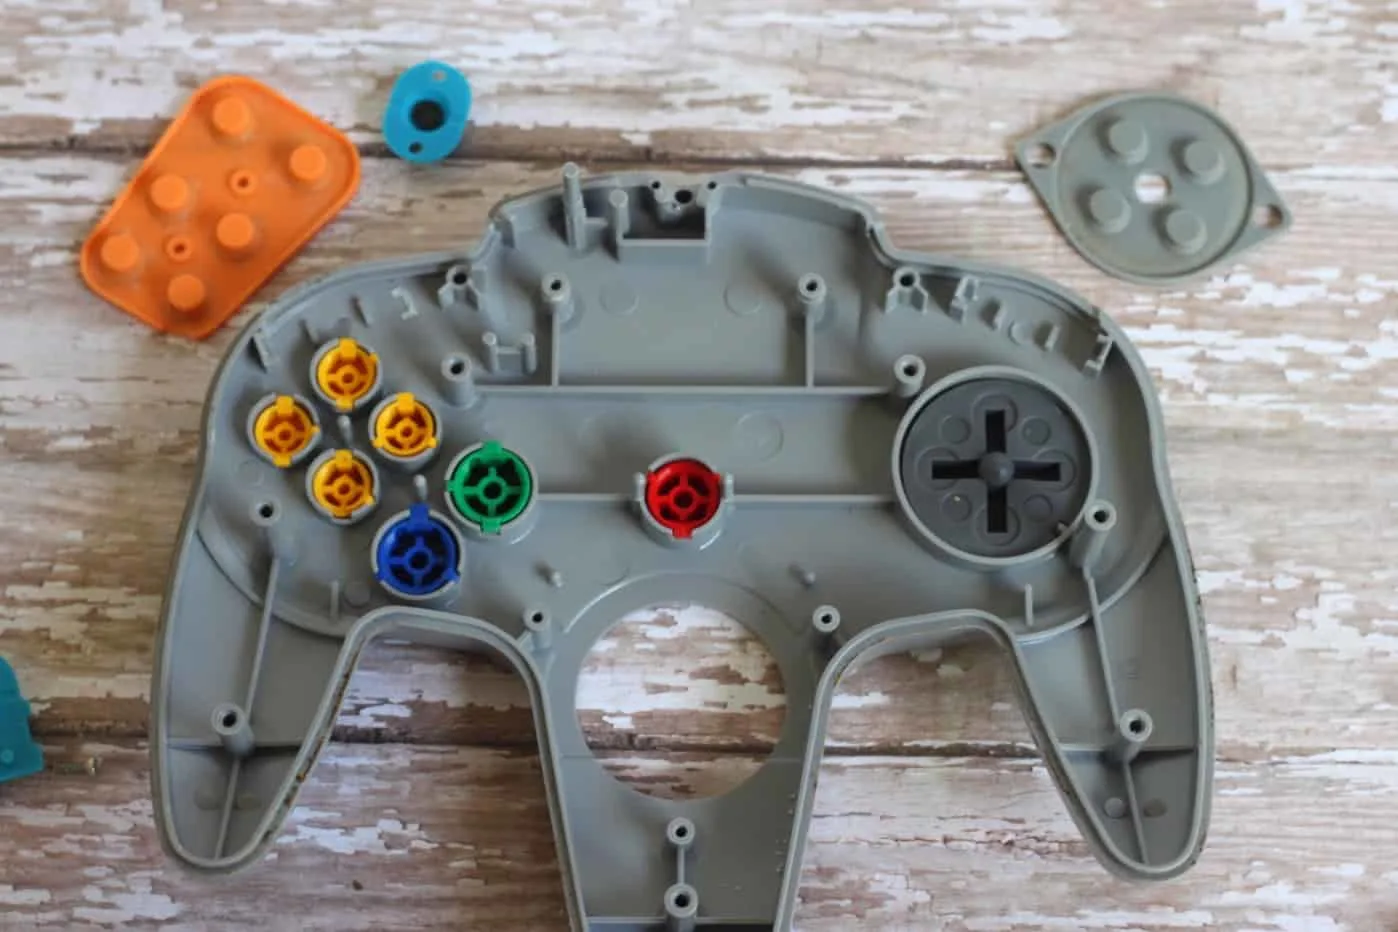
I grew up playing Nintendo 64 with my siblings, and I thought it would be really neat to make some earrings using the buttons. I didn’t realize until after taking the controller apart that the buttons are actually really tall and not good for making jewelry.
I decided, instead, to use the buttons to make molds. I then used those molds to make “buttons” out of polymer clay. Now I can make as many as I want! Earrings for everyone!
This is cute clay craft for kids – teens and tweens will enjoy making the molds and forming their own earrings. They could even make them for gifts or to sell. Get the step-by-step tutorial below.
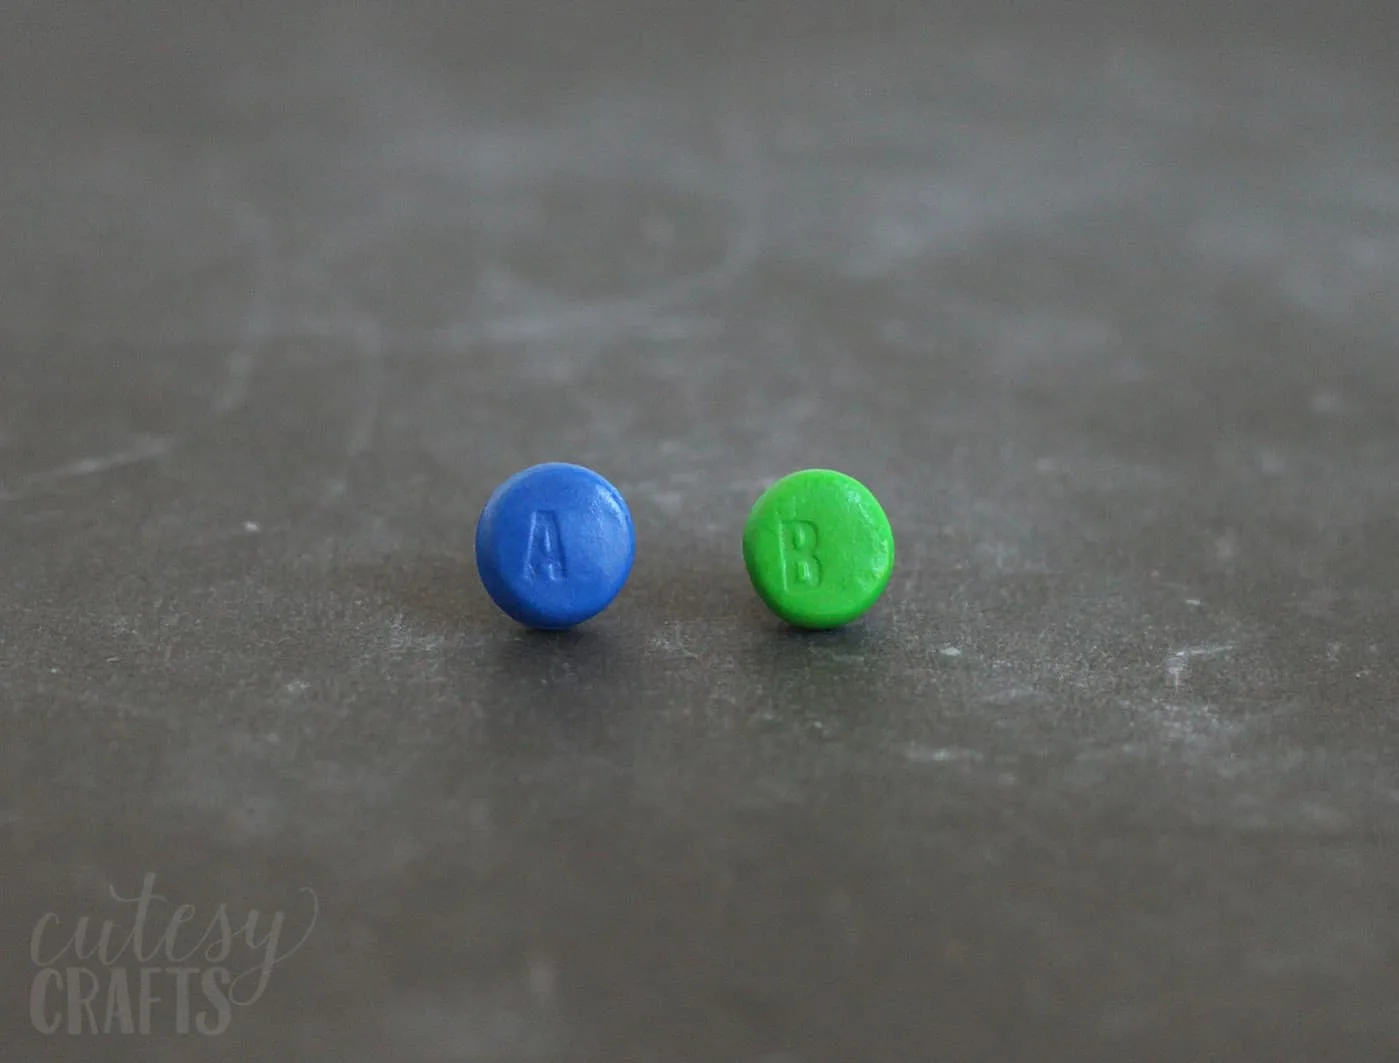
Nintendo Geek Earrings
Supplies needed:
- Nintendo 64 controller
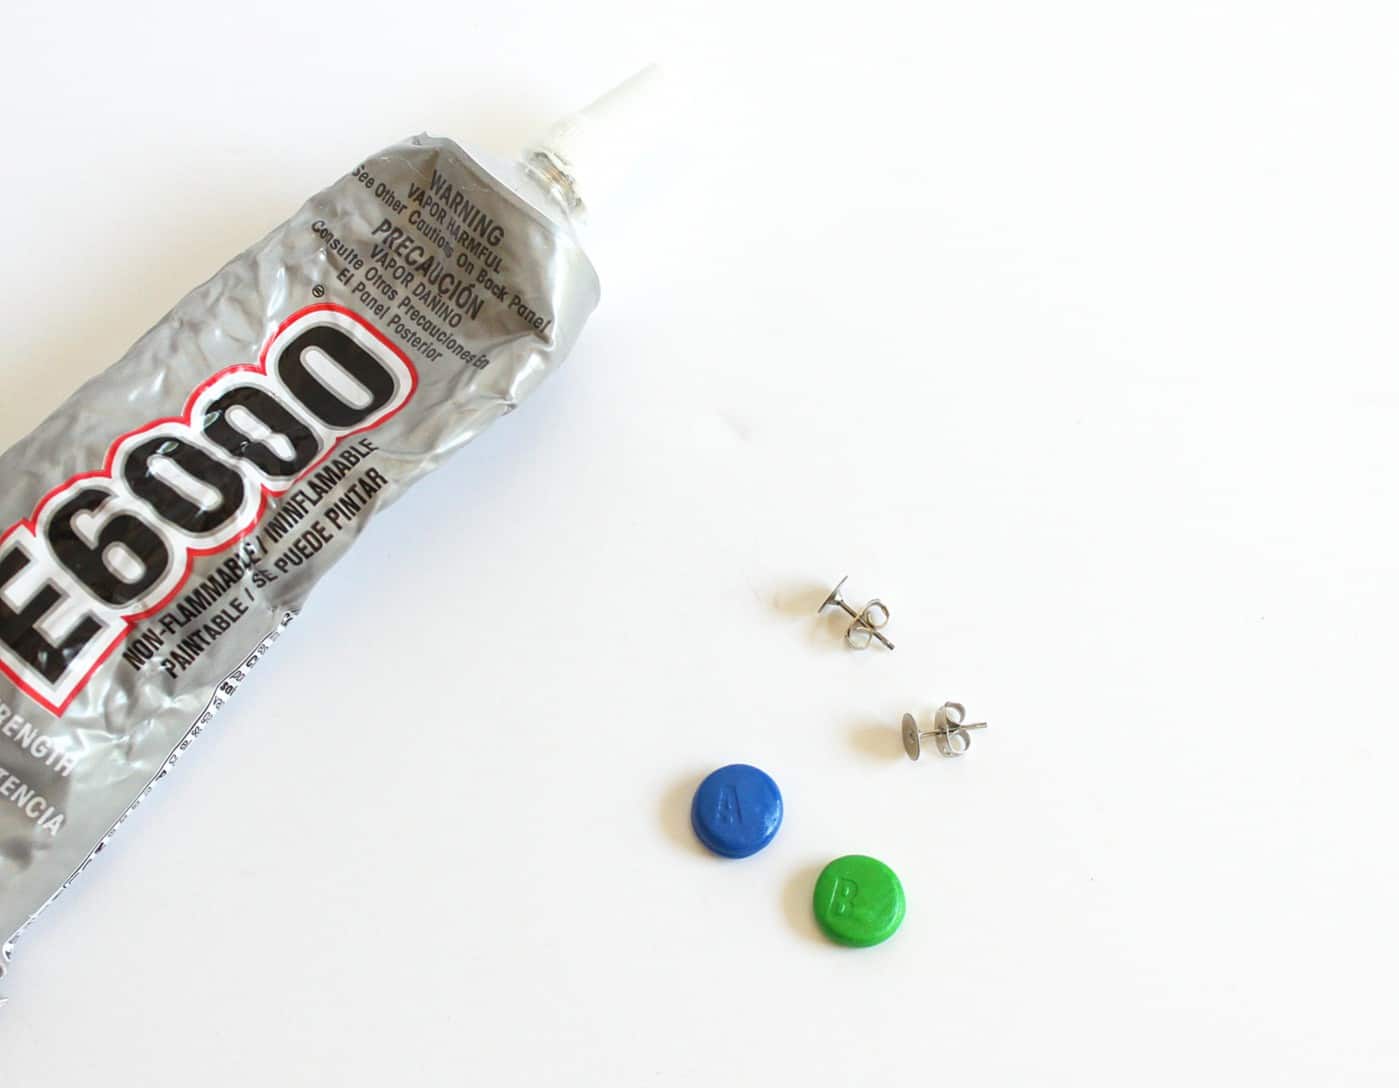
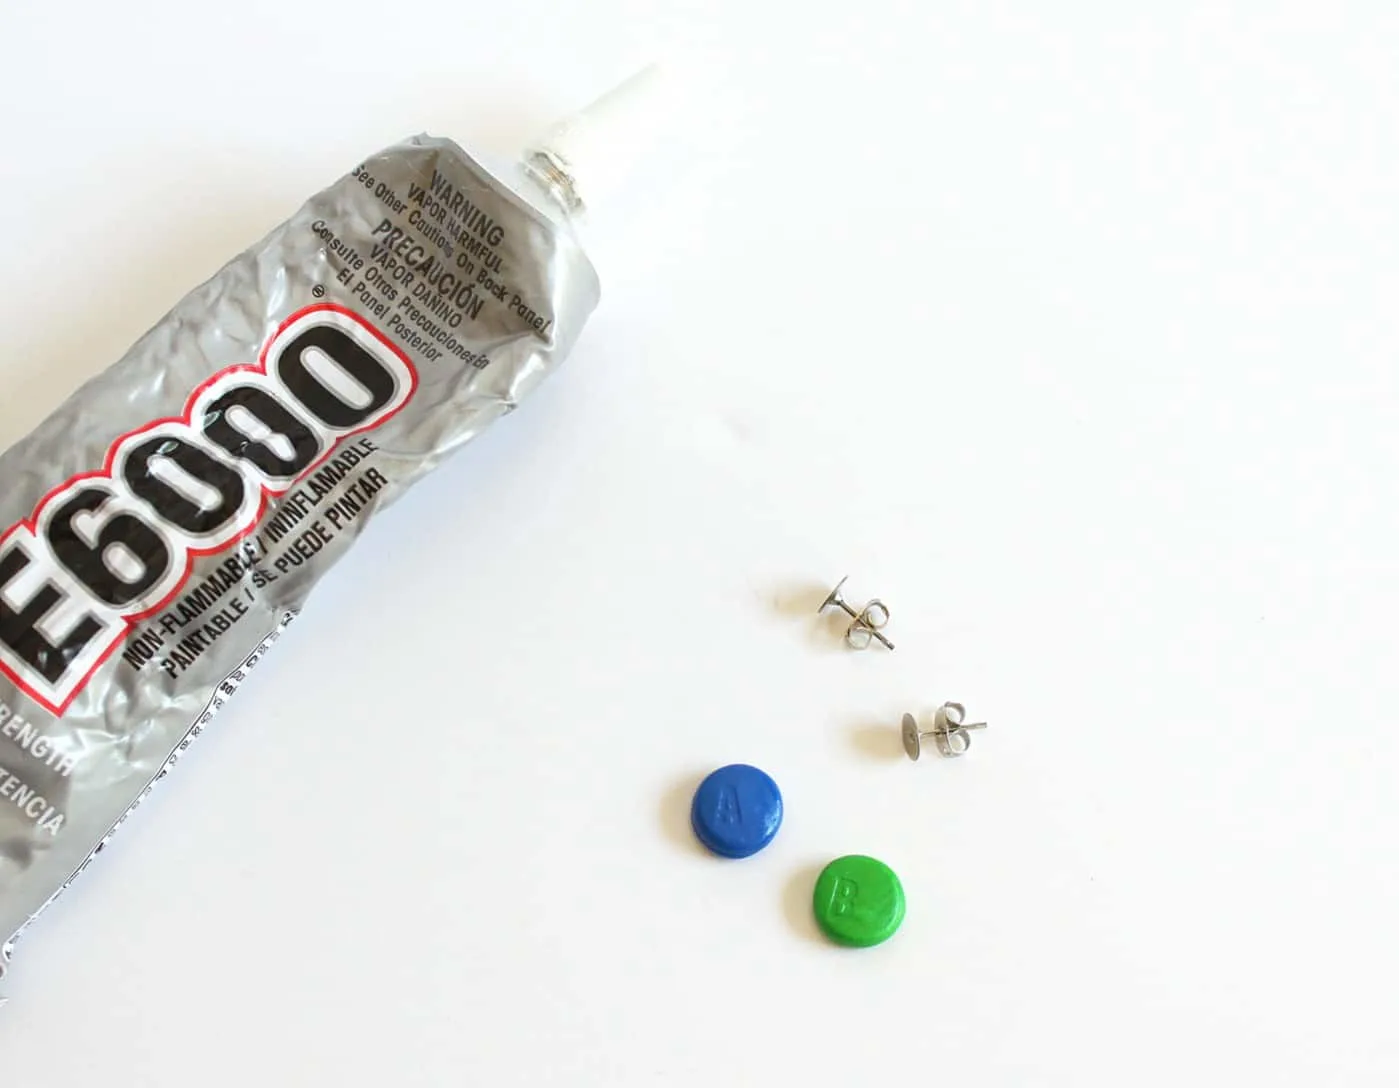
- blank earring studs
- strong glue
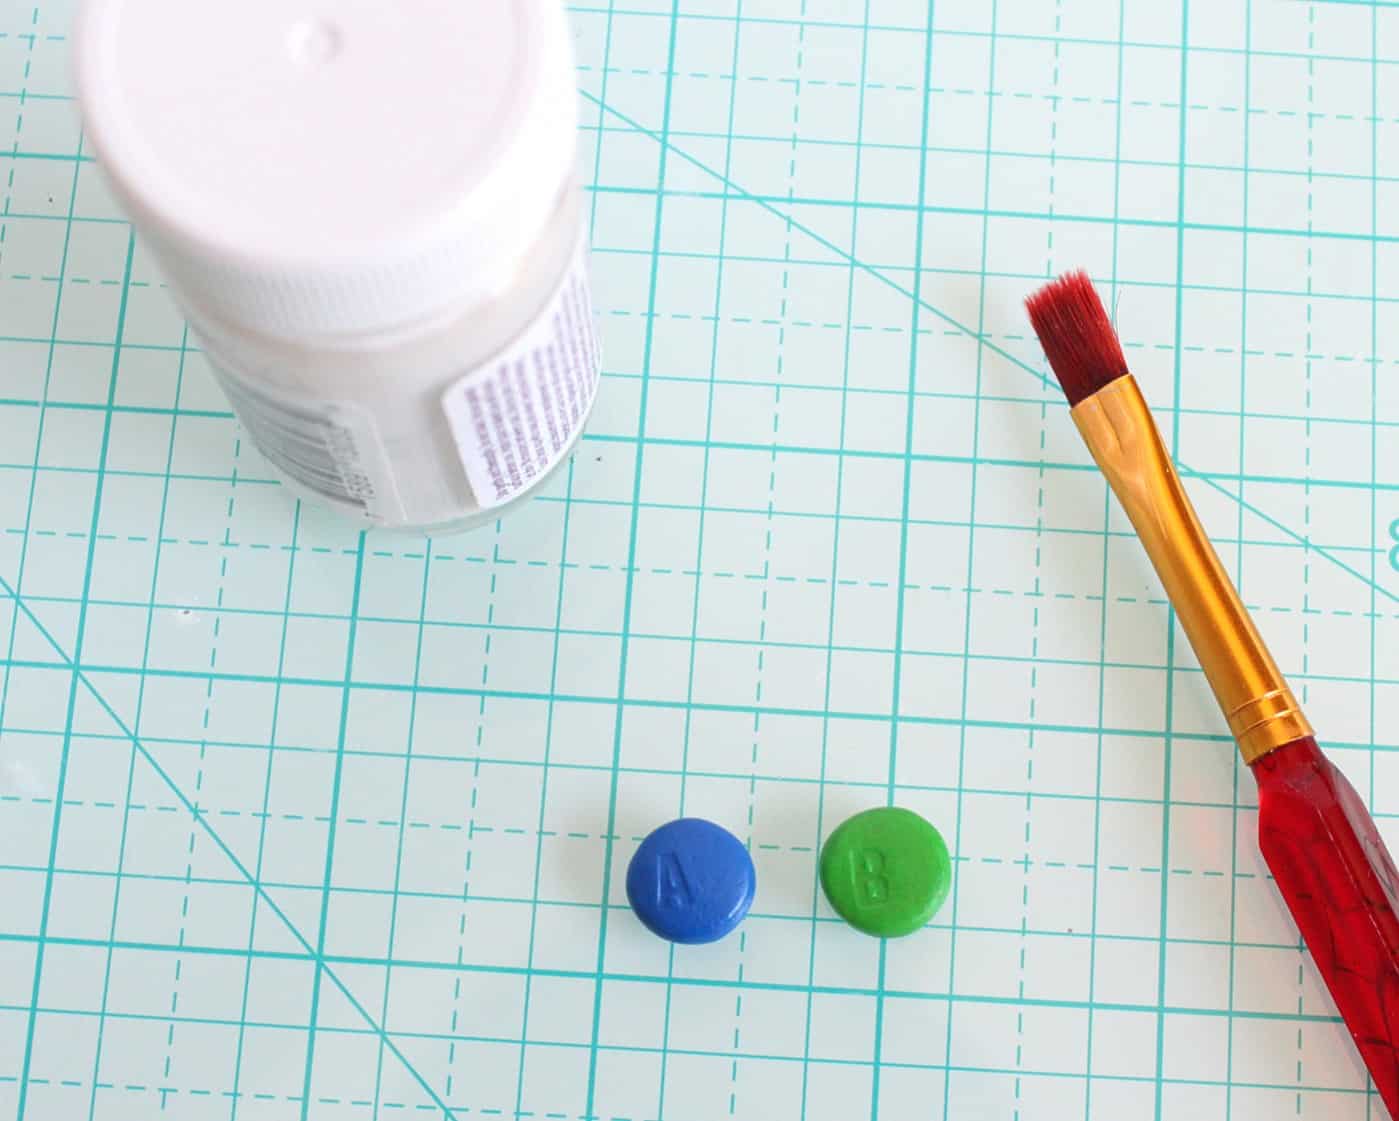
- polymer clay (white, green, and blue)
- glossy polymer clay glaze
- foil
- corn starch (optional)
Start by taking apart your controller and take out the buttons. My husband was so reluctant to give me this controller even though it was broken. Haha!
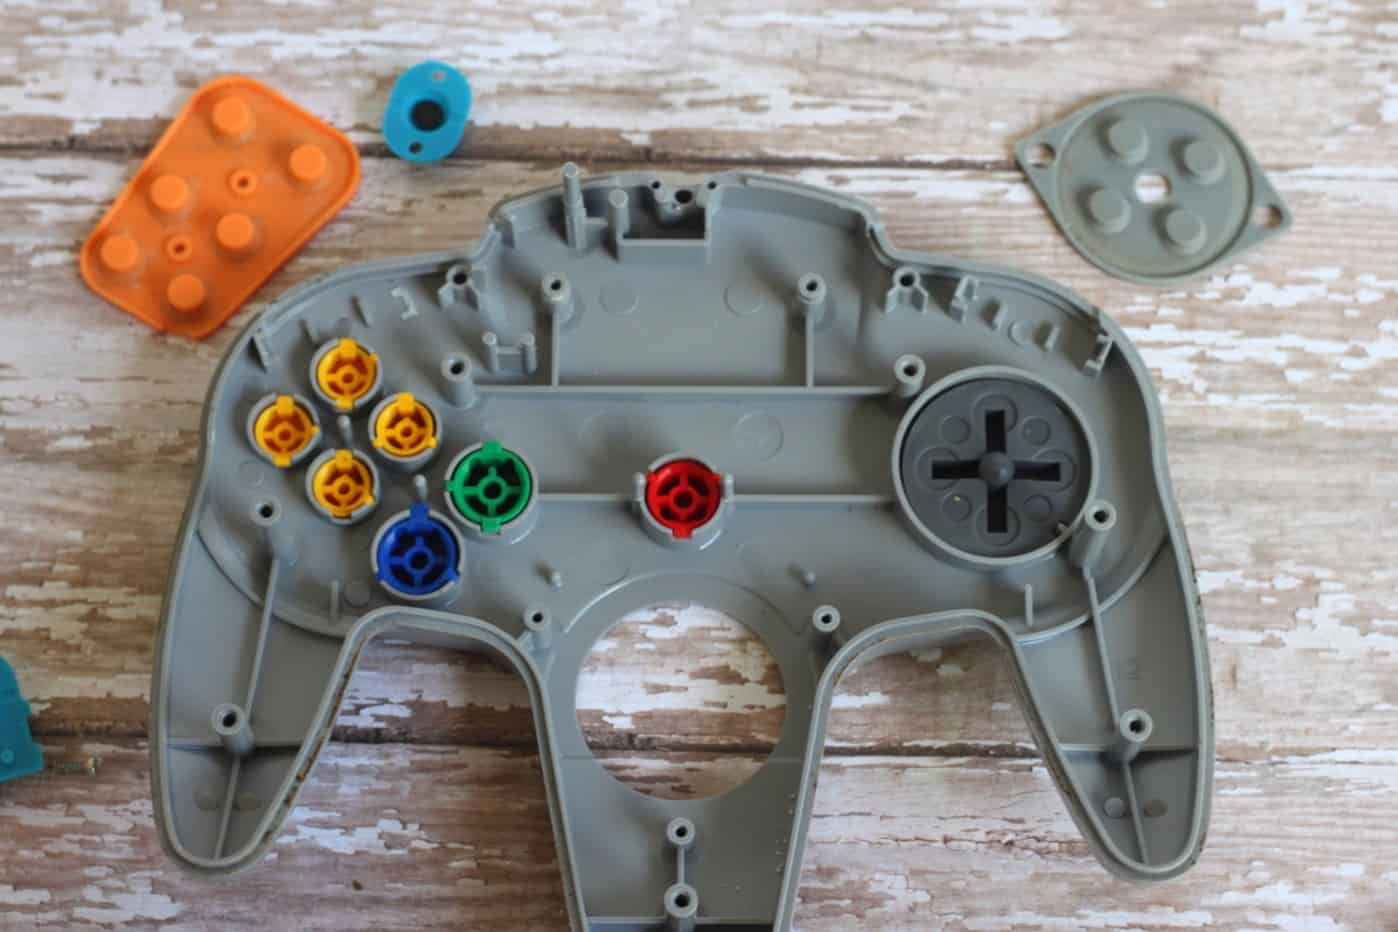
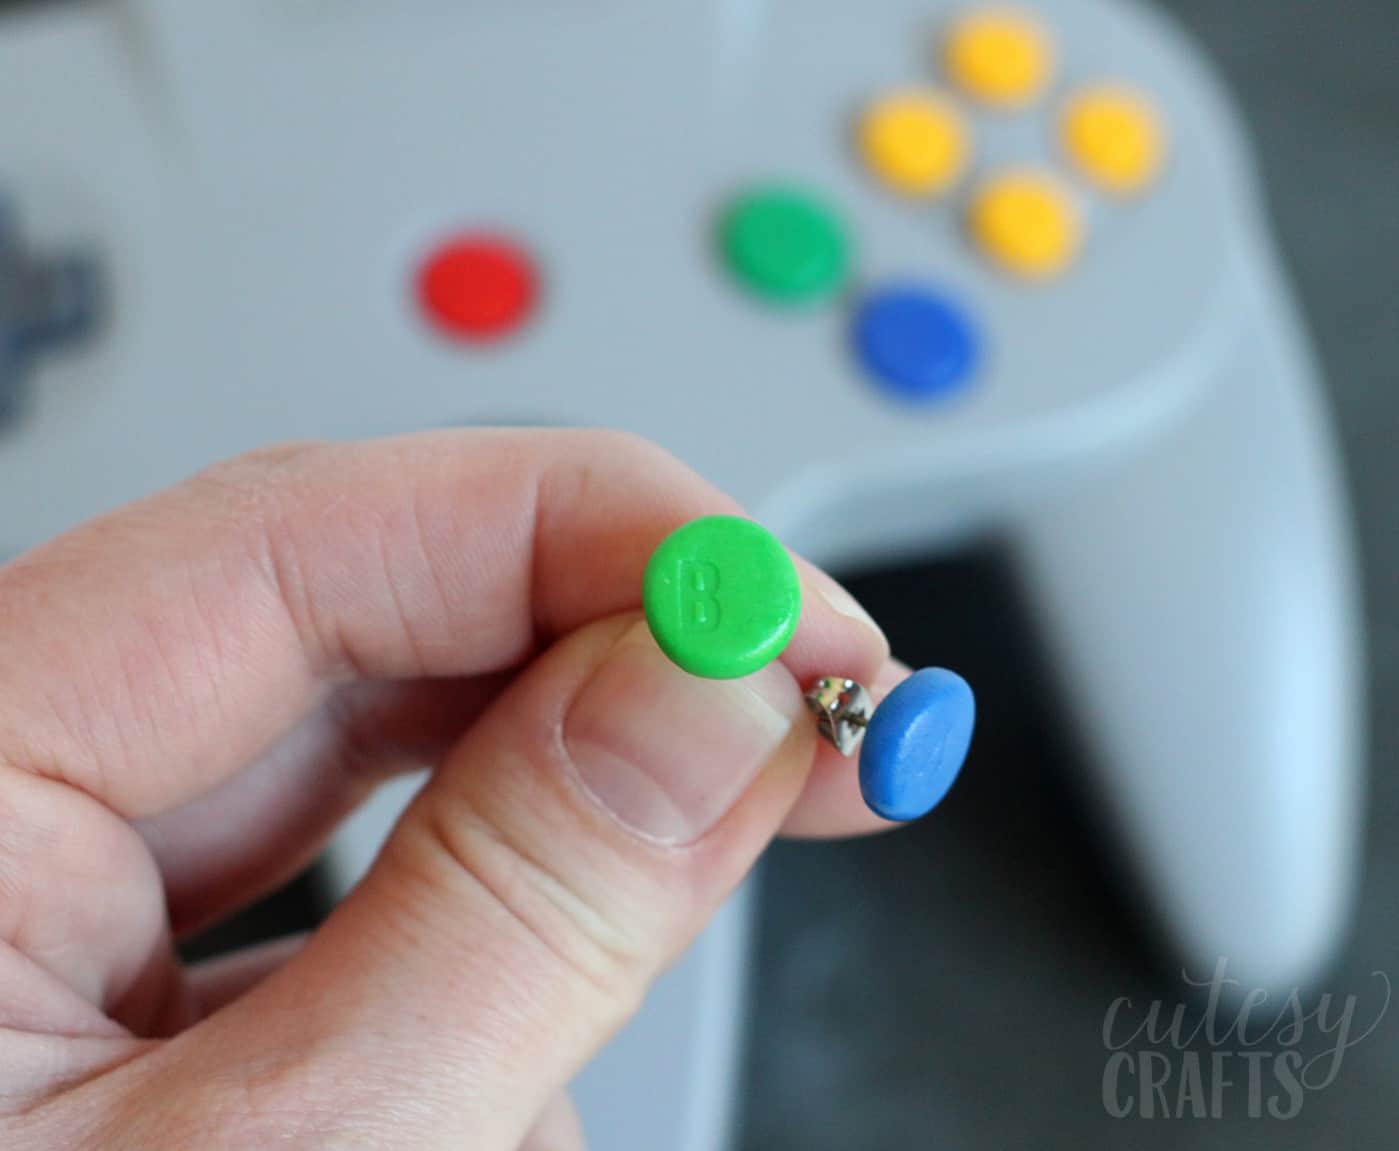
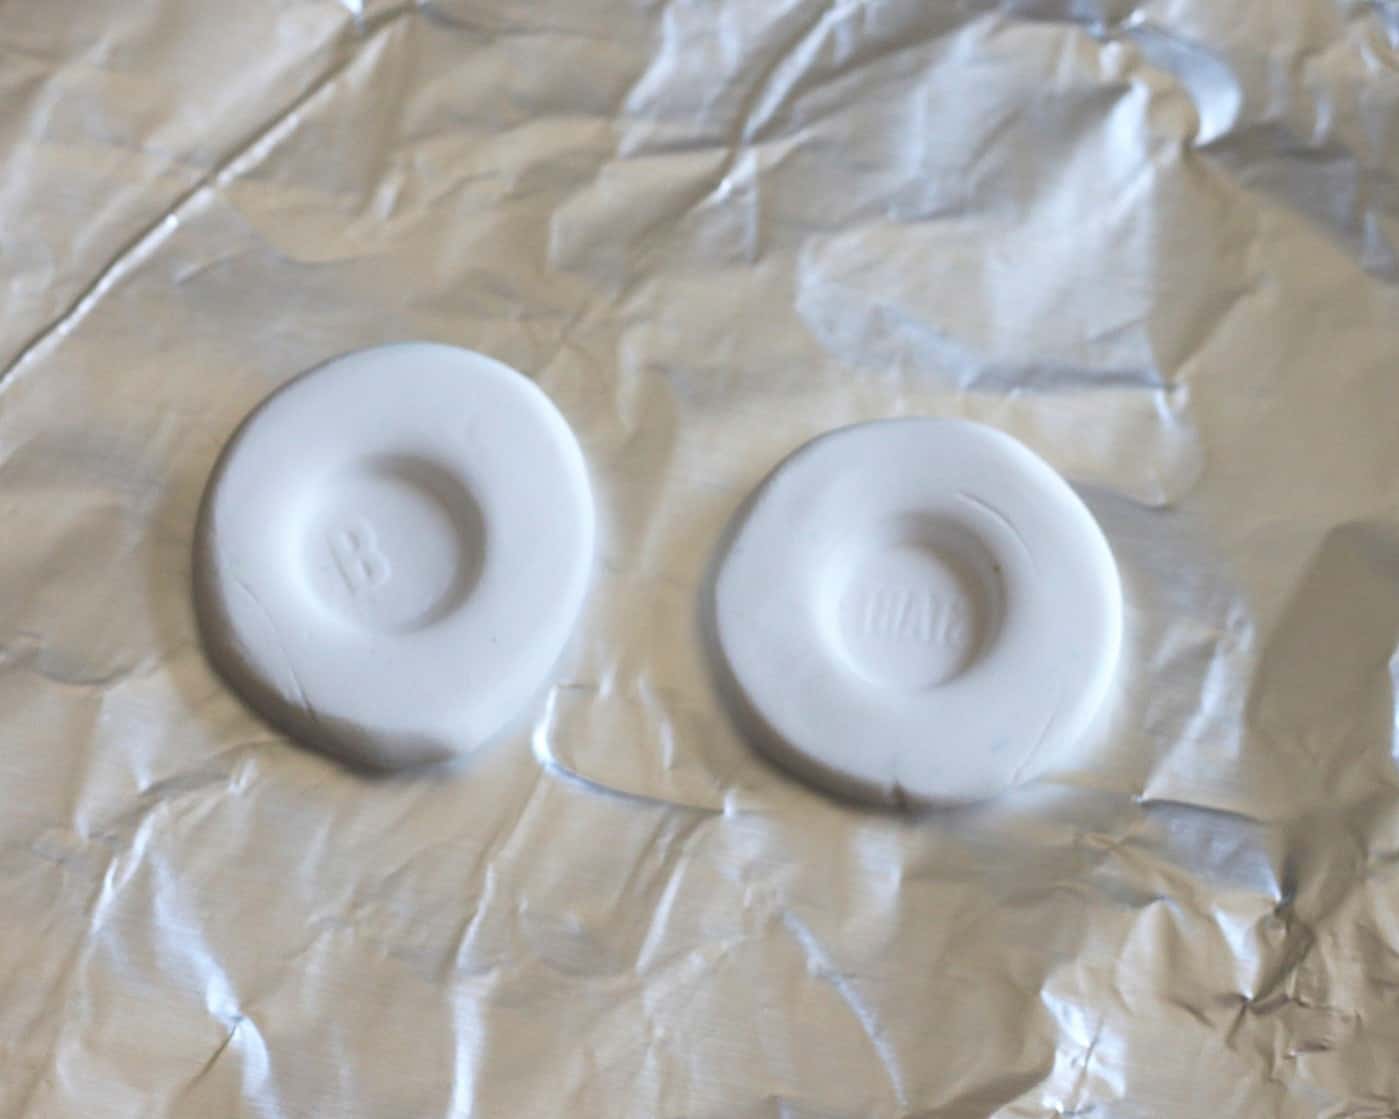
I cut down the buttons when I was still trying to use them for the earrings, so that’s why this button is short. Yours will be taller. Soften some white clay in your hands and roll it out to about 1/2 inch thick.
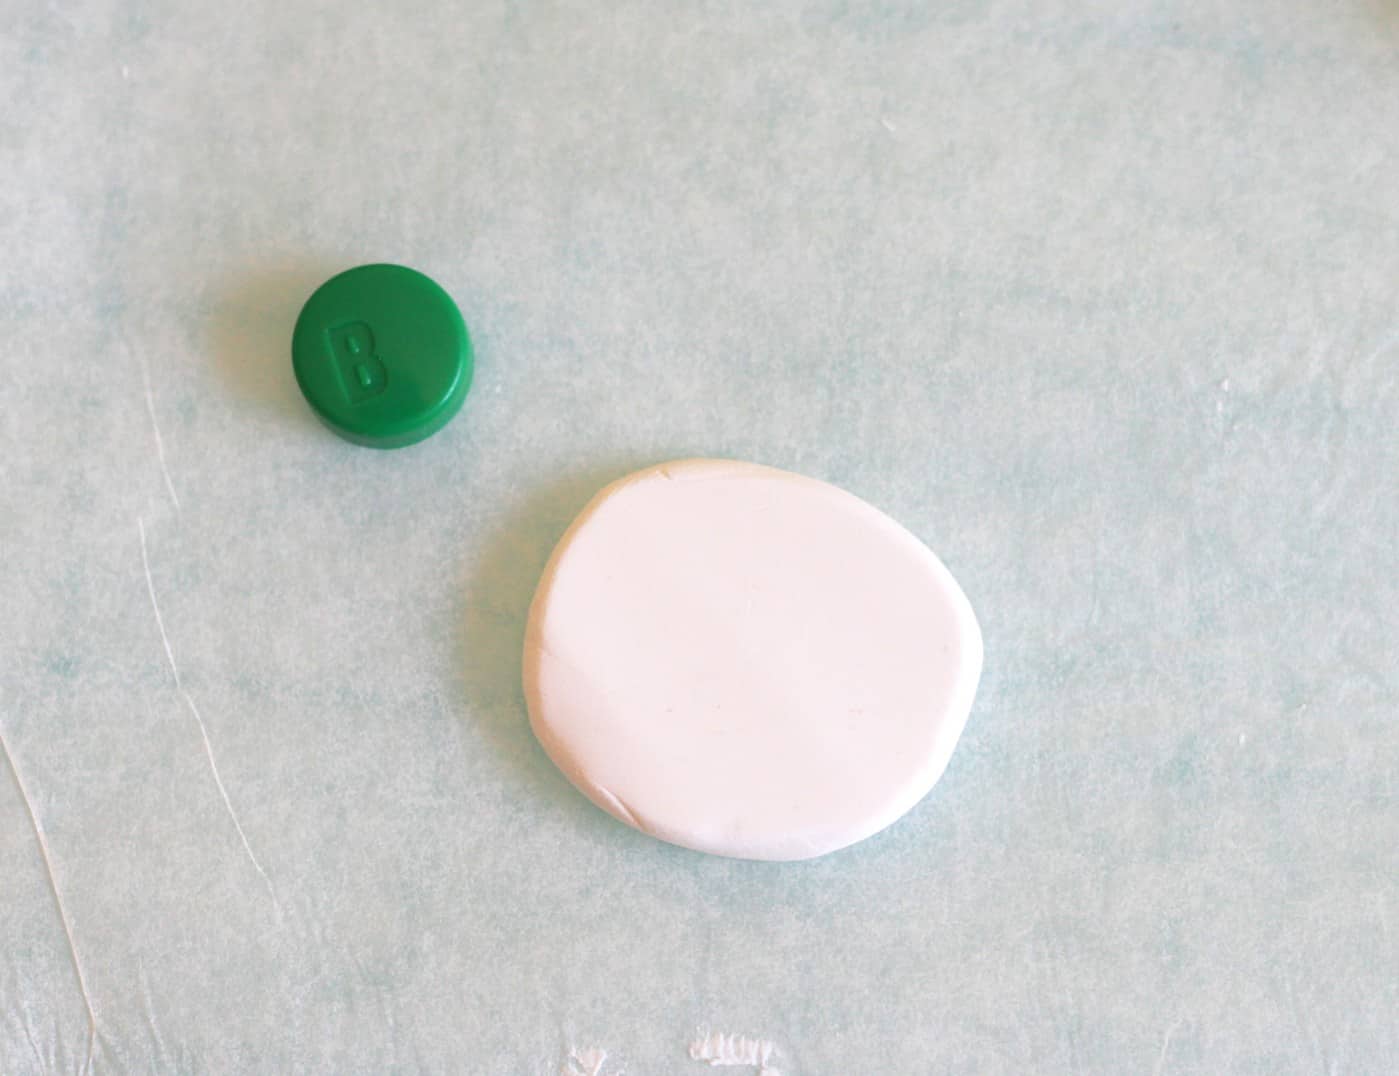
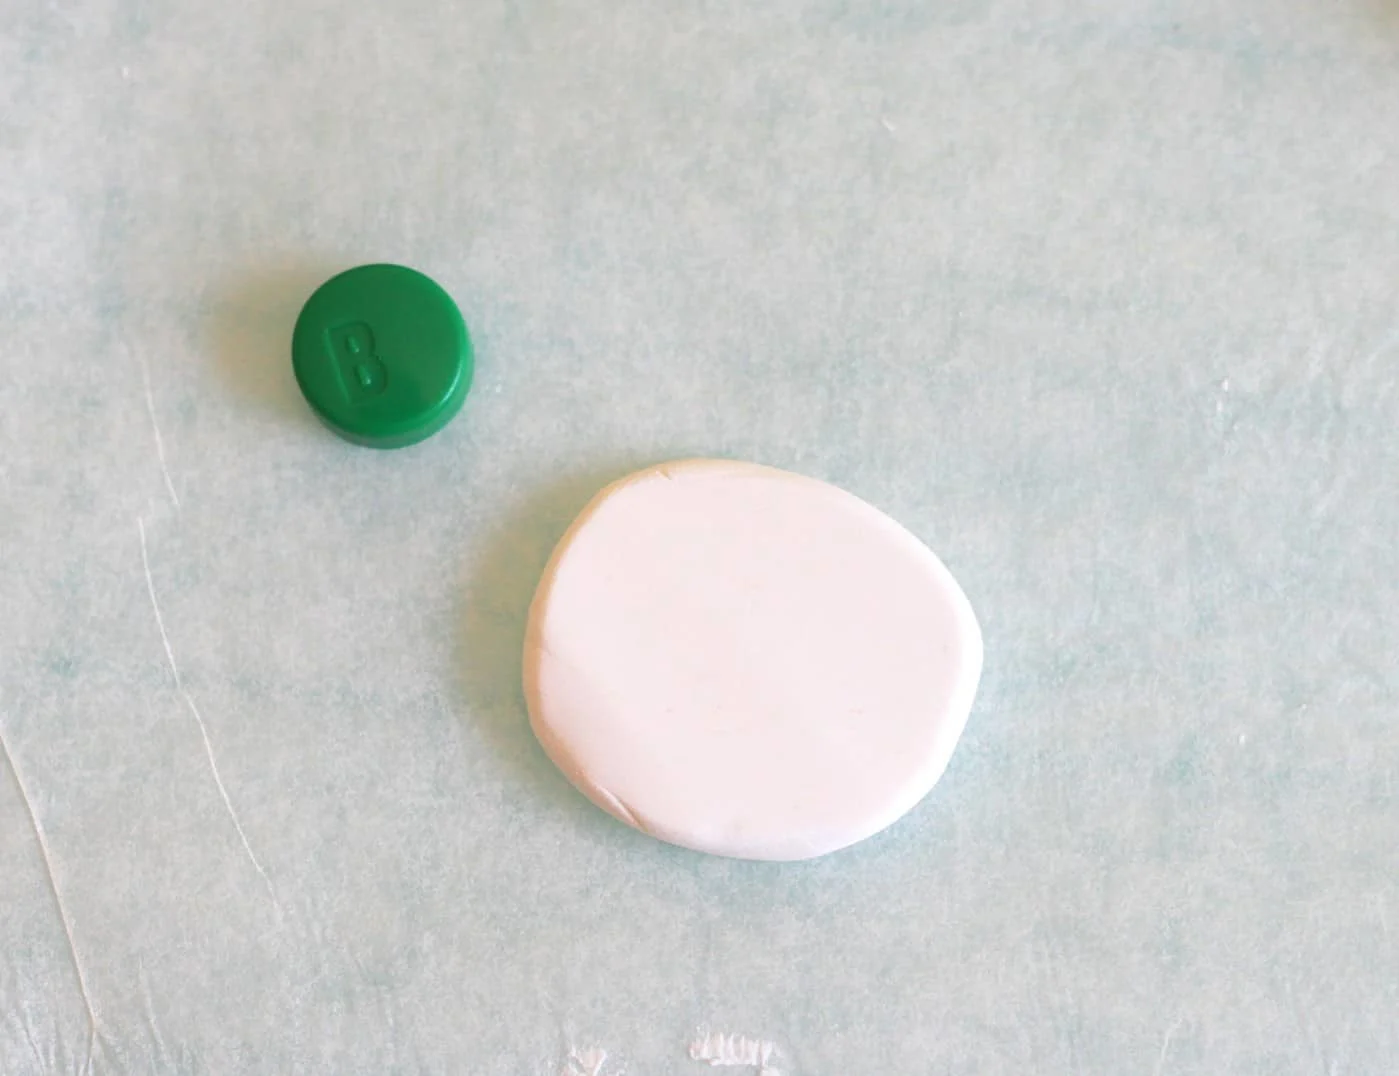
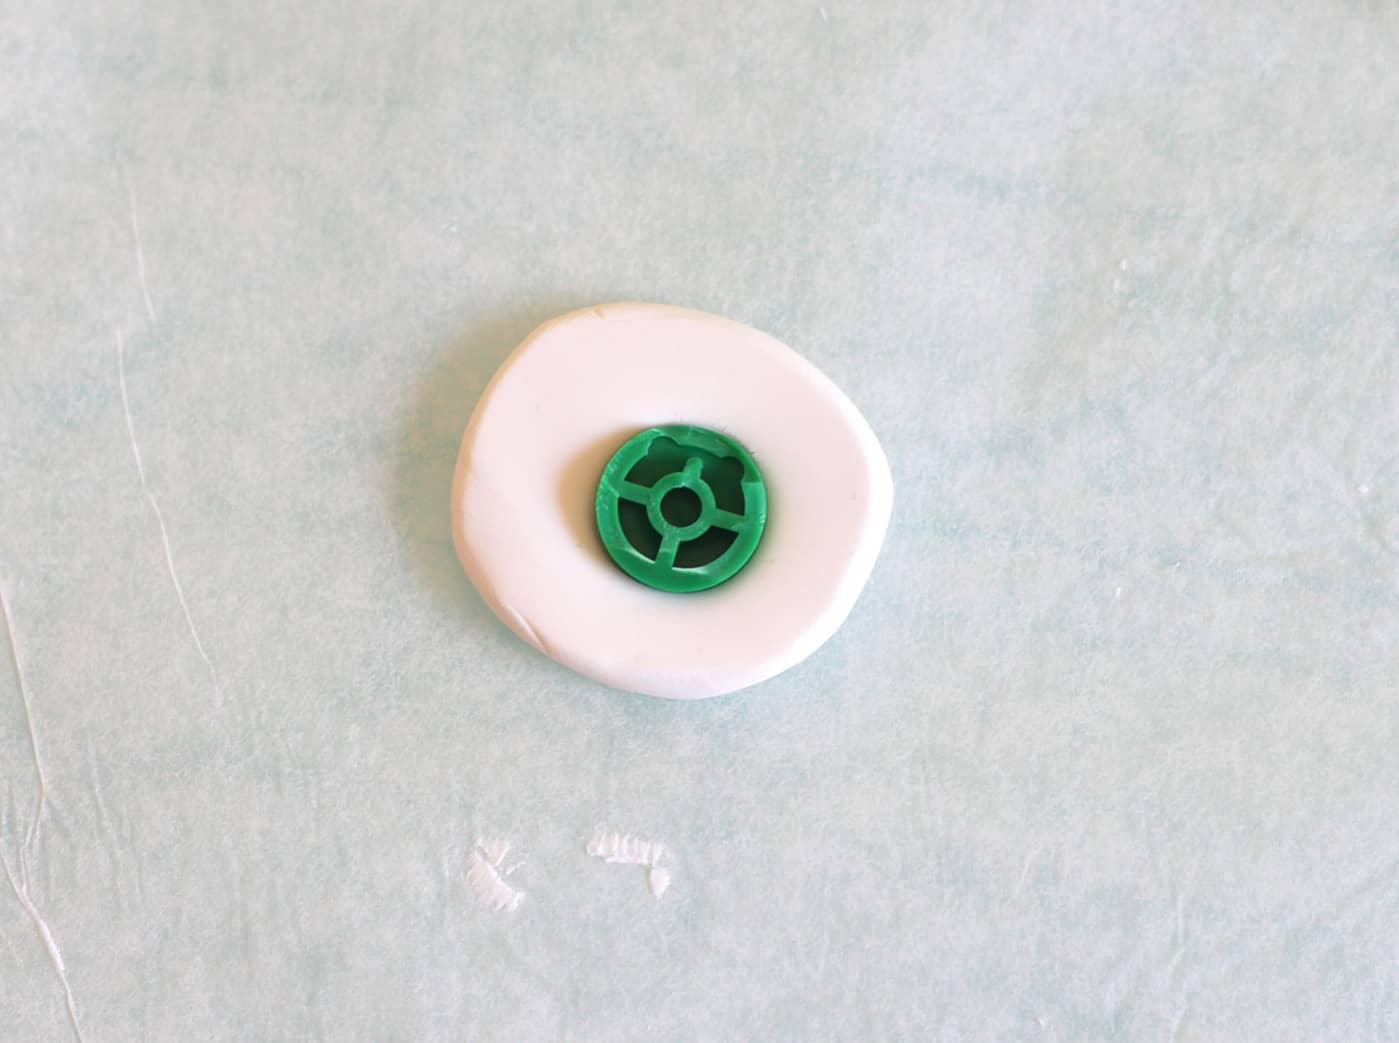
Press the button into the clay and pull it straight out. Take your time and start over if you mess up. You want your mold to be as perfect as possible.

Place the molds on a foil covered baking sheet and bake according to package instructions.

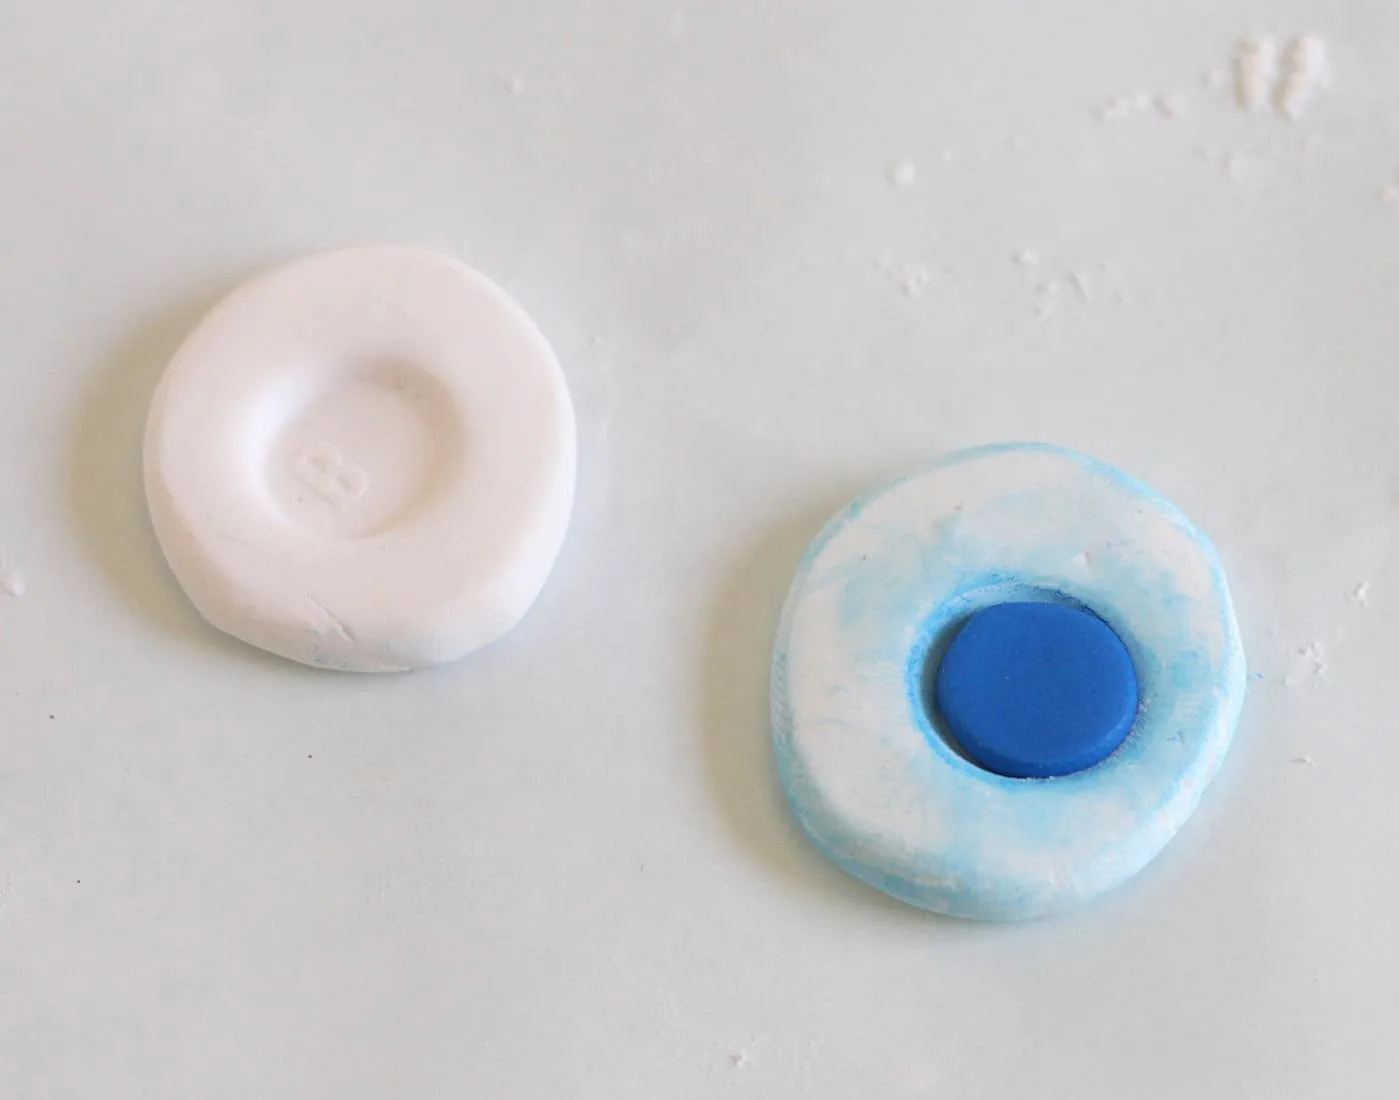
Once the molds have cooled, they are ready to use. Take a small amount of colored clay and roll it into a ball. Dust the outside with corn starch to prevent sticking and help cut down on fingerprints.
Press the ball of clay into the mold and smooth it flat. Very gently pull it out of the mold and place it on foil. I’m not going to lie, this took a few tries, but I got better at it each time.

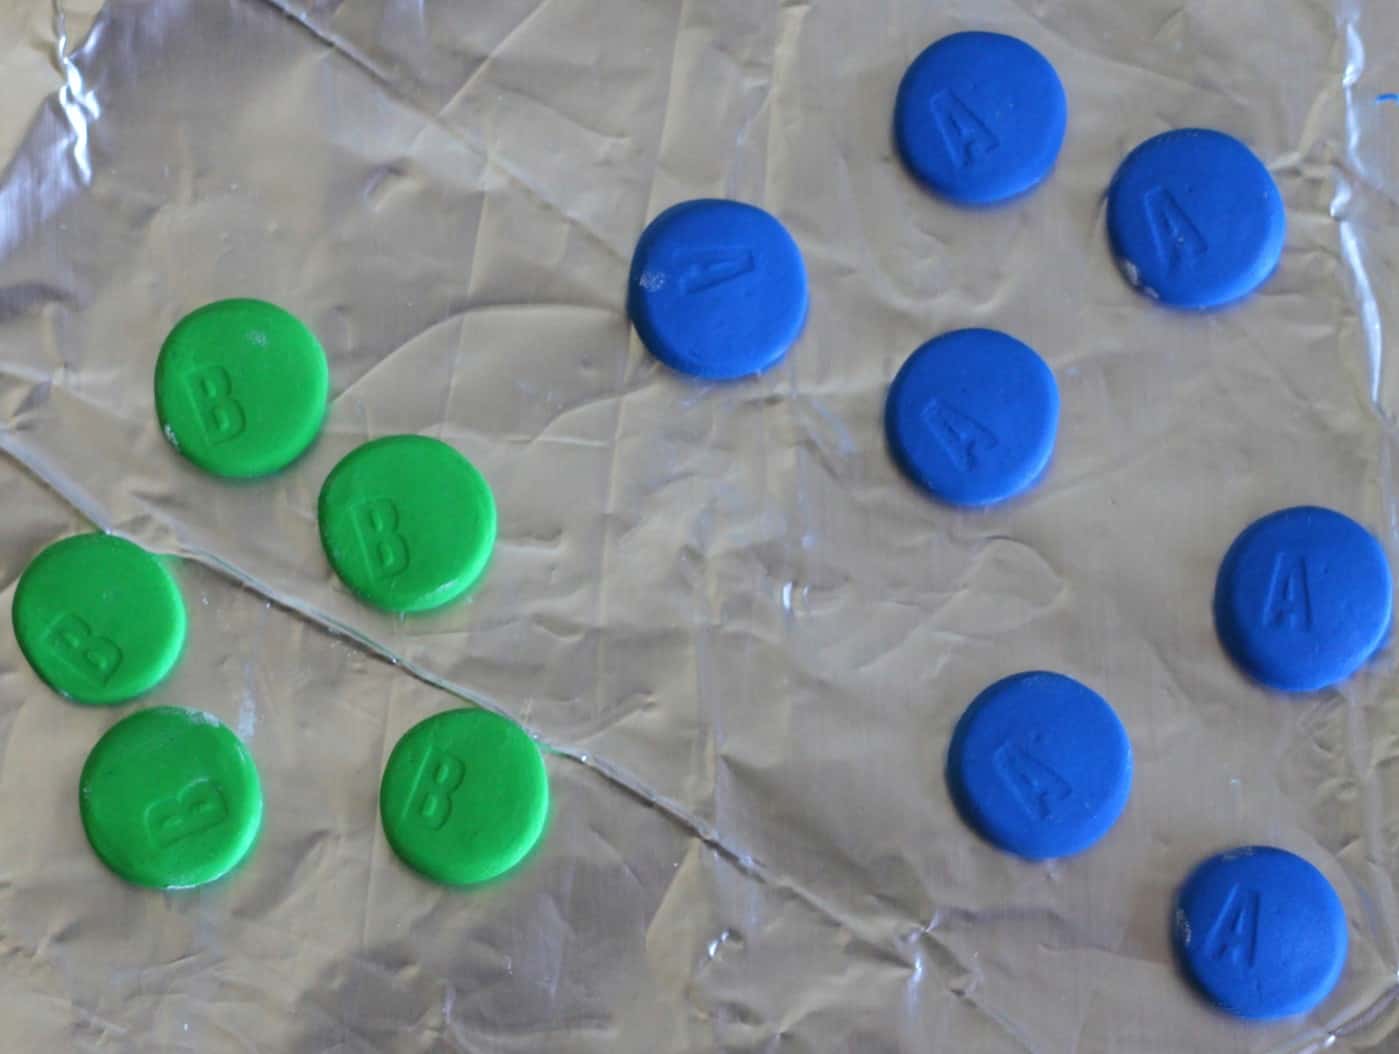
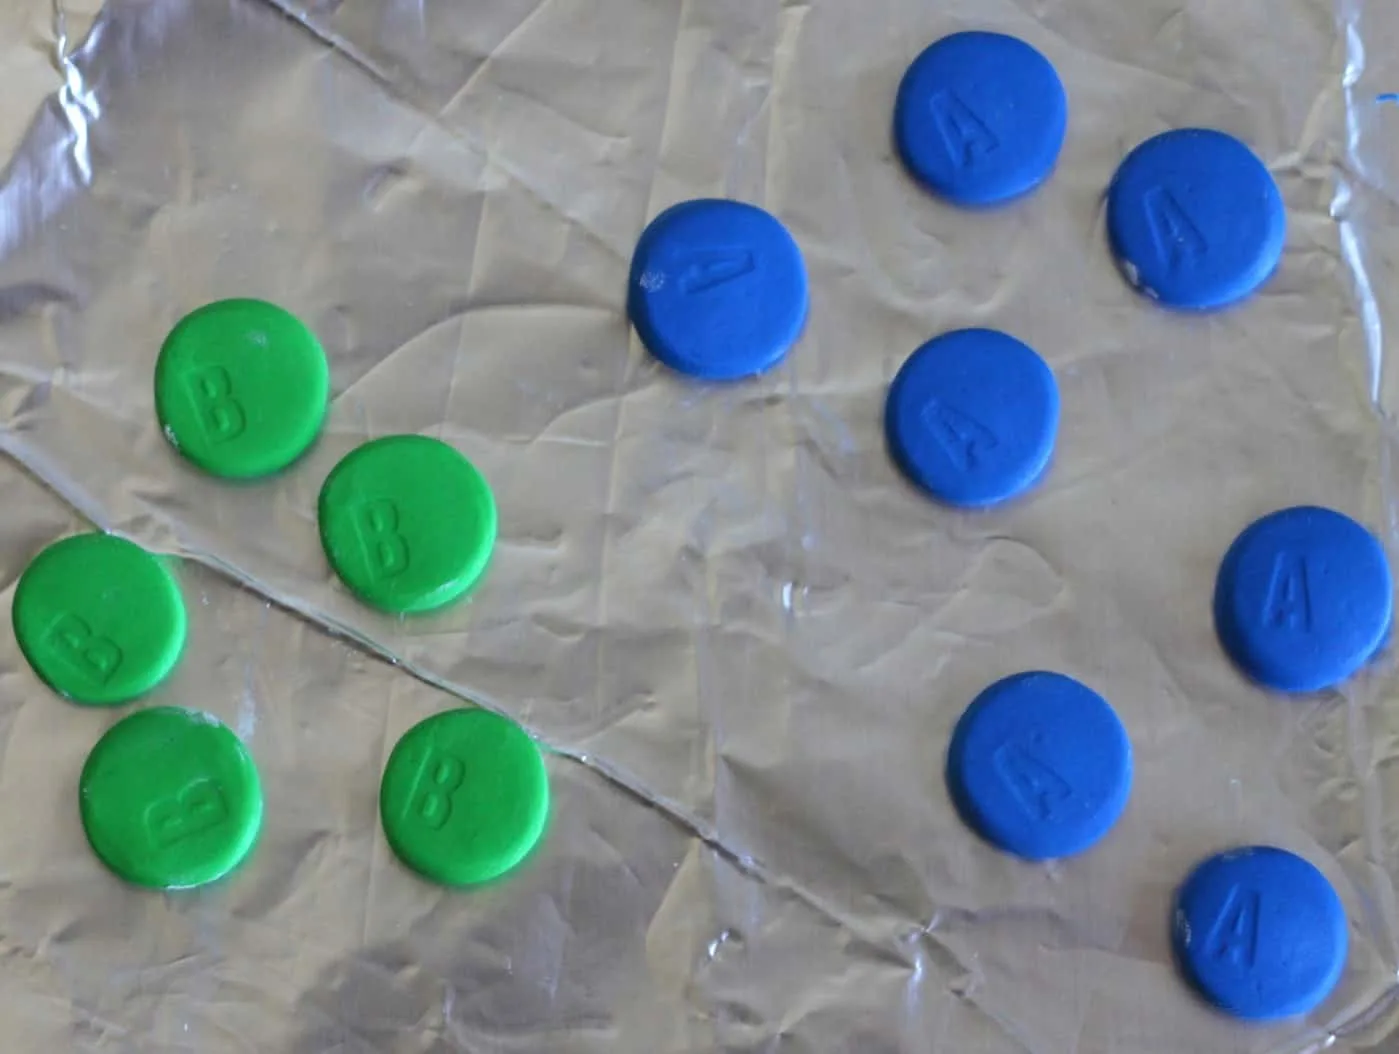
I made a bunch because it didn’t take much clay, and I knew some were going to turn out better than others. None of them are perfect, but they look pretty good. Bake the clay according to package instructions.
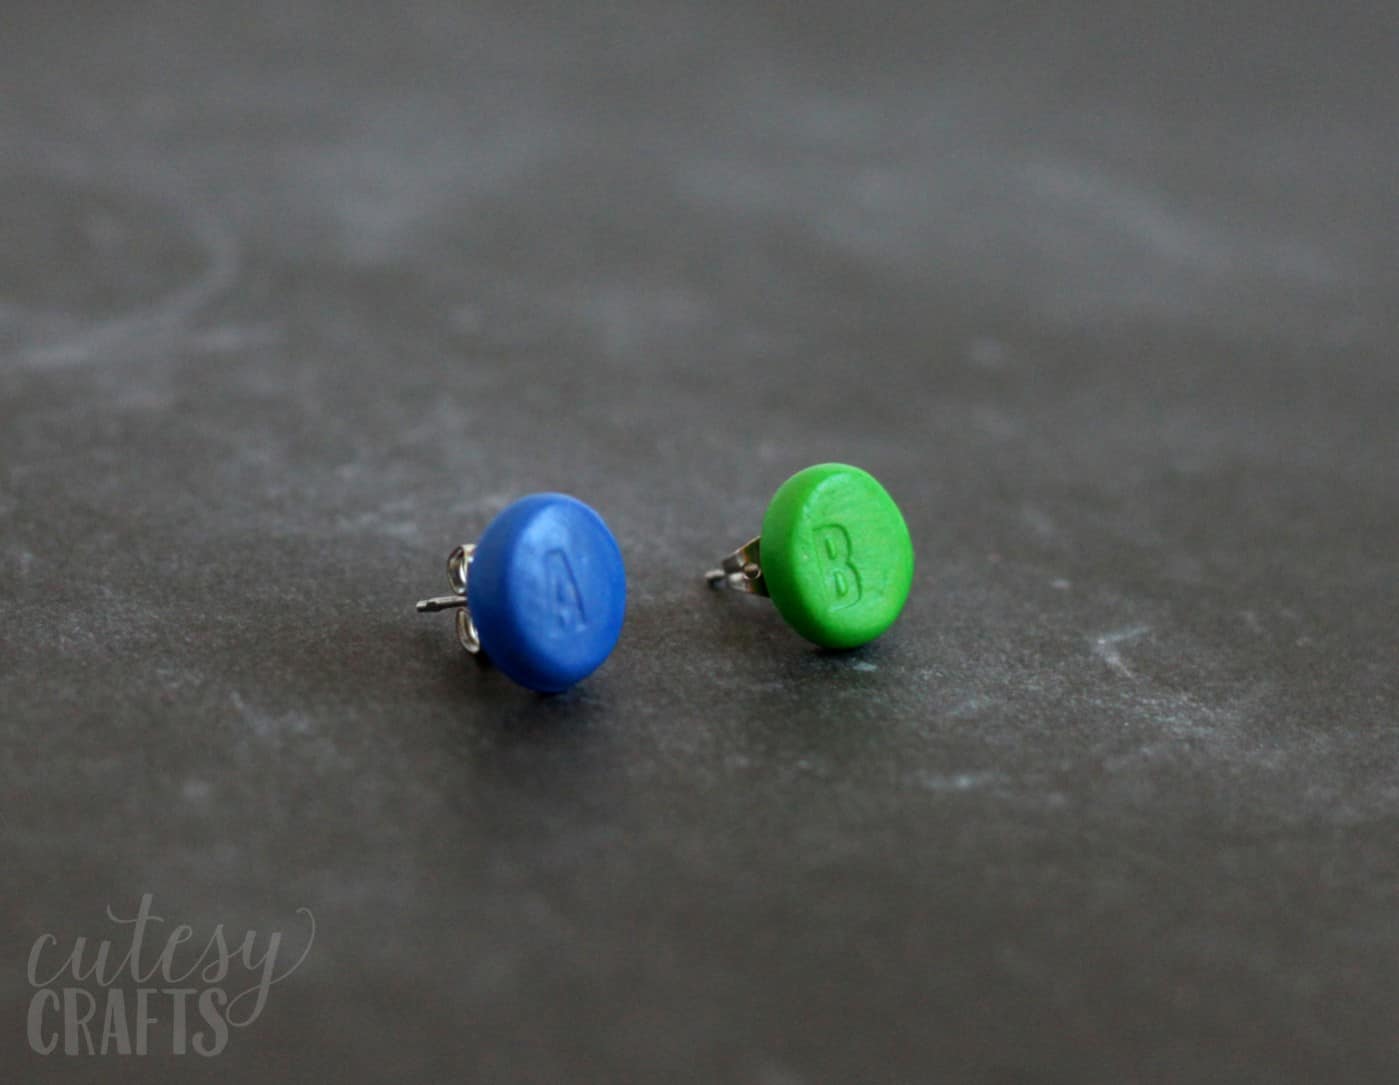
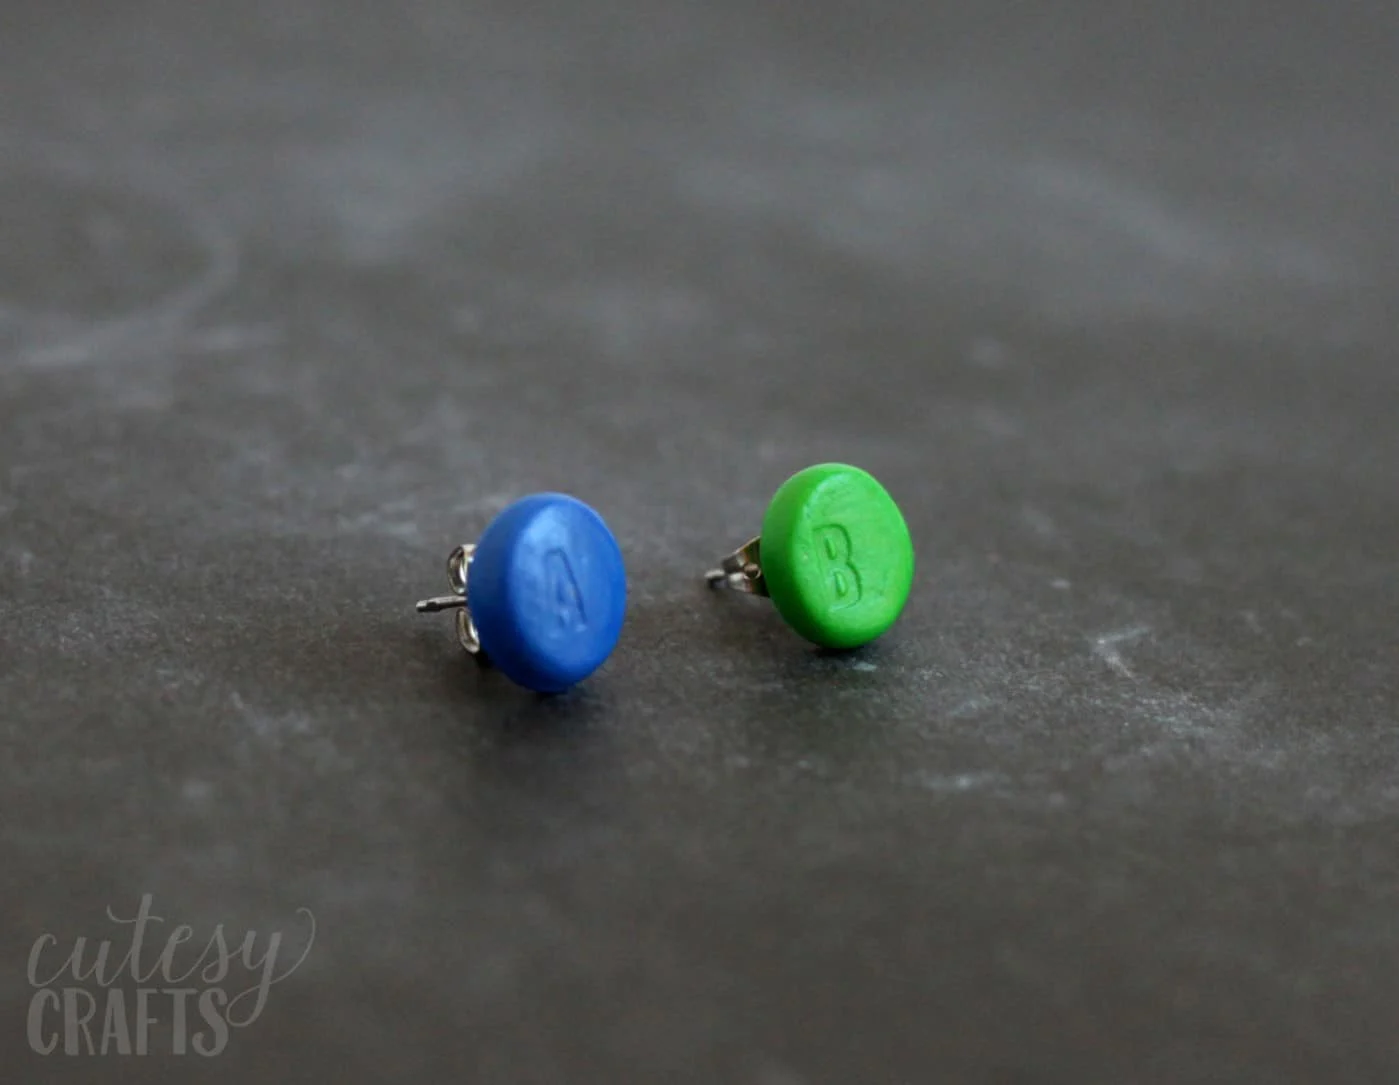
To give the clay a plastic look, I brushed on a coat of gloss glaze made for polymer clay. It made such a big difference!

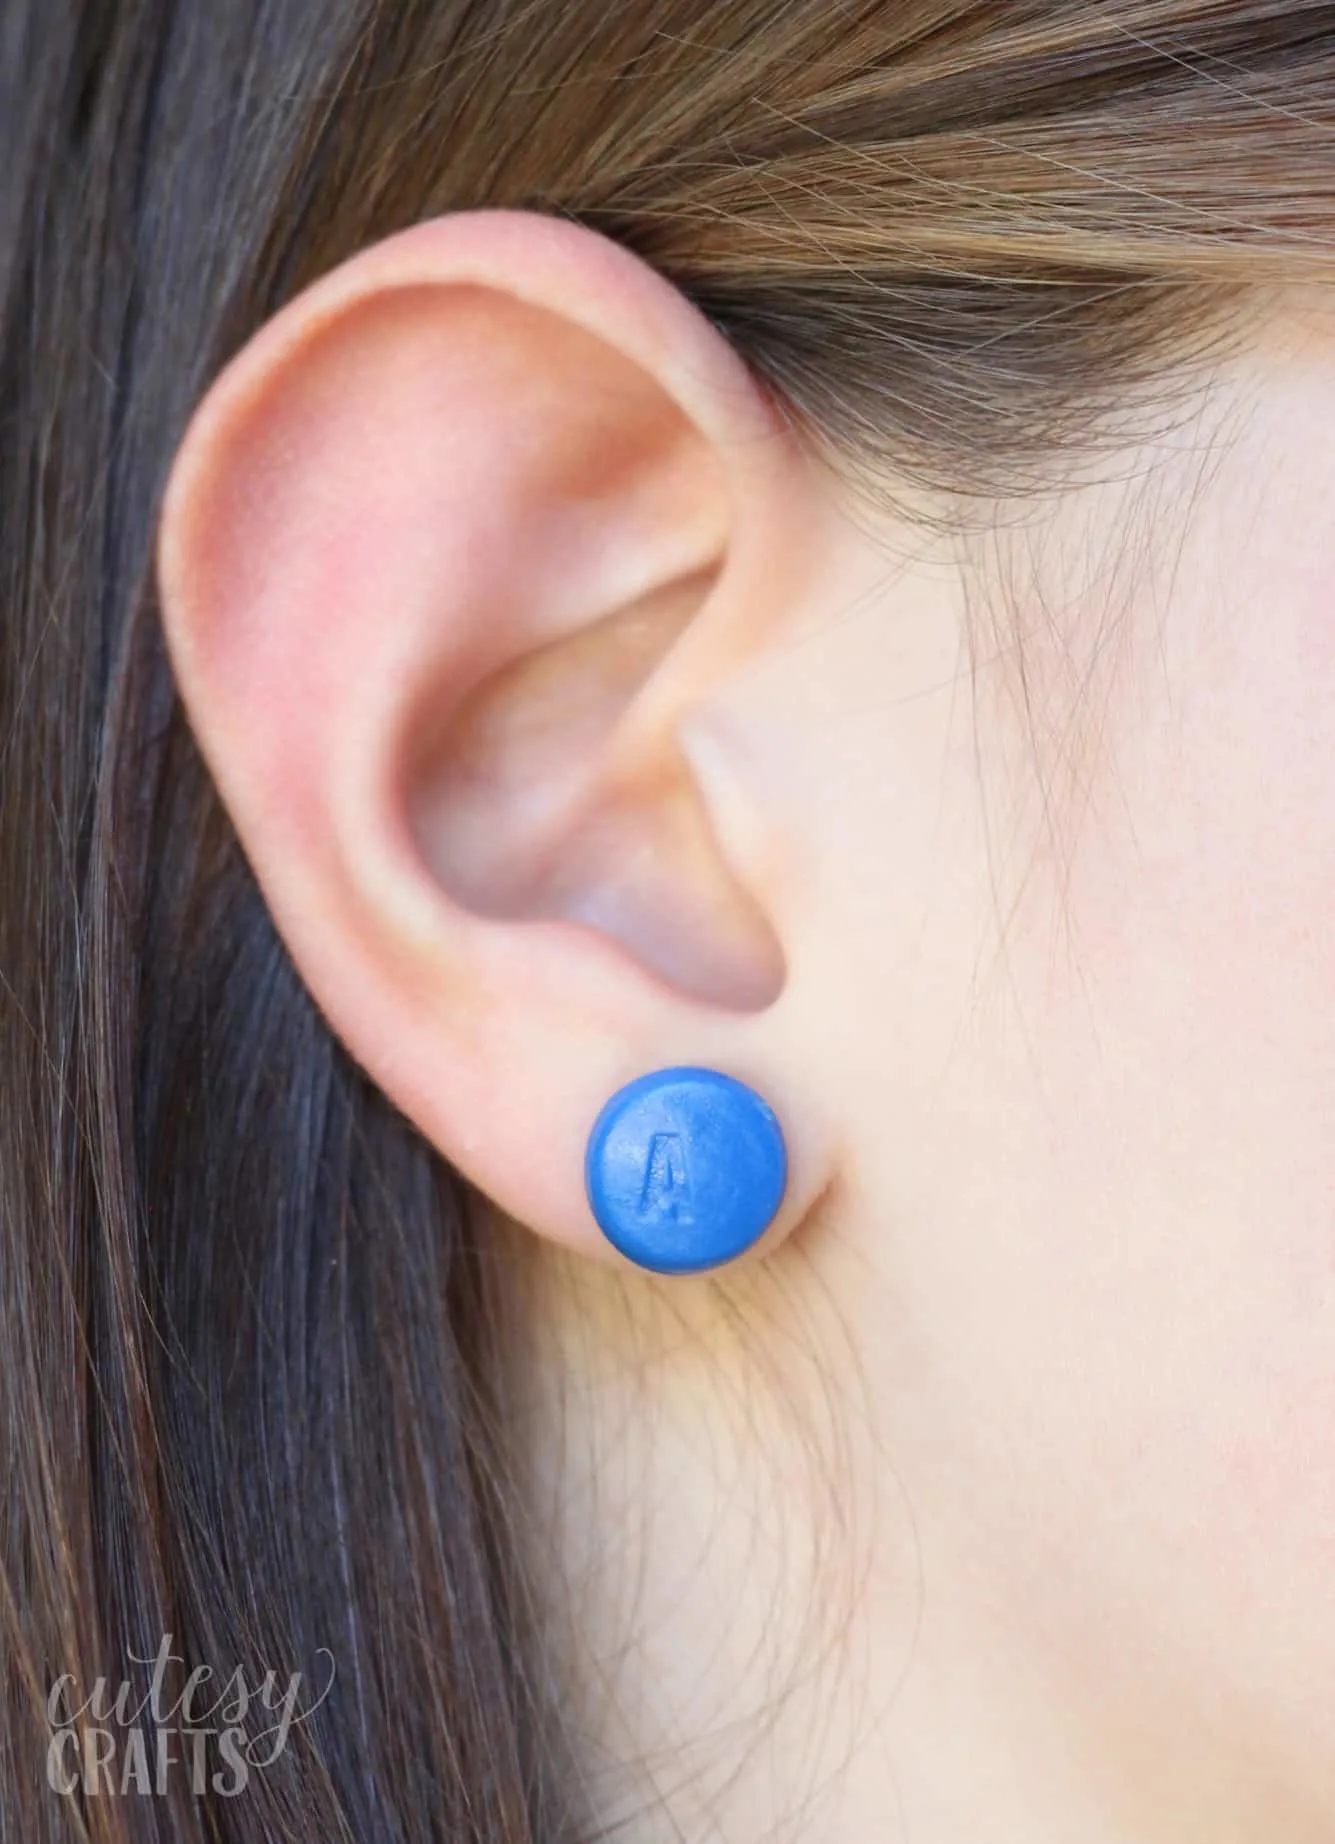
Once the glaze has dried, use strong glue to attach the “buttons” to the earrings.
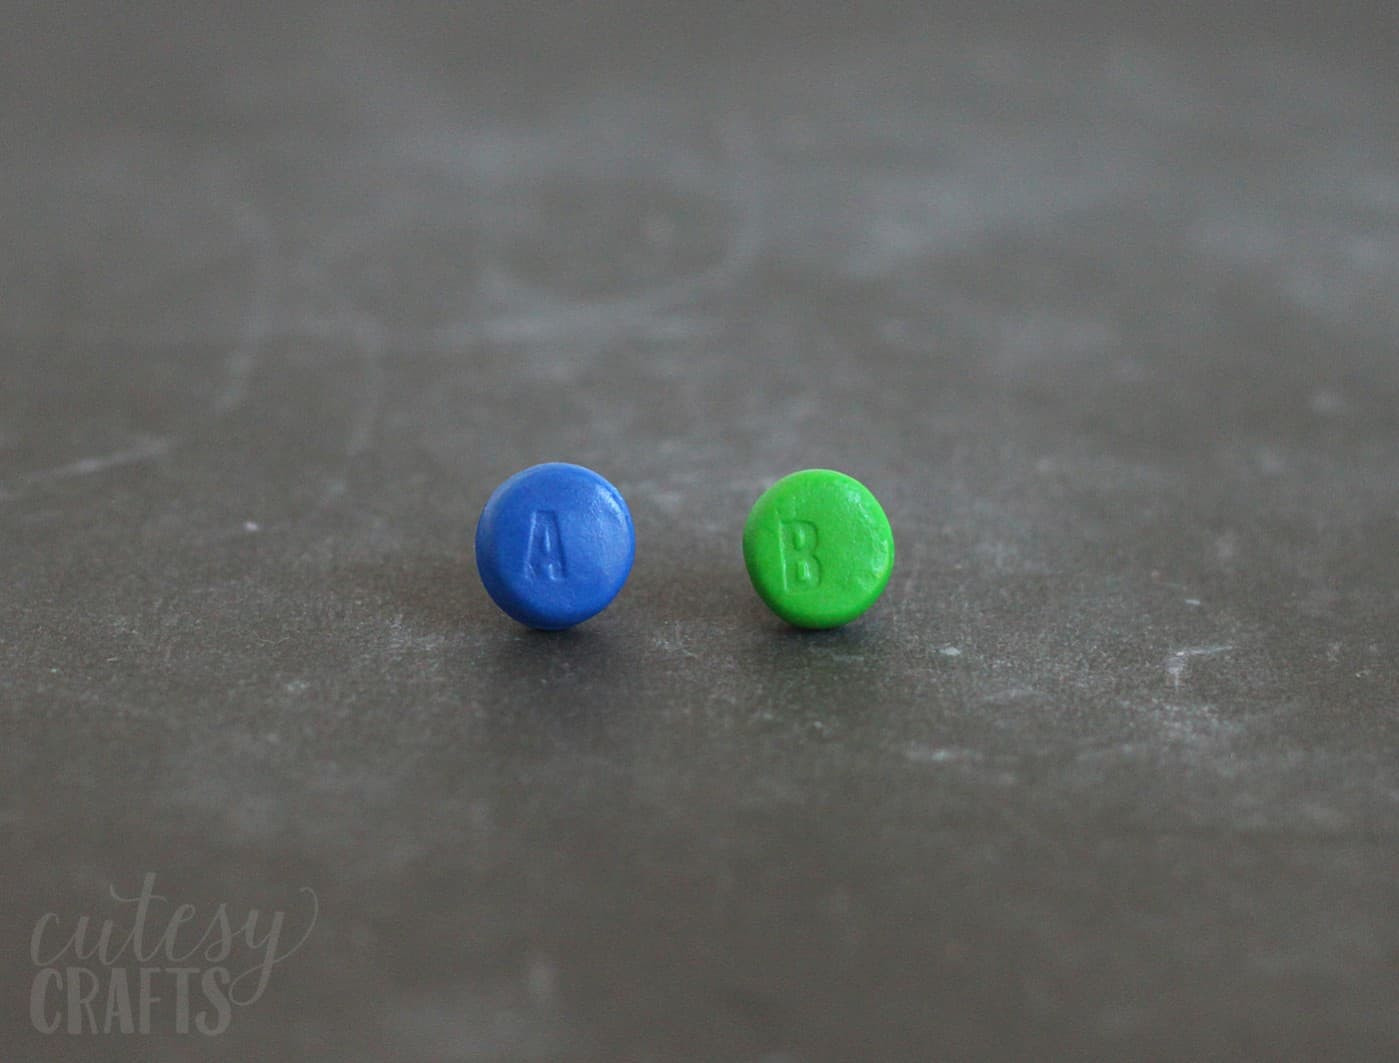
Let the glue dry, and your earrings are ready to wear! My daughter thinks they are so cool. Now I’m curious to know if anyone will catch on and recognize what they are. What do you think? Any other Nintendo lovers out there?

For more fun crafts like this, visit my blog, Cutesy Crafts. I’d also love for you to check out the following ideas:
Aiyana
Monday 20th of February 2023
These earrings look pretty good and geeky too!😋
Priya Sharma
Saturday 23rd of July 2016
Stylish and trendy earrings made of clay! Where can I buy these? I really liked it..They are so edgy.
earrings
Wednesday 20th of July 2016
lol, the earrings looks funny and pretty same time :) nice tips, thanks!