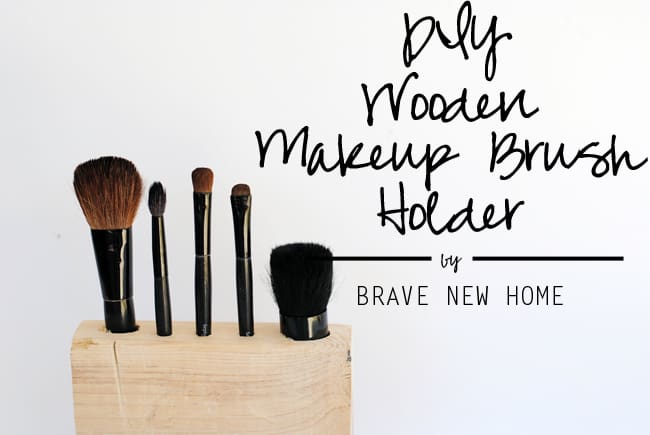
Make a DIY makeup brush holder that fits your brushes exactly – this project is easy and budget friendly. Use a piece of scrap wood to make it free!
Skills Required: Beginner. All you’ll do is cut a piece of wood down to size and then drill into it. If you don’t own power tools, you can typically get a home improvement store to cut a piece for you.

Hi again! I’m Jennifer of Brave New Home. I blog about home design, decorating, and creating lots of fun DIY projects in the process.
Today I’m sharing one of my most favorite ideas! It’s so simple, it almost seems silly to share. I’m going to show you how to make a wooden DIY makeup brush holder.
Wooden Brush Organizer
It’s ridiculously easy, but here’s what’s so great about it: you can make it whatever size you like, for whatever brushes you have.
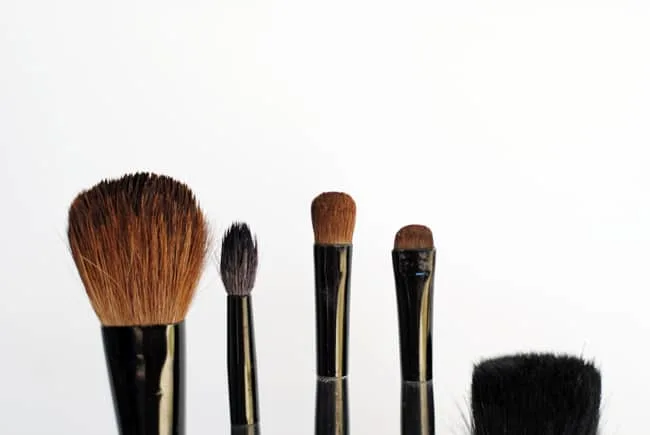
The motivation for this brush organizer was my kabuki brush. I never see holders that provide storage for this particular brush! I didn’t want to be limited though. Who wants their entire brush collection on the counter minus one?
Not me.

In my world, when you need something, you make it. And that’s how this DIY makeup brush holder came about!
Choosing the Wood for Your Holder
For this project, you can use a variety of woods – I recommend sticking with a softwood like pine. It will be inexpensive to buy and easy to drill.
The only thing you really need to keep in mind is that the wood should be wide enough to accommodate your brush handles, and long enough to account for the number of brushes with a little bit of room in between.
If you don’t happen to have scrap wood lying around, take your makeup brushes to Lowe’s or Home Depot. Don’t be afraid to lay out your brushes there. They have a scrap bin at my local home improvement stores; check there first!
Painting or Staining
You can absolutely paint or stain this DIY makeup brush holder. You’ll want to stand it to prepare, and wipe away any sanding dust using a tack cloth.
Use the stain or paint of your choice – I’d choose something acrylic. Then seal over the top with some kind of clear sealer, especially if you think you might have a lot of steam or water from the sink.

Are you ready to learn how I made this makeup brush holder? Keep reading!
Makeup Brush Organizer
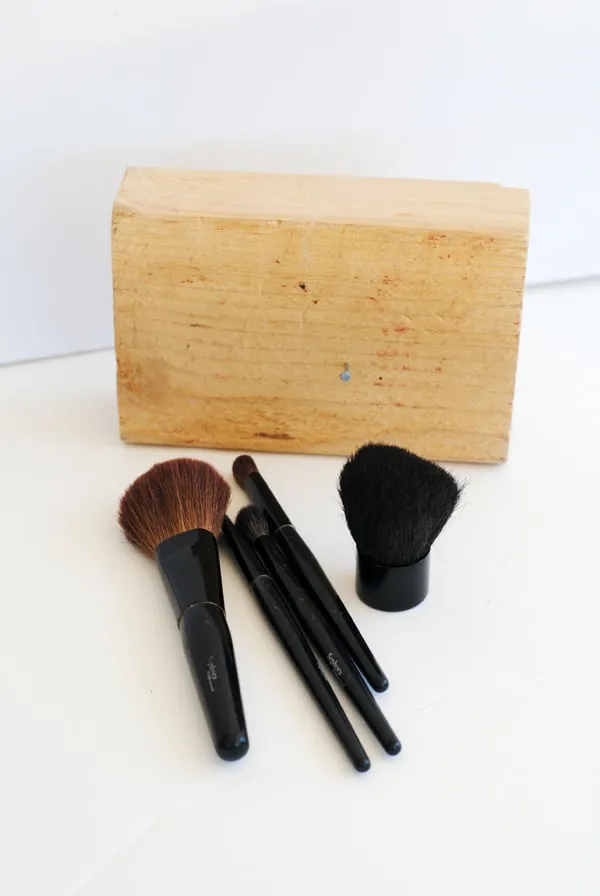
For this project, you need:
- Chunk of wood
- Drill with drill bits
- Makeup brushes (all those you would like to display)
- Pencil


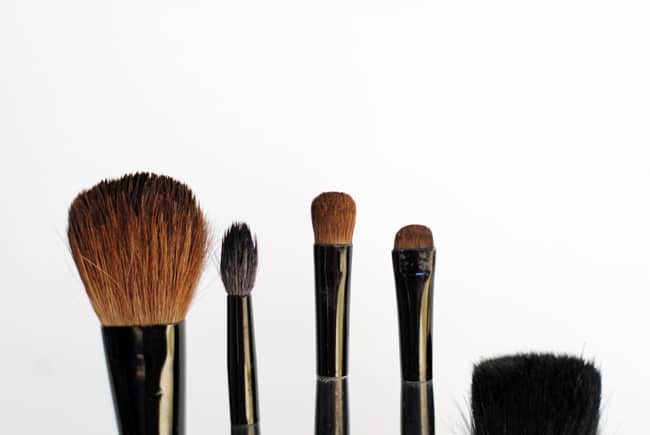
Place your wood block on a table and lay out the brushes to get a sense of how you’d like them positioned. You should leave about 1/2″ at least between each brush to make sure you have enough room to drill.
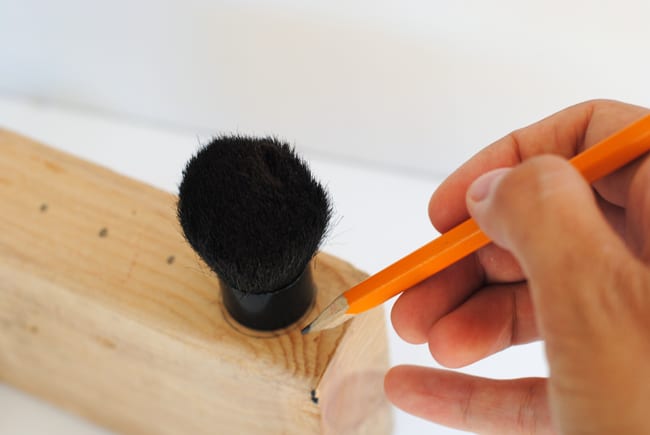

Make a pencil dot where you would like each brush to go. One by one, place the brush in the center of the dot and trace around loosely (this will give you a better sense of which drill bit size you need).

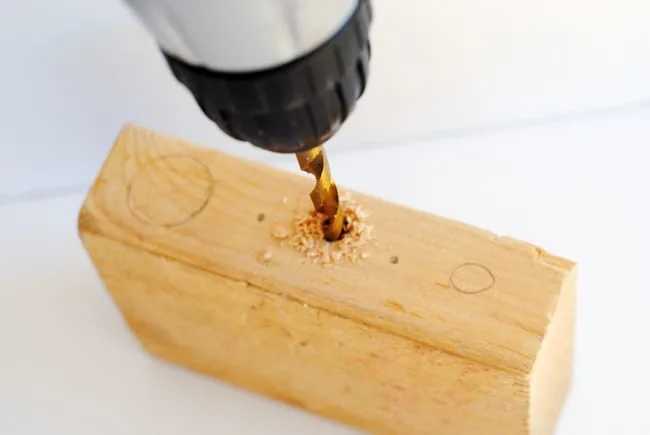
Start in the center of your block and work outward to drill the holes. The reason for this is so you can decide on the fly how close or how far apart your holes should be, and adjust your spacing as needed.

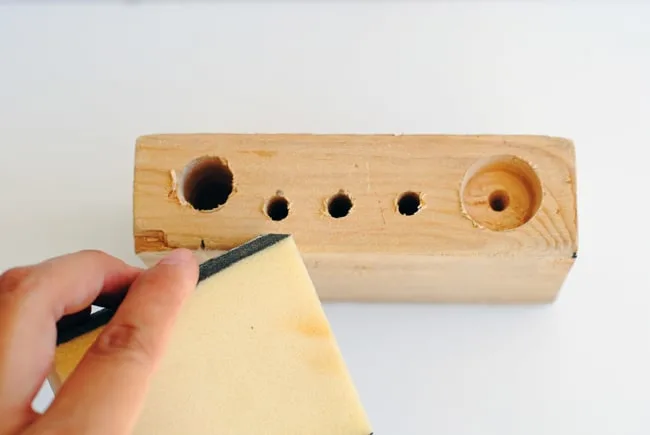
After the holes are drilled, give the block of wood a sanding with a sanding block. Wipe away the sanding dust.

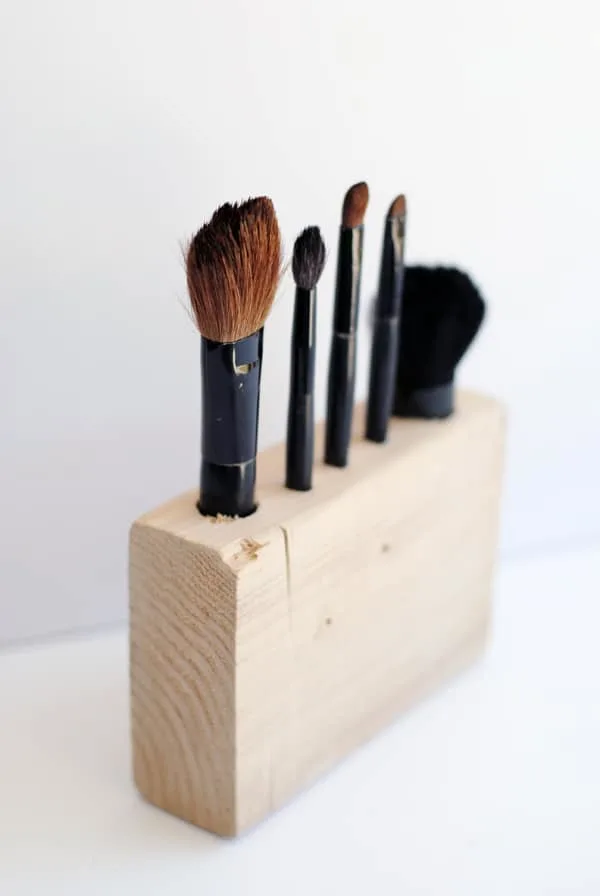
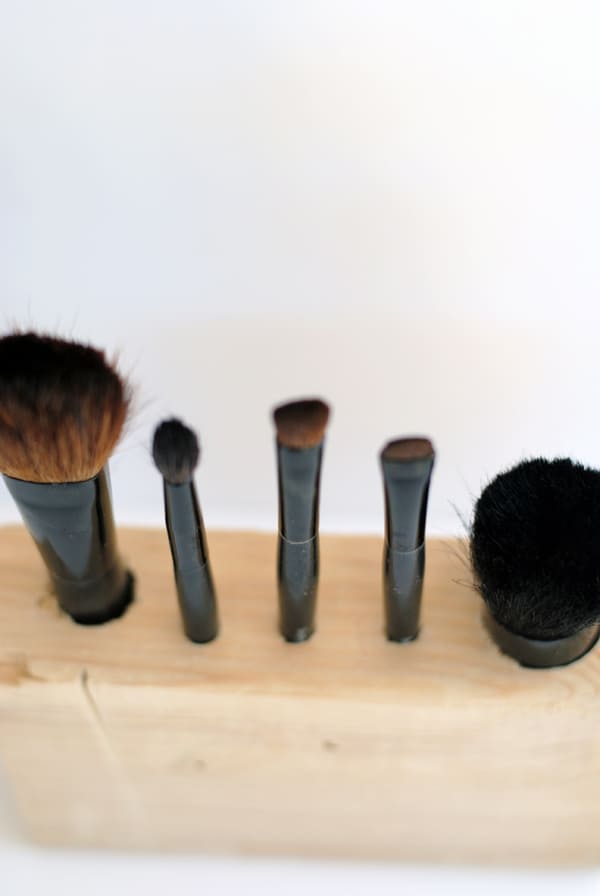
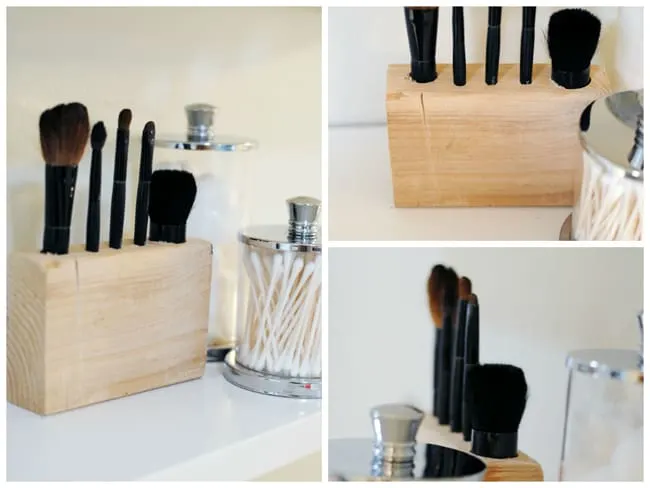
Keep in mind when you do this project that you can play with the height of the brushes by varying how deep of a hole you drill.
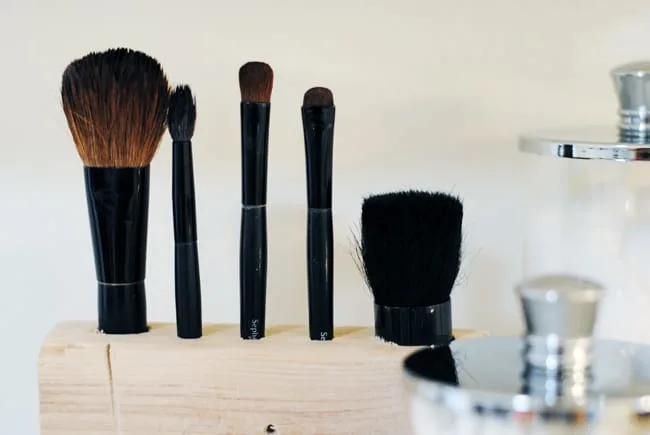
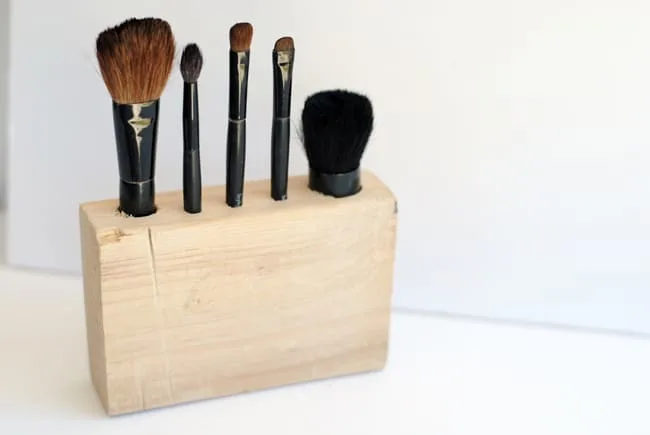
I love the combination of the light wood with the black of the brushes. Depending on the color of your brushes, you might want to stain or paint your organizer.

If you have a wood burner, you could definitely etch a fun pattern into your wood for a more ornate look.
TIP: If you drill the wrong size hole, considering stuffing in a bit of crumpled aluminum foil to get your brush to stand upright without leaning.

This DIY makeup brush holder could work in a more modern bathroom, like mine, or you can ding up your wood a bit more for a rustic and worn look.
Makeup Brush Holder
Learn how to make a DIY makeup brush holder on a dime! This project just requires a piece of wood and a drill with drill bits. It's very easy!
Materials
- A slab of wood to fit your brushes
- Makeup brushes
- Pencil
Tools
- Drill with various sizes of drill bits
Instructions
- Place your wood block on a table and lay out the brushes to get a sense of how you'd like them positioned. You should leave about 1/2" at least between each brush to make sure you have enough room to drill.
- Make a pencil dot where you would like each brush to go. One by one, place the brush in the center of the dot and trace around loosely (this will give you a better sense of which drill bit size you need).
- Start in the center of your block and work outward to drill the holes. The reason for this is so you can decide on the fly how close or how far apart your holes should be, and adjust your spacing as needed.
- After the holes are drilled, give the block of wood a sanding with a sanding block. Wipe away the sanding dust.
Notes
- I used a piece of scrap wood and had a drill, so I didn't pay anything for this project. If you need a piece of scrap wood, you'll need to include that in the price.
- Keep in mind when you do this project that you can play with the height of the brushes by varying how deep of a hole you drill.
- If you drill the wrong size hole, considering stuffing in a bit of crumpled aluminum foil to get your brush to stand upright without leaning.
This DIY makeup brush holder would make a fun gift to include with some specialty makeup. With a price tag this cheap, the possibilities are endless!
What do you think about this makeup brush holder DIY? I’d love to hear in the comments! If you love this idea, check out some of my other crafts:
Michele Reynolds
Tuesday 24th of February 2015
I need to make this<3 Pinned