Make DIY Shrinky Dink Keychains from Your Artwork
What do you do when your coloring page is done? Make something! Here’s a tutorial to turn those pages into Shrinky Dink keychains!

Adult coloring has become an incredibly popular trend, and for good reason! It’s a relaxing, creative activity that anyone can enjoy. If you haven’t given it a try yet, I highly recommend it—it’s both fun and therapeutic.
However, like puzzles, I often find myself wondering what to do with my finished creations. After all that time and effort, it would be a shame to just leave them in a drawer or on the bookshelf.
That’s when inspiration struck! Why not turn these pages into something practical and fun? So I made these DIY Shrinky Dink keychains! They’re a perfect way to repurpose your coloring pages and turn them into a functional, decorative item you can use every day.
These keychains also make fantastic gifts. I’m planning to make a few for Mother’s Day, but they’d also work well as housewarming gifts or even as party favors.
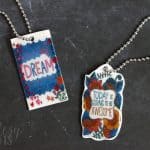
The best part? You can customize them with any coloring pages you like, making each keychain completely unique and personal.
They’re simple, fun to make, and a delightful way to turn your art into something meaningful. Ready to get started? Here’s what you’re going to need.
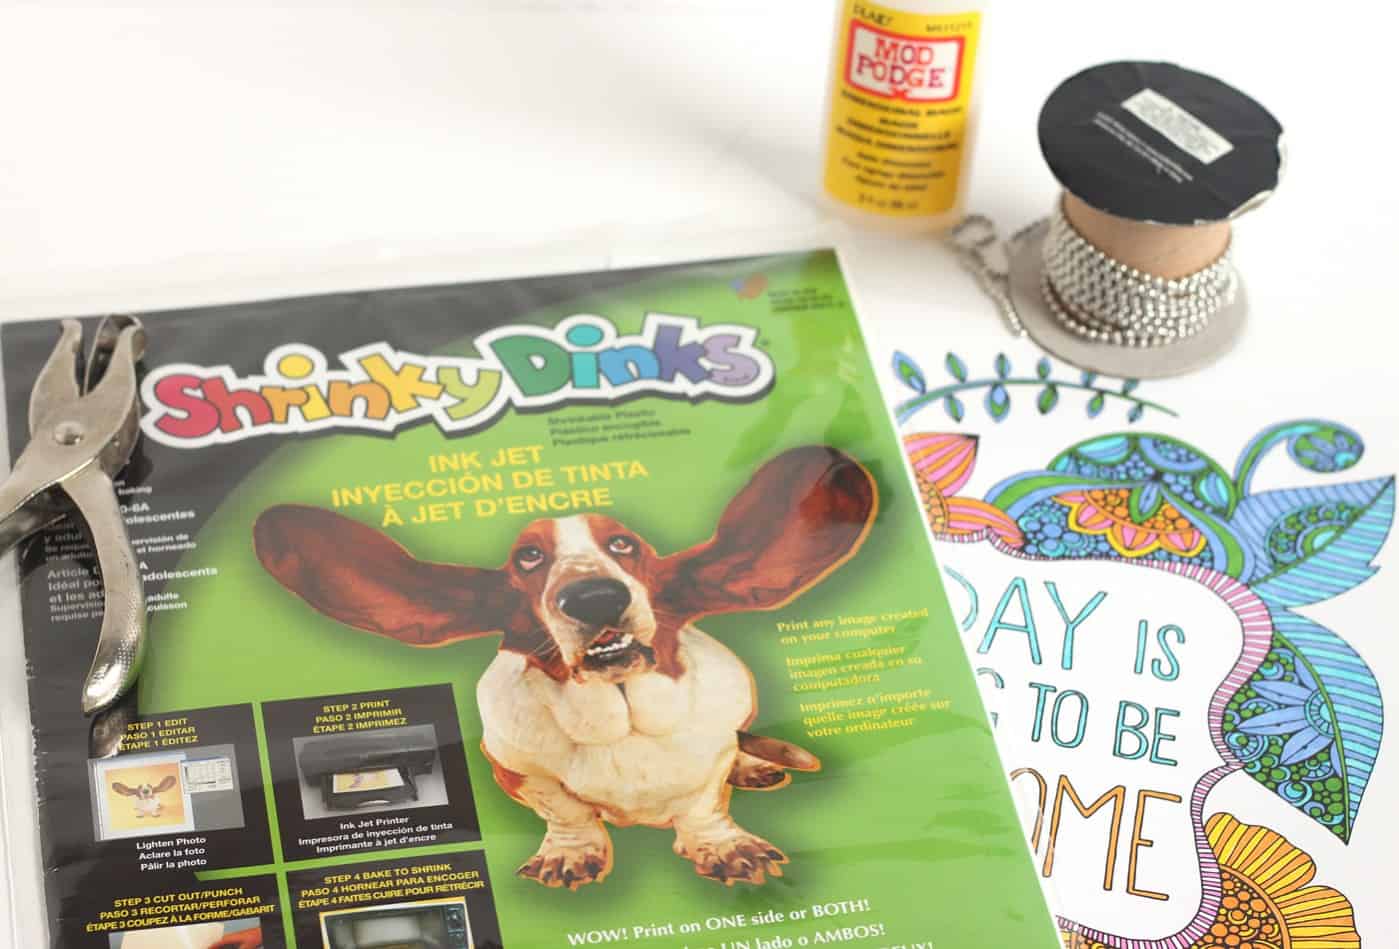
Gather These Supplies
- Inkjet printable shrink film (Shrinky Dinks)
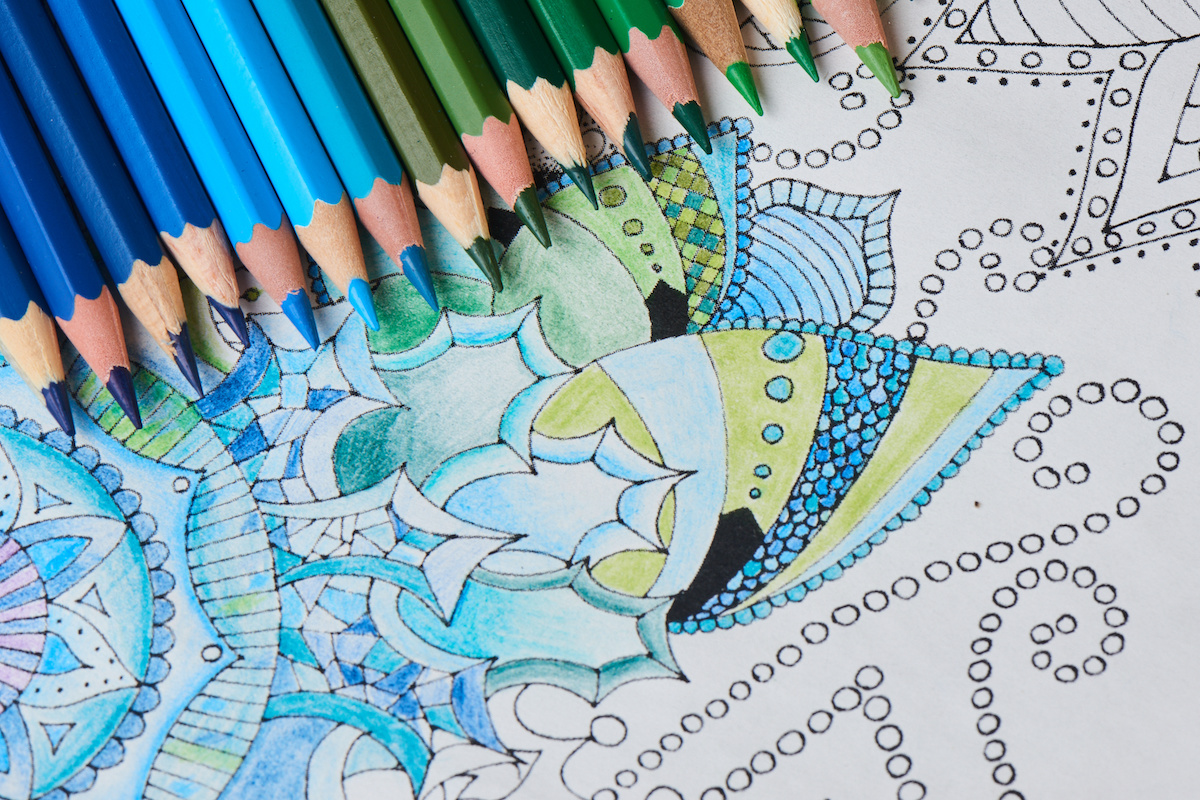
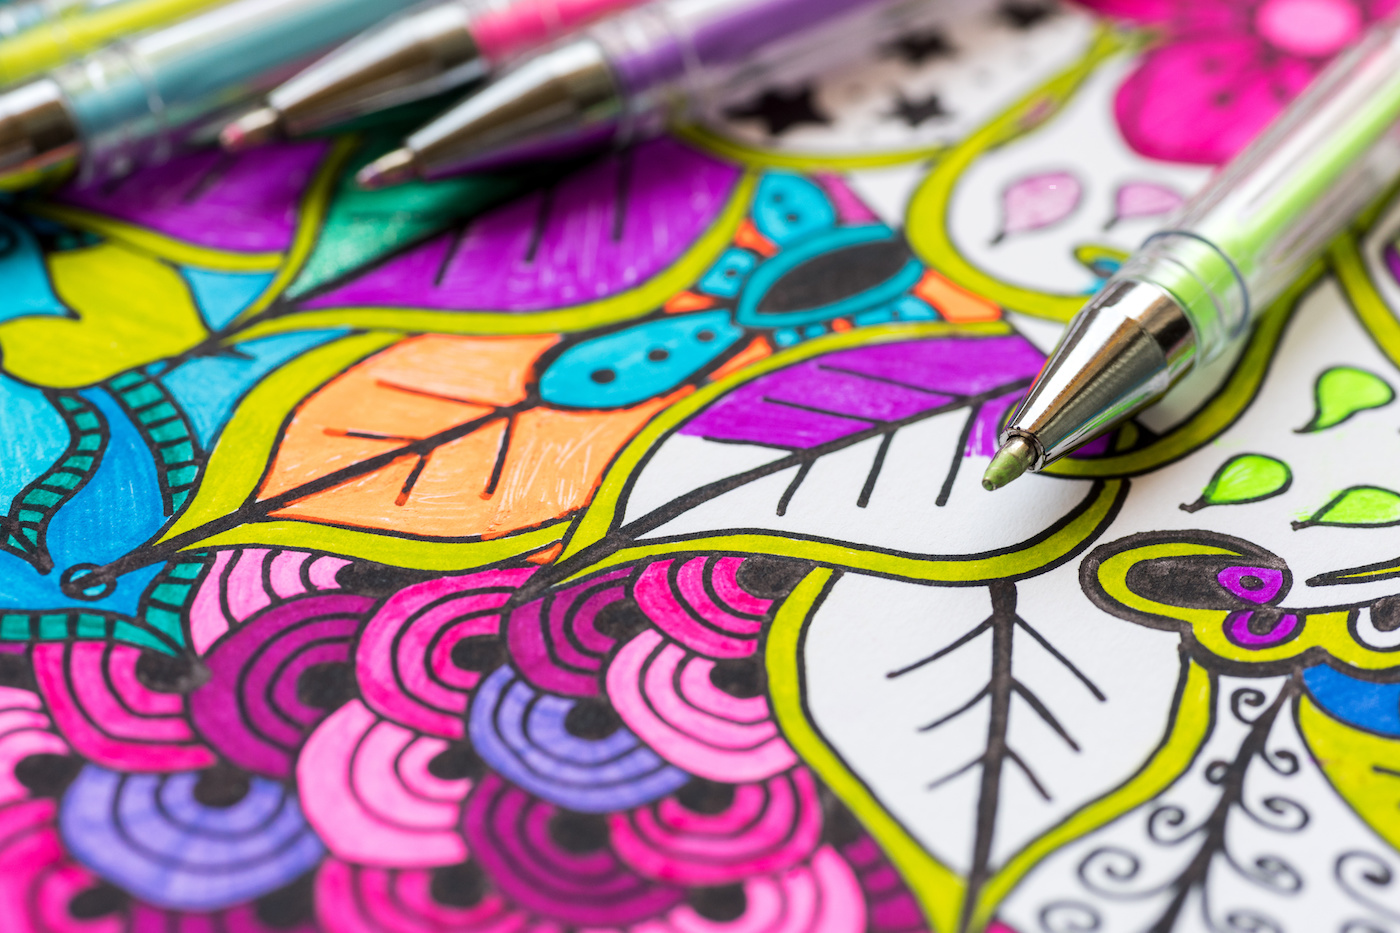
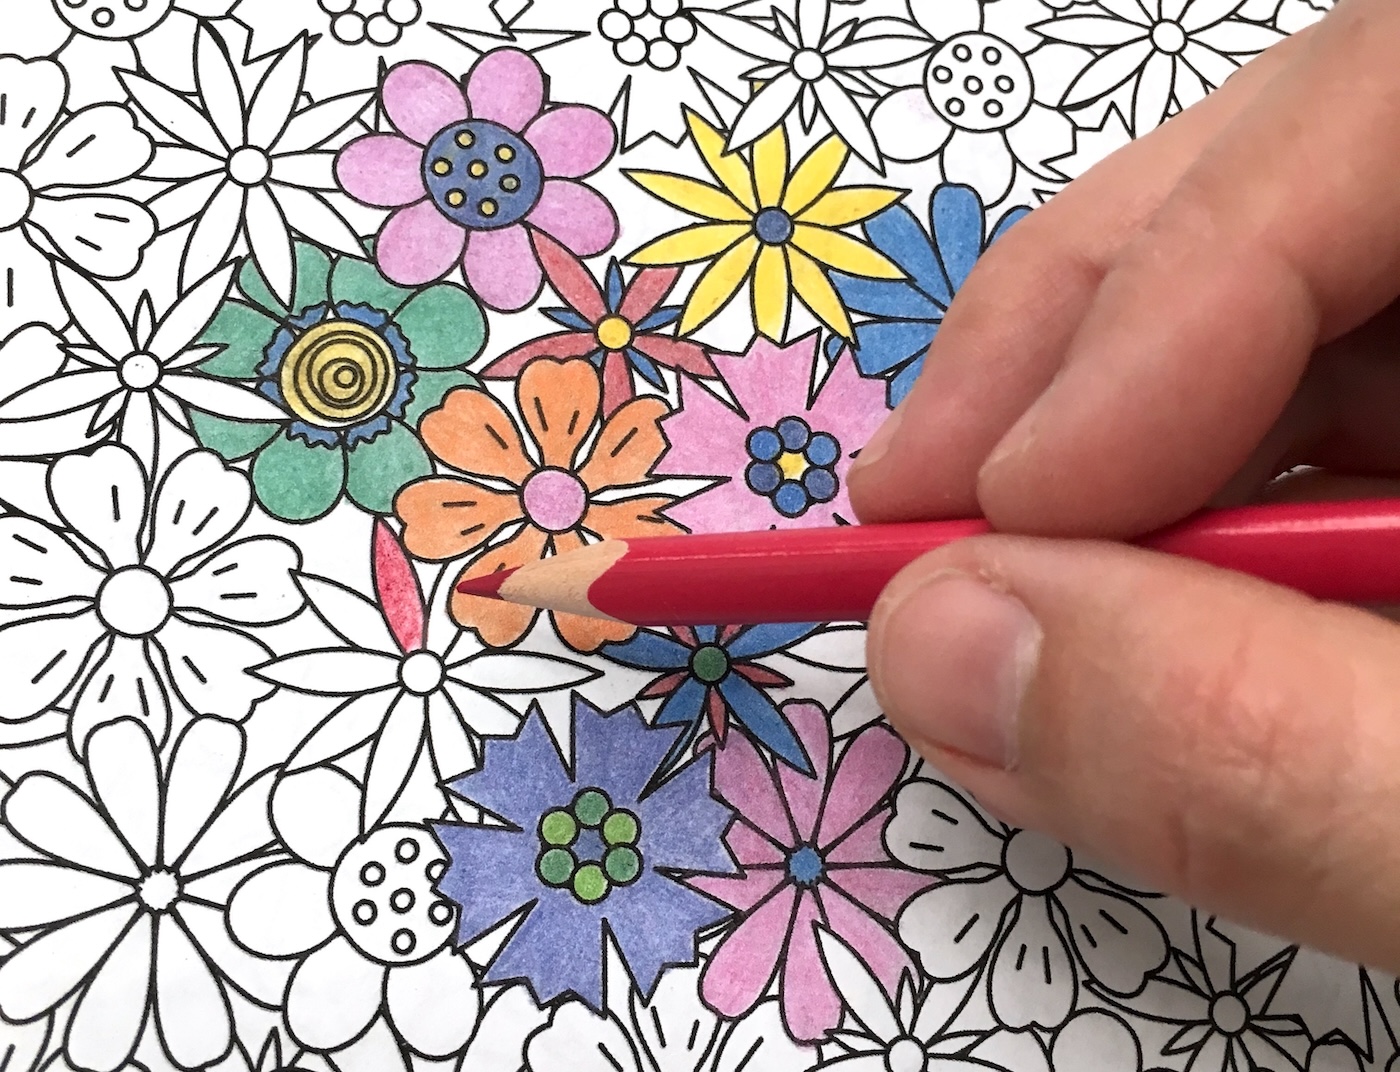
- Colored pencils
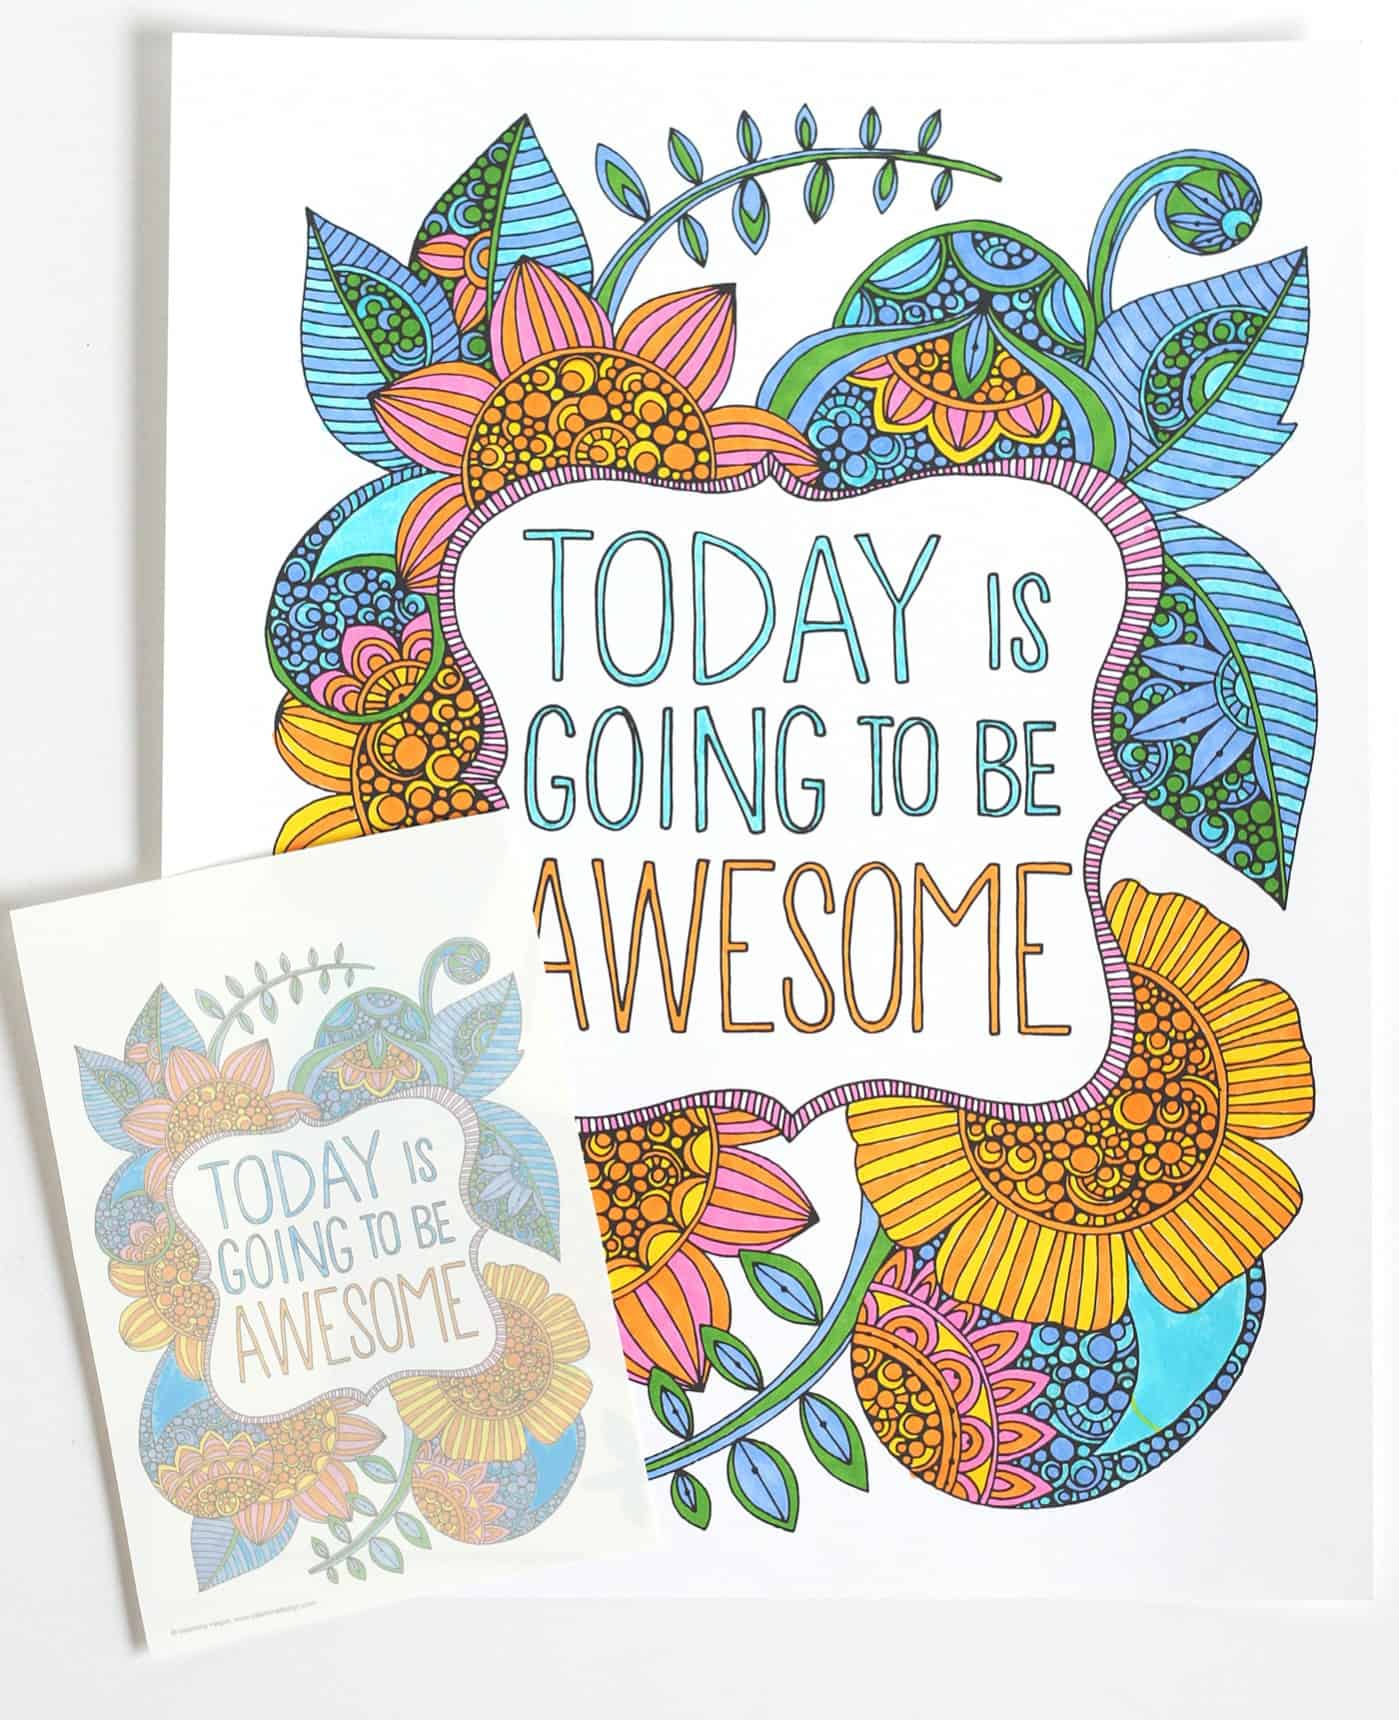
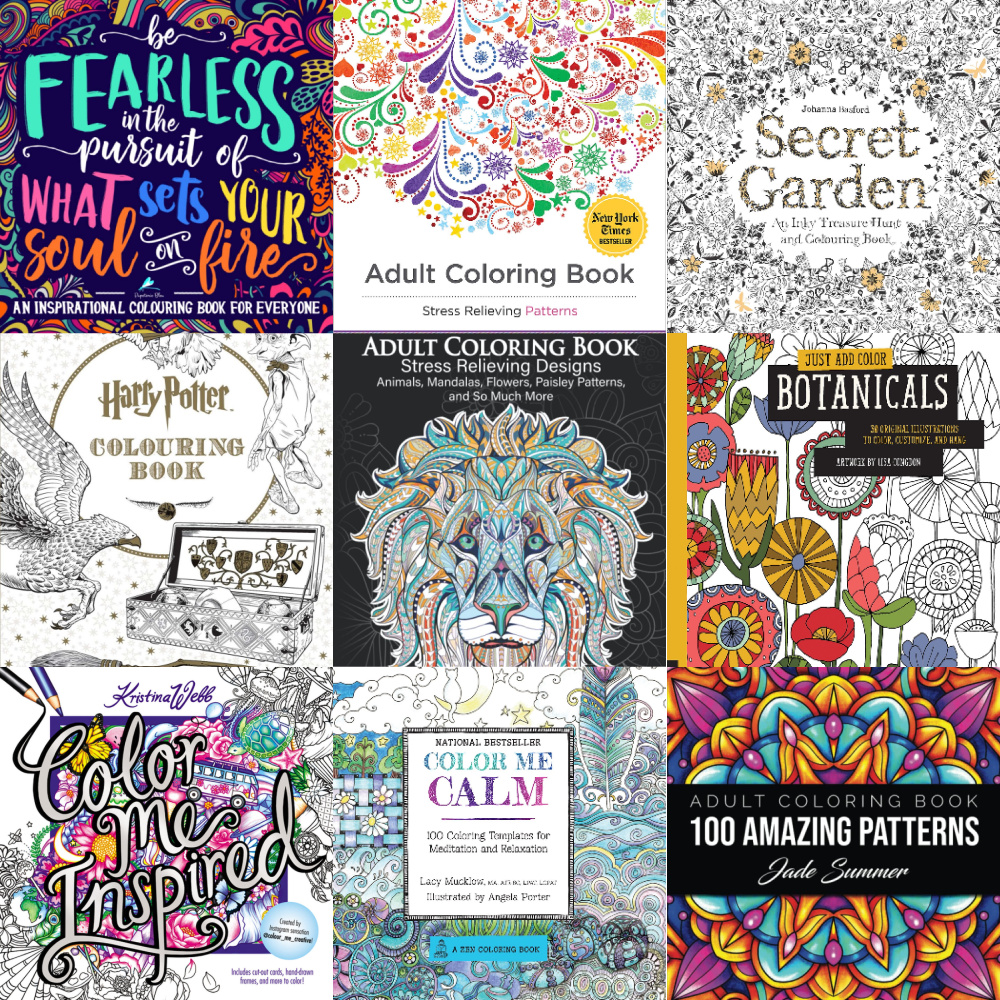
- Finished coloring page – I used some free printable coloring pages found here, but you can also use any pages from your favorite coloring book. You can find more free coloring pages here.
- Scanner and printer
- Parchment paper
- Acrylic sealer (optional)
- Mod Podge Dimensional Magic (optional)
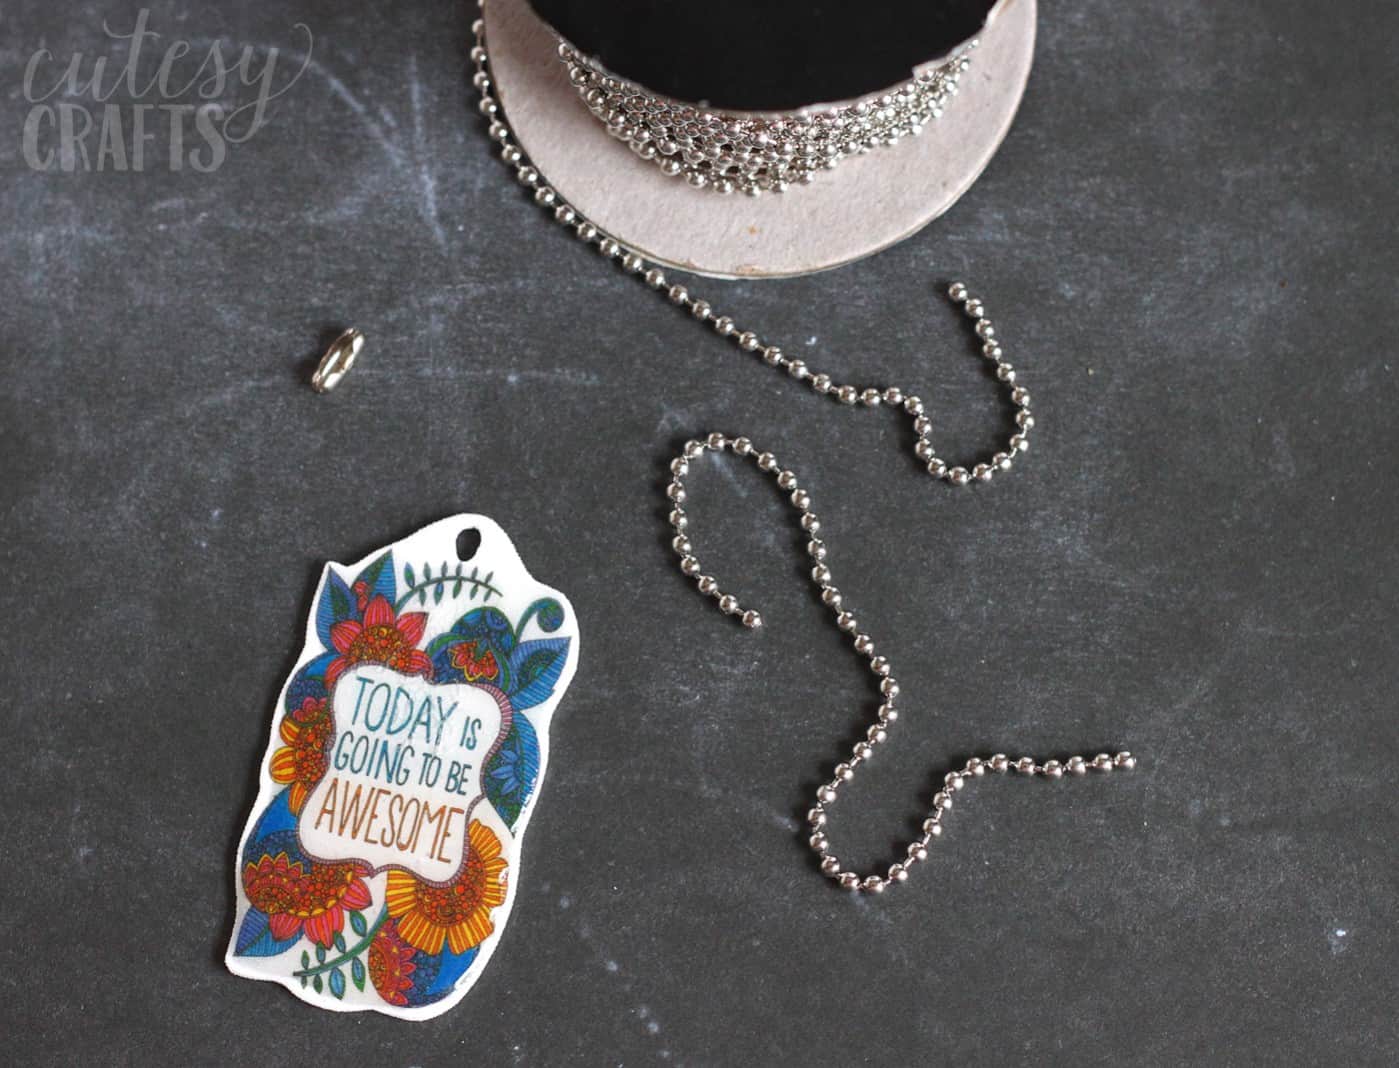
- Ball chain and connector
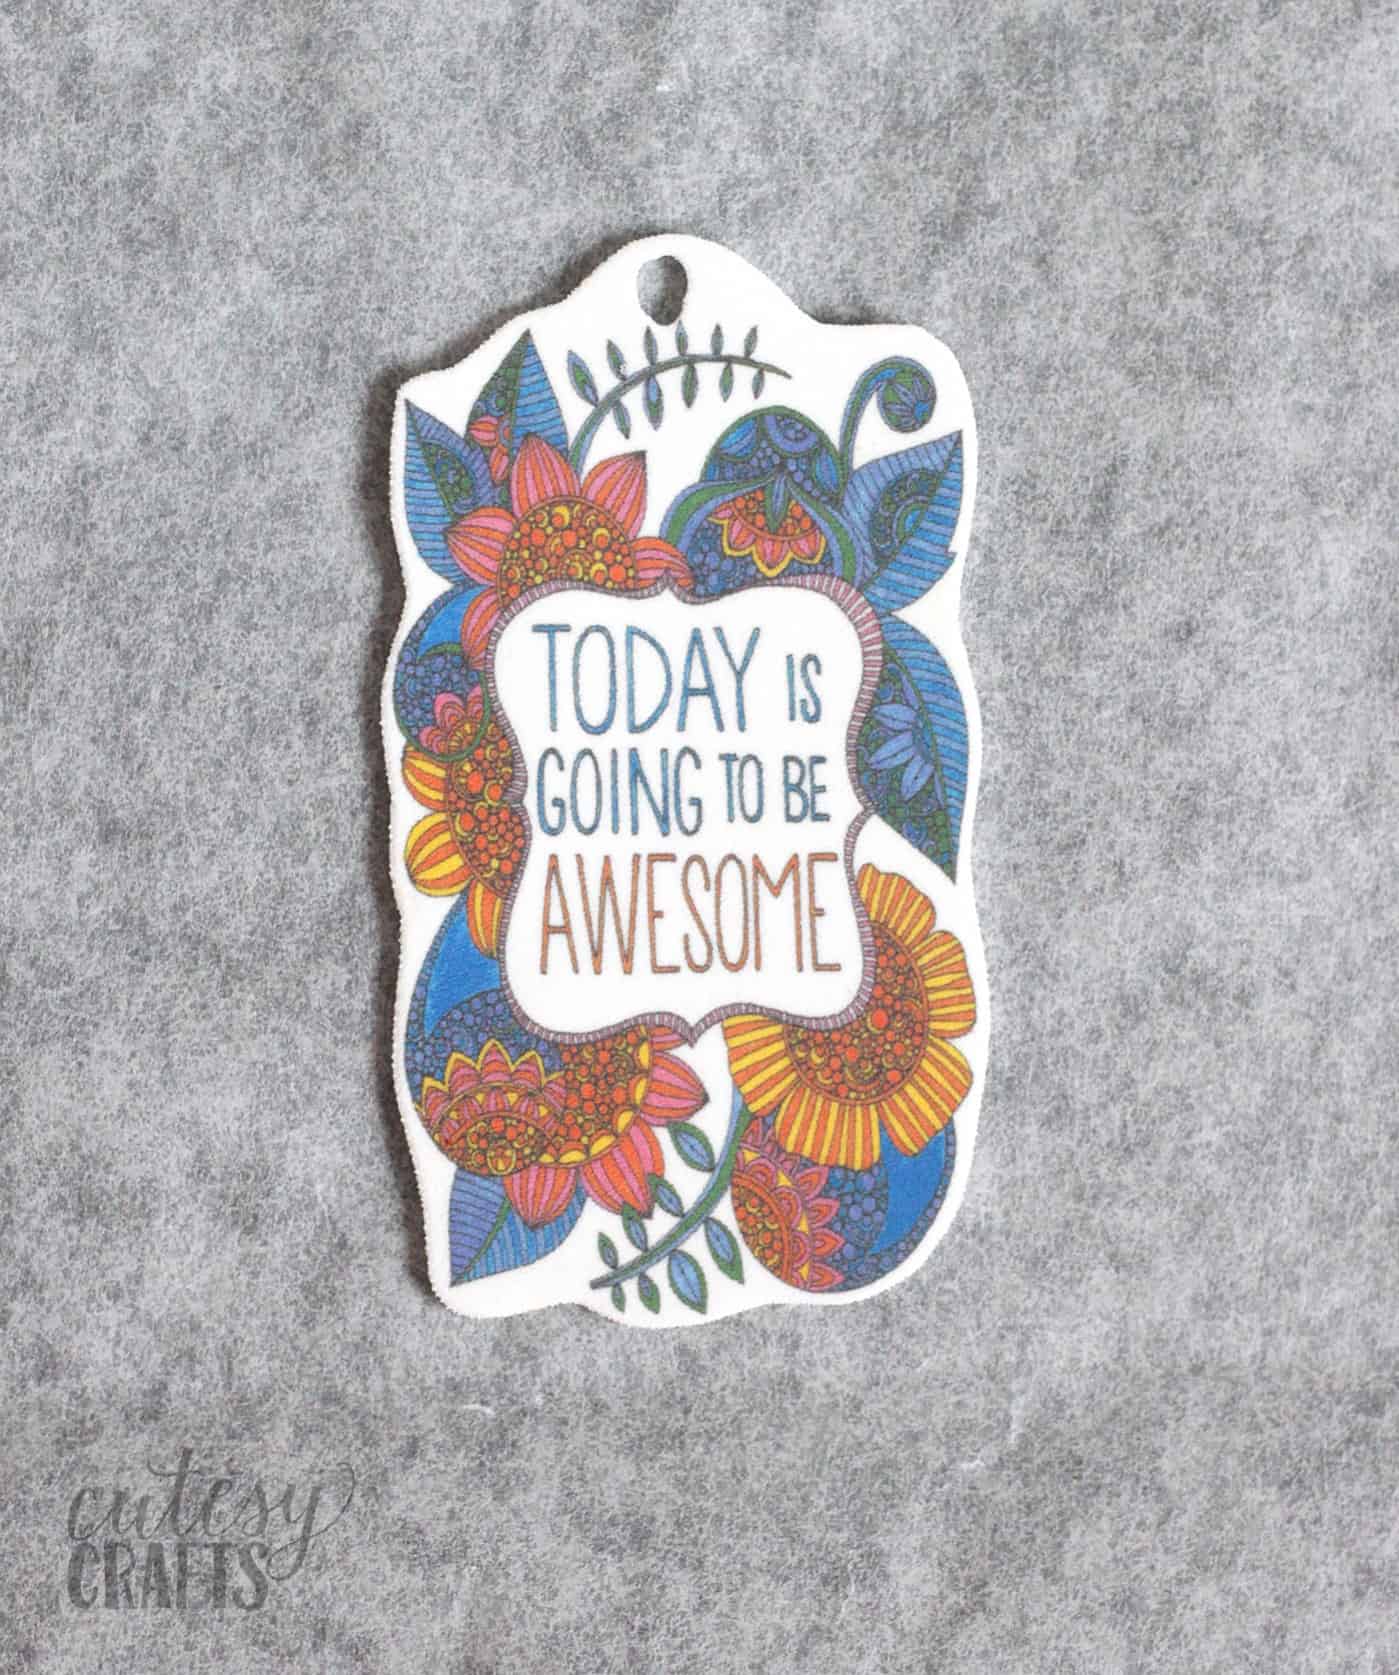
It’s fun to look at the pretty design that I colored and have a little reminder on my keys that “Today is going to be awesome!”
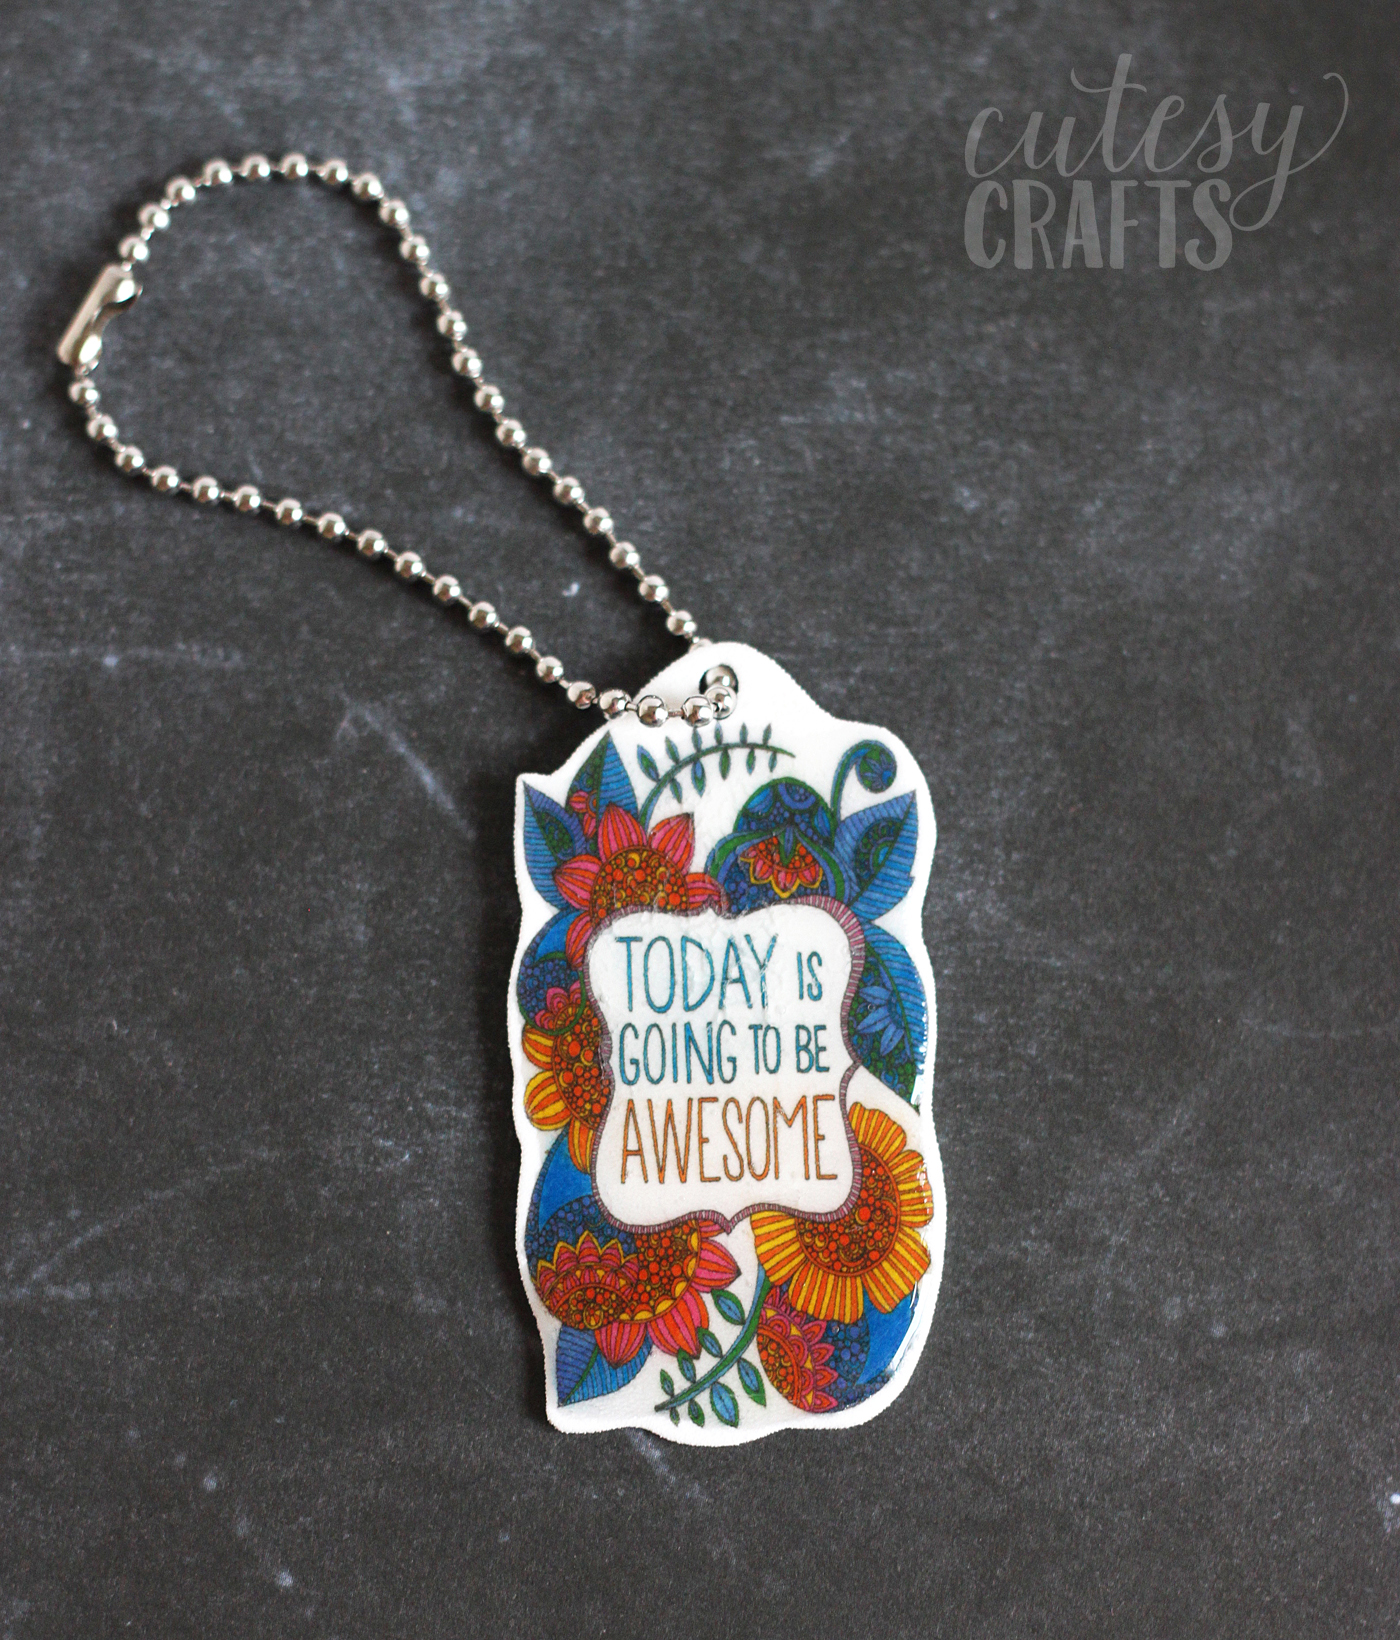
I love my Shrinky Dink keychains, and am already thinking about how I could make more with additional designs. I’d love to hear your thoughts in the comments!
Get the printable how to below:
DIY Shrinky Dink Keychain
Equipment
- Scanner and printer
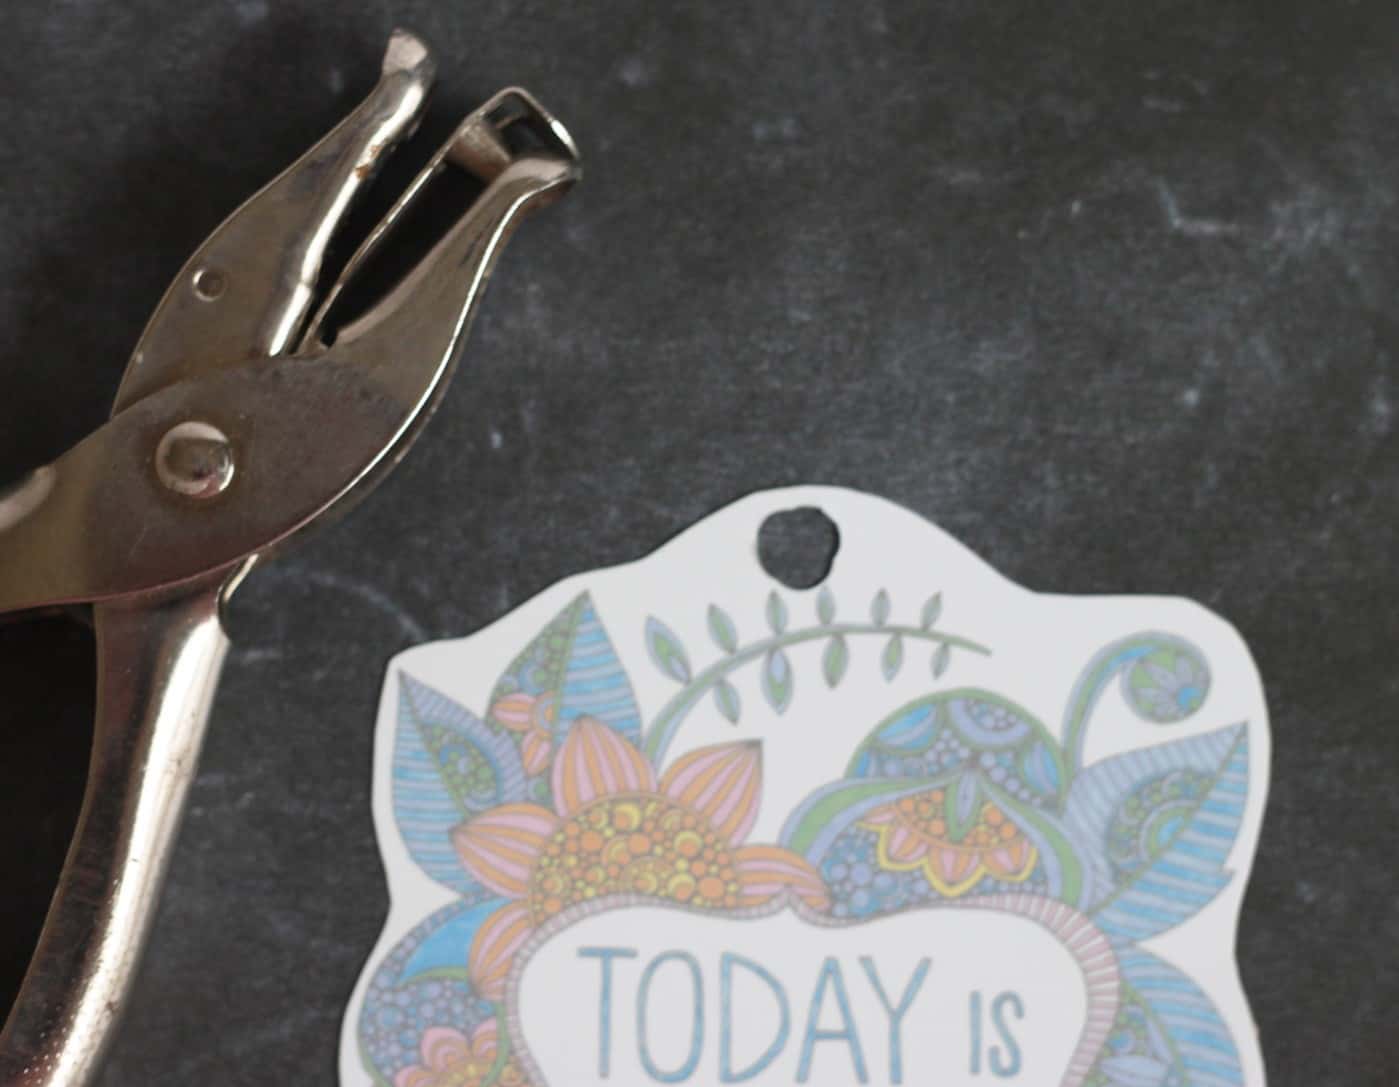
- Hole punch
Materials
- Inkjet printable shrink film Shrinky Dinks
- Colored pencil(s)
- Finished coloring pages
- Parchment paper
- Clear acrylic sealer optional
- Mod Podge Dimensional Magic optional
- Ball chain and connector
Instructions
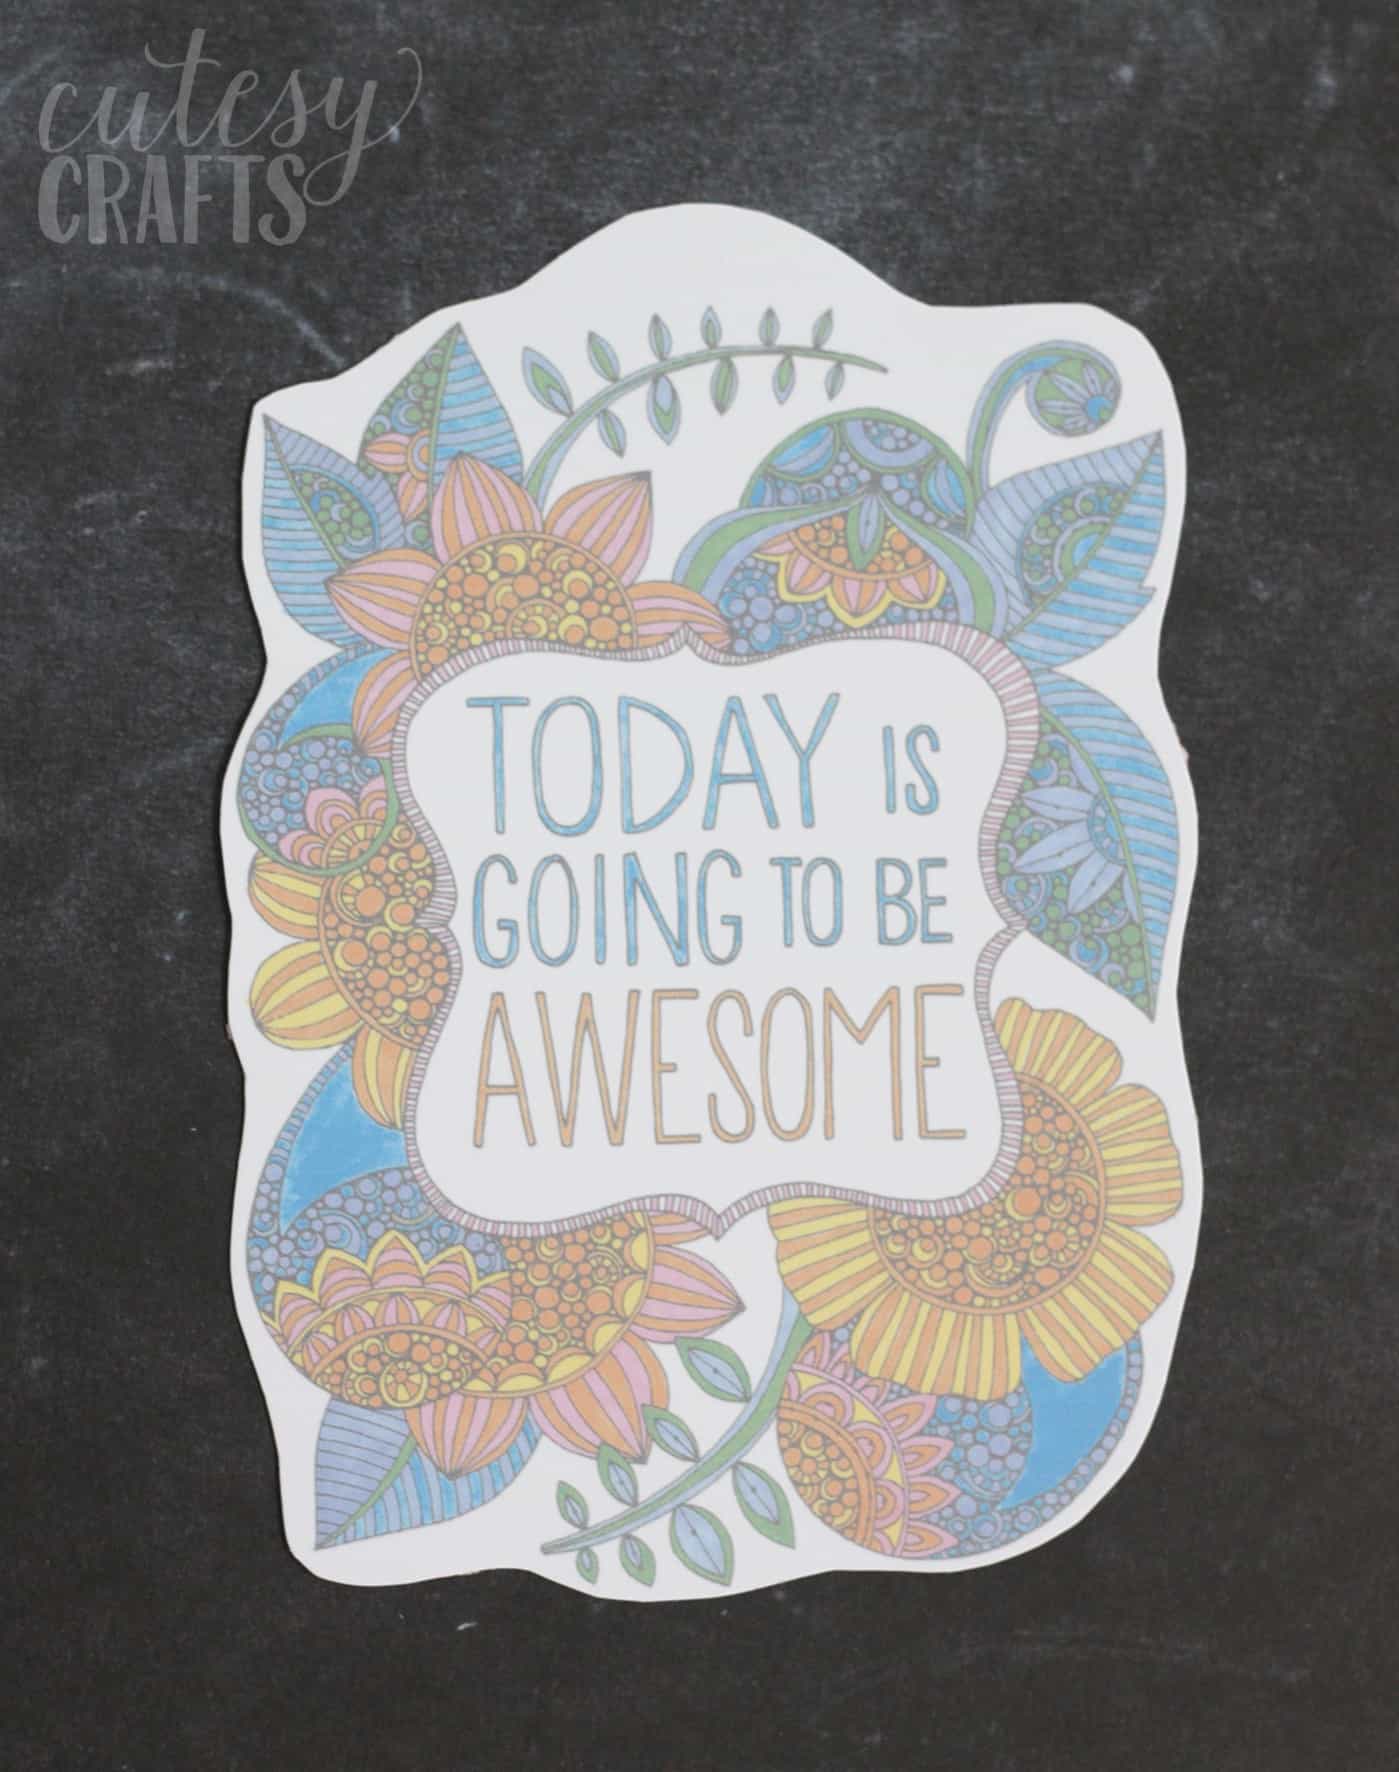
- Scan a finished coloring page into your computer in full color.
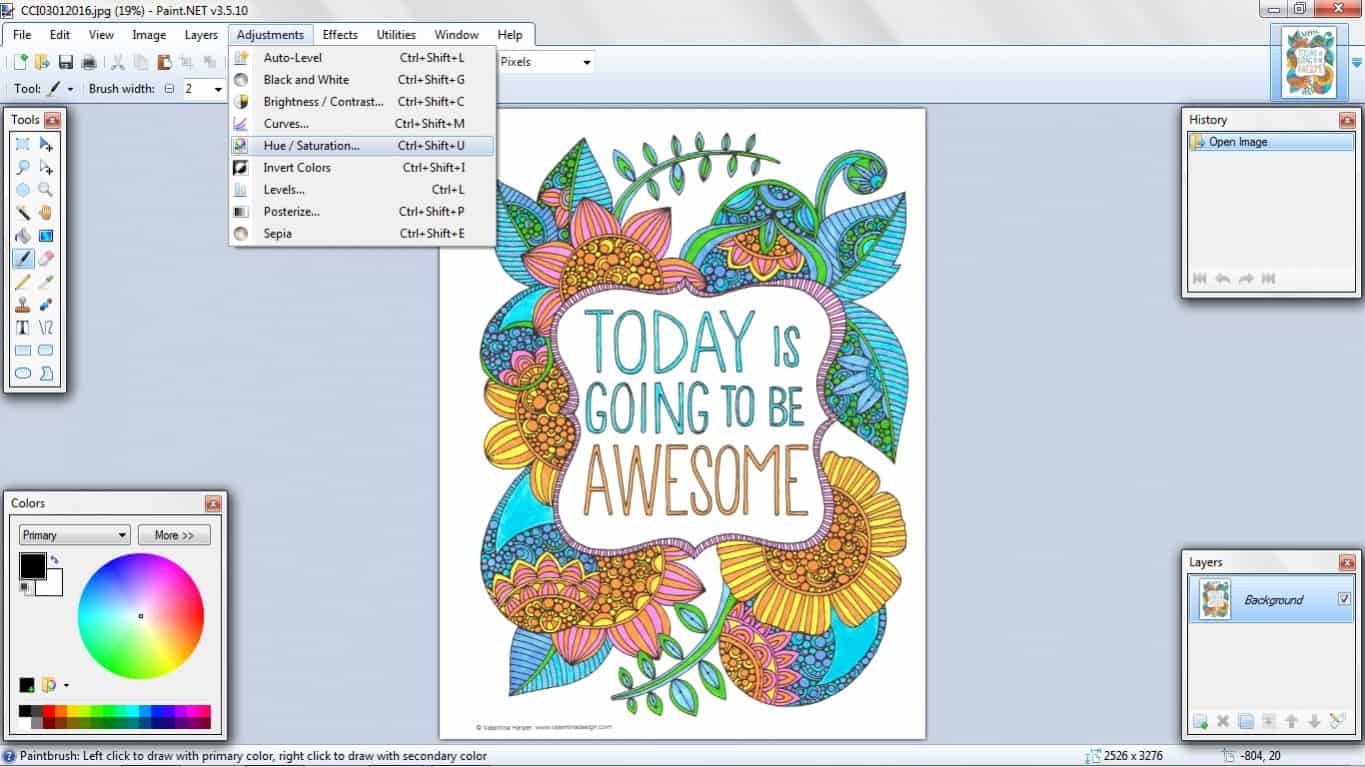
- Either resize the image to approximately 3 – 4 inches wide using a photo editing program, or save it as a JPEG and print to the correct size.
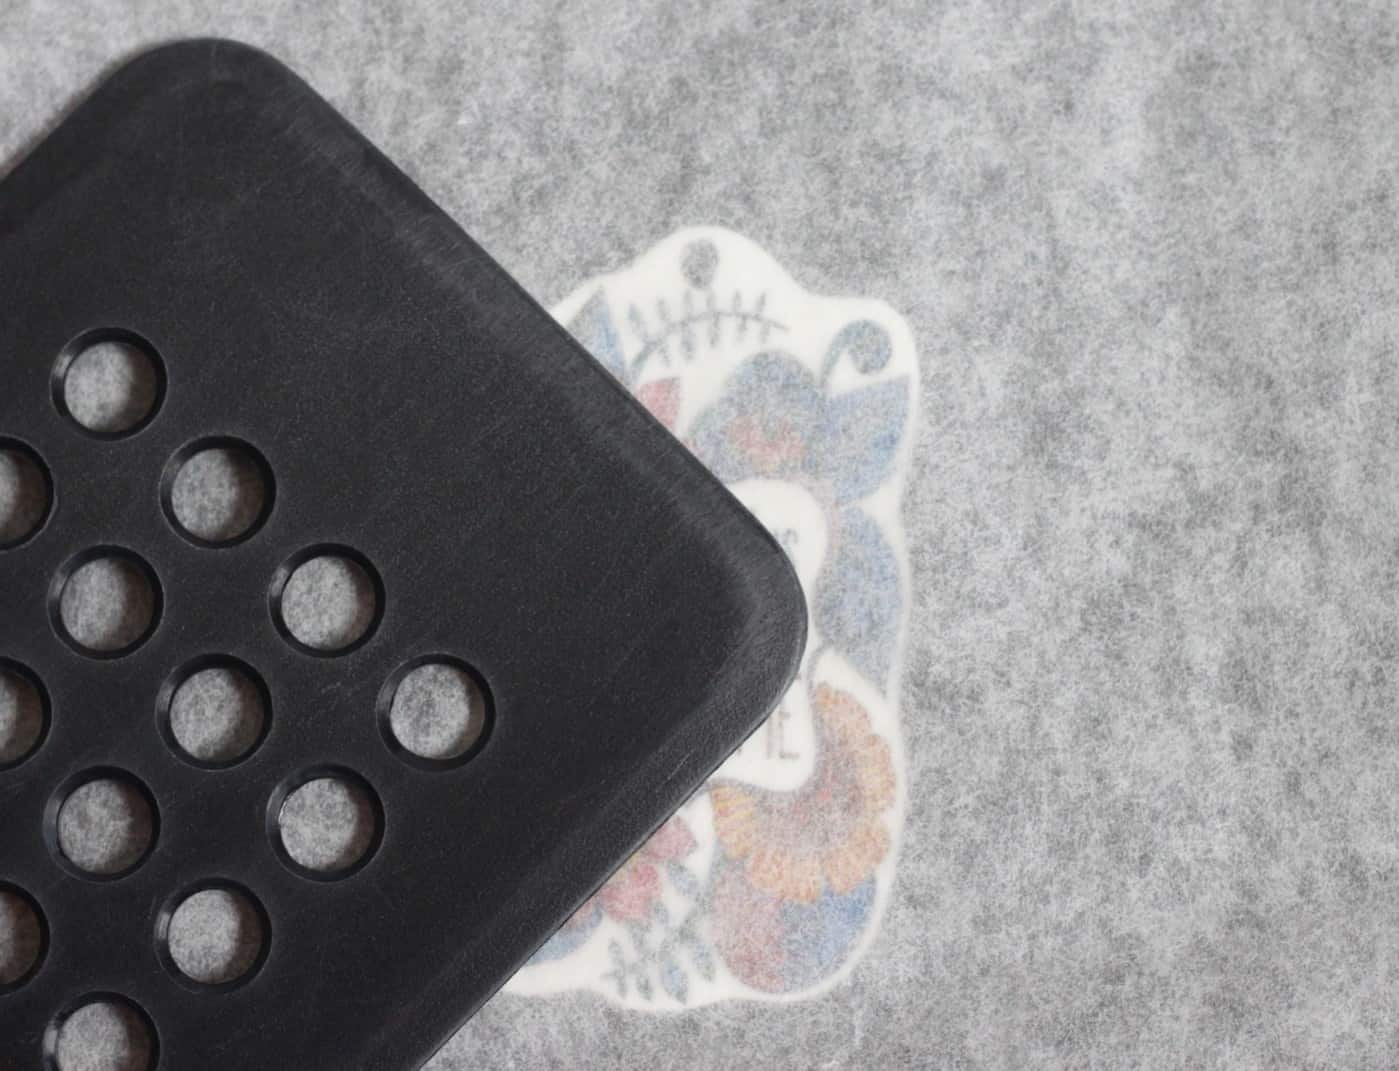
- Cut around the outside of the design, leaving a small part on top to punch a hole.
- Punch a hole in the top of the design. When it shrinks, the hole won’t be large enough for the chain to go through. Make it larger by punching partial holes around the original hole.
- Line a baking sheet with parchment paper, and put the design on top of it. Put another piece of parchment paper on top of the design. Preheat the oven and bake according to the package instructions.
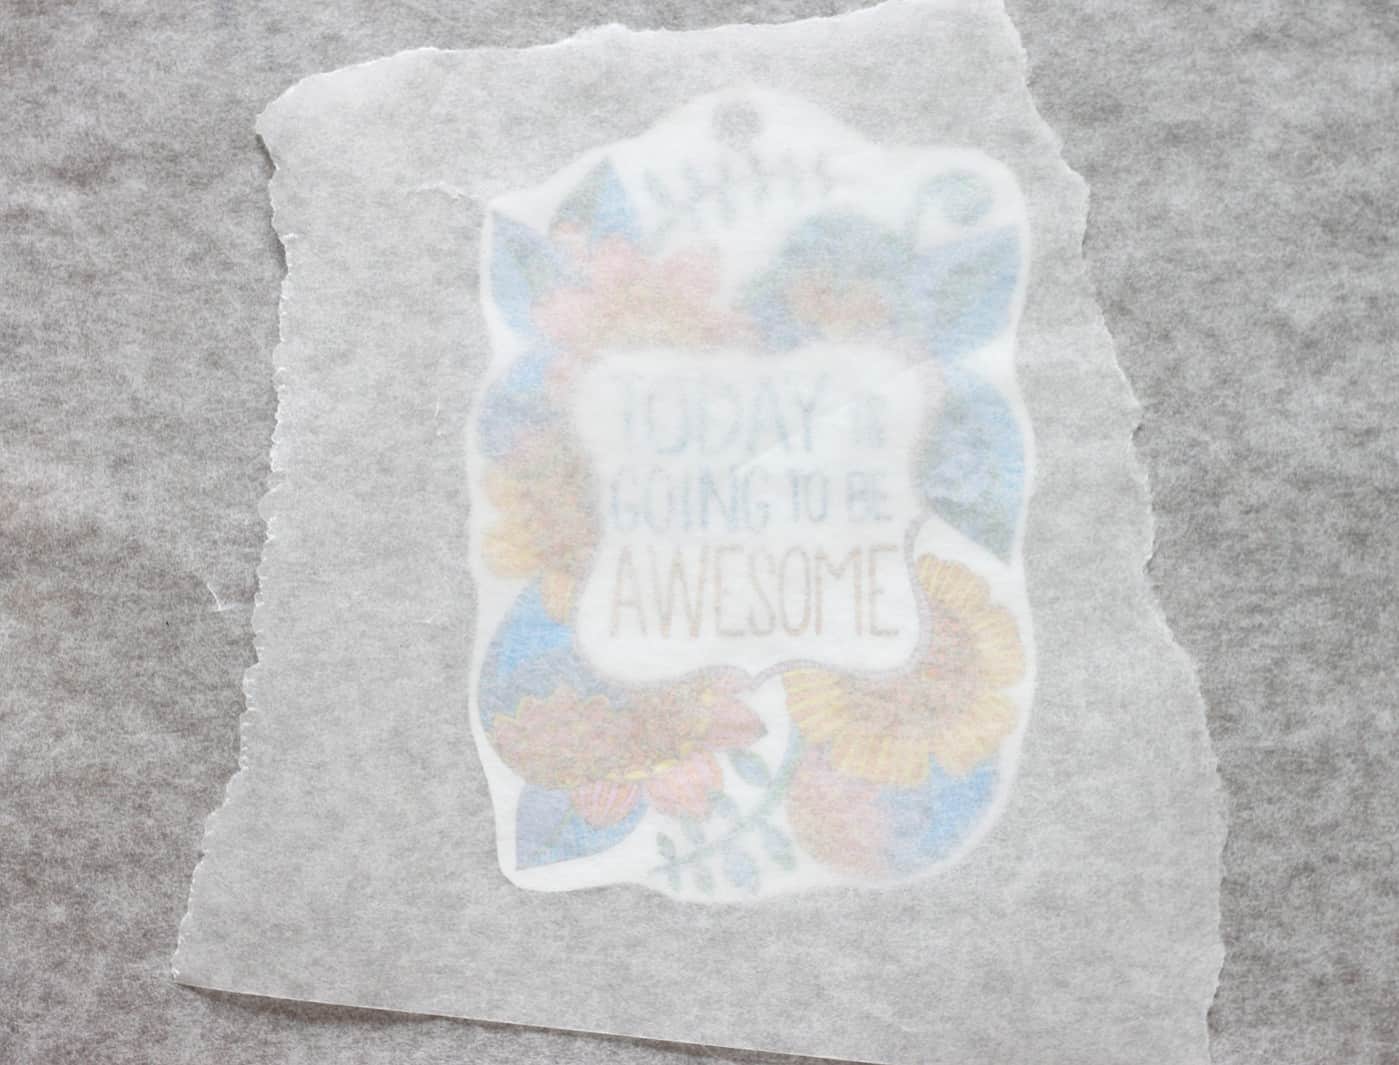
- Use a spatula to make sure the shape stays flat until it cools a little.
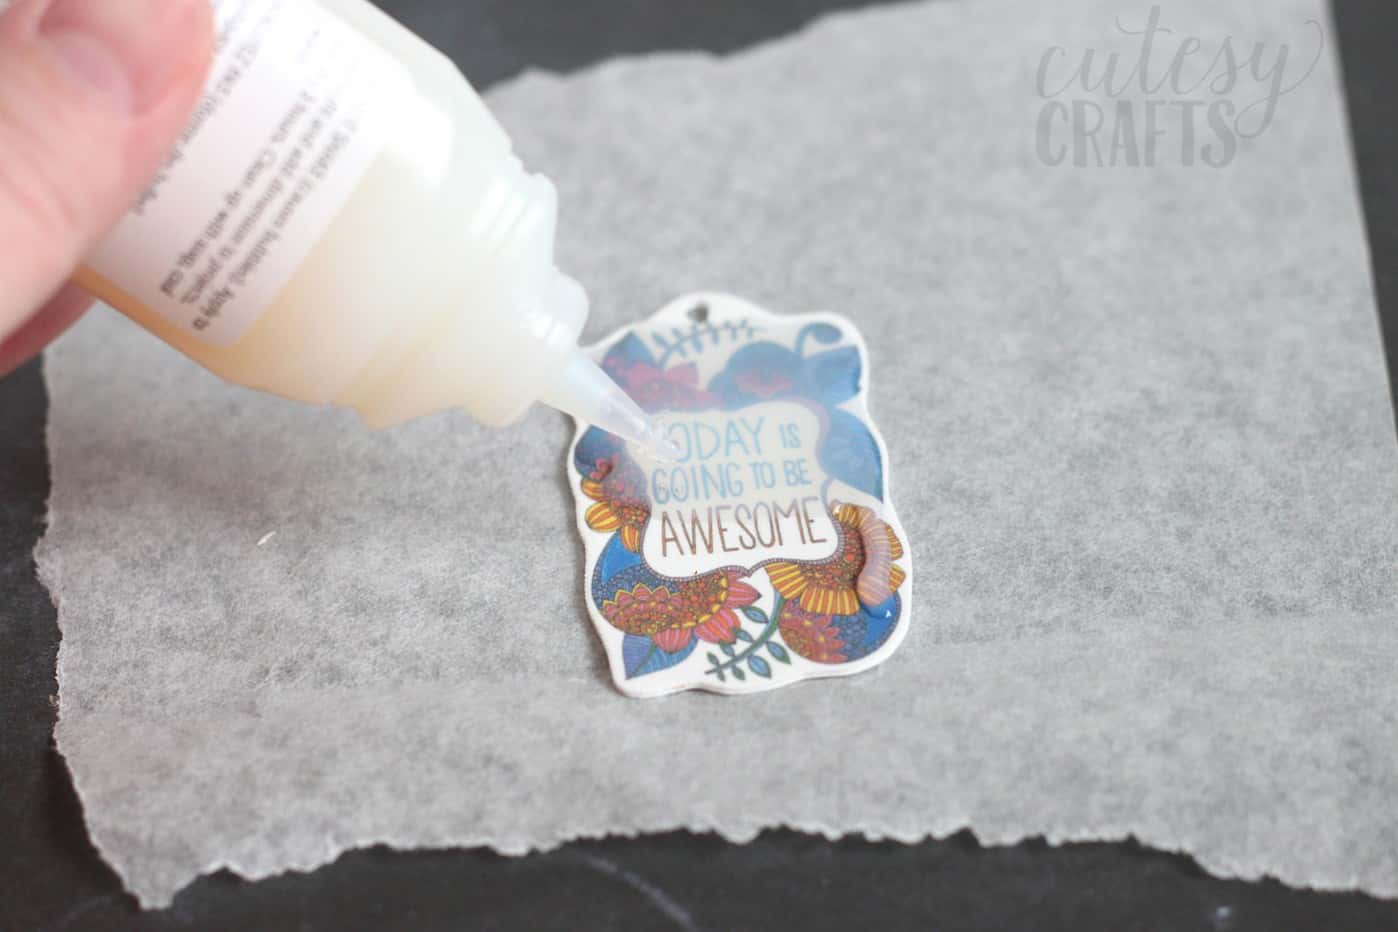
- Now, you can be done at this point with the design, but I decided to add a coat of Dimensional Magic to it. Seal the ink with a spray acrylic sealer first and let it dry.
- Squeeze a coat of Dimensional Magic all over the top of the design, avoiding the hole. Let dry 12 hours or until completely clear.
- Cut a piece of ball chain and thread it through the hole to finish off the keychain.
If you love coloring, I write about it a lot! Don’t forget to check out my Best Adult Coloring Apps (Including Free!).

Since you use Lisa Congdon’s work in this example don’t you feel it would be appropriate to give her acknowledgement in your first sentence or two?
Lisa’s work isn’t featured here – the artist is Valentina Harper and she’s given credit at the end of the post.
Great idea! Now I’m gonna have to order a colour book first. Any recommendations? 🙂
Yes! Here are a few:
https://diycandy.com/2015/11/top-20-adult-coloring-books/
https://diycandy.com/2016/01/10-animal-coloring-books-for-grown-ups/
Enjoy!
wHAT NEAT IDEAS! i WILL BE TRYING SEVERAL OF THEM.