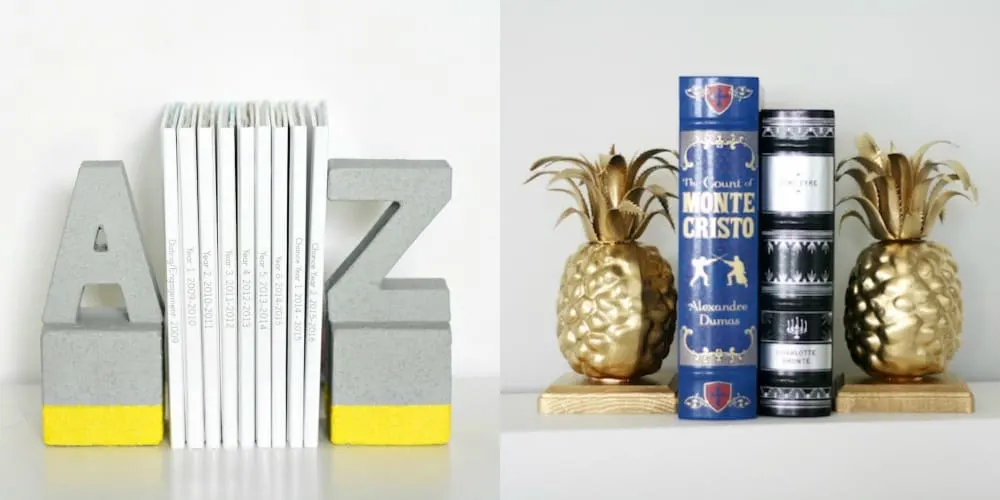
Learn to make these cute bookends using supplies found at the craft store! You’ll learn a great technique for weighing down the wood blocks. Isn’t the woodland and mushroom theme so fun? Perfect for kids’ rooms.
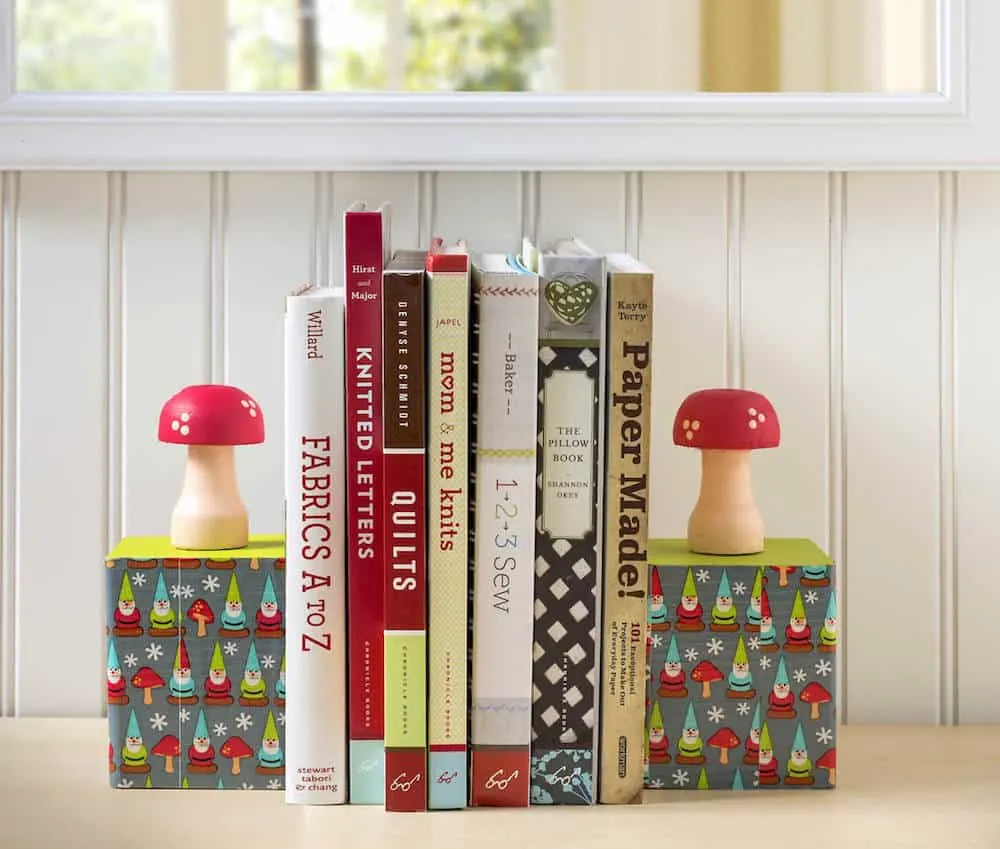
I’ve been planning these DIY bookends for a long time! Sometimes the need to complete a project comes specifically from finding one item you love; then you just have to make something with it.
In the case of these bookends, they resulted because I found two very darling wood mushrooms at Hobby Lobby. After I found those mushrooms – I had to make something with them.
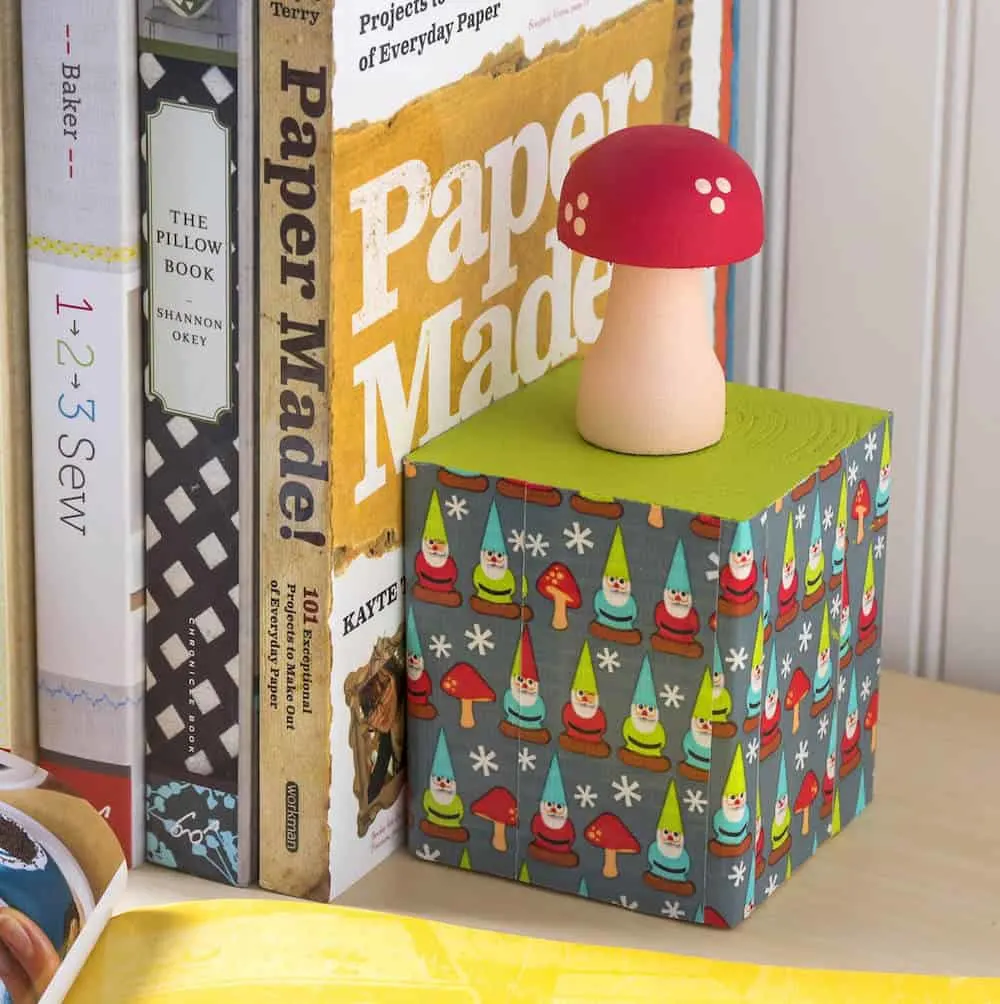
The rest of the project just sort of came together. I bought some wood blocks at Hobby Lobby that same day, as I had figured out by playing around in the wood aisle of the store that I’d be making cute bookends.
That’s how I often come up with ideas. I’ll sit there and mess around with different pieces of wood until I find something I like. Do you do that??
The icing on the cake was the Winking Gnome Duck Tape I used in this project! I’ve been wanting to use this particular Duck Tape pattern for quite awhile and am so excited that I finally got the chance!
While this pattern isn’t available anymore, you can use other gnome themed tapes (including washi). Or another tape that goes well with mushrooms. Make this project your own!
Are you ready to get started? Learn how to make these unique gnome bookends below.
Gnome Woodland Bookends
Gather These Supplies
- Woodpile cubes – 2
- Wood mushrooms – 2
- Gnome tape
- Acrylic craft paint – to match your tape
- Cork pieces – to fit the bottom of your wood blocks
- Scissors or craft knife/mat
- Paintbrushes
- Hot glue gun
Tools & Other Supplies – use these only if you need to weigh down your wood
- Quikcrete concrete mix
- Drill with 1″ spade bit
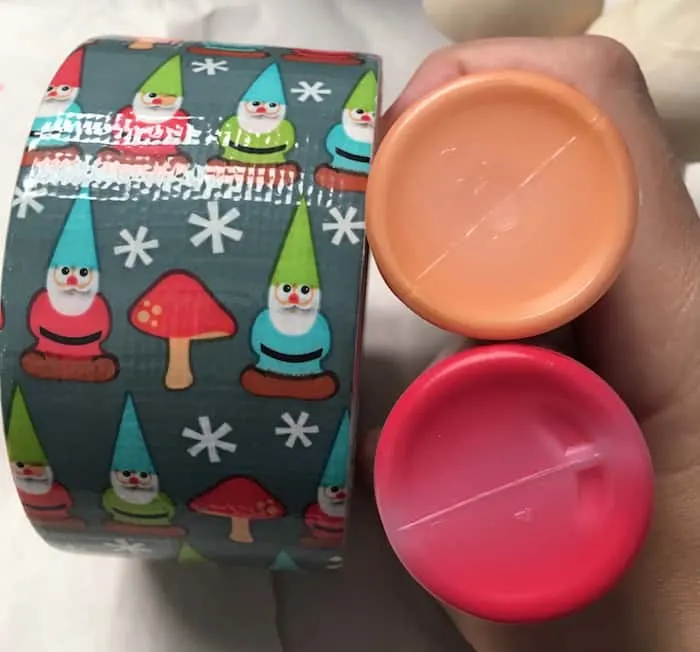
The colors for my mushrooms were based on the Duck Tape! I selected two acrylic paint colors – a red and a peach/skin tone. I also grabbed a green found in one of the gnome’s hats.
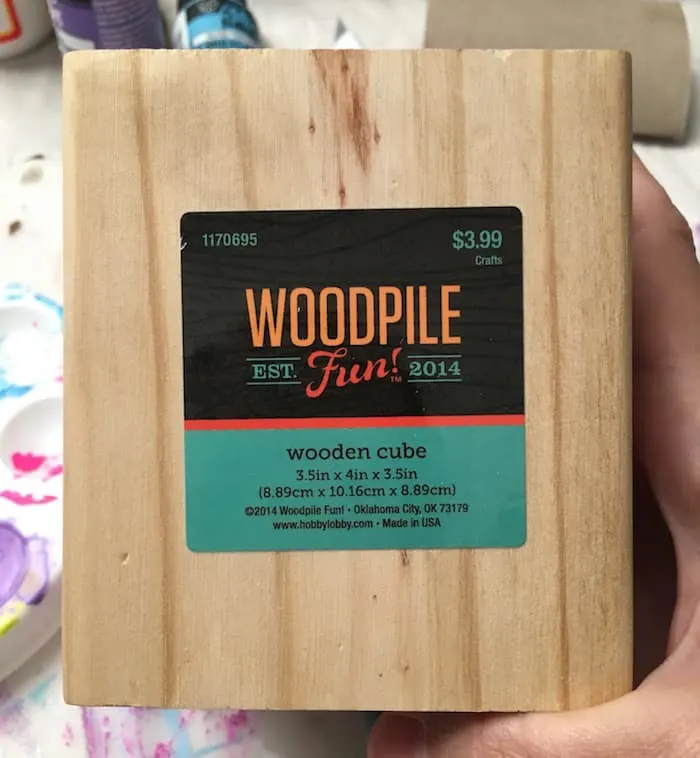
These are the wood blocks I used, from Hobby Lobby. If you use these blocks, I recommend weighing them down with the next steps.
However – if you are only going to use them as shelf decorations or with very light books, you might not want to. You may also use other pieces that are heavier in which case you can proceed directly to the painting.
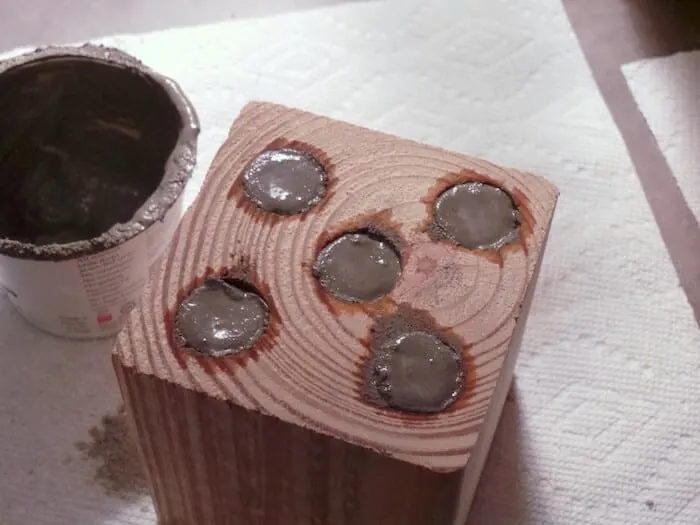
Now – if you have to weigh down your wood blocks, you’ll want to do this step. I drilled into the bottom of my blocks with a 1″ spade bit – multiple times – to create cavities for cement.
Then mix the cement according to package instructions and pour in. It’s not hard, I promise! Let cure and you’ll be happy with how heavy your blocks are!
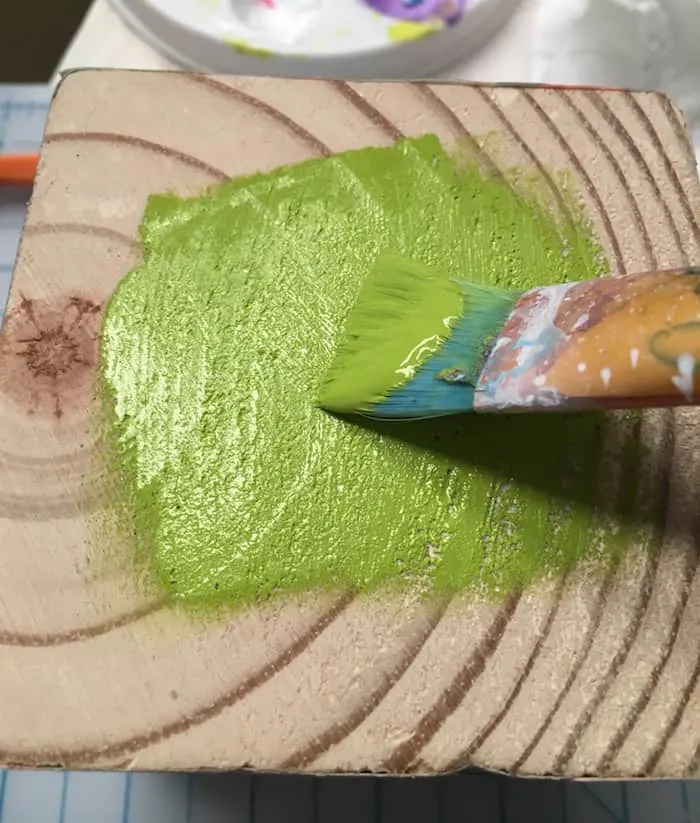
Paint the tops of your blocks green (several coats) and let dry.
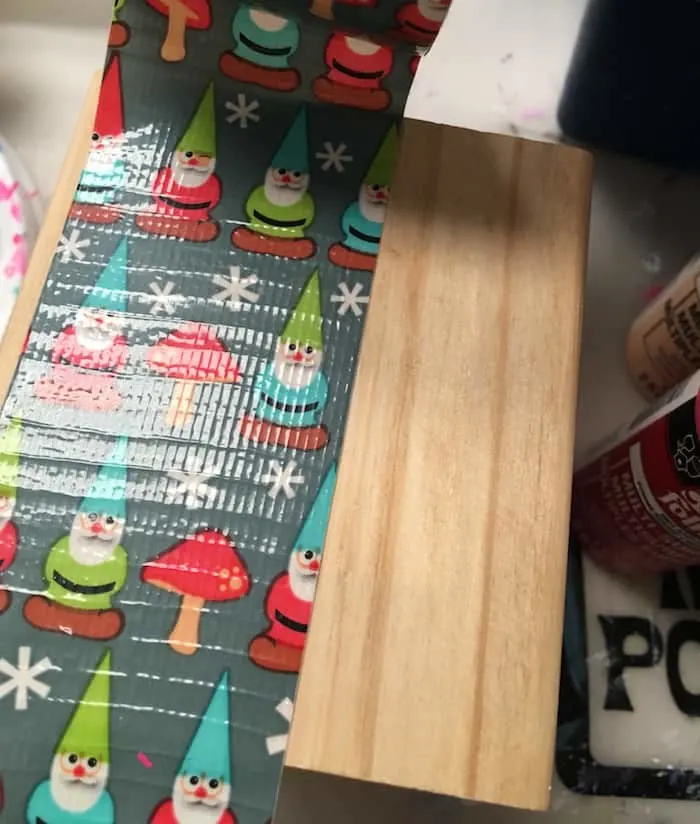
Place your Duck Tape around the perimeter of your wood blocks. The patterns on this particular tape can’t be lined up exactly, so just do your best. Work your way around the blocks until they are covered and trim with scissors or craft knife and mat.
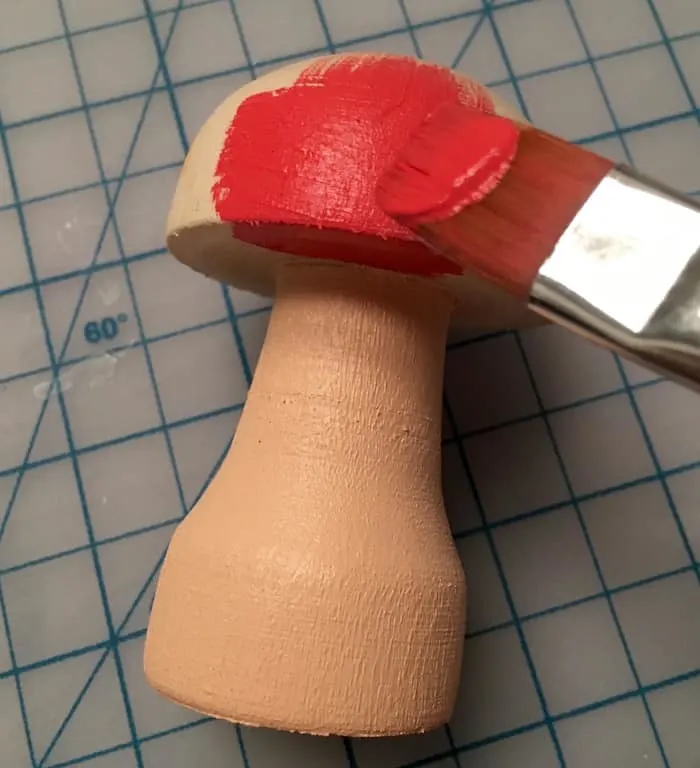
Paint your mushrooms with skin tone on the base and red on the cap. Let dry.
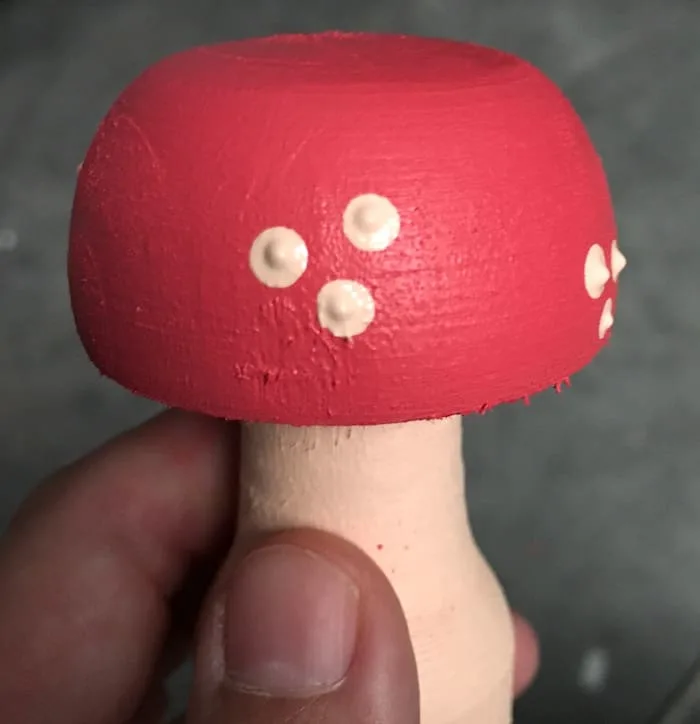
Add decorative dots in threes using the end of your paintbrush. Let dry.
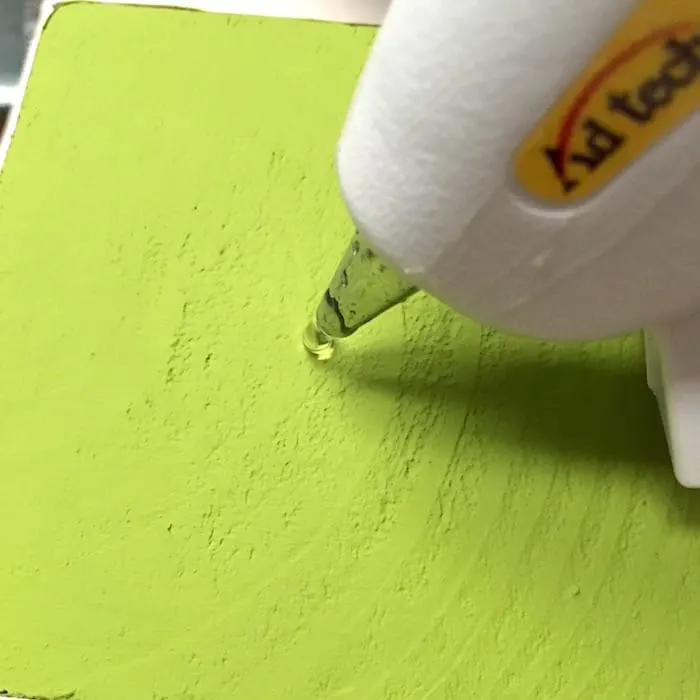
Glue a mushroom to the top of each bookend. Cut cork to fit the bottoms of your bookends and hot glue down (this is so they don’t slip!). Your cute bookends are done.
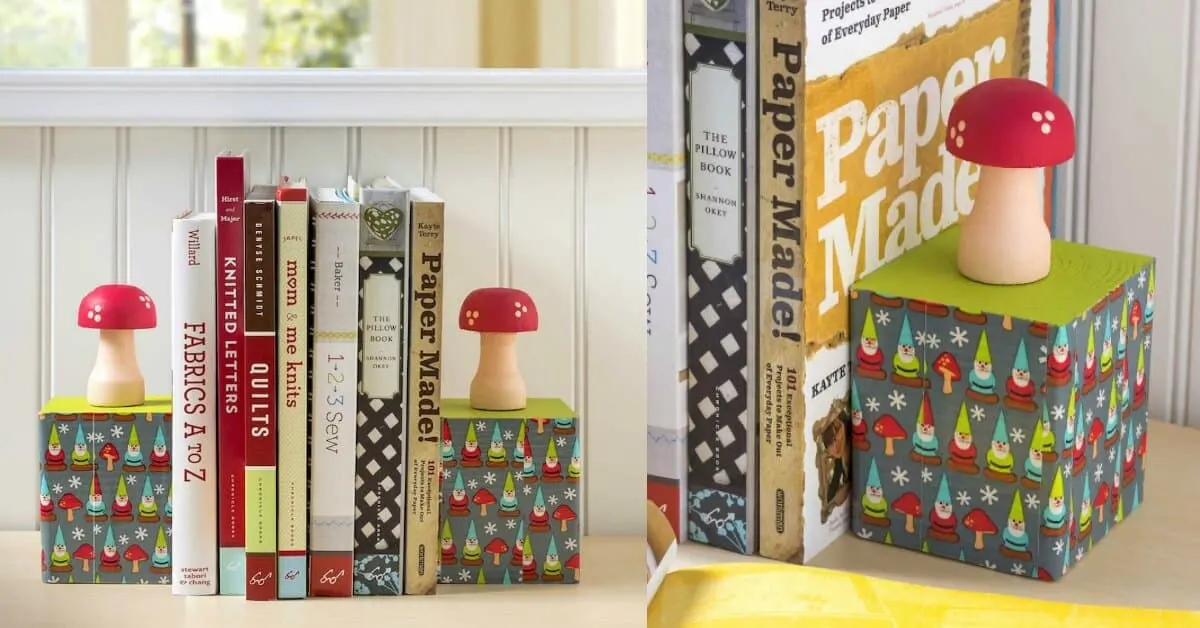
The gnome and mushroom bookends I envisioned are finally complete . . . and I love them! They are perfect for a craft studio or kids’ room.
If you like this project, you might also like our gnome perler beads!
Do you love DIY bookends? Then check out these other options below!
