DIY Tea Towel with Coloring Book Inspiration
Use fabric markers on this DIY tea towel to make a unique gift personalized with color! This is adult coloring with a twist, and so easy.
Skills Required: Beginner. Anyone can do this kitchen craft, though you should probably practice with the fabric markers if you’ve never used them before.
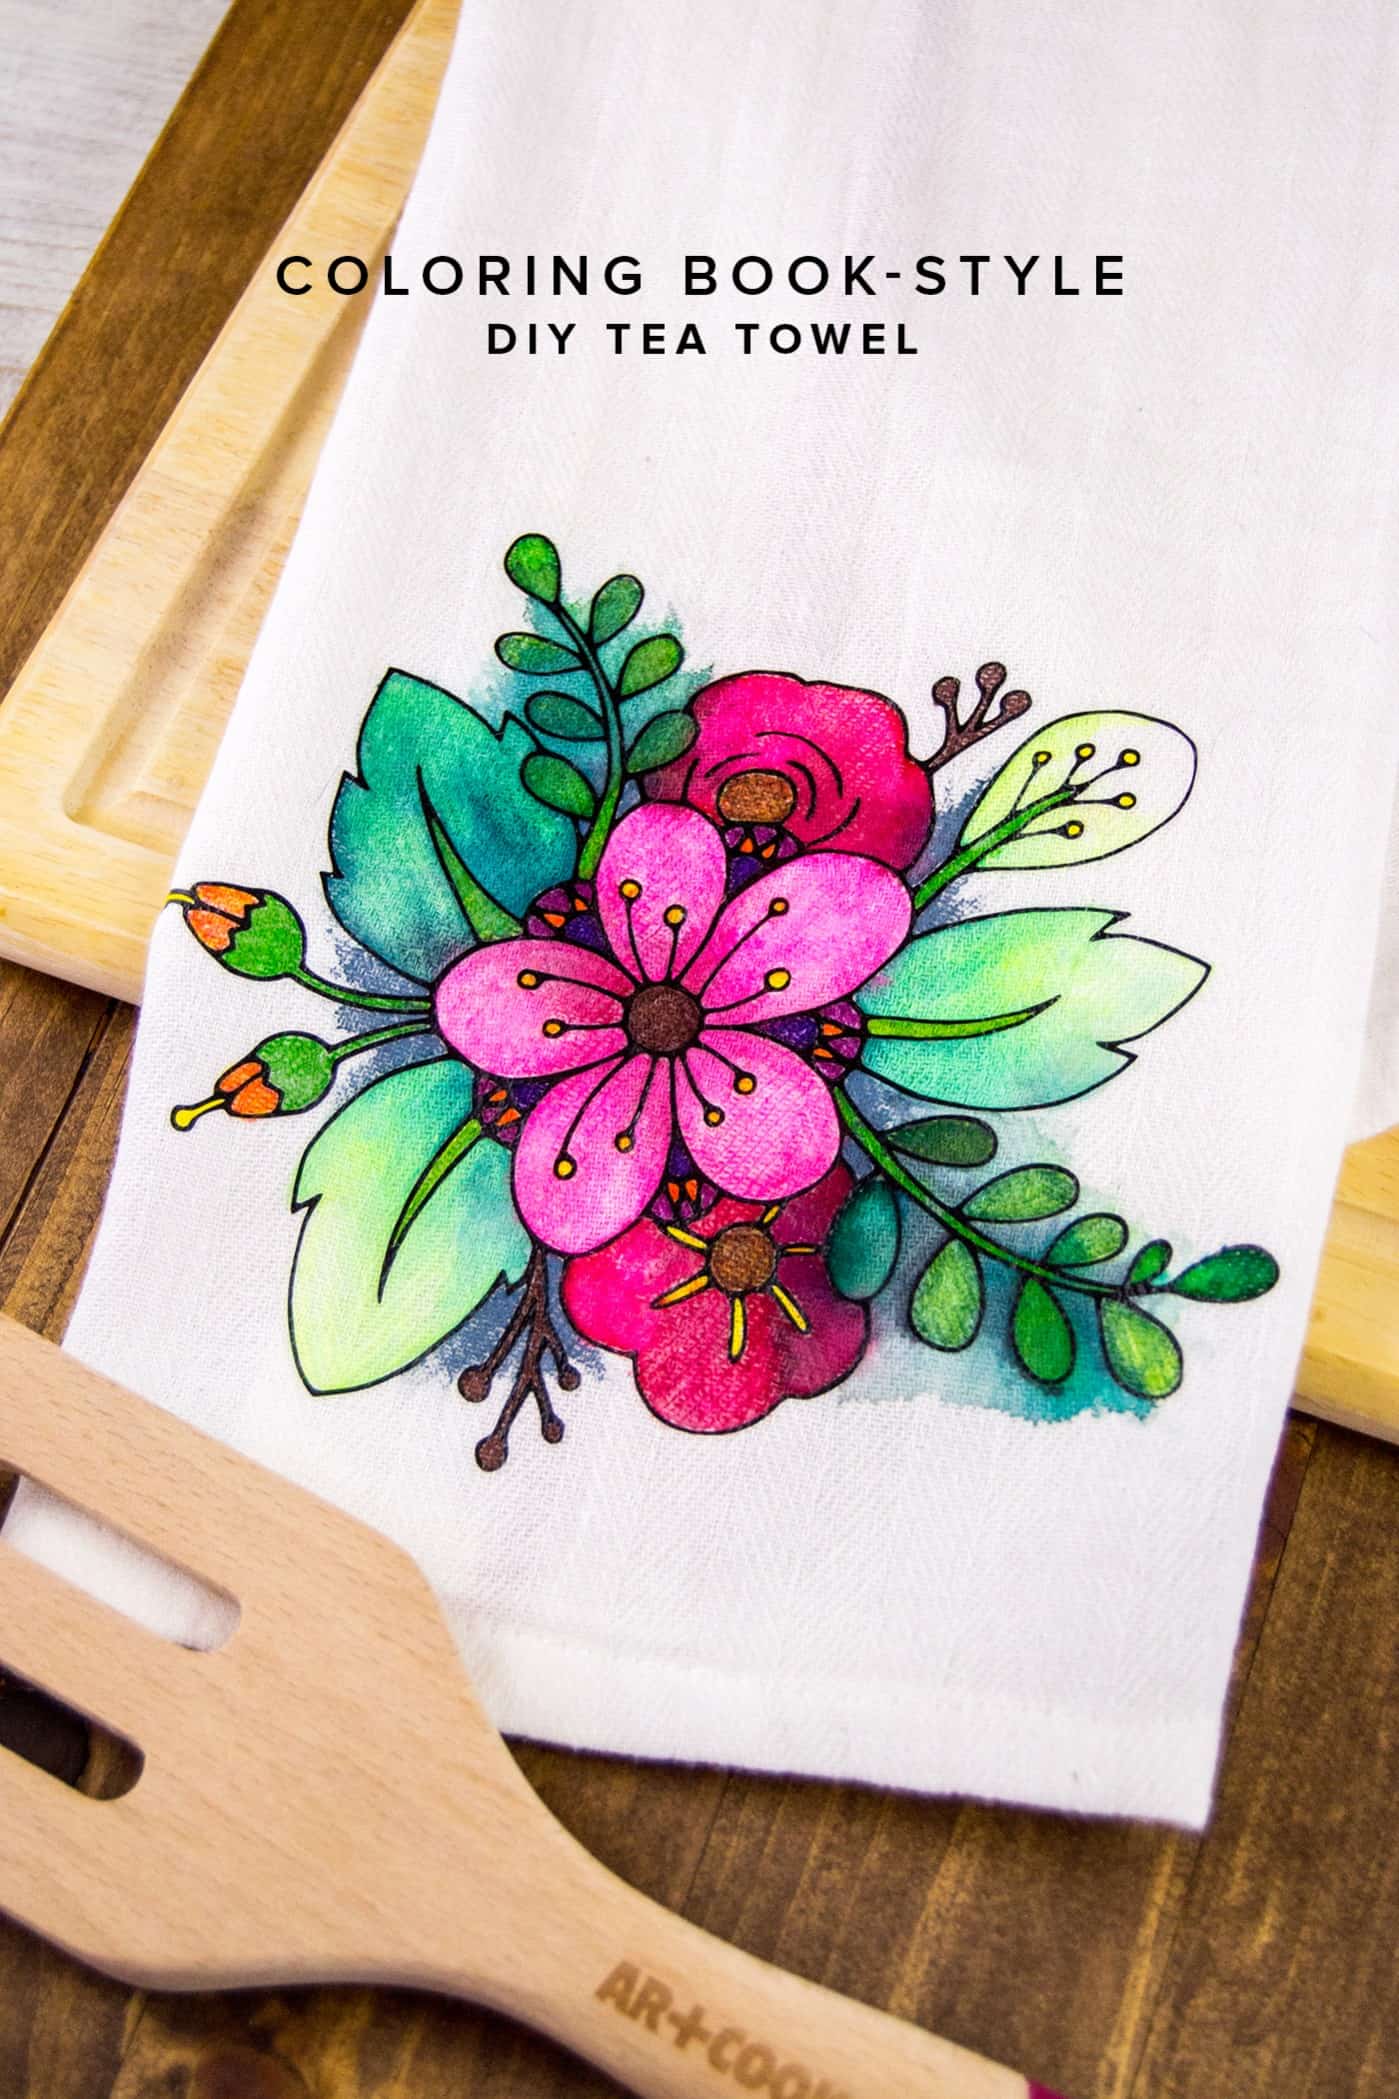
Hey guys! It’s Aki again here to share another project. Adult coloring books are all the buzz lately – and while coloring on paper is very relaxing, I sometimes am at a loss as to what to do with it after.
I’m all for project usefulness, so I was thinking of other ways to incorporate coloring book patterns into my life in more functional ways.
I’ve made coloring book-styled woodburned earrings not too long ago and those were really fun to make, so I thought why not coloring book tea towels this time?
What’s so fun about these tea towels is that you can use acrylic paint, fabric markers, or washable markers. Of course, acrylic paint and the fabric markers will stay permanent, but washable markers won’t!
It’s like having an adult version of those kids coloring shirts you see everywhere now. There are a ton of free coloring book pages online, and you can use pages from your coloring books as well.
For me, I drew my own coloring-book style floral pattern that I’m sharing with you folks today! I love the idea of making this for either a housewarming gift or a Mother’s Day gift.
So what are you waiting for, let’s craft on!
DIY Tea Towel
Gather these Supplies
- Silhouette Cameo or Portrait (optional)
- Heat Transfer Vinyl (in black, optional) or
- Craft Knife
- Scissors
- Tea towel
- Iron
- Fabric Markers
- Free Flower Coloring Page
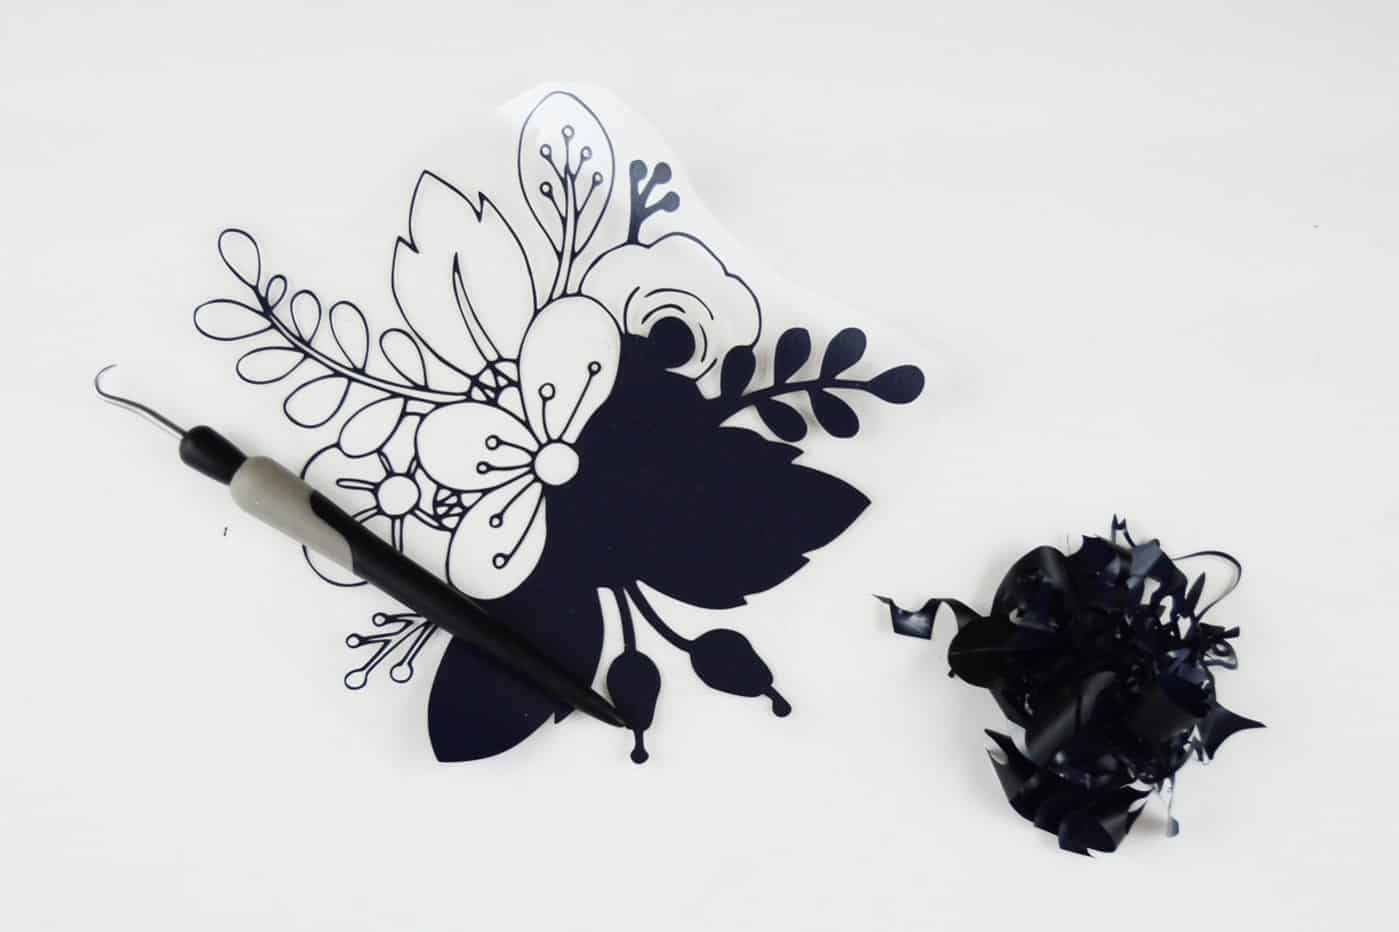
First off, download the Free Flower Coloring Page. Open your image on the software and trace it. You may or may not want to flip the image before cutting. Cut your heat transfer vinyl and weed out the negative pieces.
If you don’t have a die-cutting machine, you can always cut it manually. You may want to go with some simpler, geometric designs as they are easier to cut by hand.
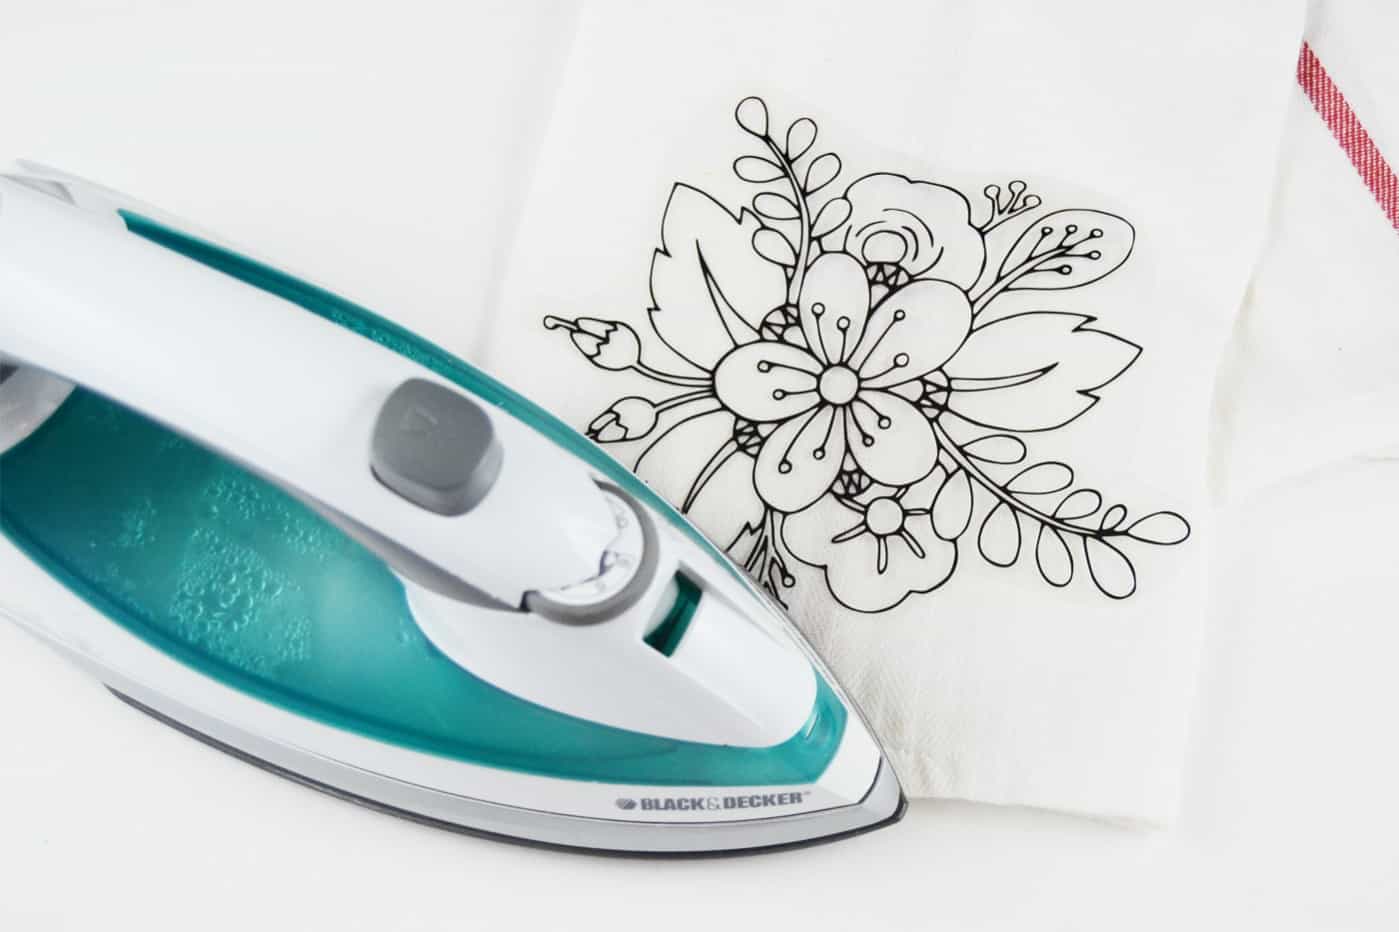
Next, iron your design onto the tea towel and make sure it adheres very well.
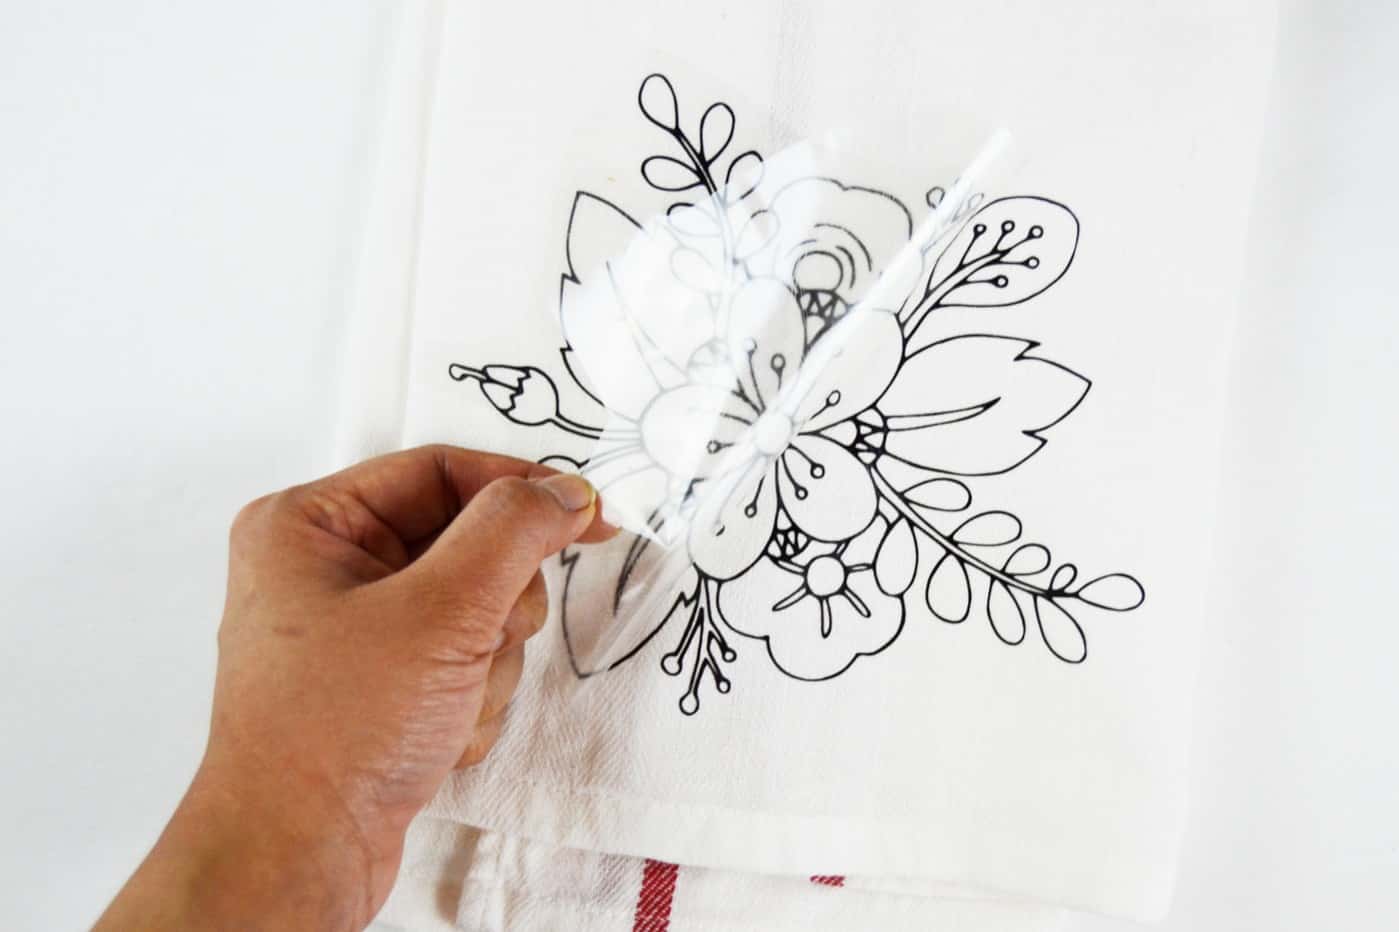
Peel off the plastic backing to reveal your design. If any of the pieces still come up, lay your plastic backing back down and iron over it again until there are no loose pieces.
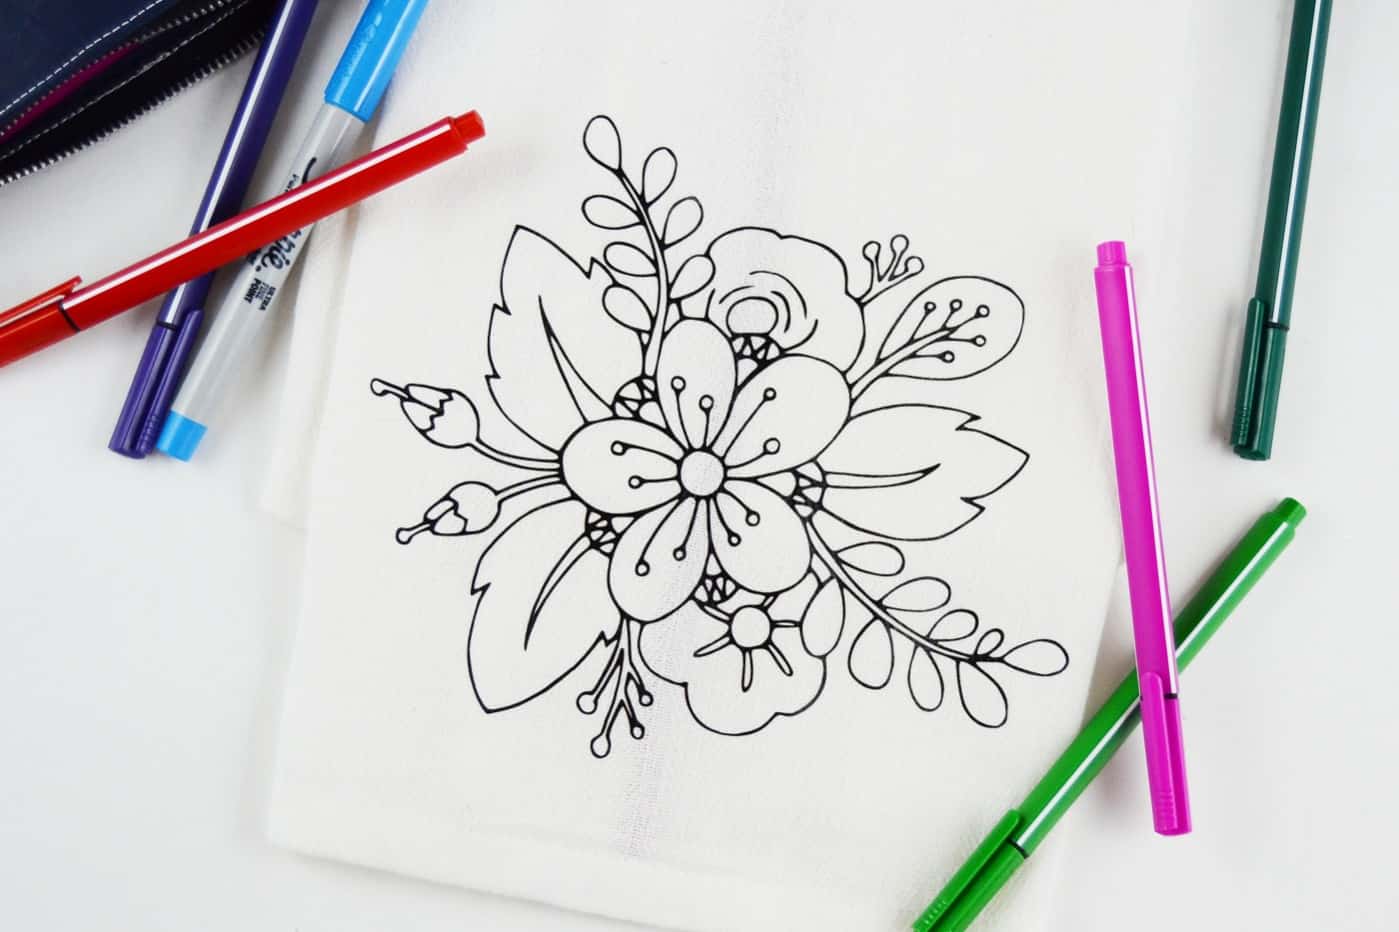
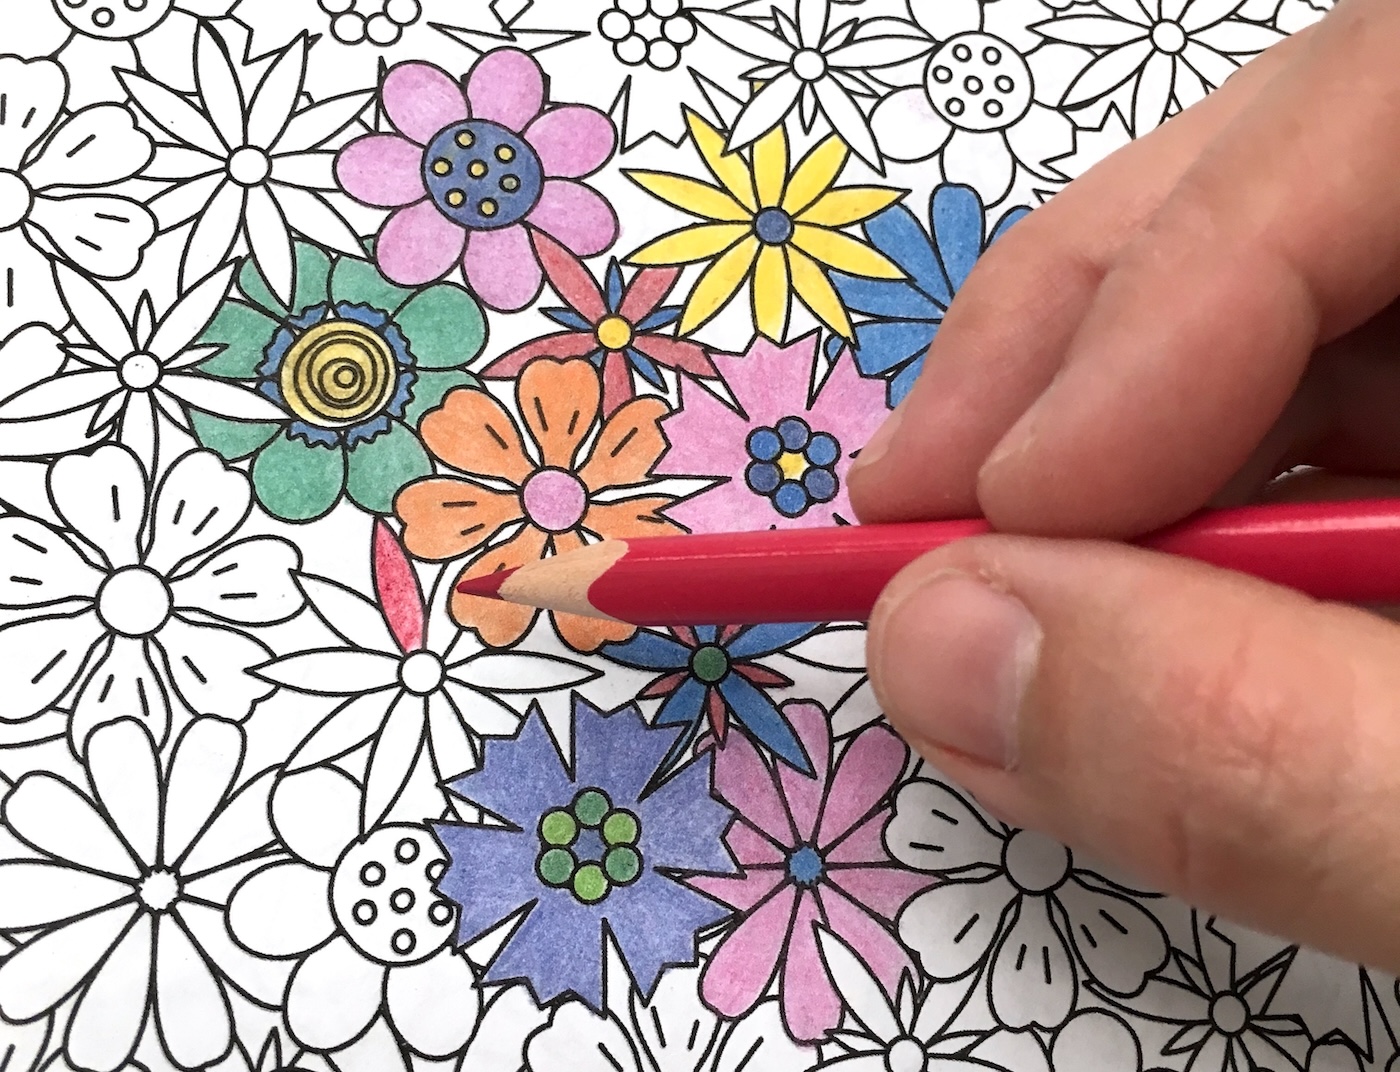
Finally, color your design – I used a mix of markers, watercolor and blenders for mine as I was going to gift them to a special friend for Mother’s Day. But you can definitely use washable markers and just wash and re-color when you get tired of the color combination!
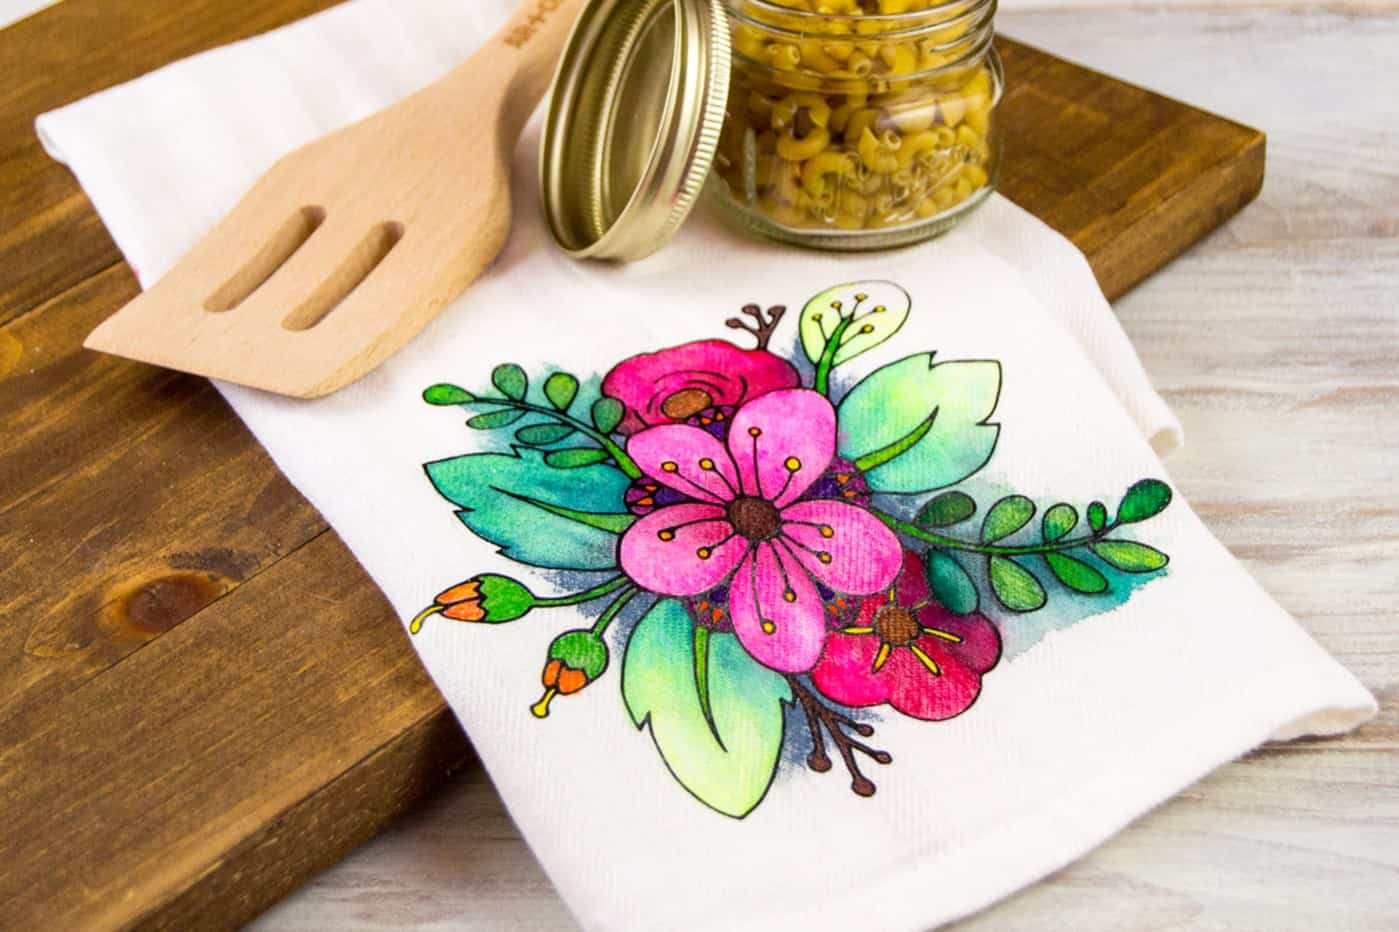
It’s the perfect pop of Spring for the kitchen, don’t you think? And I’m sure it’ll be a good gift for your mom – or anyone who loves coloring, for that matter!
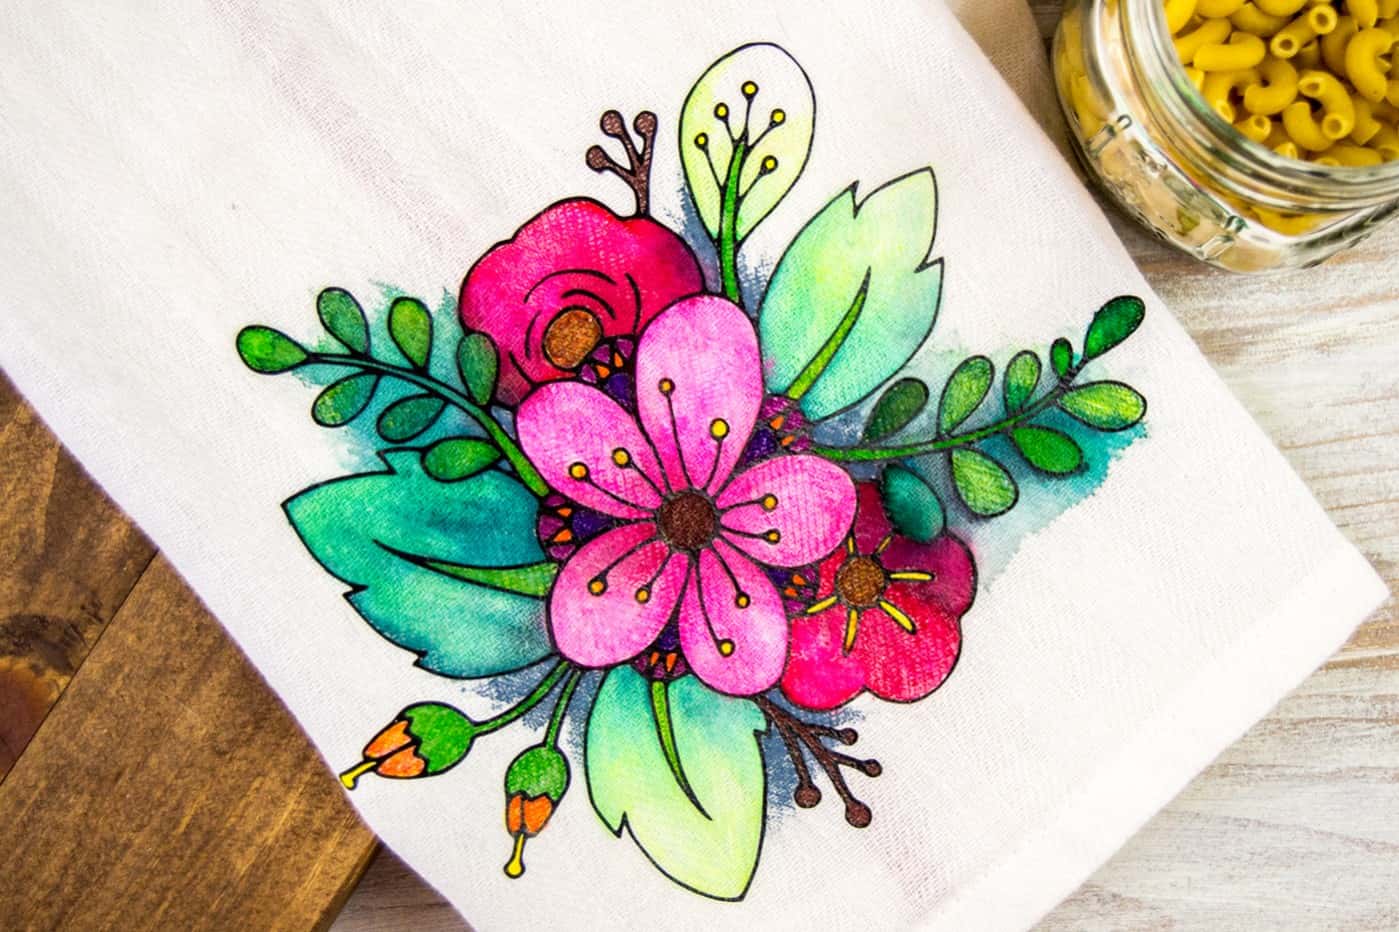
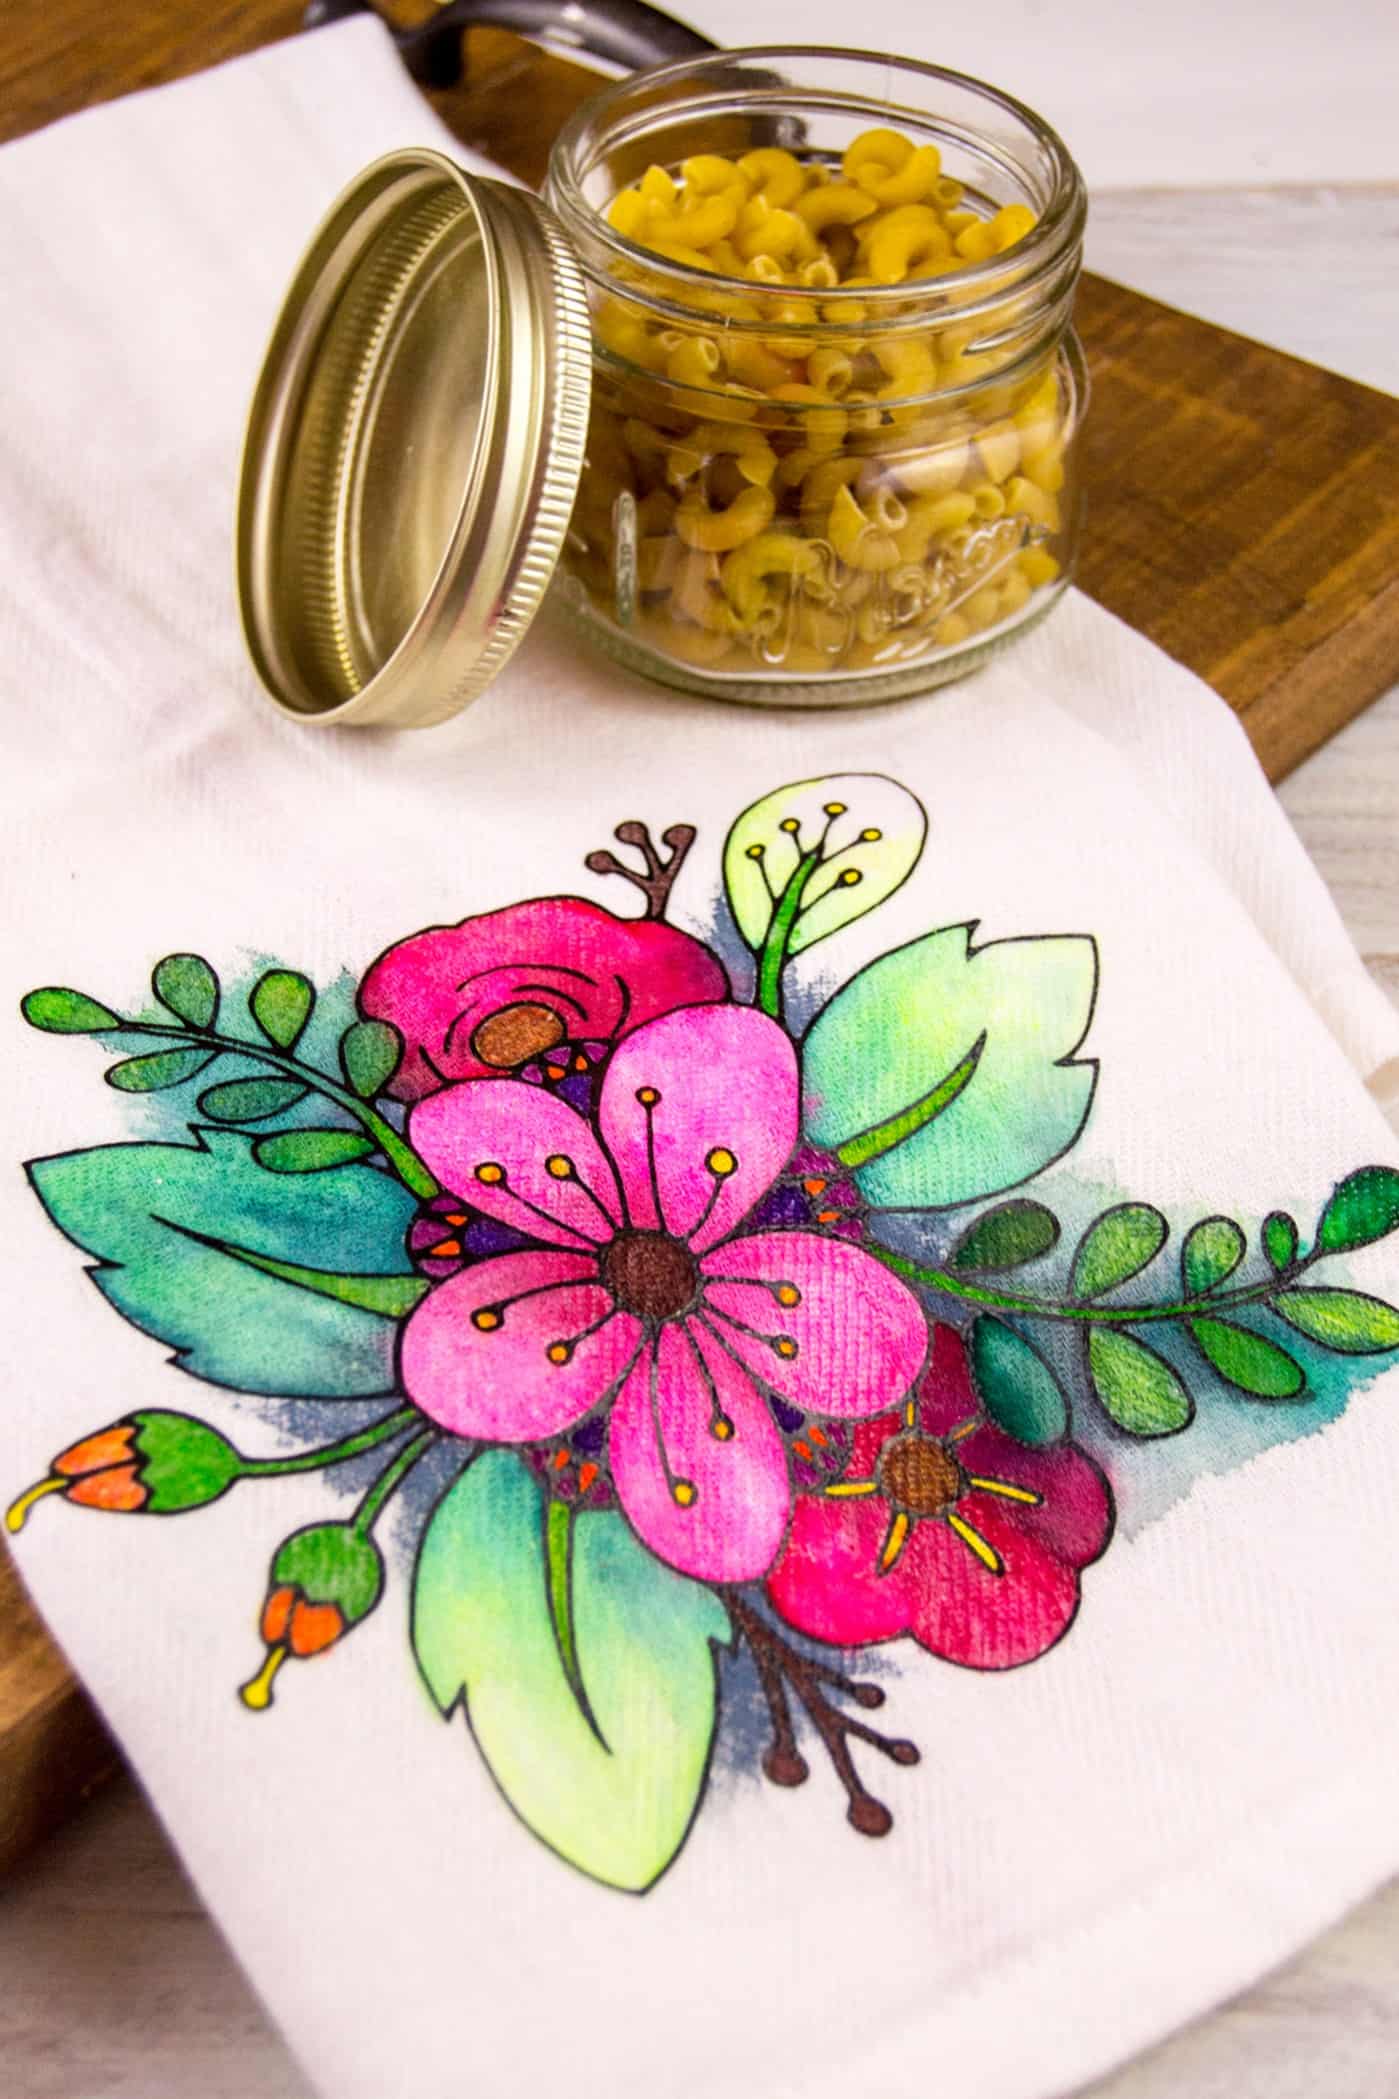
Wouldn’t these be great for Mother’s Day or Christmas? I hope you were inspired by this tutorial! For more fun ideas like this and other goodies, come visit my blog and stay a while – happy crafting, friends!
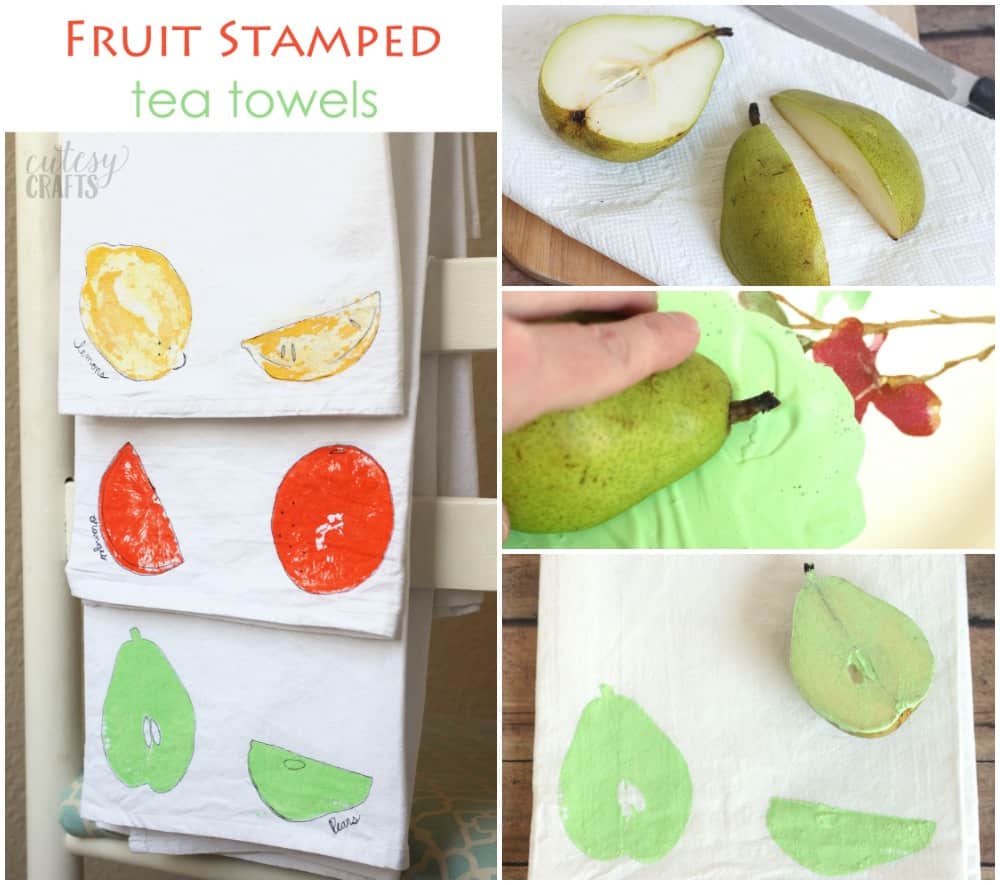
If you like these coloring book tea towels, check out this fruit stamping on tea towels project!


I LOVE how this turned out! This would make such a cute Mother’s Day gift as well.
Will the design colors be permanent? I love this idea so beautiful.
Yes they will!
What kind of marker and watercolor?
Hi Beth! Look for fabric markers – for example, these: https://amzn.to/2vALLeT
But make sure to inspect the packaging and that it says the markers are wash resistant. Also here’s how to use fabric markers for watercolor effect: http://justpaintitblog.com/2012/11/how-to-use-fabric-markers-for-watercolor-effect-2/
Sorry to keep asking questions. Did you trace that with your Silhouette? I keep getting double lines it is driving me crazy! Would you be willing to share the file?
No problem! Question, have you tried this tutorial?
https://www.dreamalittlebigger.com/post/category/craft/cricut
Is that what is doing the double lines?
Hi Beth!
The design is meant to have double line cuts. You are going to weed out the inner and outer parts and leave the outline of the design itself 🙂