Pot of Gold DIY St. Patrick’s Day Necklace
This Duck Tape St. Patrick’s Day necklace is one of those easy holiday crafts that anyone can do! Make a pot of gold with a rainbow chain – fun for kids and for adults!
Are you into St. Patrick’s Day? There seems to be extremes when it comes to this particular holiday – some are lukewarm (though they might wear green to avoid getting pinched) or they are WAY into it!
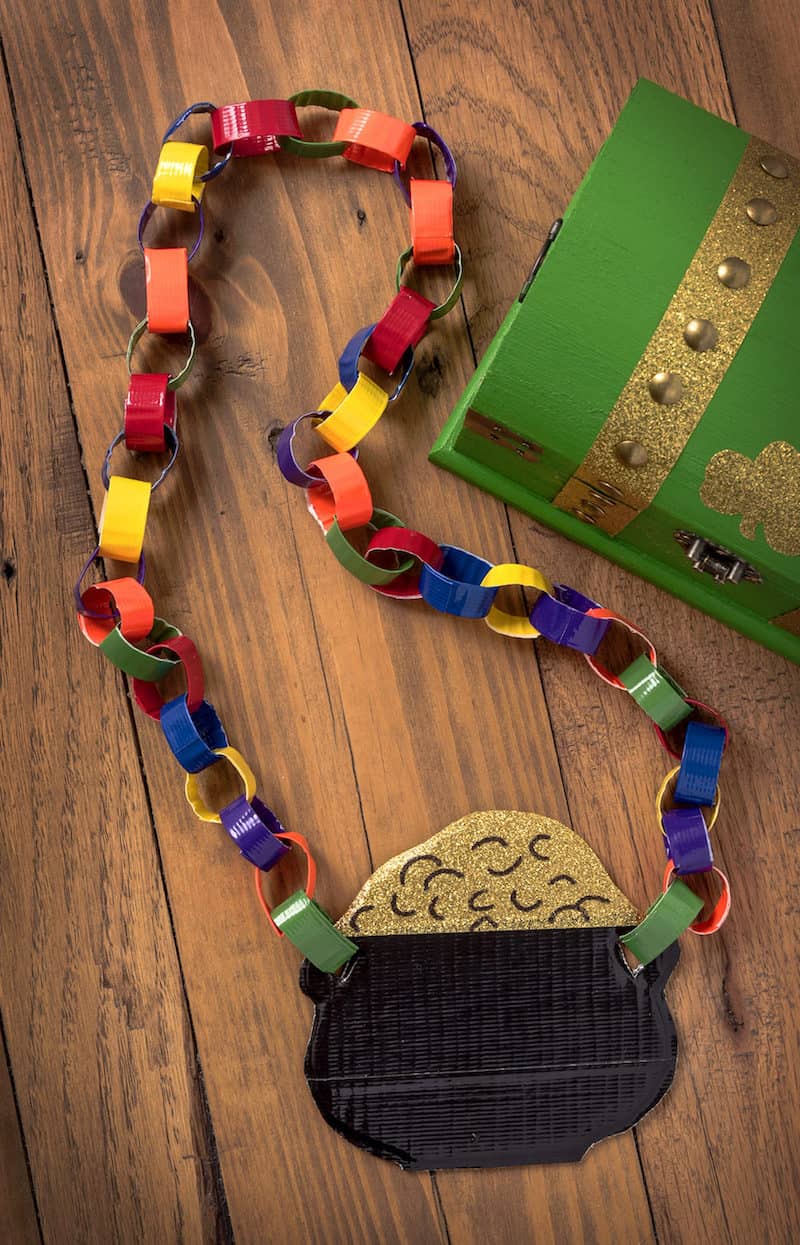
This St. Patrick’s Day necklace probably falls into the latter category. After all, it is a pot of gold with a bright, rainbow chain!
We made this St. Patrick’s Day necklace entirely of Duck Tape, with just a small piece of cardboard used to keep the pot of gold sturdy. This necklace compliments any holiday outfit as far as I’m concerned. Your kids can wear it to school or you can wear it to work – you’re sure to get Irish eyes smiling on you!
Tip: if you wear this pot of gold necklace with this St. Patrick’s Day shamrock headband, your holiday outfit will be complete! And you’ll get all of the attention you want and deserve 😀
Duck Tape St. Patrick’s Day Necklace
Gather These Supplies
- Duck Tape in various colors – red, orange, yellow, green, blue, purple, black, Gold Glitter
- Pot of gold template (click to go to the free download)
- Craft knife and mat
- Cardboard
- Marker
- Scissors – I use the Fiskars Duck Edition scissors because they cut the Duck Tape easily!

Print out the pot of gold template.
Also to note: if you want to make this project easier on yourself (as well as other projects), get a craft mat with measurements on it. I love my Fiskars craft mat for this reason. I use the measuring marks all the time!

Trace the pot of gold template onto the cardboard using your marker.

Cut out the cardboard pot of gold with your scissors or craft knife. It’s WAY easier to do this with a craft knife if the cardboard is thick! But sharp scissors work too depending on how thick the cardboard is – a thinner piece will work.

Place your black Duck Tape in strips on the bottom of the cardboard to cover the pot area. You’ll flip over and do this on both sides. You want the tape to overlap a bit on the sides and stick to itself.

Repeat this same method with the Duck Tape Gold Glitter.

Trim around the edge (leaving a lip) using scissors or a craft knife. Don’t forget to cut the holes for the handles!
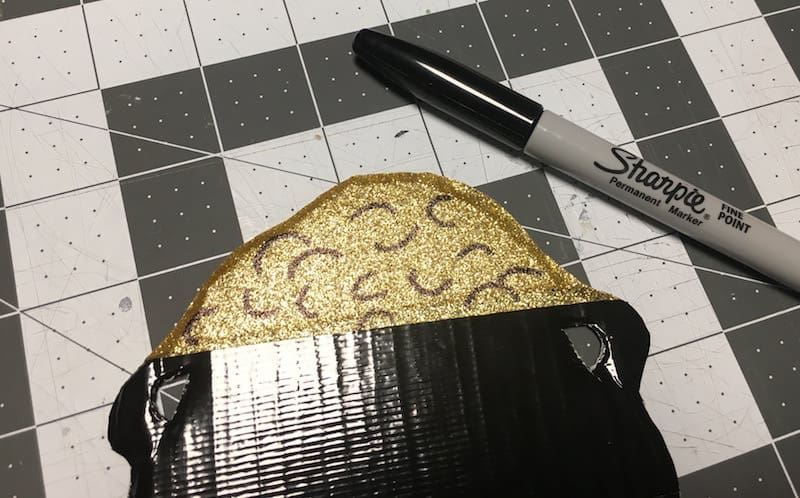
If you like, use a black Sharpie to make some “coin” marks on the gold Duck Tape.

Now you’re going to cut your Duck Tape and make your loops. You’ll do this by placing a 3 1/2″ piece of Duck Tape down on your craft mat. Then cut a 1/2″ long notch out of the top as shown above.
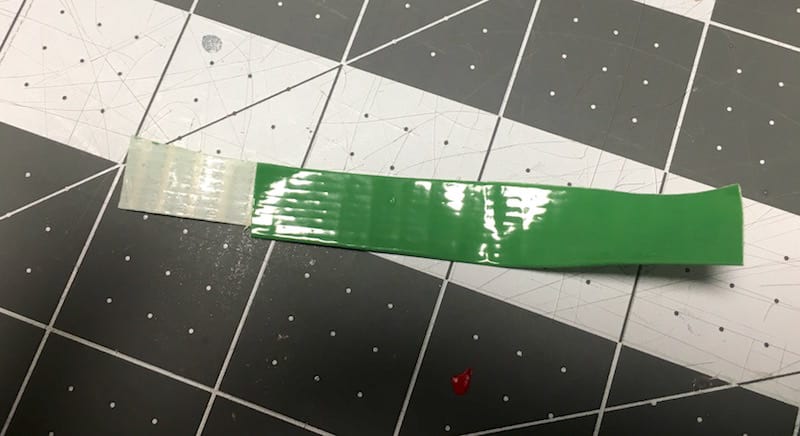
Fold the Duck Tape over on itself as shown, leaving the sticky tab exposed.
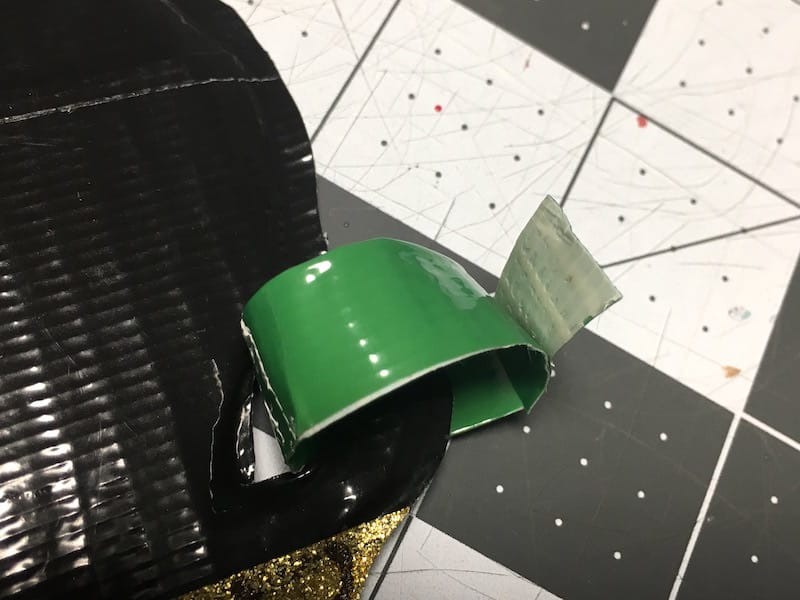
Attach your loop to the necklace as shown, placing the loop through the other loop, and using the exposed tab to close the loop and attach the Duck Tape.
You’re going to repeat this process of looping as many times as you like, to make your necklace as long as you like! We used 48 loops total, with 8 loops of each color. This necklace is long on a child (but fits) and fits an adult as well.
You can also make the loops longer if you like. Ours are 3″ but feel free to experiment!
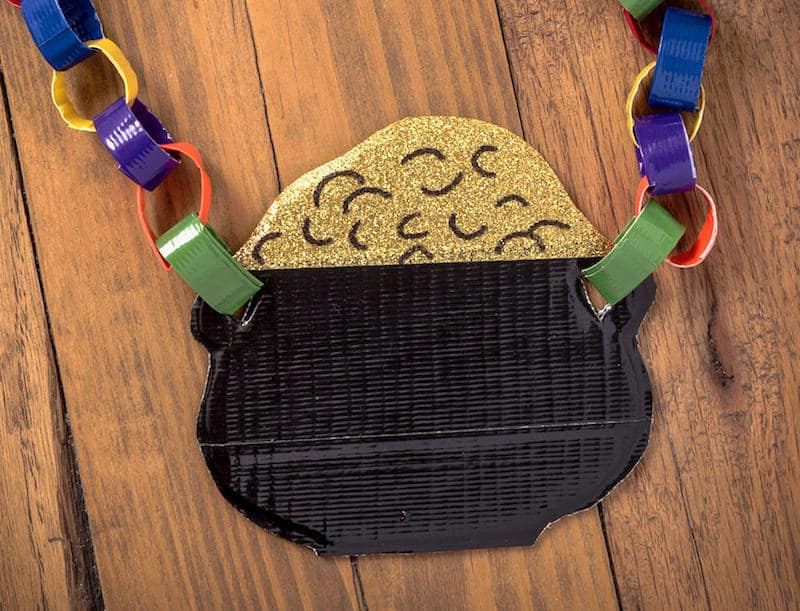
I just love the sparkly detail on the finished St. Patrick’s Day necklace.

It’s so colorful and fun (for kids and for adults!) and easy to make with Duck Tape. It makes me want to say “top of the mornin’ to ya!”
If you make this necklace, be sure to let us know in the comments! Happy St. Patrick’s Day!

