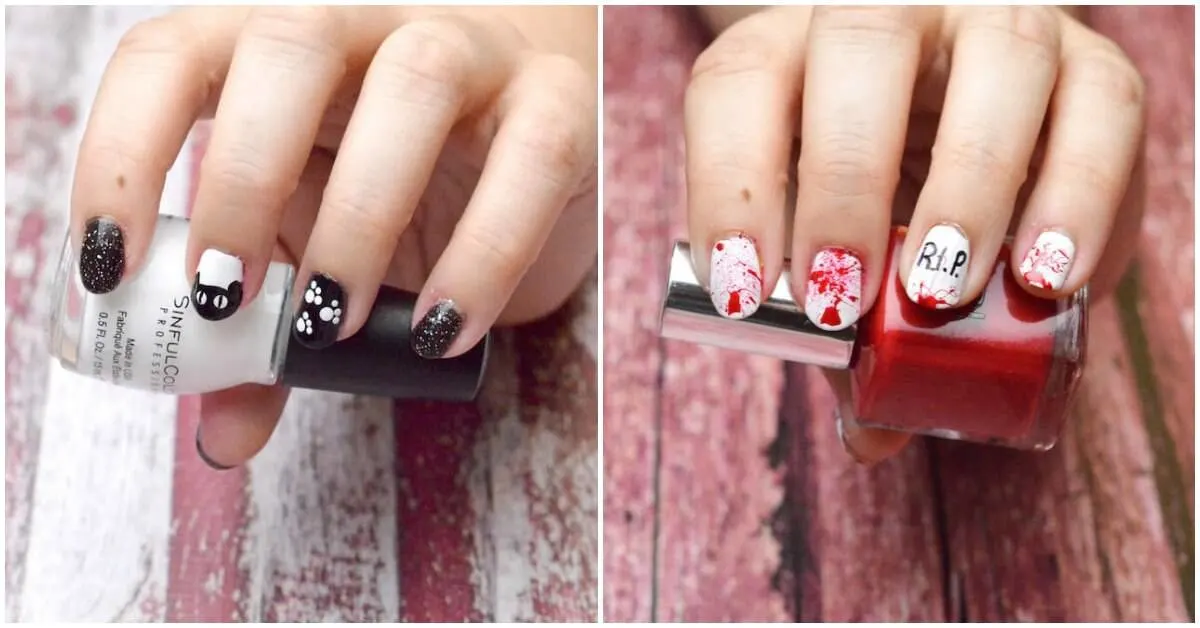
Are you looking for unique Halloween nail designs for the holiday? Try these “Bloody R.I.P.” and “Sparkle Cat” options. They are so easy to do!

Maybe you’re getting completely dolled up for Halloween and need something to accentuate your outfit – or maybe you don’t plan on going out but you want a little bit of holiday flair.
Either way, these Halloween nail designs are for you! Go with some fun and sparkle by trying the “kitty cat” nail options, or take a more gruesome route with the “bloody R.I.P.” I’ll show you how to do both designs and you can pick your favorite!
Halloween Nail Designs

Blood Splatter “RIP” Nails
Tools:
Directions:

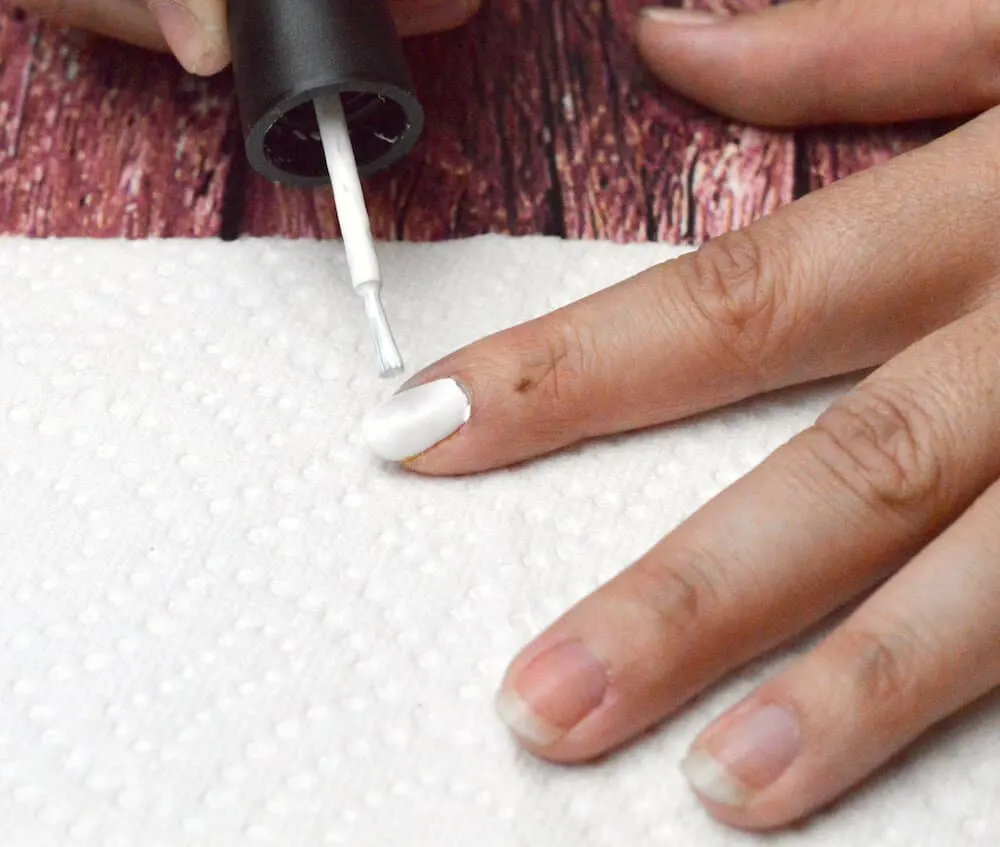
1. Begin by painting all your nails white. Make sure and do 2 – 3 coats for adequate coverage. This will also allow the red to pop more.


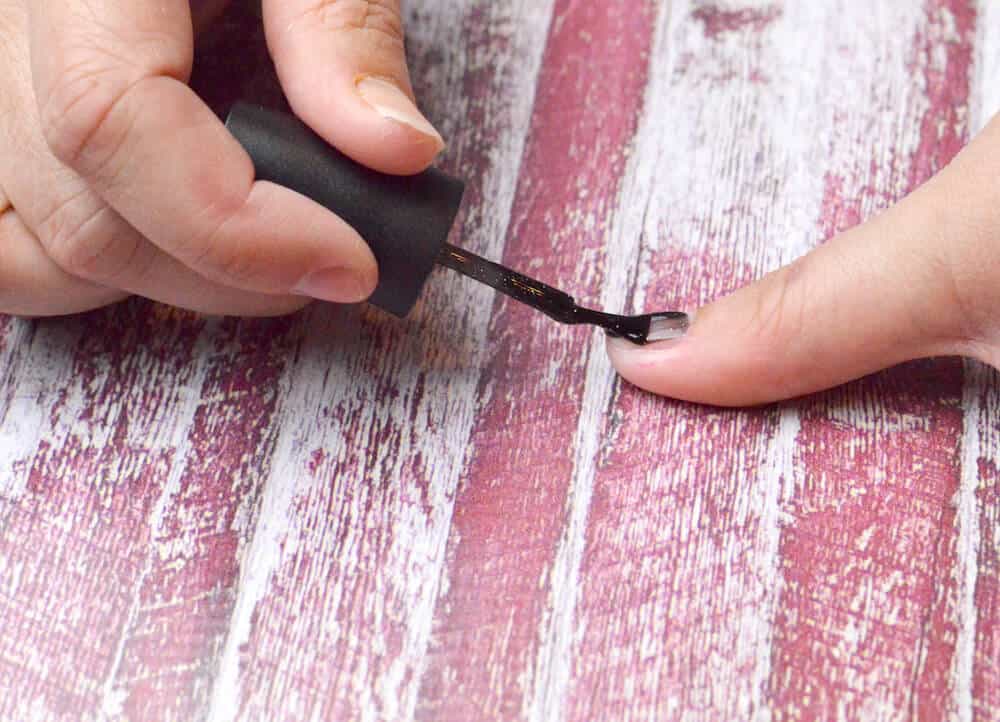
2. Take your red polish and put a dab of it on an old lid or something similar.
3. Next, take your straw (preferably a smaller one like a coffee straw) and place the tip of it in the polish until the whole of the straw is covered in polish like you would when blowing bubbles.
Hover the straw about a half inch above your nail and blow to splatter the red polish across the nail. Repeat until desired coverage is reached.

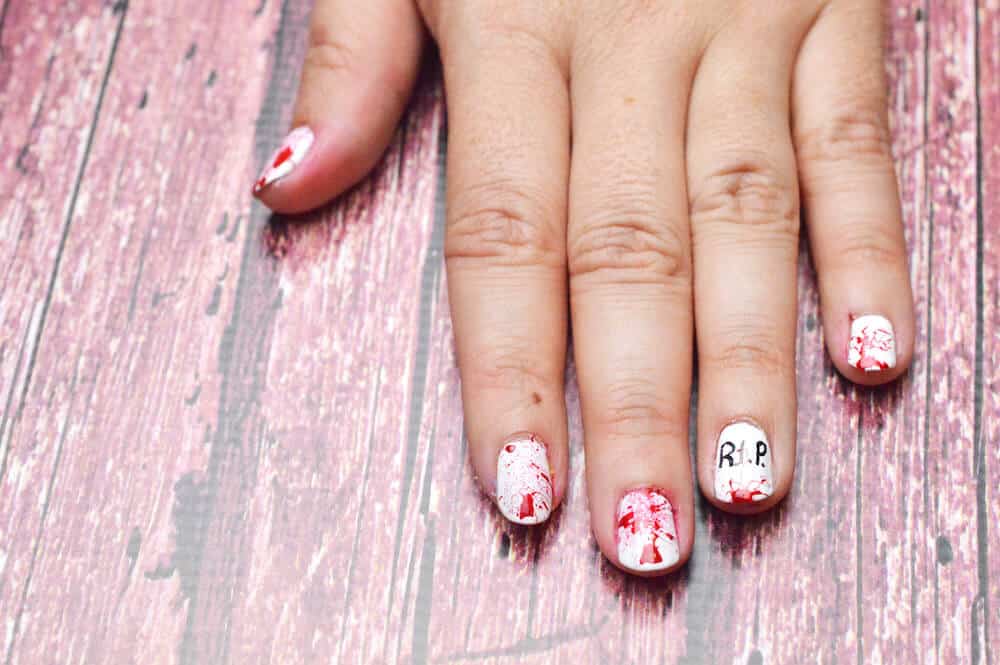
4. Whichever nail you want the RIP on, make sure to only place the splatter on the tip of the nail.
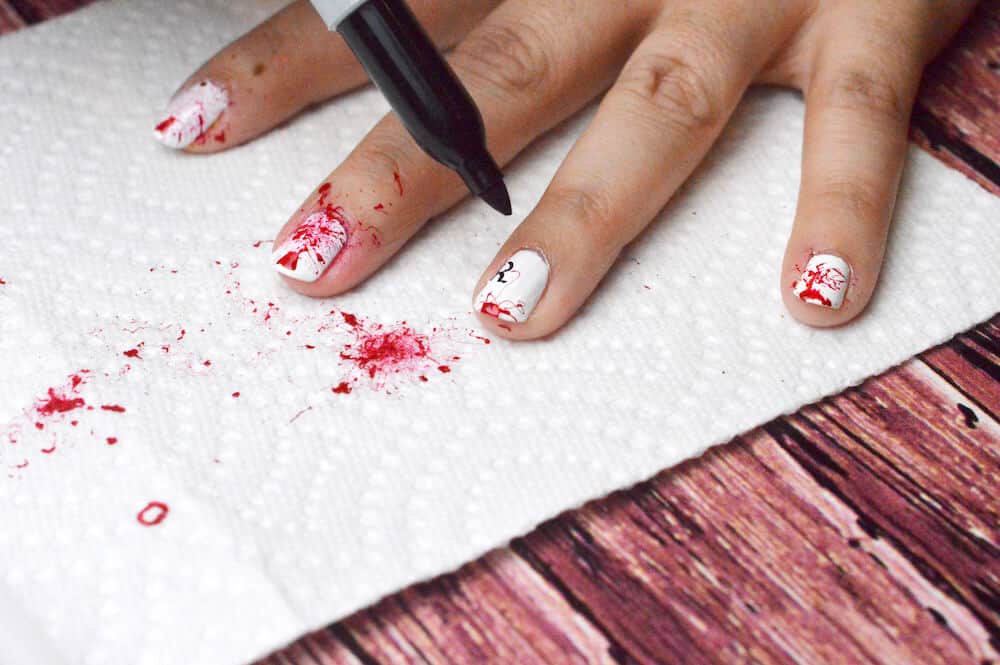
Once your nails are dry, take the black Sharpie and in the middle of desired nail, write in all caps, R.I.P.
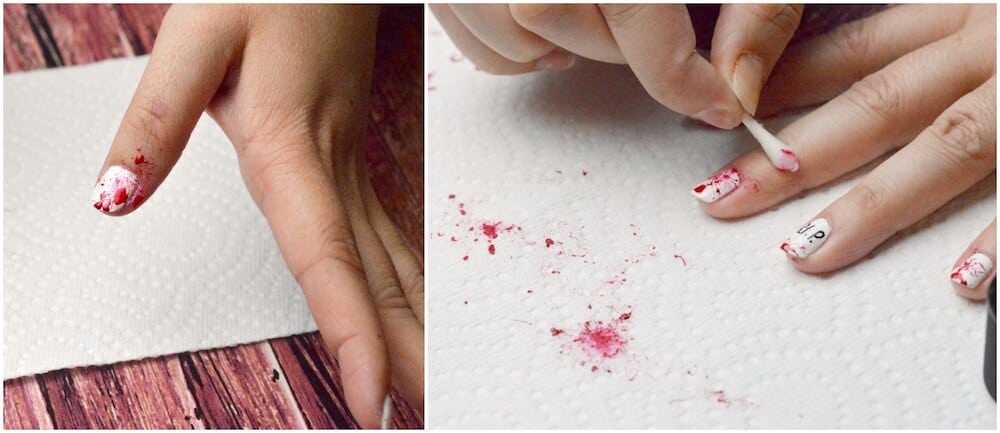

Remove the excess nail polish splatter from your fingers using cotton balls and nail polish remover.


What a spooky and somewhat gruesome nail design, don’t you think?
Now it’s time to move on #2 of our Halloween nail designs!
Cute Kitty Halloween Nails
Tools:
- Black and white nail polish (black glitter nail polish is optional)
- Dotting tool
- Small nail brush
Directions:

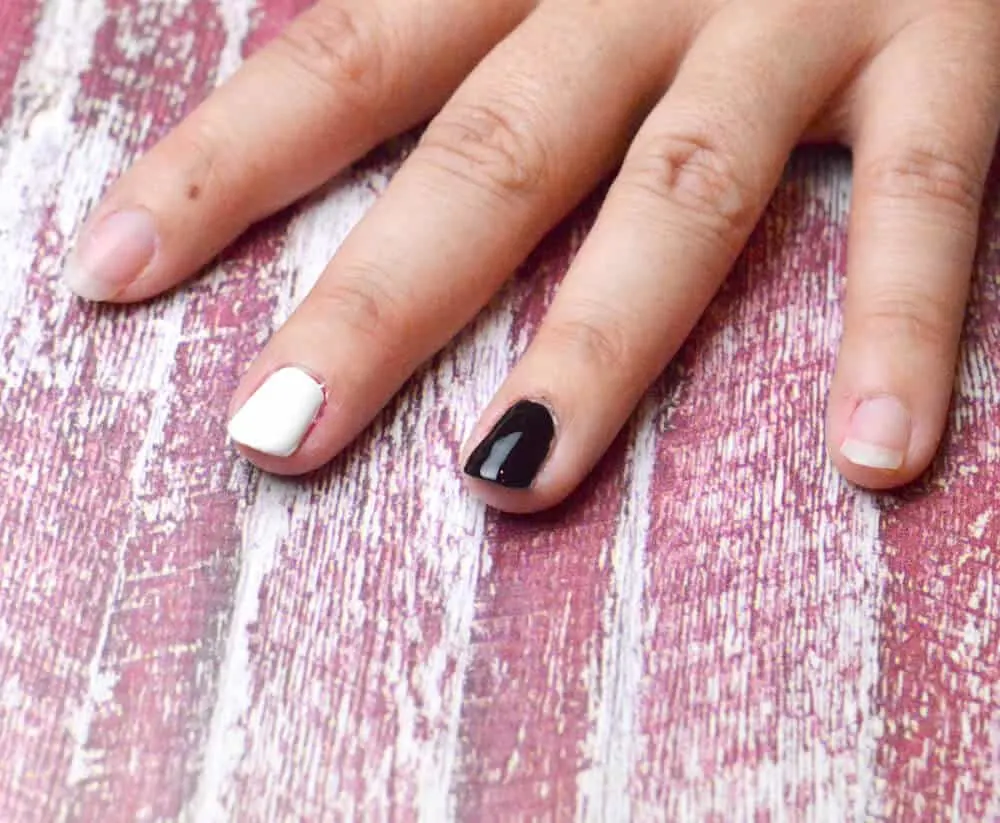
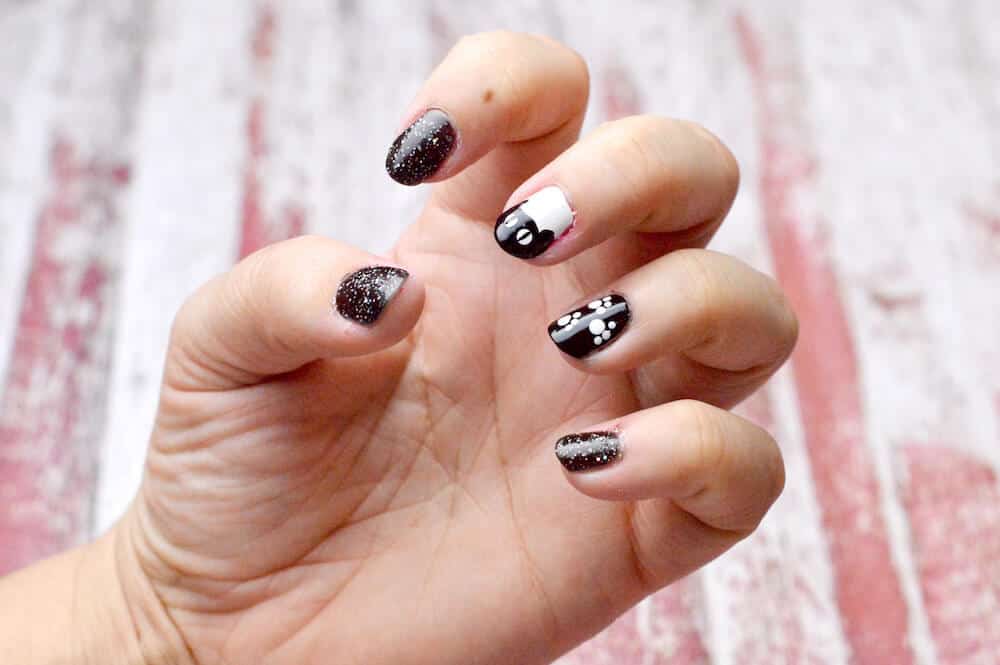
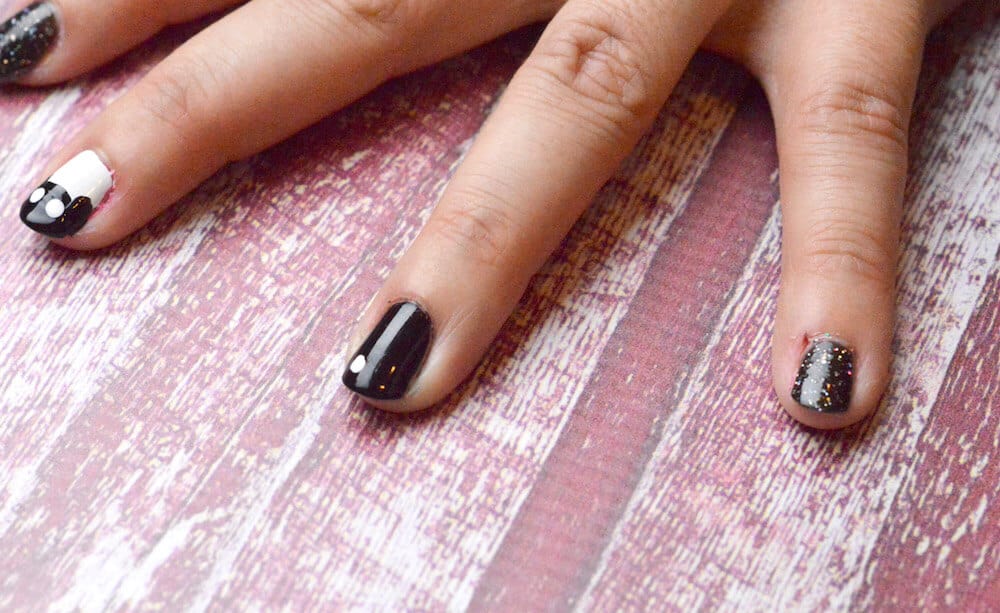
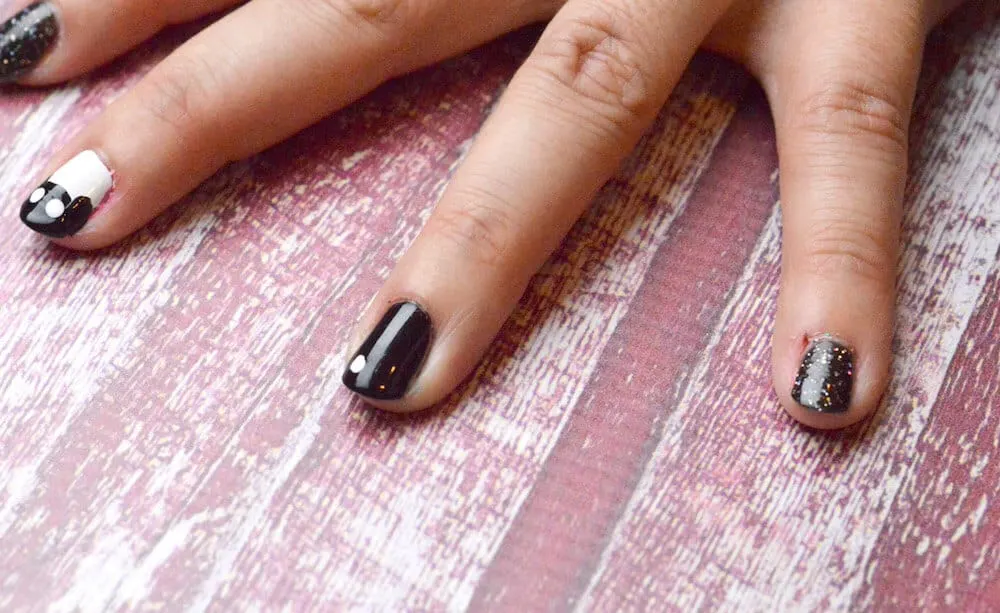
1. Begin by painting your middle finger white and your ring finger black. Use 2 – 3 coats on each for adequate coverage.

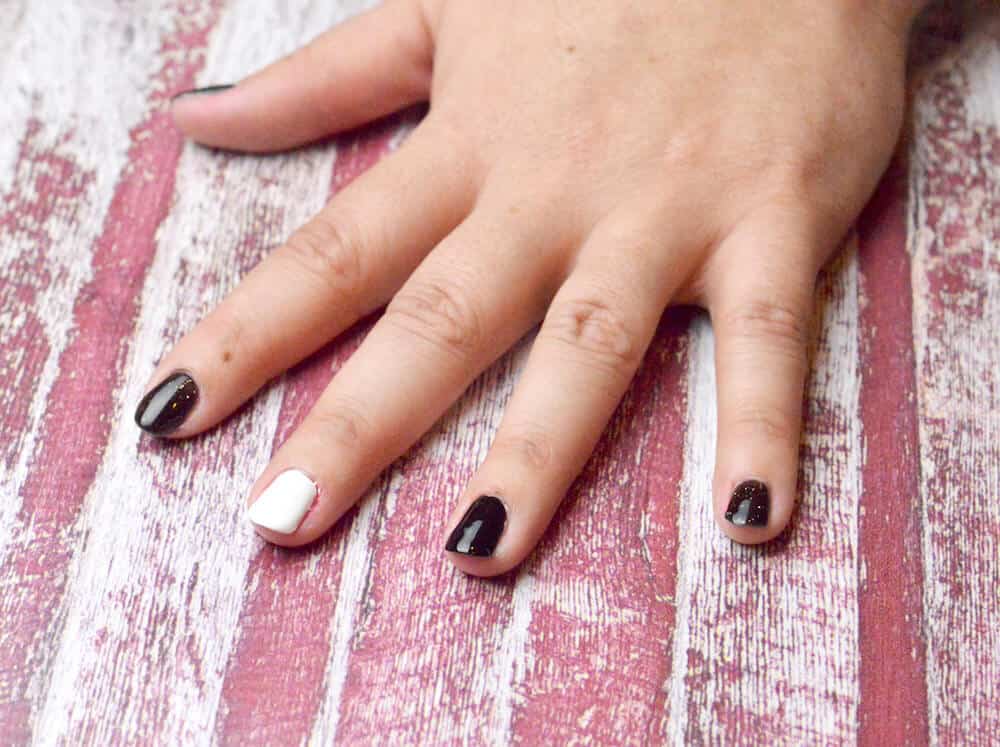

2. Paint the last three nails with a black glitter nail polish or just straight black with glitter over the top. If you are wanting a creepier look, use the black glitter fingernail polish as it is usually thinner.
The more coats, the less creepy and the cuter it looks. So, whichever look you’re going for will decide on how many coats you use on these three nails.
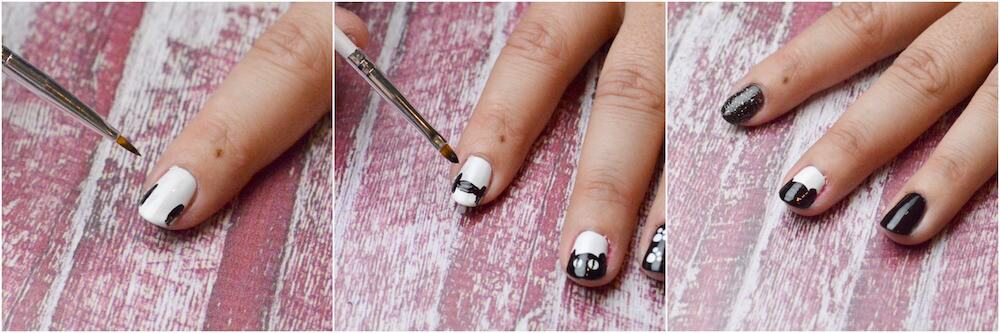

3. On your middle fingernail that is white, use your small brush and make a pointy almost diagonal stripe on each side of the tip of your fingernail. This stripe should reach about halfway up your nail on both sides. Make as even as possible.
About halfway up the stripes, put a rounded half circle connecting both stripes and then fill in underneath it to make the cat’s head.
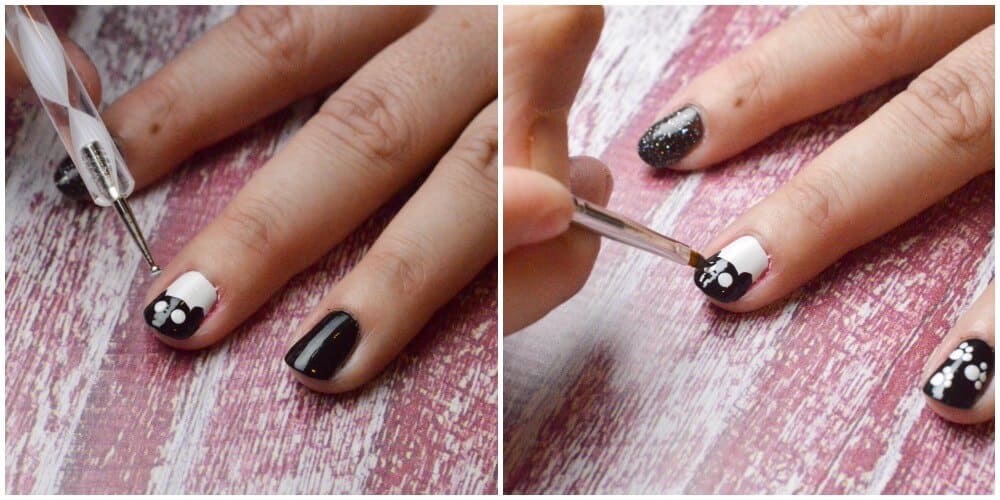

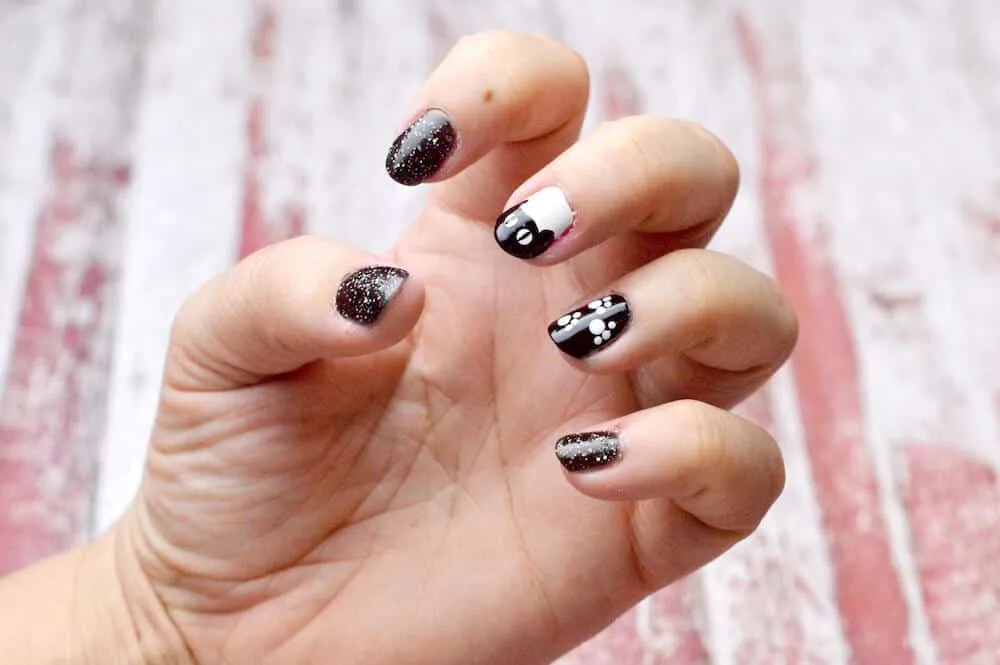
4. Once your black kitty head has dried, use your dotting tool to put two dots of white polish to make the eyes.
5. Once the white eyes have dried, use your brush to put a small black stripe inside them, reaching from top to bottom of the white eye.
6. Once nails have dried, using your dotting tool, make one large dot with the white polish on the black ring fingernail. Then put three small white dots around one side of it to make a paw print. Do this as many times as desired but make sure you have plenty of room on your nail.


Lastly, use your clear coat on all nails once polish has fully dried.
I hope you enjoyed these simple nail tutorials! Which one of these Halloween nail designs will you try? Let me know in the comments. I’d also lovef or you to check out the following ideas: