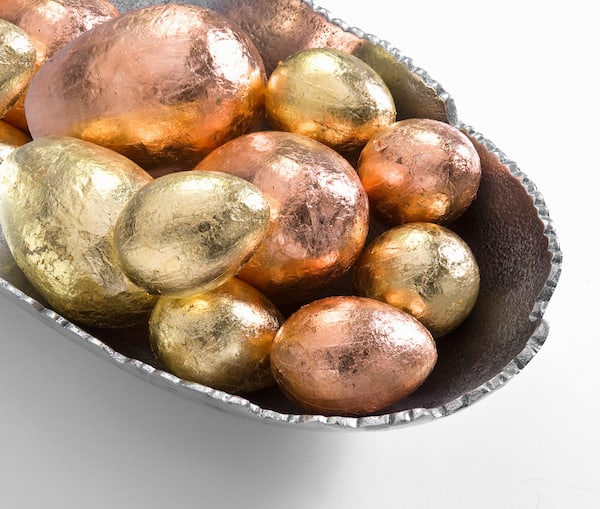
How to Gold Leaf Easter Eggs (with Tips!)
Have you been wanting to learn how to gold leaf Easter eggs? This article will show you how, and give you some great tips for success!
There is a fun trend sweeping the crafty nation – gold leafing! It’s actually been around for many years, but just like a lot of crafty trends, it’s picking up again.
I tried it once a few years ago, and recently decided that for Easter, it was time to bring it back again! If you want to learn how to gold leaf, I’ll show you . . . it’s way easier than you would think!
And obviously you don’t need to do eggs, if that doesn’t fit. You can do anything from wood to fabric to tin. The surface can be painted, too. I’ll show you the basics and then you can make it your own.
Gold Leaf Easter Eggs
Gather These Supplies
- Gold leaf adhesive size – this is the glue that holds on the “leaf.” I like Speedball
- Gold leaf sheets – these come in a pack of around 25 sheets, and in different colors (Gold, Antique Gold, Copper, Silver, etc). I also like Speedball brand
- Surface to leaf
- Paintbrushes – you’ll need two, one for adhesive and another for leafing (I’ll show you more below). You can get brush kits just for this purpose
- Gloves if you don’t want to get your fingers dirty (optional)
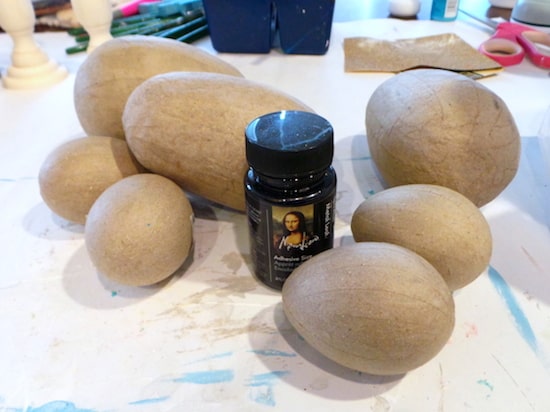
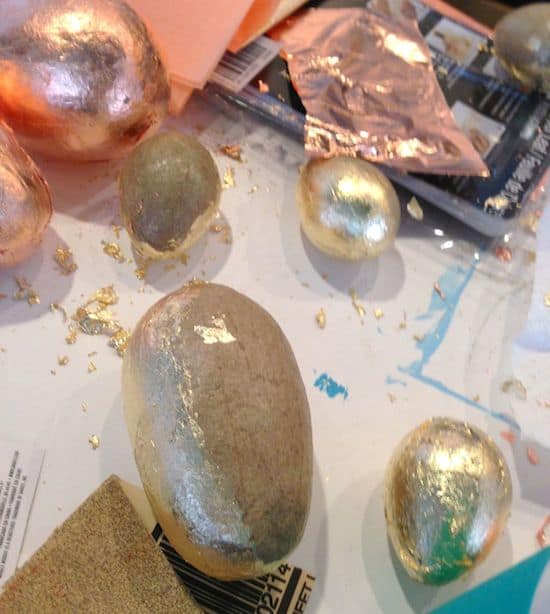
For my project, I gathered a ton of paper mache eggs in various sizes. Gold leafing on paper mache works really well.
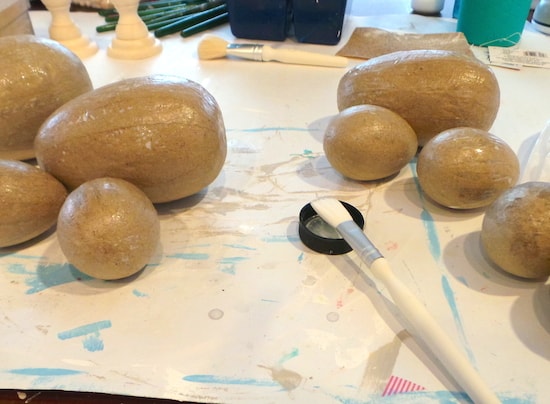
The first step is to add your sizing to the eggs with a brush. The best way to do it is to do one side (half of an egg) first and then the other . . . I recommend this for any round objects. Of course if your objects aren’t round, you can do the entire thing at once.
Now here are some tips. If you want gold leaf to cover the entire area, then paint a medium layer on the entire area. BUT another option is just to do gold leaf splotchy in some areas, which is a cool effect, especially if the surface is painted underneath and you want some of it to show through.
Once your sizing has been painted on, leave it to dry for about 30 – 45 minutes. It becomes VERY tacky, so be careful to touch it too much, because it will make your fingers sticky (it washes off, but still).
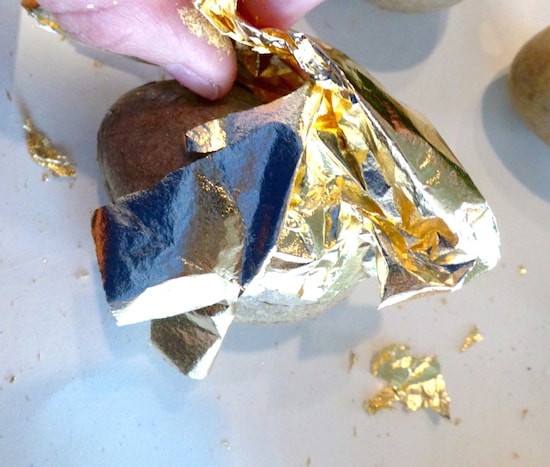
Once your surface is tacky, you are ready to start leafing! Carefully take a sheet out of the package – just use one sheet at a time.
The sheets are very fragile, so be careful . . . but it’s okay if the sheet tears. Just lay the sheet as carefully as you can over your surface.
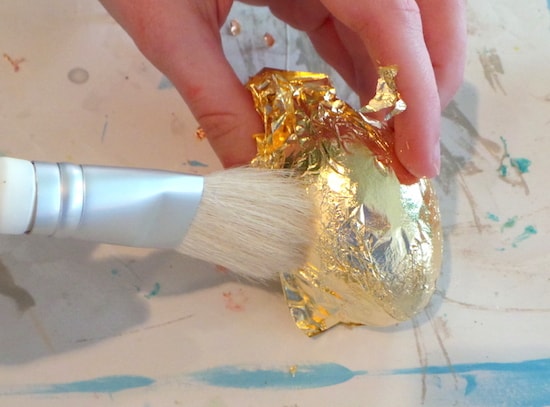
Use a clean, dry brush to start tamping down the gold leaf. If some flakes and tears away, that’s fine.
You can actually take little pieces of the sheet that tear away and put them back on the adhesive – yes, you can overlap gold leaf. Brush the gold leaf sheets completely down, and grab a new sheet if you need to.
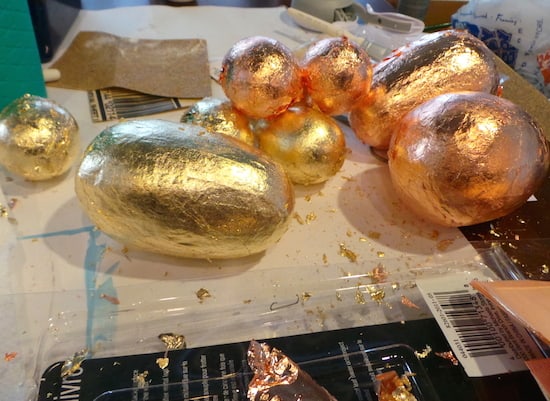
Your table will start to look like this. You’ll have loose sheets and bits of gold leaf everywhere . . .

And your fingers will look like this, which is why you might want to consider using gloves. But that is up to you.
Repeat the process on the other side to completely cover your eggs (or surface). And guess what? If you missed some areas, you can add more gold leaf and tamp it down. And if you missed sizing in that area, just paint more on and wait the 30 – 45 minutes, then add more gold leaf.
Once your surface is completely covered, use the dry brush to completely brush and wipe away any excess gold leaf. Let the flakes go onto your table and just brush them into the garbage.
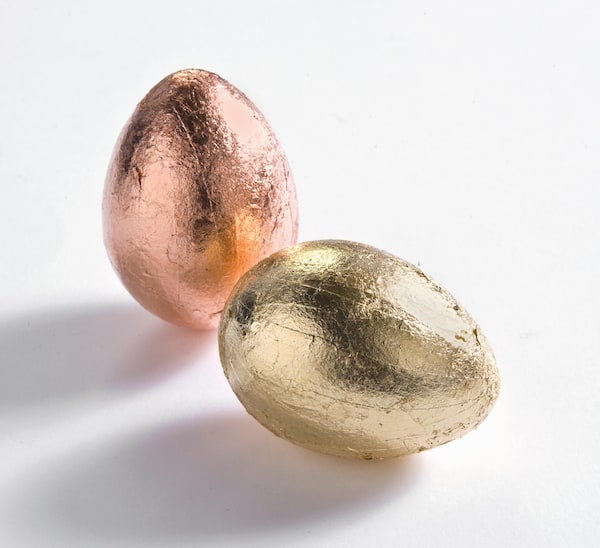
And that’s all there is to making gold leaf Easter eggs. I am in love with gold leafing again, and plan to show you a few other projects you can do. Let me know what you think in the comments!
My gold leafing tips:
- Use a medium amount of sizing; don’t let it drip off of the sides of your surface. You don’t need a ton.
- Work slowly when using your gold leaf sheets. They tear very easily. But if they do tear, don’t fret.
- Wash your adhesive brush immediately after using or the sizing will ruin it.
- Gold leaf is pretty durable, but you can add a sealer to the top if you like.
Nice! Some time ago, I got little (1″) clear round Christmas tree bulbs, and filled some with the gilding crumbs. By the time I’m 100, maybe I’ll have the entire dozen filled…
A topcoat is recommended for imitation gold (brass?) and silver (aluminum?) leaf. The sizing takes months to completely cure, and topcoating can prevent a complete cure (don’t ask).