Simple DIY Chair Cushion with Ties (in an Hour)
Get a tutorial for a simple DIY chair cushion with ties – yes, it’s so easy, anyone can do it with basic sewing skills! Pick your favorite fabric for a custom addition to your decor.
Skills Required: Beginner. There are several steps to this project, but the sewing is simple. Even if you’re a beginning sewist, you should be able to accomplish this with some patience.
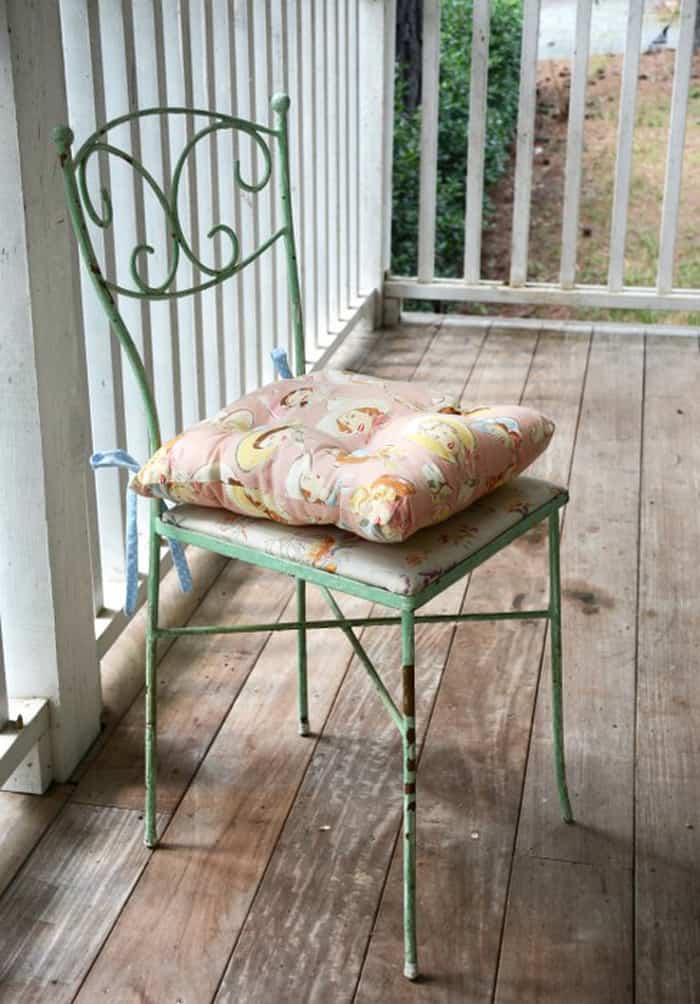
Hi everyone! This is Ashlee from My So Called Crafty Life, and I’m here to show you all how to make a simple DIY chair cushion! My Mama Marcie has a knack for antiques.
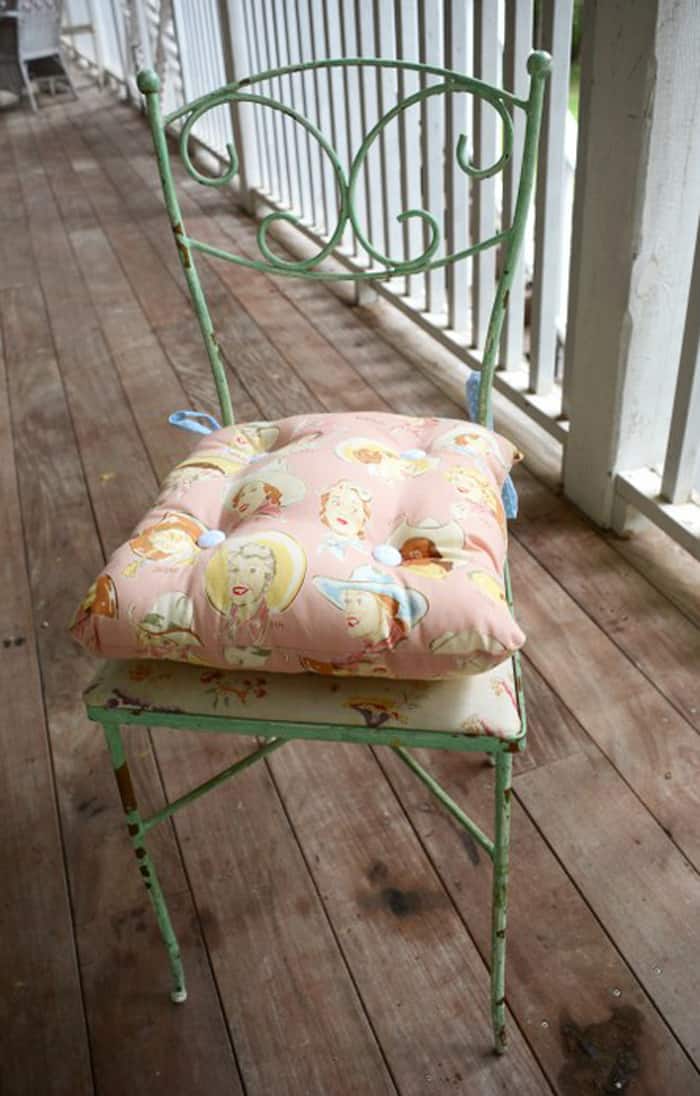
Her house is filled with them, and she always finds the most beautiful furniture pieces. One of my favorite piece she has in her kitchen is a gorgeous green iron chair with a floral fabric covered DIY chair cushion.
The chair is precious, but the seat is flat as a pancake and very uncomfortable.
A really easy solution for an uncomfy chair, without reupholstering it and adding lots of padding, is to make something comfy that ties onto the chair.
So, I decided to whip one up for Marcie’s kitchen chair, and now it makes a great resting spot without hurting your tush!
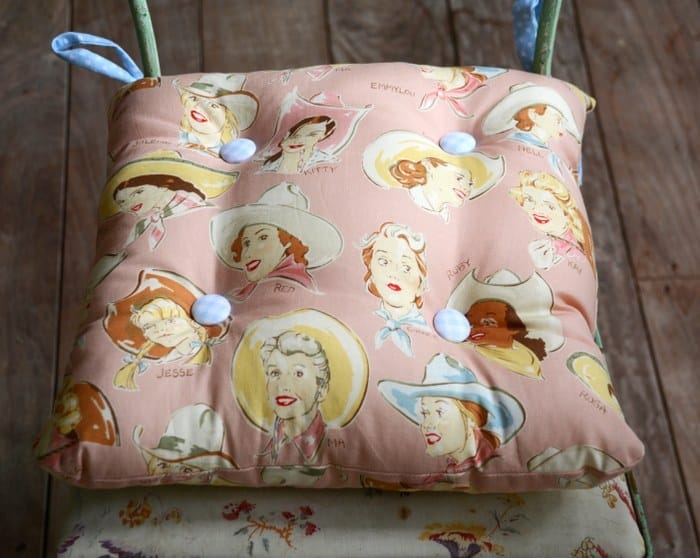
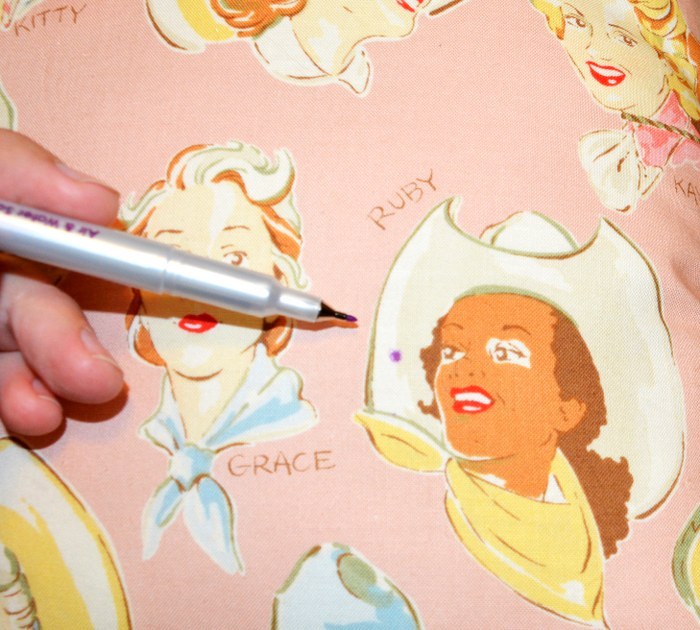
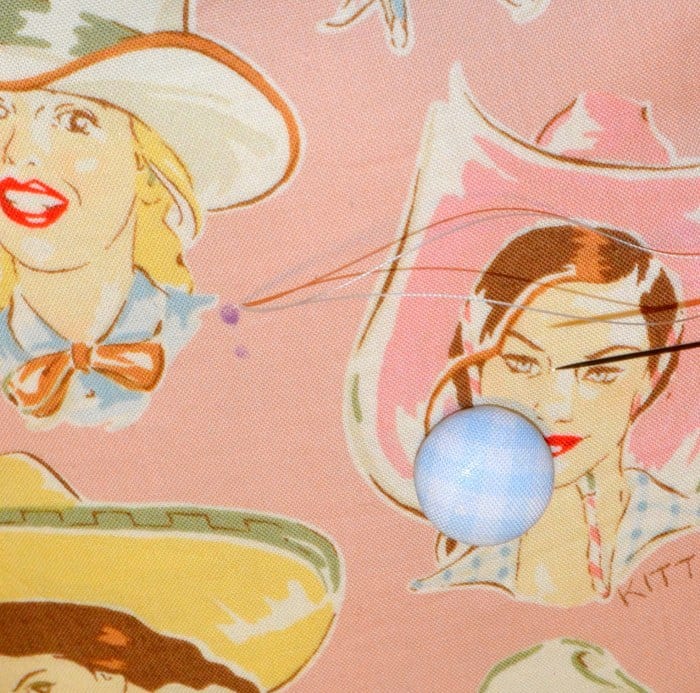
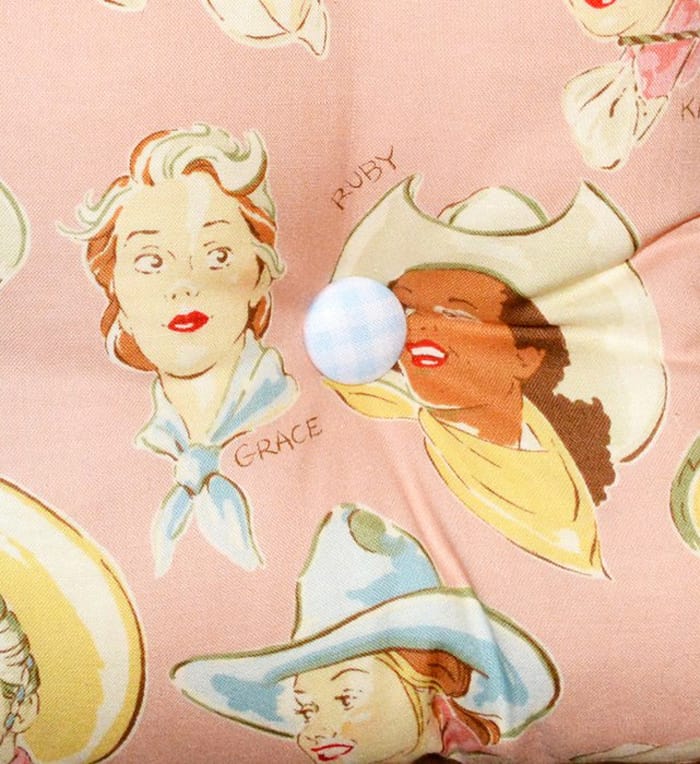
I think this turned out to be just adorable! I have a thing for vintage westerns, and these cowgirls make me swoon! The fabric is an old print from Alexander Henry that I picked up at antique fair.
The best part is that this home decor is easy to make, requiring no pattern, and you can easily whip one up in an hour or two. Here’s how I made this . . .
Make Seat Cushions
Equipment
- Marking Pen
- Sewing machine and Thread
- Hand Sewing Needle and Thread
Materials
- Fabric for Cushion about a half yard will do for most small to medium size chairs
- Fabric Scraps or Ribbon/Trim for Ties
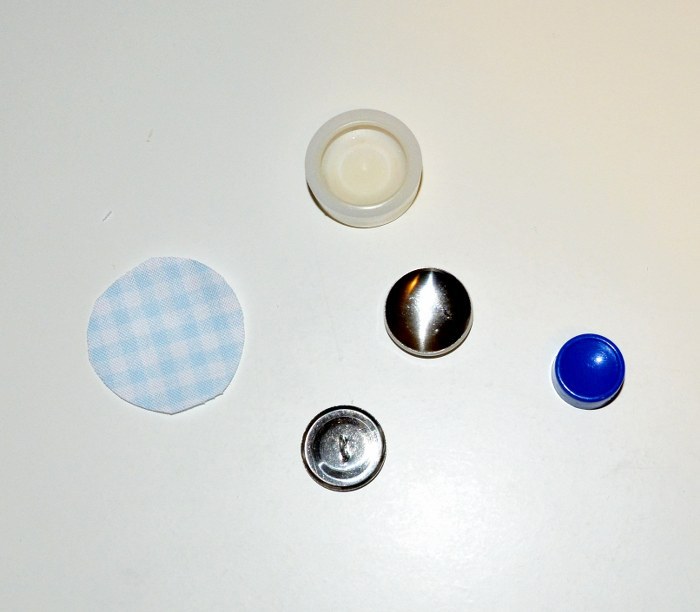
- Fabric Scraps for Buttons
- Fiber Fill
Video
Instructions
- Measure the chair seat. Add two inches to both the length and width – one inch (for a half-inch seam allowance on each side) plus one inch for the puff factor.
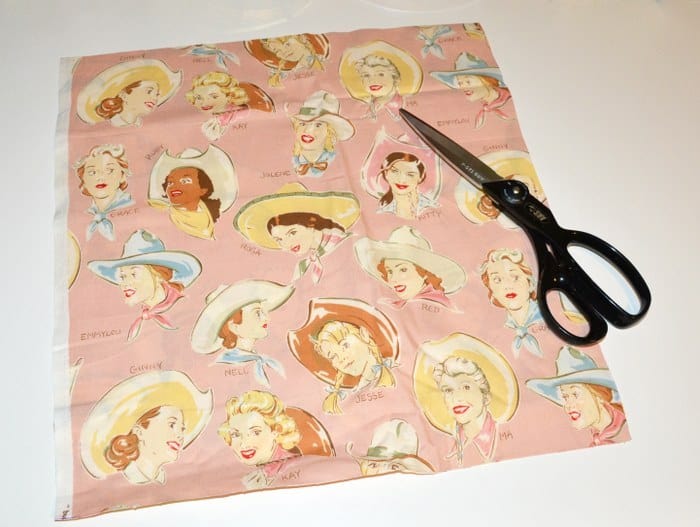
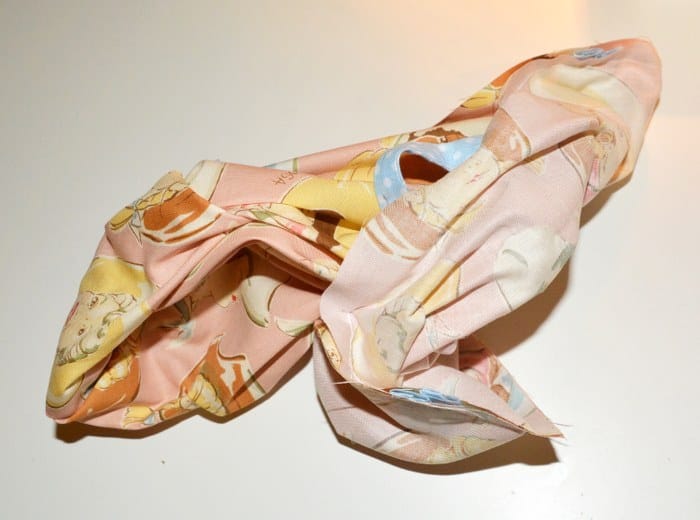
- Once you decide on the size, cut two pieces, one front and one back. Stack the pieces together and fold in half. Cut the bottom edge to be rounded.
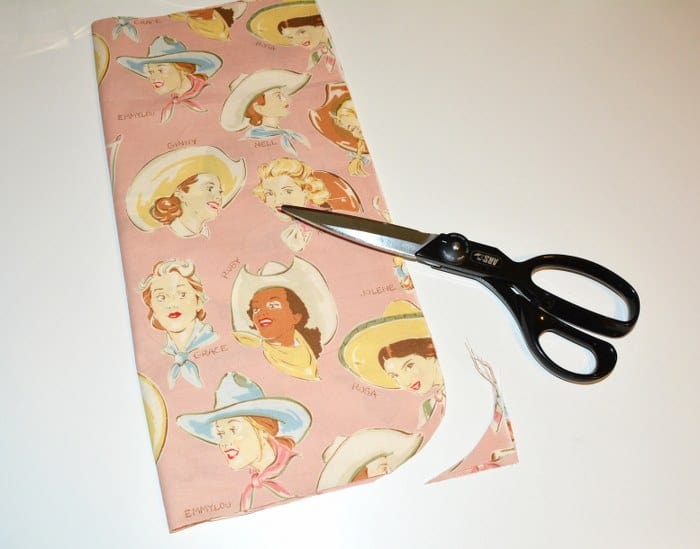
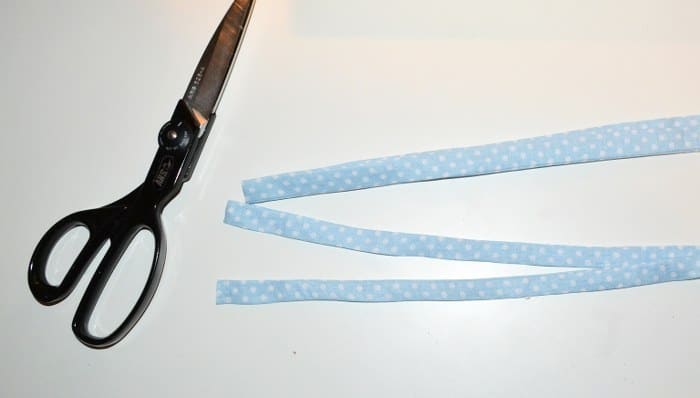
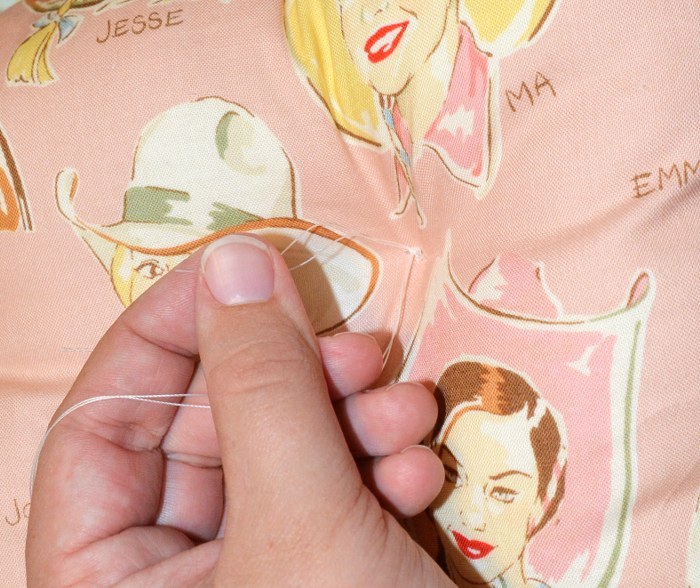
- Cut two ties to be 20"x 2".

- If you are using ribbon or trim, skip this step. To make the ties, start by folding your tie in half lengthwise right sides together and press. Stitch all the way along the side and across the top.
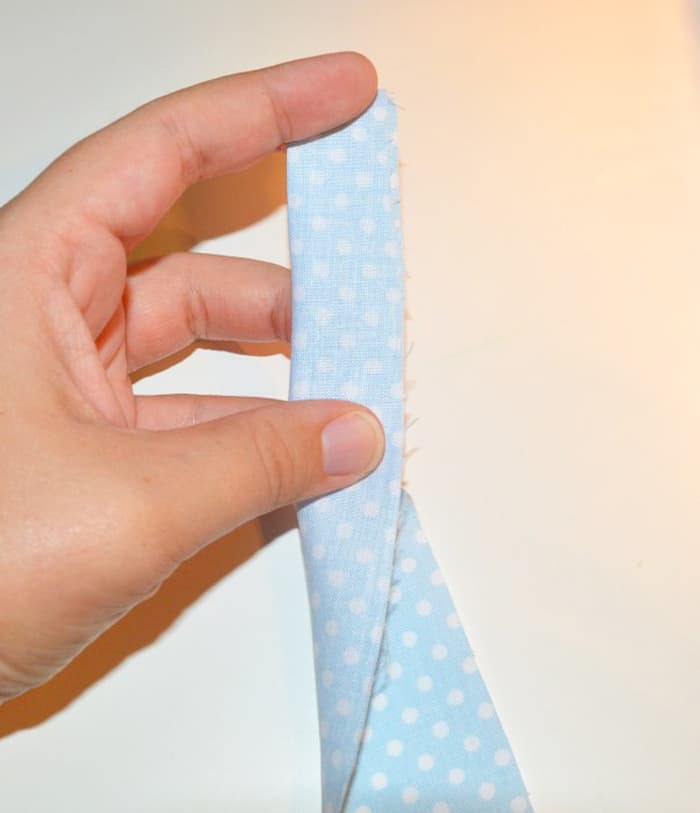
- Turn the tie right side out. Fold a little of the open in to the inside and stitch across the end, closing up the open end.
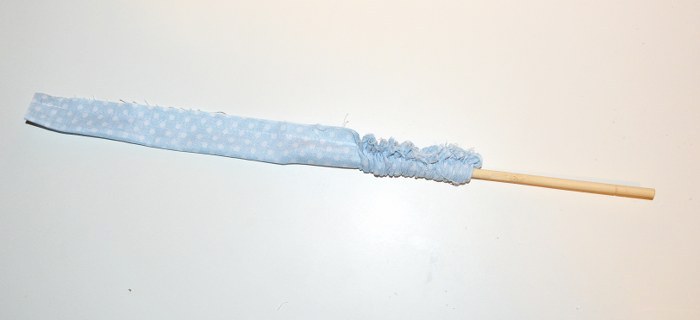
- Cut tie in half. Repeat with other tie.
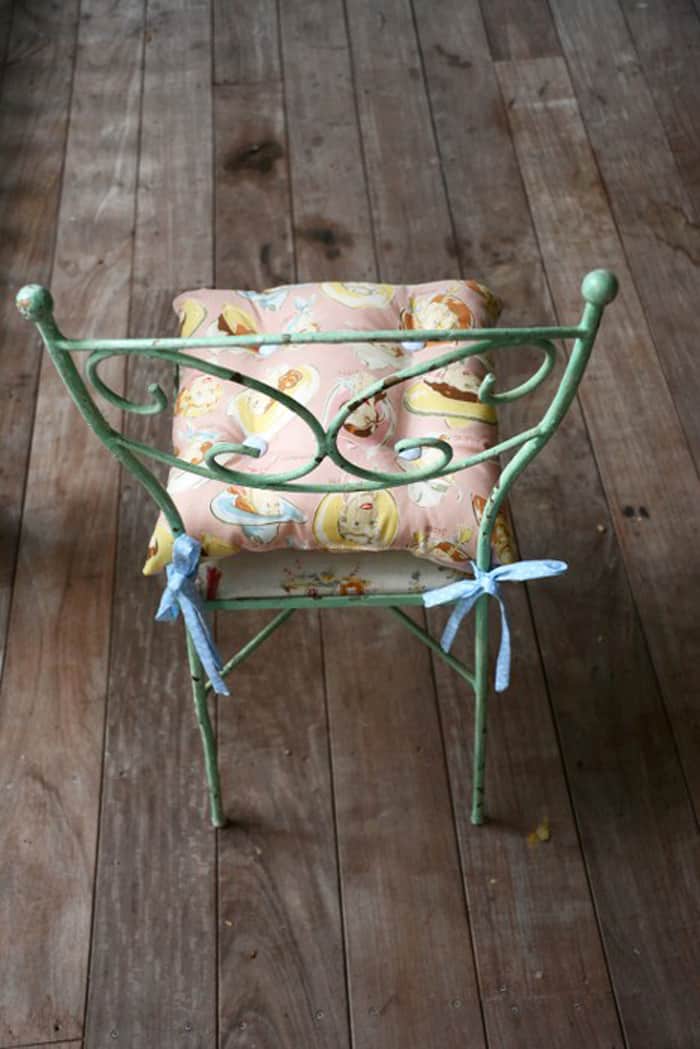
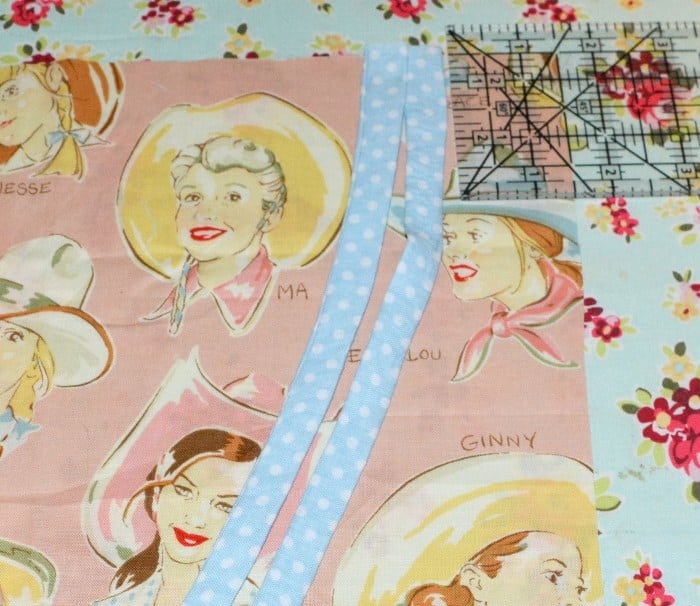
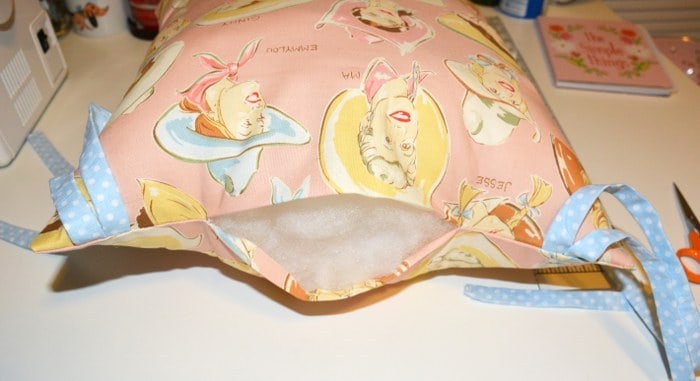
- Pin your ties in between the front and back piece. The front and back should be right sides together. Pin the ties about an inch and a half in from the sides.Make sure the ties are facing in towards the center of the cushion and the raw edges are lined up at the back. You need two ties on the right side and two at the left on what will be your back seam. Pin it all together.
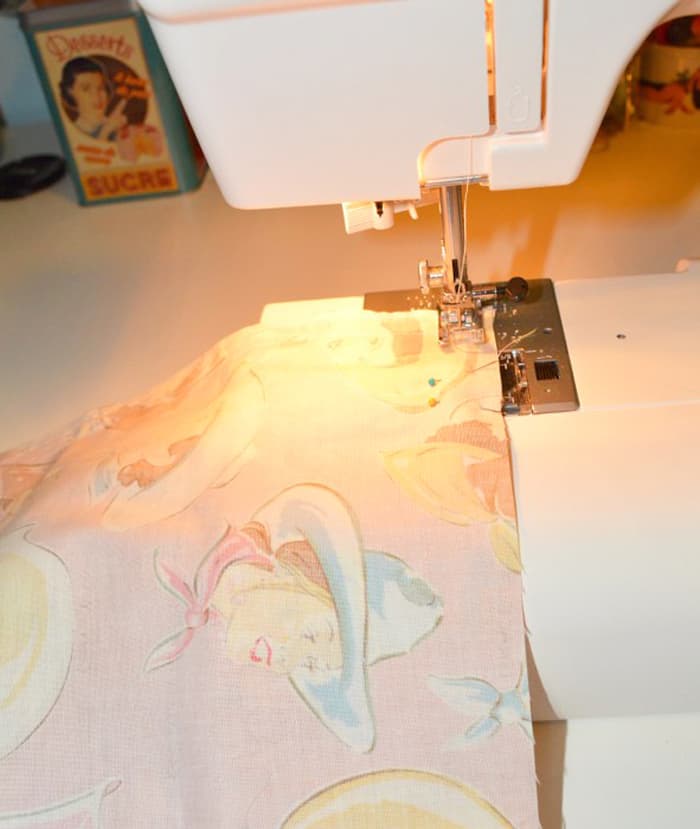
- Stitch across the back then pivot and stitch down the side, across the bottom, up the other side and then across the back until right past the left set of ties. You should have an opening left in the back between the ties for stuffing.
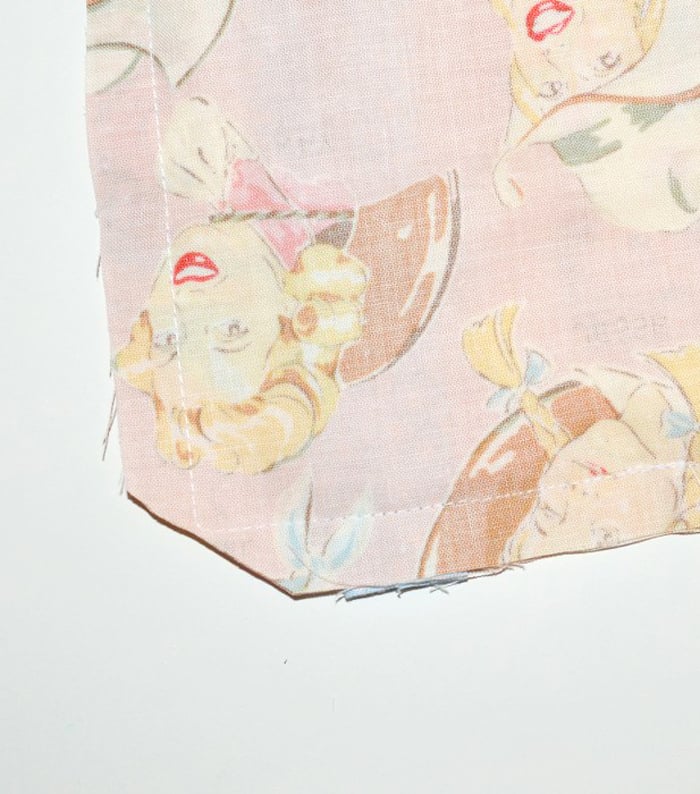
- Clip corners and curves close to the seam.
- Turn your cushion right side out.
- Stuff your cushion with polyfill or other stuffing of your choice. Stitch up the opening in the back with your hand needle and thread using a blind stitch, ladder stitch, or a whip stitch. You can leave your cushion like this or you can add buttons.
- To make covered buttons, cut a piece of fabric with the template included in your kit. Then follow the instructions for your kit to assemble the button(s).
- Measure and mark where you want your buttons to go. Mark the placement on the front and back of the cushion.
- Bring your threaded needle up from the bottom through the marked spot.
- Thread the button on the needle and then bring the needle back down through to the back side. Then repeat a few stitches.
- Pull the thread tightly so that the button sinks into the pillow. Tie off the thread with a couple of knots.
- Clip the excess. Repeat with your other buttons. Finish by tying your cushion to the chair.
Notes
I can’t wait to hear if you give this a try! Let me know in the comments. And if you enjoy sewing, here are some additional ideas we think you’re going to love:
Hello! Thank you for the pictures and the tutorial! I am making a chair cushion now. I’m on the tie, I sewed it down the end, and I have a chop stick… but how do you get it to turn inside out? It’s so small!! Thank you!
Hi Sejana! This will show you: http://so-sew-easy.com/easy-way-turn-tube-of-fabric/
If you have a hard time with it, I’d try an even smaller item than a chopstick! It can take awhile to work it. 😀
Can’t wait to give this a go! You’ve explained it so well and your cushion looks gorgeous!
If I used washable fabric, could I just throw these in the washer and dryer when necessary? (I plan to use the cushions in the kitchen and they tend to get dirty sometimes.)
Absolutely! I don’t see a problem with it. I’d use a delicate cycle first if I thought they were fragile.
Thank you so much for your simple instructions, I was able to make two chair cushions for my great granddaughters small chairs. For being my first time they came out pretty good. Thank you once again.
Glad you liked them!!
Thanks for the tutorial! What size button covers did you use?
They were approximately 3/4″!
Is there a video for this?
I don’t have one yet but we are re-doing this post so look for one soon!
@Am can I use foam ,? I need the cushions to be flatter . What’s the best material to use ,as for dining chairs so need to be robust.
I would use foam! It looks like on Amazon or at Hobby Lobby or Joanns you can get high density foam for dining chairs. So that’s what I would use 🙂