This Witch Pumpkin Craft Is Sparkly Good
This witch pumpkin wears a sparkly mask and painted hat! You can make this Halloween project in just a few simple steps with supplies from Michaels.
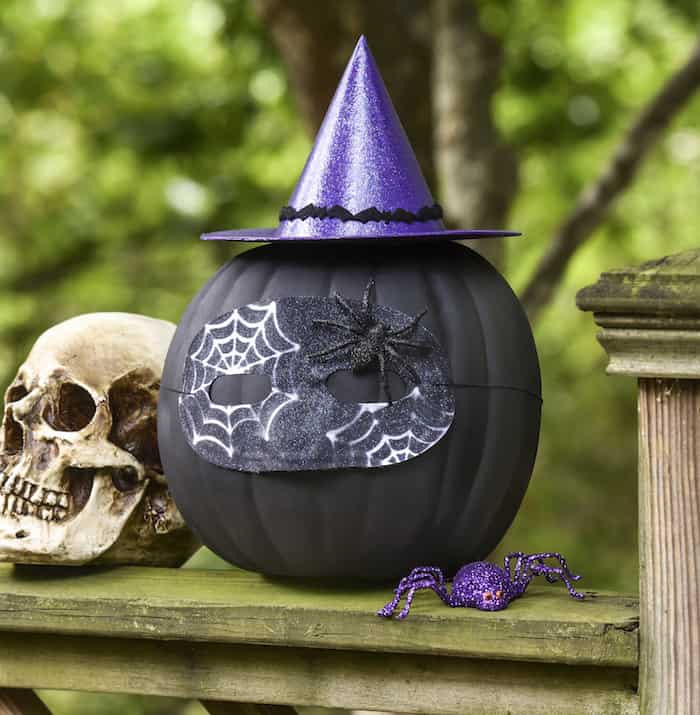
I think this year my color palette is going to go more towards black, gray, and purple . . . various shades of purple . . . and a little less orange. I like to change my color palettes slightly each year for the holidays while still being true to the “standard” shades of the holiday.
It all started when I was issued a pumpkin challenge by Michaels Makers for our monthly project. And anything to do with fall or pumpkins is a challenge I can completely get behind! I accepted this pumpkin craft challenge head-on.

I went into Michaels to purchase some faux pumpkins and realized that they had these fancy chalkboard ones that you can write on . . . and then erase afterwards. I was intrigued.
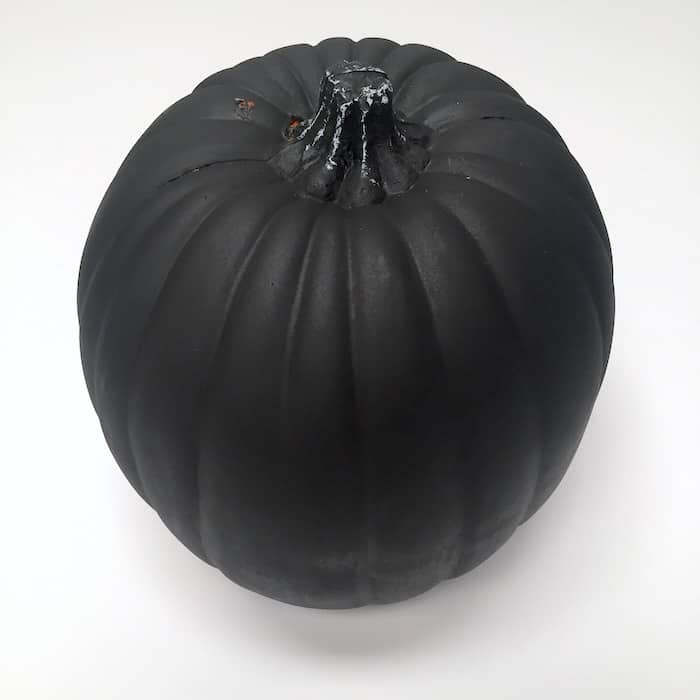
I needed a black pumpkin for the project I was envisioning, and while I was standing there, I had an idea – what if I could decorate the pumpkin temporarily . . . so that if I decided I wanted to change my decor, I could RE-USE the chalkboard pumpkin?!
That was the direction I decided to go in – a temporary witch outfit for my pumpkin that could be removed, leaving the pumpkin intact. Here’s how I did it.
DIY Witch Pumpkin
Gather These Supplies
- Faux pumpkin, color of your choice
- White masquerade mask
- Paper mache witch hat
- FolkArt acrylic paint – Violet Pansy
- FolkArt acrylic paint – Hologram Glitter
- Tulip Color Shot – Black
- Tulip Glitter Fabric Spray Paint – Silver
- Black bat ribbon trim – Michaels Recollections brand
- Small black felt spider webs, lace, or other shape – you’ll use as a resist on your mask
- Black glitter spider
- Craft glue
- Scissors
The first thing to do is get your pumpkin. Faux pumpkins are awesome because they’re reusable. To get yours, visit Michaels.com and check out the variety of craft pumpkins available – there is every color, shape and size you could ever want!
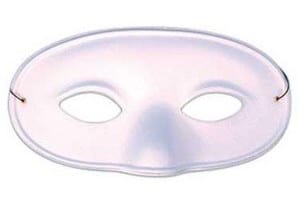
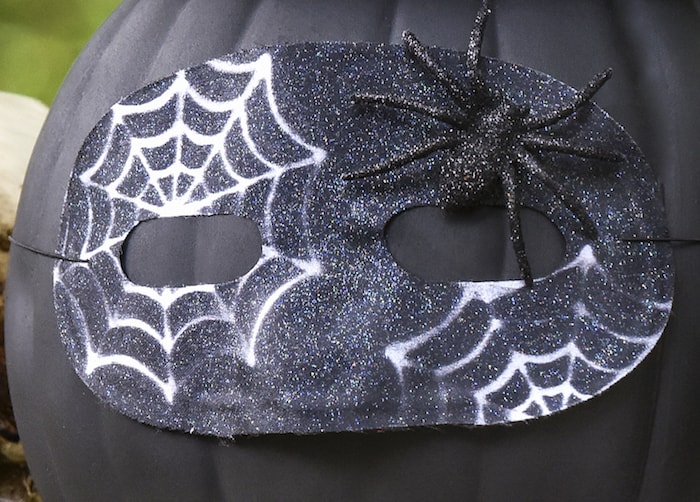
The next step is to paint your white masquerade mask with the Tulip Color Shot paint. You’ll need to protect your surface for this one . . . this paint is permanent, and it has great coverage, so once it’s on your surface . . . it’s on there!
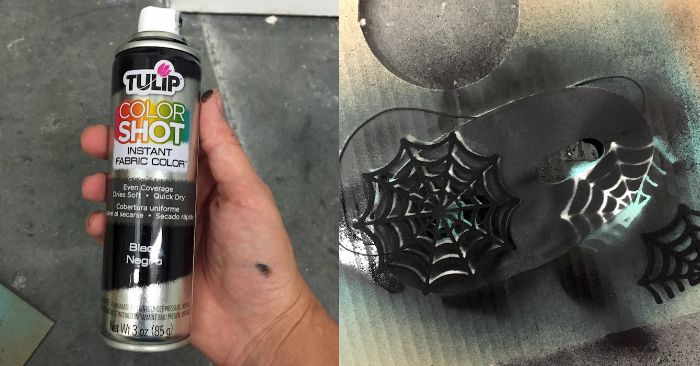
To give my mask a little something extra, I used some small felt spiderwebs I had in my stash as a “resist.” That just means I laid them over the top before spraying, so that the surface underneath the spiderweb wouldn’t get sprayed.
Now if your resist items are fragile/light, use a temporary glue dot or piece of tape to keep them down before spraying, so they don’t get blown away when the spray hits.
The nice thing about my spiderwebs is that they were black . . . so I can reuse those too!
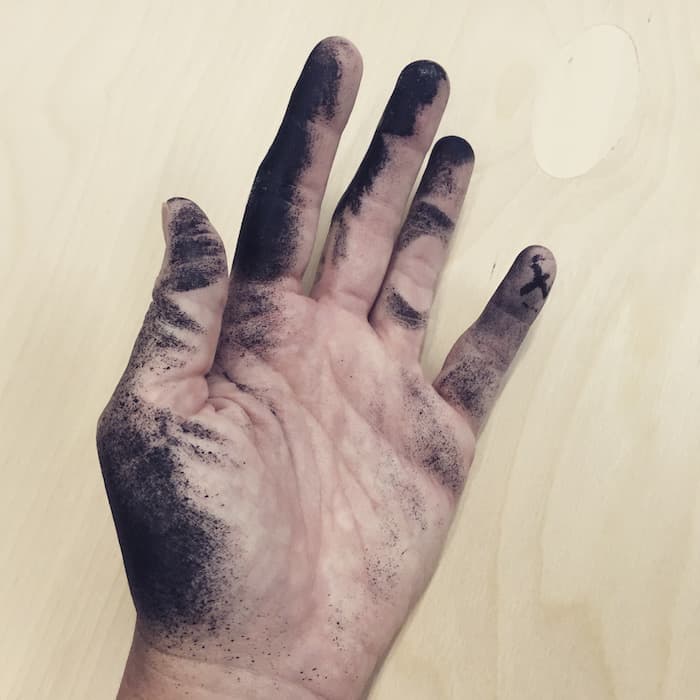
Be careful not to hit your hands with the Color Shot. Whoops!
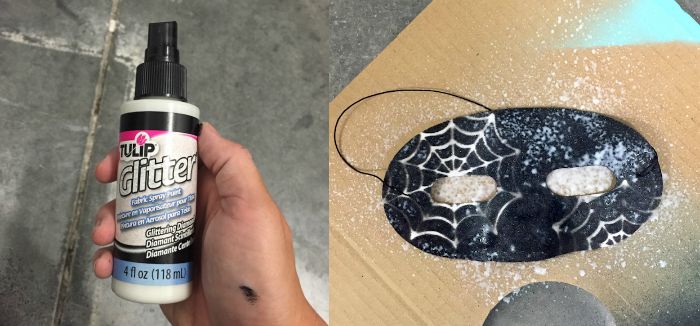
Let the mask dry and then hit it with the Tulip Glitter paint. I could have just left the mask black, but 1) I wanted the bling and 2) I wanted the mask to pop off the surface. Plain black on plain black just seemed a little boring!
Let the mask dry again.
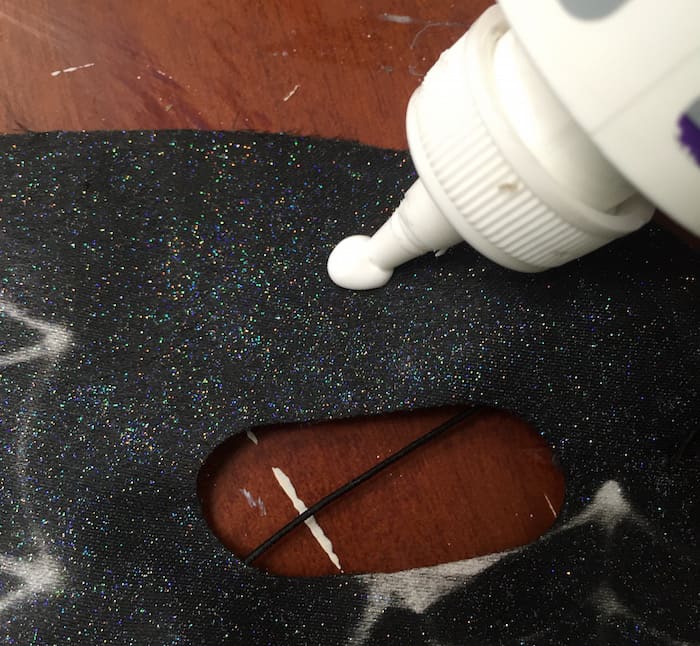
Use the craft glue to attach the glitter spider to the top of the mask, right side. Your mask is done, so set it aside to completely dry.
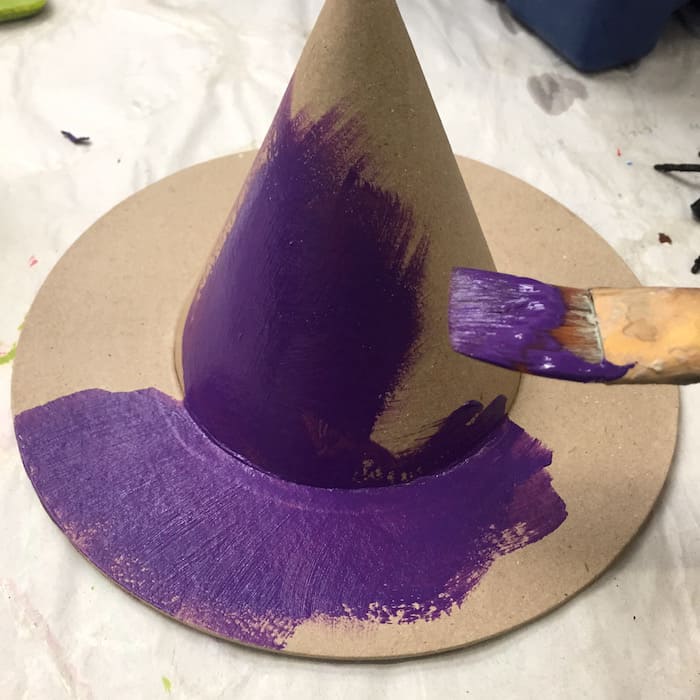
Paint your paper mache witch hat with the FolkArt paint. Give it several coats and let dry.
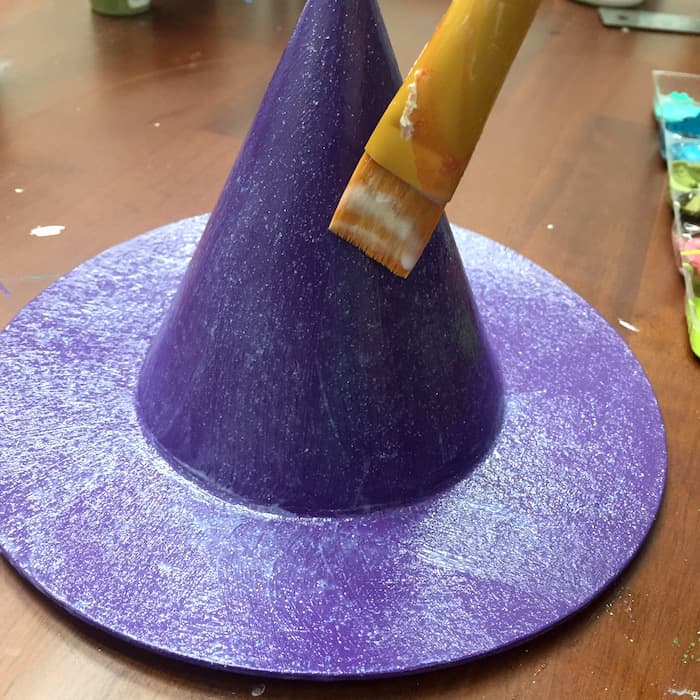
Then you’re going to GLITTER up that hat! Give it one layer of the FolkArt glitter paint; let dry and paint on another coat.
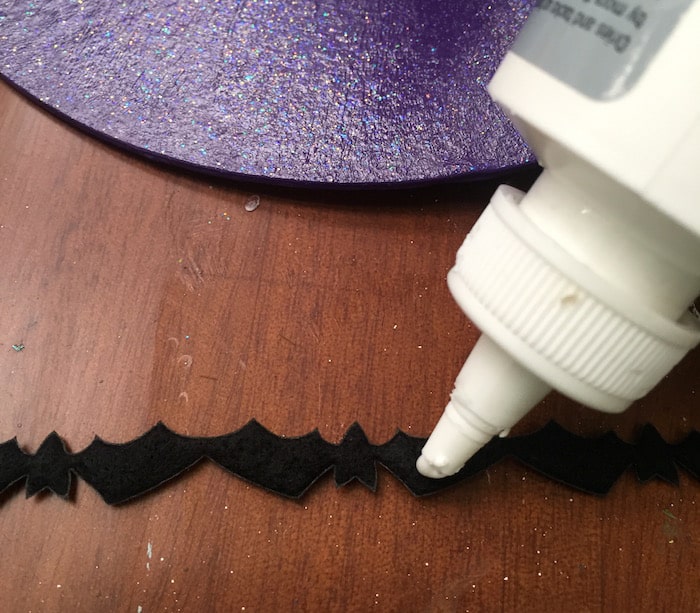
To finish up this bad boy, trim your bat ribbon to fit the hat, then glue on with the craft glue.
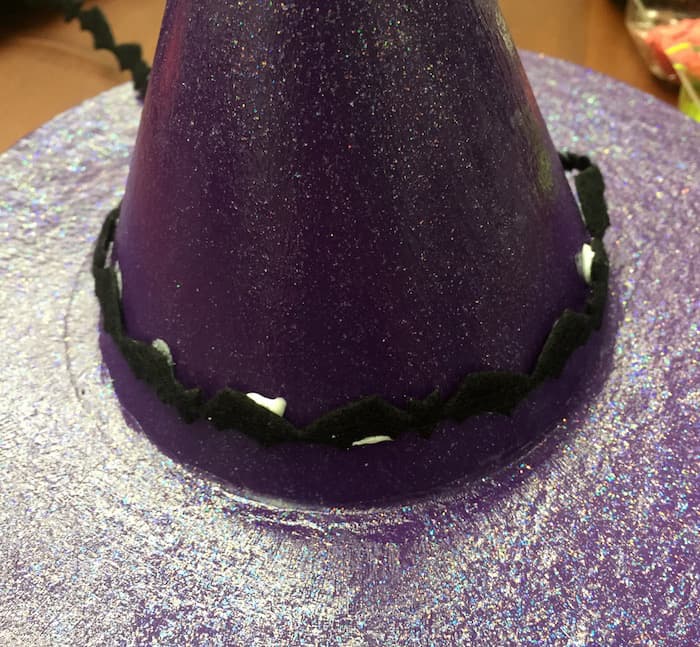
Smooth down and let it dry.
Now all you need to do is place the mask on your pumpkin and set the hat on top. That’s it!

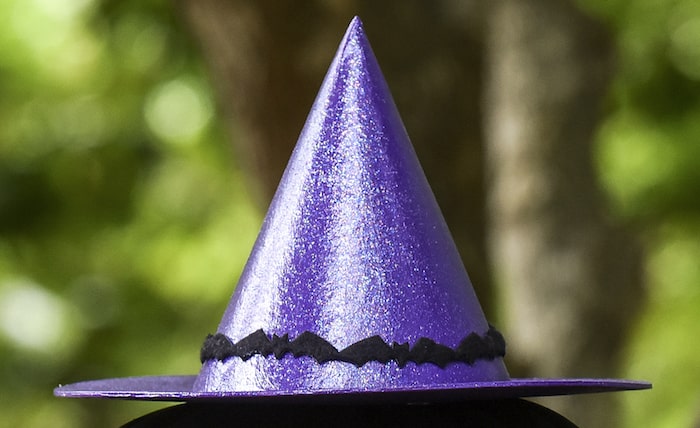
Now when I want to turn my witch back into a regular pumpkin, I simply remove the hat and mask. I can redecorate as I choose!
Cool, right??
Looking for some additional projects? I’d love for you to check out these other Halloween ideas:




This pumpkin is so cute! I love the purple glitter hat on top! It’s perfection!
Paige
https://www.thehappyflammily.com/
This sounds like a really neat idea…I’m thinking about doing this year with my kids…