DIY Plant Hanger Made from Wood for Any Decor
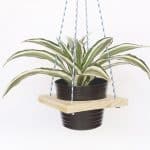
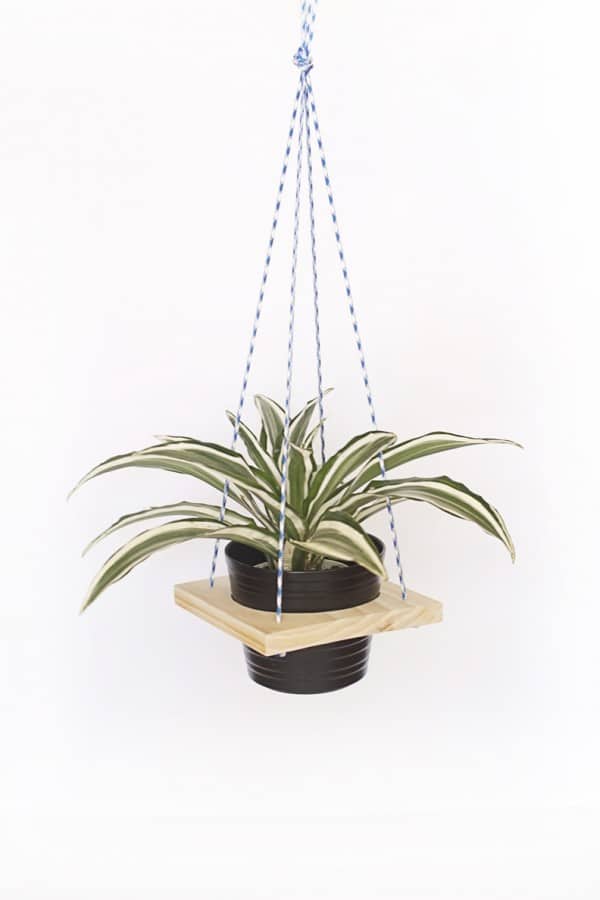
Use a plywood block to make this simple and modern DIY plant hanger – you’ll have a few of these hanging in your home before long!
Skills Required: Beginner. You’re going to cut a hole in a board with a scroll saw. It’s relatively easy, but you do need some basic experience with tools to do this project.
Hello there! It’s Lidy from Hello Lidy, and I’m so excited to be sharing my first DIY with all of you! In our home, you can never have too many plants. That’s the rule.
They add life and color to the space with little to no effort. It’s also nice to add a variety of planters to create interest to the room as well, like this simple wood DIY plant hanger! This idea is a perfect easy woodworking project for beginners. Let’s dive in.
DIY Wood Plant Hanger
Materials
- Plywood block
- Plant pot
- Plant
- Scroll saw
- Drill
- Pencil
- Cord
Note: Before beginning, make sure your cord can handle the weight of the wood, container, dirt, and plant. I used 3mm macrame cord but stronger cord (4mm and up) is available! Another option is to use chain if you find that it’s going to be rather heavy.
Directions
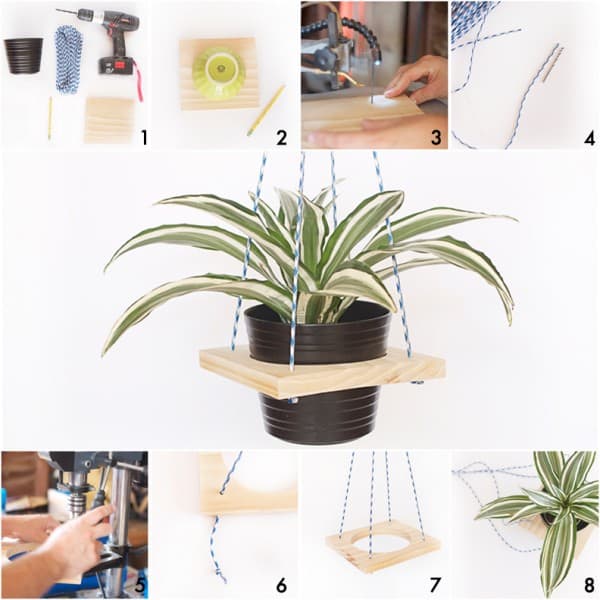
1. Gather your supplies.
2. Measure your pot circumference and trace with the pencil (I wanted my vase to sit in the center of the planter, so I found a bowl that had the same circumference as the middle of my vase).
3. Using your scroll saw, cut the center circle from the wood.
4. Find a drill bit that has the right width in order for the cord to pull through easily.
5. Drill your four holes in the four corners of your block of wood.
6. Pull your cord through each hole and tie a knot at the end to prevent your cord from slipping back through.
7. Loop a knot at the top so you can hang your planter.
8. Place your vase and plant in your new hanger and enjoy!
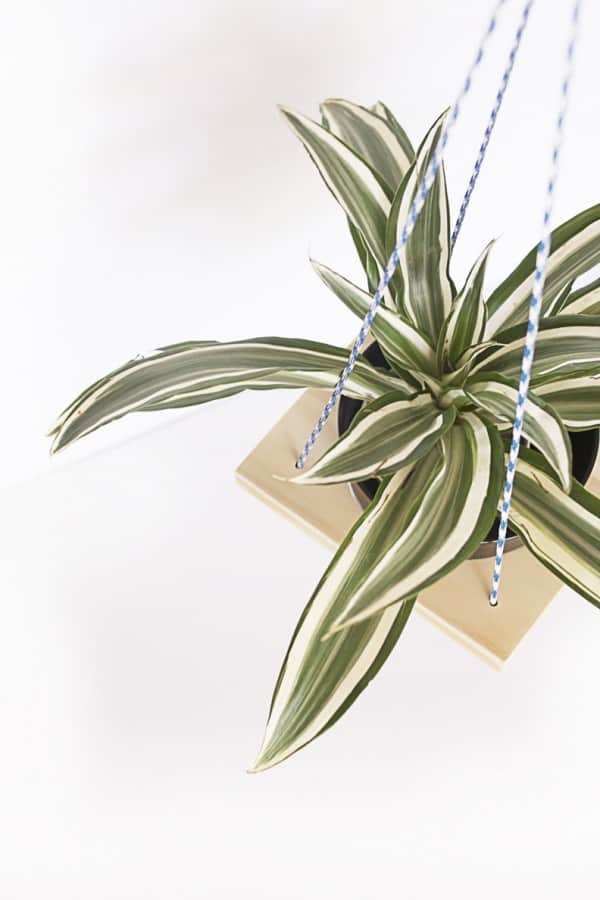
Your DIY plant hanger is ready to shine in all of its glory! Don’t be afraid to ask for assistance if you aren’t comfortable with power tools – happy crafting!
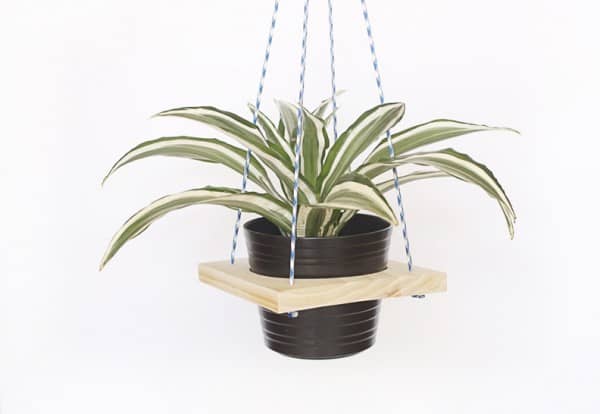
I left my hanger plain, but don’t forget that you can paint it as well. You could also cut out different shapes than a square. Let me know how you customize your project.
DIY Plant Hanger
Equipment
- Scroll Saw
- Pencil(s)
Materials
- Plywood Block
- Vase
- Plant
- Cord
Instructions
- Gather the supplies.
- Measure your vase circumference and trace with pencil (I wanted my vase to sit in the center of the planter, so I found a bowl that had the same circumference as the middle of my vase)
Using your scroll saw, cut the center circle from the wood - Find a drill bit that has the right width in order for the cord to pull through easily
- Drill your four holes in the four corners of your block of wood
- Pull your cord through each hole and tie a knot at the end to prevent your cord from slipping back through
- Loop a knot at the top so you can hang your planter
- Place your vase and plant in your new hanger and enjoy!
I’d love to hear what you think of this home decor in the comments! If you liked this project, I’d love for you to check out these other ideas:

