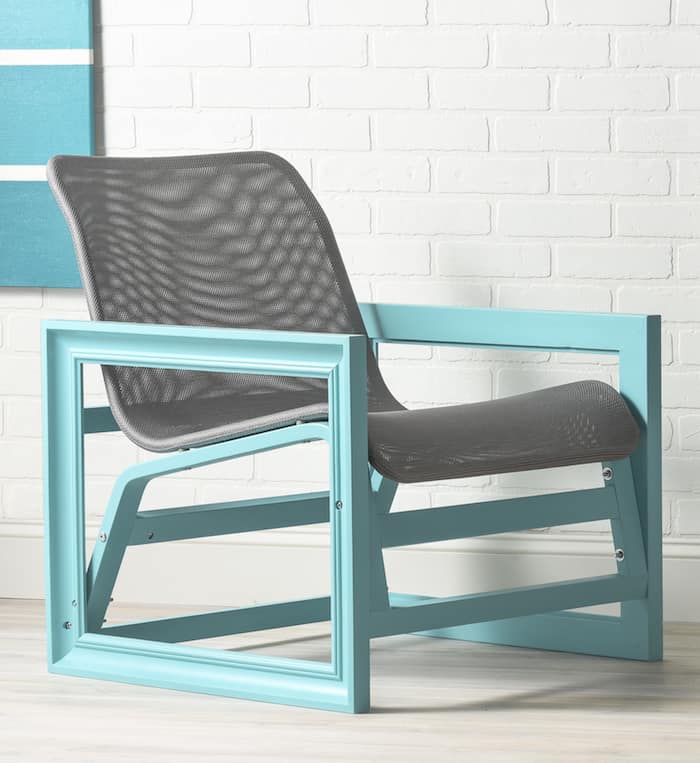
IKEA Nolmyra Chair Hack with Photo Frames
This amazing IKEA Nolmyra chair hack is constructed with two large wood photo frames! Learn how to make this unique piece of furniture.
So this Nolmyra chair hack has actually been an idea for quite awhile. It wasn’t necessarily going to be a hack at first, but it all came about when I wanted to make a chair using large wood wall frames – you know, the kind for photos.
I had seen the idea somewhere, a long time ago, and can’t even remember where I saw it. You might be asking yourself “why would I want to make a chair with photo frames?”
Well, sometimes you do things just because you can. This chair is essentially an experiment that ended up working out, and that we love, and that’s all that matters, right?
I’m going to tell you how I did this Nolmyra chair hack – hopefully I’ll end up explaining it clearly so that you can follow along! Please ask any questions in the comments.
Nolmyra IKEA Hack
Gather These Supplies
- IKEA chair – Nolmyra
- Two frames – ours measured 20 1/4″ x 24 1/4″ on the outside and 15 1/2″ x 19 1/2″ on the inside (they were purchased at Hobby Lobby using coupons)
- Valspar spray paint
- Screws – eight 1/4″, 4 inches long
- Nuts – eight to fit your screws
- Washers – eight to fit your screws
- Plastic corner brackets – package of six that came with screws (from Home Depot)
- Wood – a finished pine 1 x 2, eight feet long (cut to three pieces, 25 3/16″ long)
- Felt feet – adhesive
- Sharpie
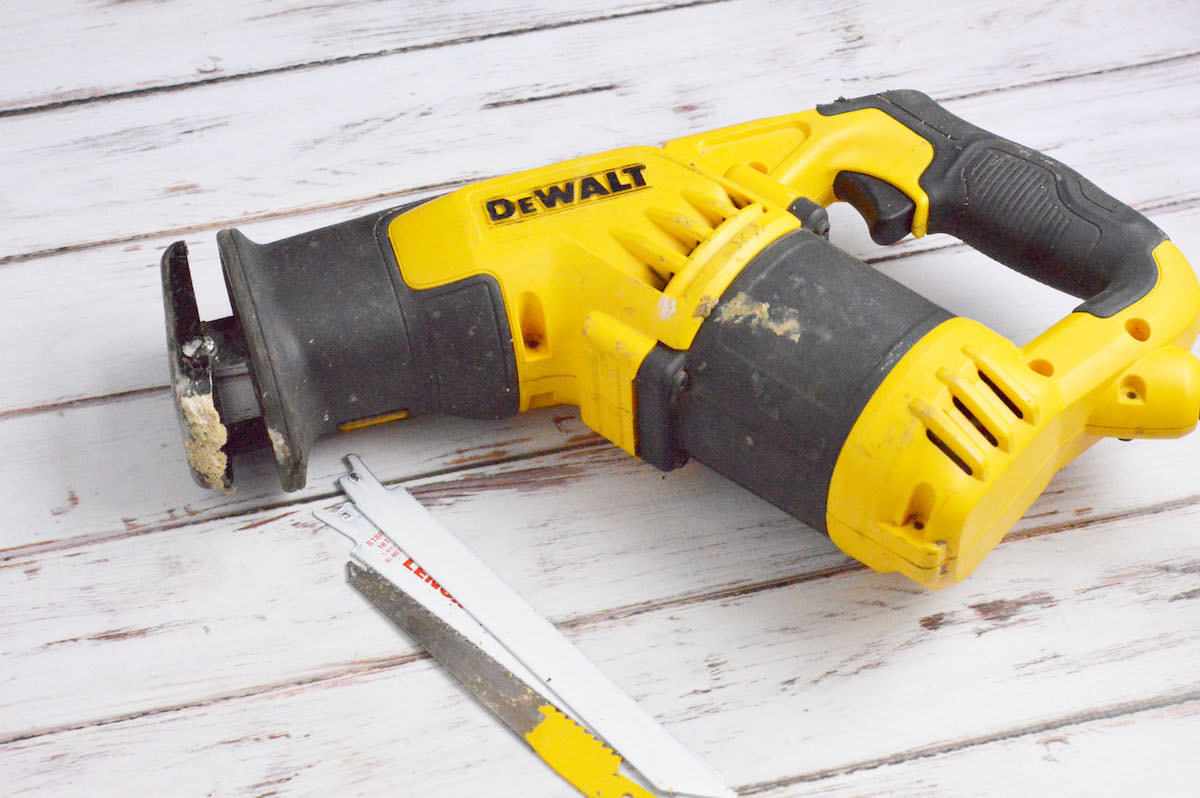
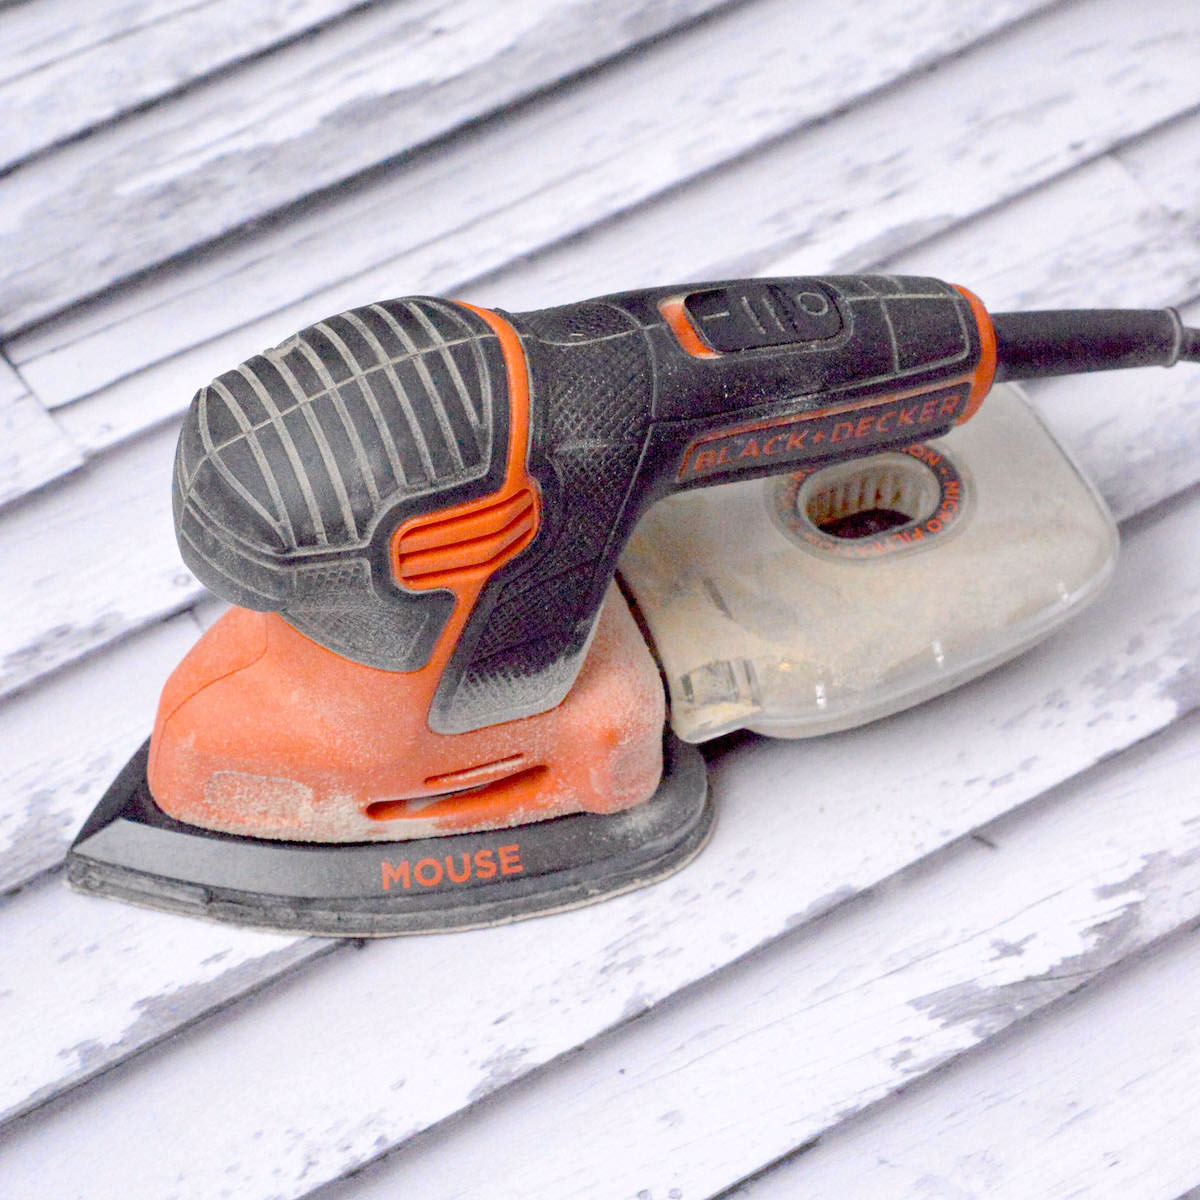
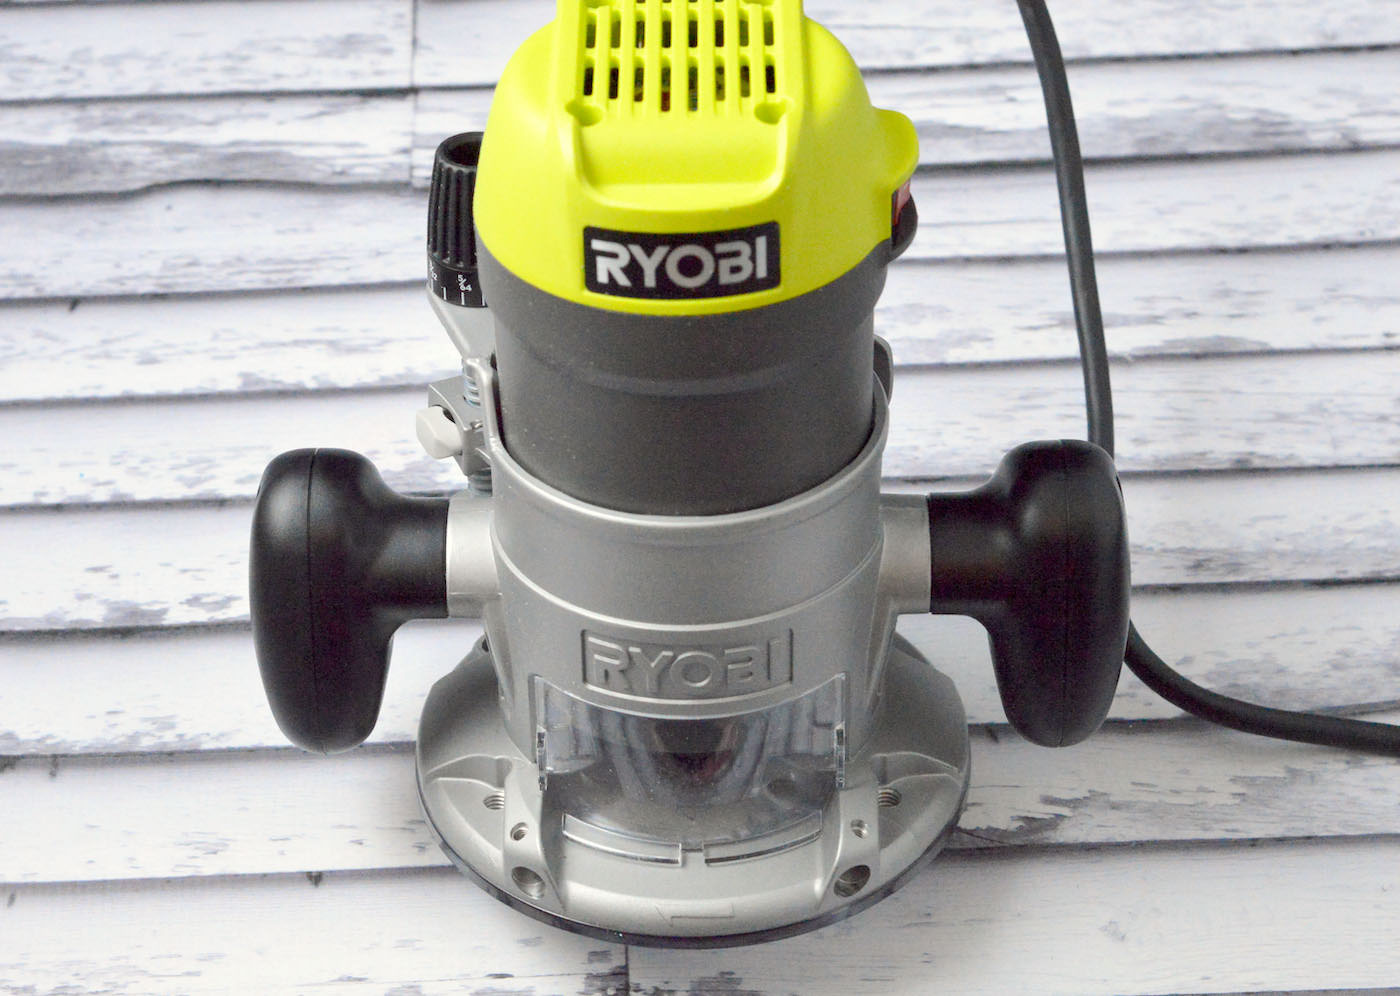
Tools
- Miter saw
- Household drill with both a 1/4″ and 3/4″ drill bit
- Four bar clamps
- Hacksaw
- Drill press (optional)
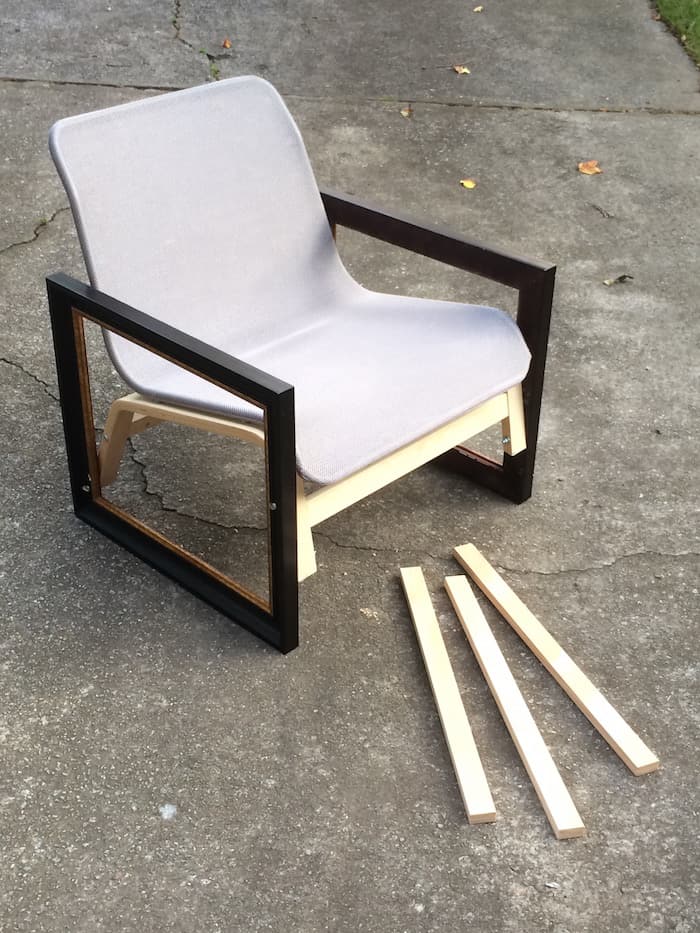
Let me offer a disclaimer up front. A lot of the measurements and wood cuts are going to depend on the chair you use as your base and the frames you purchase. It’s actually quite a simple construction that starts with a chair:
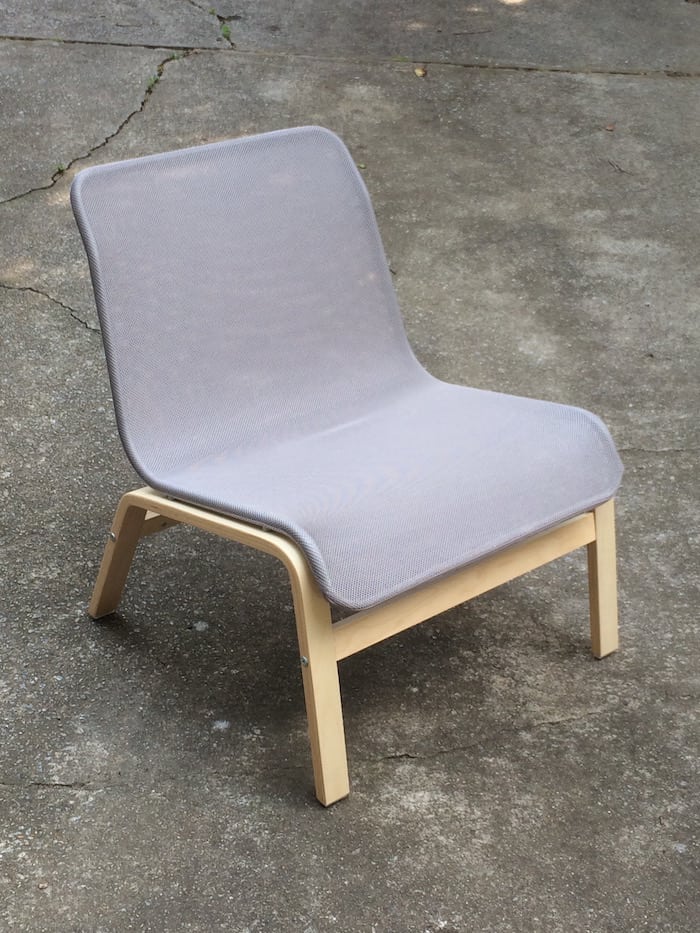
I decided to start by using a chair as a base for this project. I might build the entire chair from scratch next time, but for my first go-around, I wanted to have a base I could work with.
Enter the Nolmyra chair from IKEA – 40 bucks, and comfortable. I assembled the chair base and left the gray part detached for now.
Because I knew what size my chair was, I knew what size frames would work with the chair. So I purchased two at Hobby Lobby, in the (wait for it) frame section, using coupons.
You’ll want to do this so that the chair price doesn’t become astronomical. And hey, if you can get frames at the thrift store, that’s even better.
The frames that Amy and I purchased measured 20 1/4″ x 24 1/4″ on the outside and 15 1/2″ x 19 1/2″ on the inside.
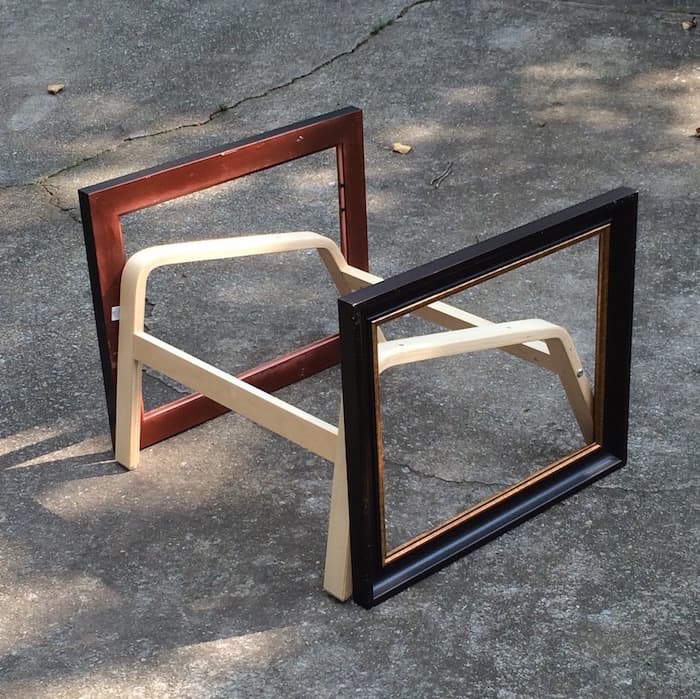
The frames might not fit the chair exactly – ours were pretty close. I placed the chair in the driveway and set the frames (leaned up against) next to the chair base to orient where the frames would need – where they would provide support and touch/cross the Nolmyra chair legs.
Your first “cut” is going to be a recess into the frame with a drill bit, assuming your chair is like ours. You see on the front set of the Nolmyra chair legs, on the outside, there’s a silver screw that holds the support.
You’re going to measure where these touch the frame, draw a line, then use a drill bit to create a recess for this screw head in the center of that line.
All we had was a 3/4″ drill bit, which was a little larger than was needed, but the hole needs to be larger than the bolt head, so we went with it.
You’re only slightly drilling into the frame, enough to recess the bolt head – NOT all the way through. You might not have to do this step if you don’t have bolts that require a recess.
Our frames fit flush against the side of the chair after drilling – we only needed to do it on the front legs because the frames did not intersect the screws on the back legs.
I made sure the frames touch the ground and are level because these are going to be the “feet of the seat.” At this time, I figure out where to drill the holes to attach the frames to the Nolmyra chair.
The frames were already placed because of the recessed screw – so I picked two locations on each side of BOTH the front and back of the Nolmyra chair that I drilled (eight holes total). I made sure the holes were as far apart as possible for stability but in the meat of the frame.
Honestly, it doesn’t matter exactly where these are as long as they are the same on the other side (and that’s just for looks). I marked these points with a Sharpie and drilled using a 1/4″ drill bit. OR if you have a drill press, do it with that to make it straight and easy for you (which is what I did).
You won’t add screws to your Nolmyra chair hack, yet.
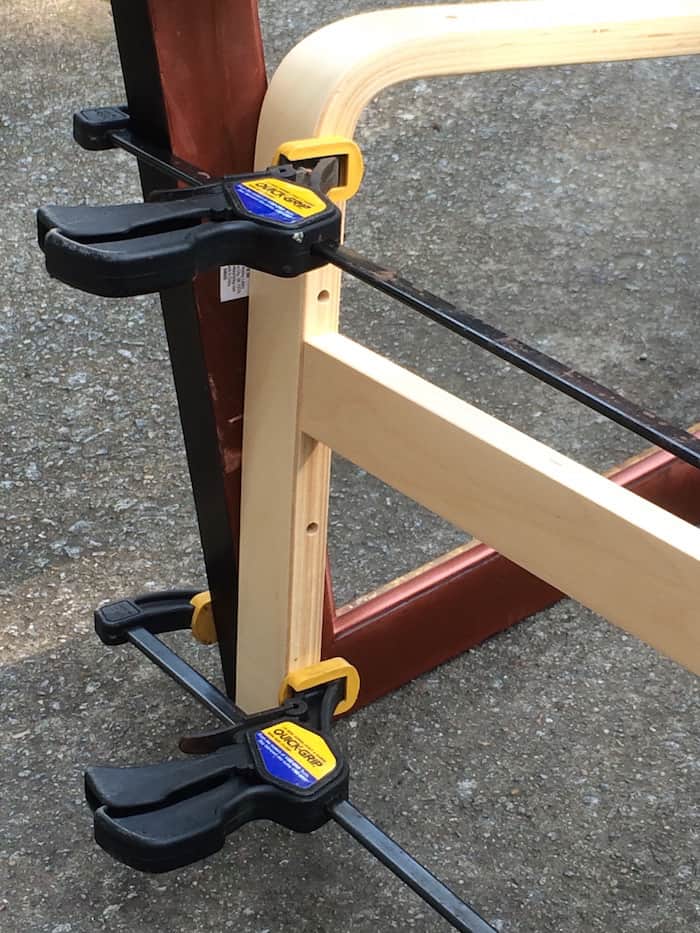
Next I used bar clamps to secure the picture frame to the Nolmyra chair – I clamped both the front and back. At this point, both the chair and frame were sitting on the ground.
I used the existing holes I just drilled in the Nolmyra chair as pilot holes – and drilled all the way through the frame in all eight of those holes.
Do the back first and then repeat on the front.
You have two options here. You can cut the legs off now, but I chose to create the recesses in the frames and make sure it all screwed together. Remember, this was an experiment so I wasn’t really sure what I was doing :0
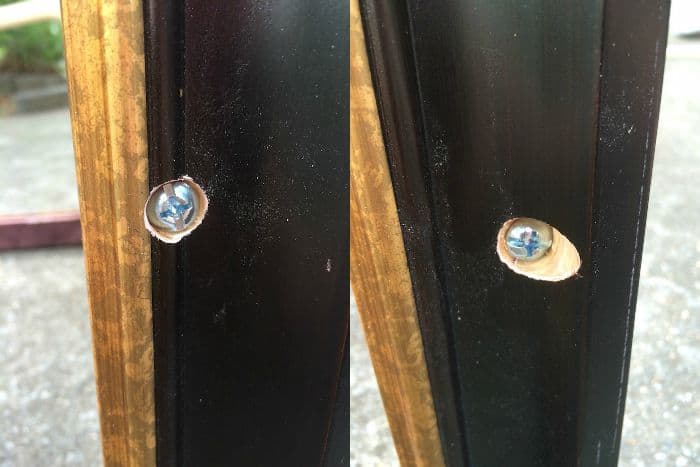
If your frame is flat, you won’t need to recess the screw head (unless you want to for aesthetics). If your frames are beveled or angled like ours, you’ll definitely want to do what I refer to as the “poor man’s countersink.”
Here’s what you do for the countersink: measure your screw head and grab a bit that is slightly larger. Put a piece of painter’s tape over the hole (press down to outline the hole so you can see it) so that the lamination/outside frame won’t splinter and drill in enough so that the head is flush or recessed into the frame.
Remember those eight holes I drilled before? I did recesses for all of those screws. Then I screwed the chair together to make sure it all worked.

At this point you just have frames stuck to a chair, but all hope is not lost! Next I figured out how much leg I wanted to cut off of the chair from both the front and the back. I wanted the frames to suspend the chair completely.
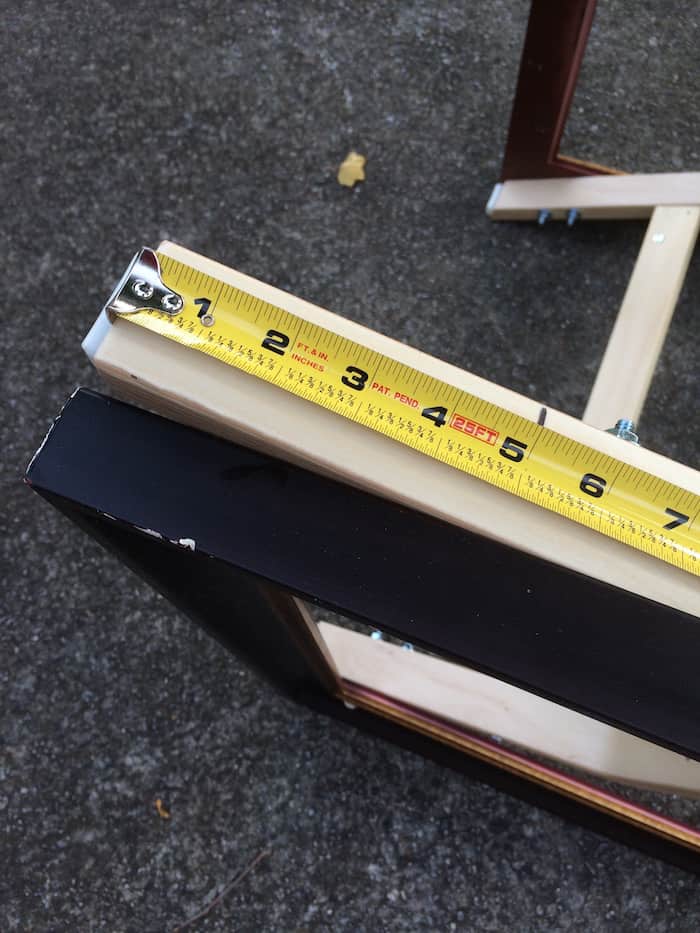
As you can see (while my frame was still screwed together), I measured a length that I liked, right around where the legs started coming out from the frame. I ended up cutting 5″ off the front legs and 3″ off of the back legs.
This also isn’t an exact science – there’s no “right or wrong.” It’s simply where you like it . . . well, with one thing to consider. Leave at least 1/2″ – 1″ distance between your cuts and the screws. You don’t want your chairs to splinter.
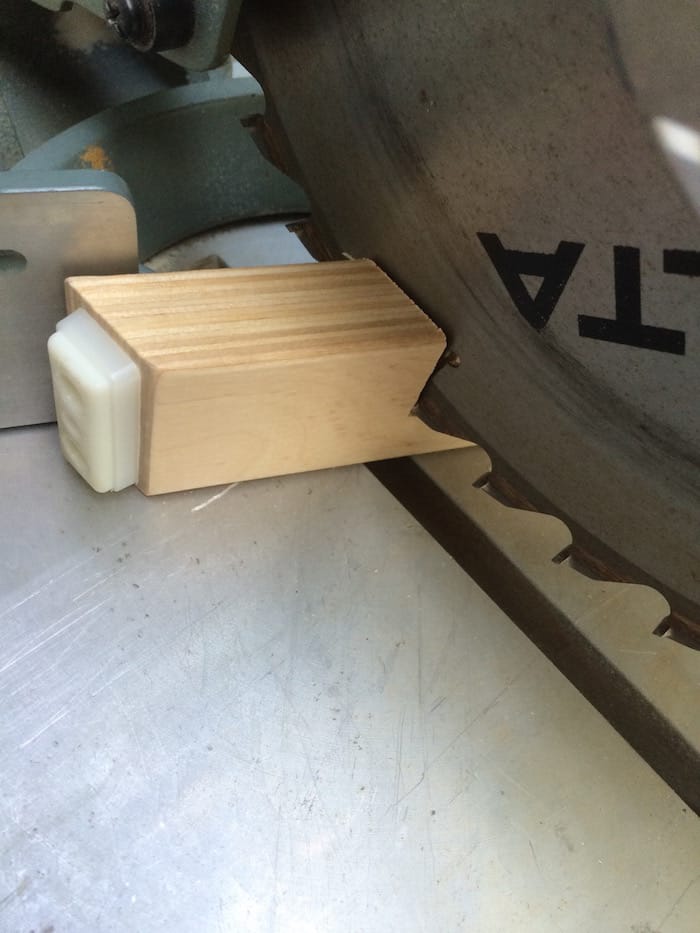
I used a miter saw to cut the legs. Cut at an angle that makes the bottom of the Nolmyra legs parallel (flat) to the ground.
I bolted the chair back together at this time and decided to add braces. I cut three pieces of pine of equal length (you’ll measure between the two frames). Our measurement was 25 3/16″. Again, your measurement might be different.
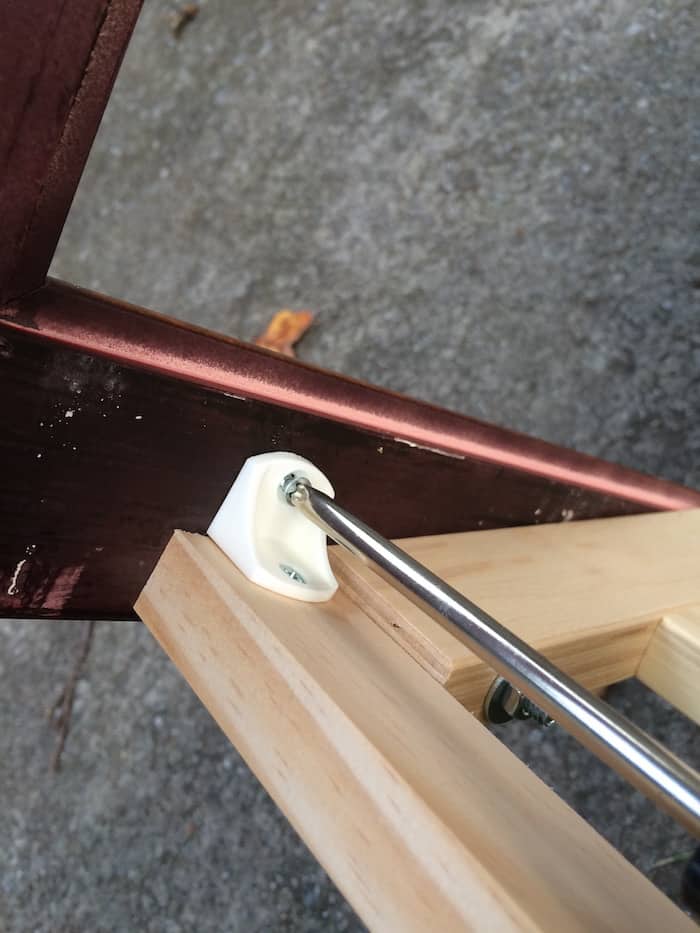
I attached the pine with corner brackets for stability and aesthetics.

In the front and in the back, I had two pieces of pine below the Nolmyra chair legs. Then I placed another cross piece up toward the top.
You probably want to sit in the chair and test it so that it’s low enough so that your seat doesn’t push into the bar (if it’s flexible/mesh like mine).
It’s time to break out the spray paint. Amy got a say in this with her love of bright colors.

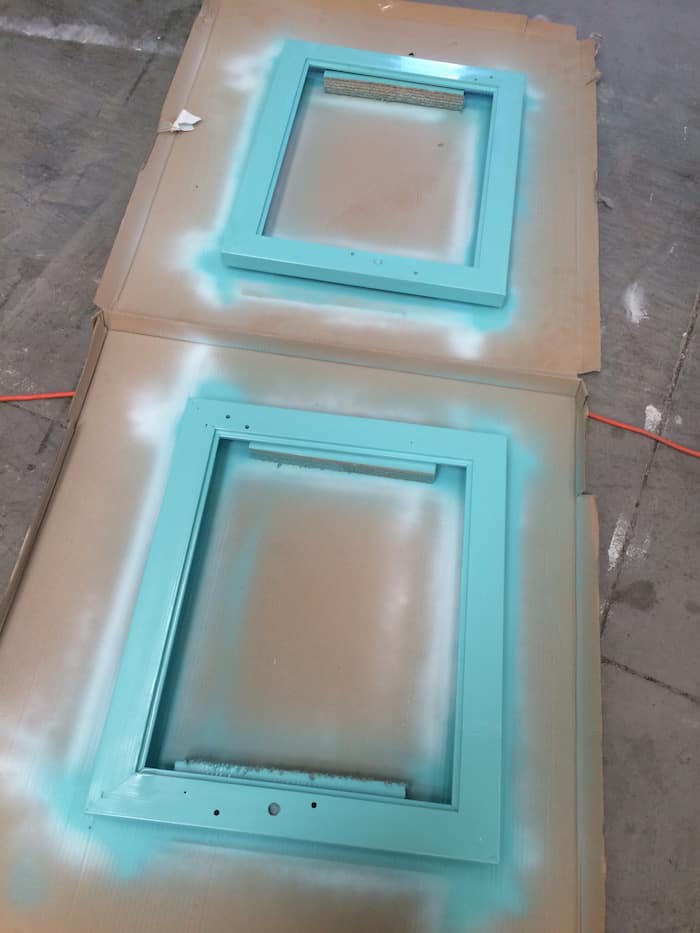
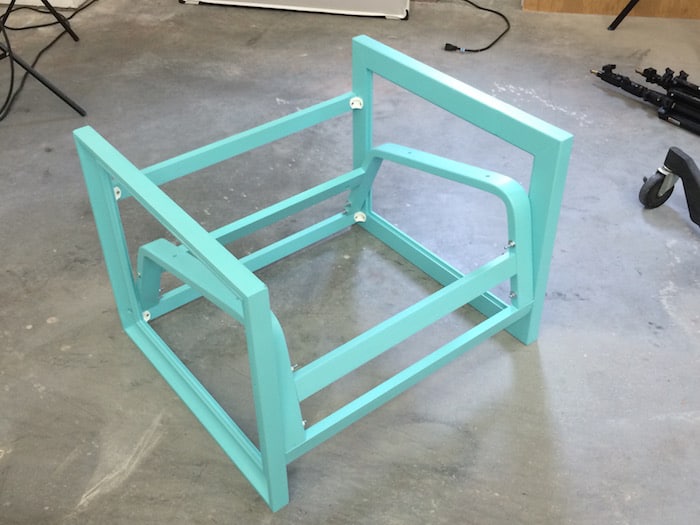
I disassembled and spray painted the chair – you can leave it all together and spray paint. It’s up to you.
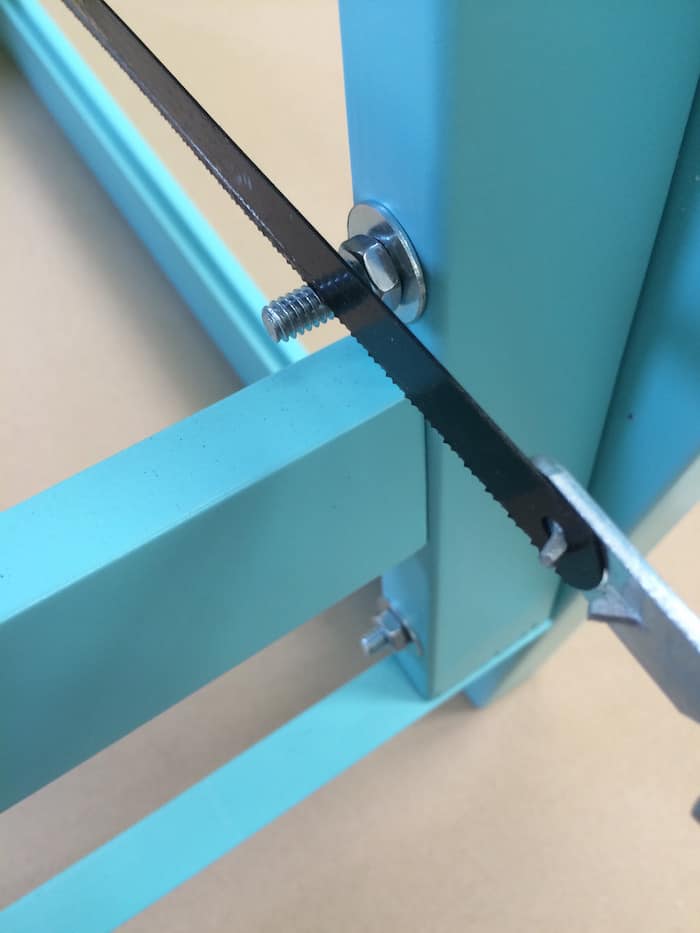
Then I hacksawed the ends of the bolts because mine were too long.
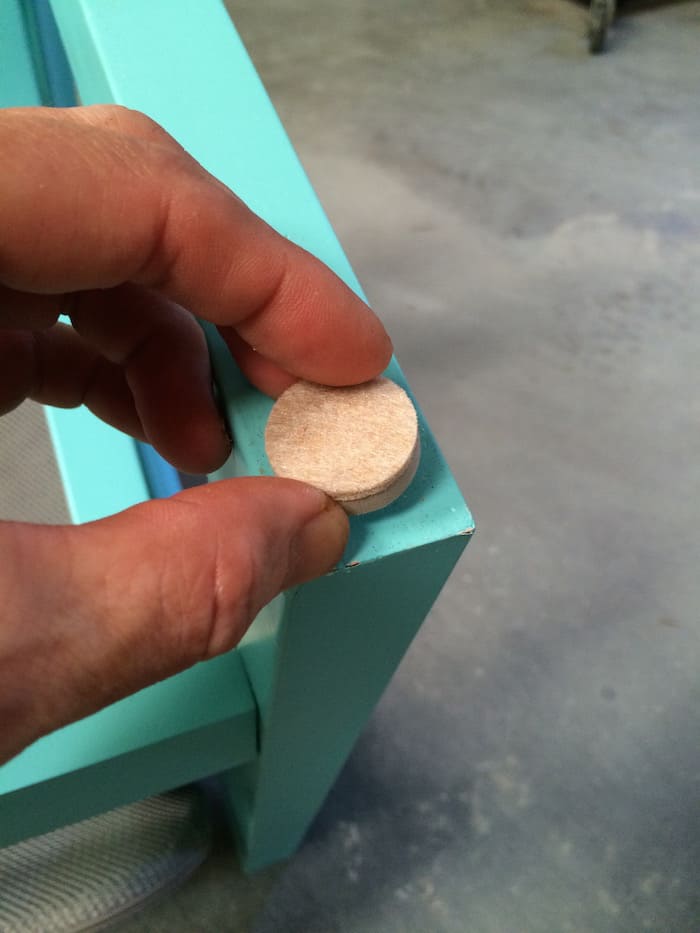
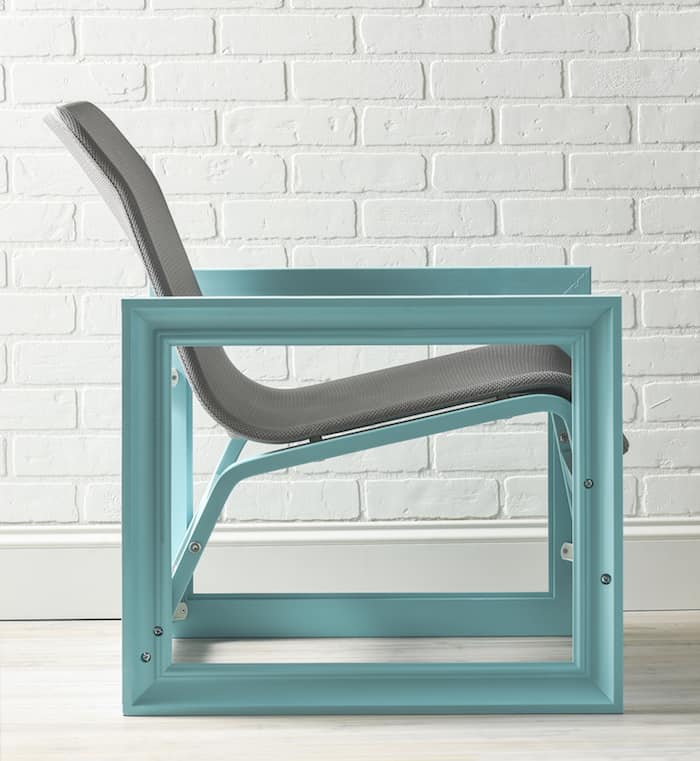
I attached the seat and felt feet so it wouldn’t scrape the crap out of my floor. My Nolmyra chair hack is complete.
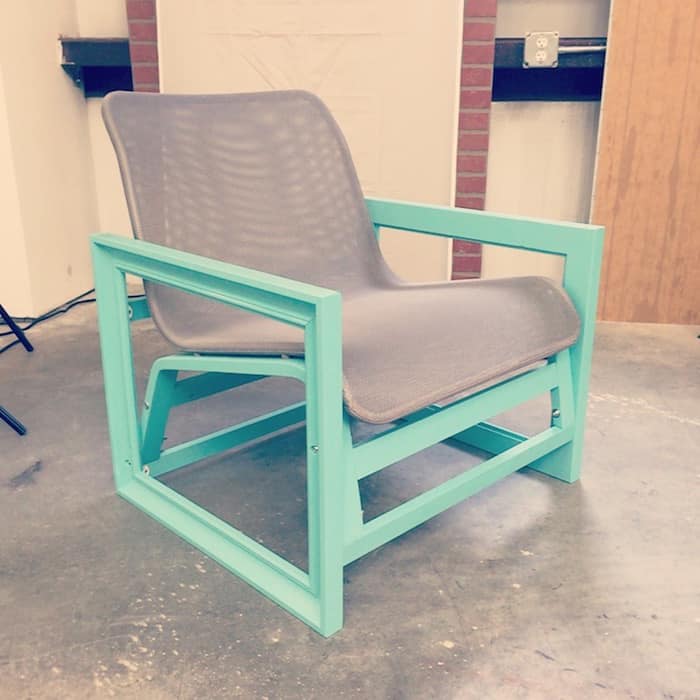
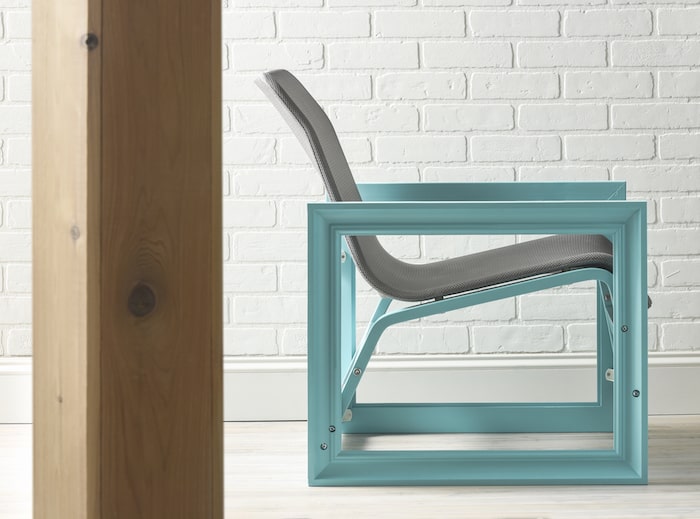
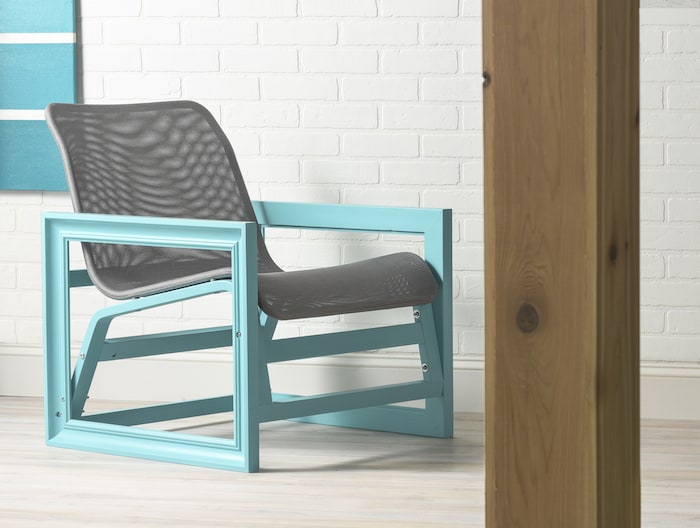
You have yourself a fancy frame chair!
I’d love to know your thoughts on this IKEA Nolmyra chair hack project. Would you ever try it . . . and what would you do differently?
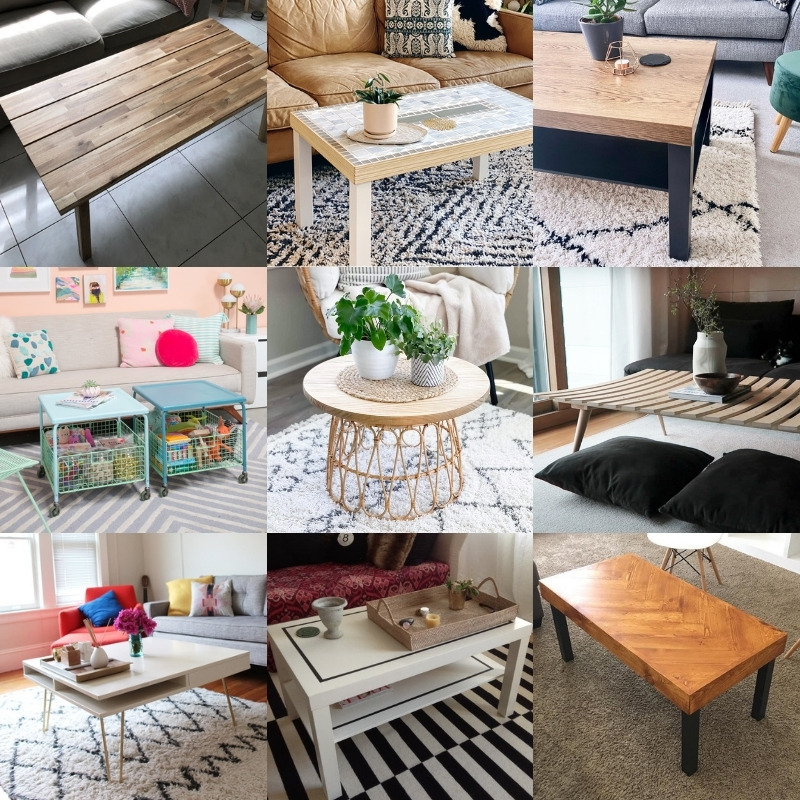
If you enjoyed this IKEA hack, I think you’re going to enjoy these other projects as well: