Christmas Shadow Box with a Trees on Cars Theme
This DIY Christmas shadow box is a fun and festive way to decorate! It incorporates one of the season’s most popular trends: trees on cars.
Skills Required: None. Even if you’ve never crafted before, you’ll be able to do this project. It’s mostly assembly as opposed to actual crafting.
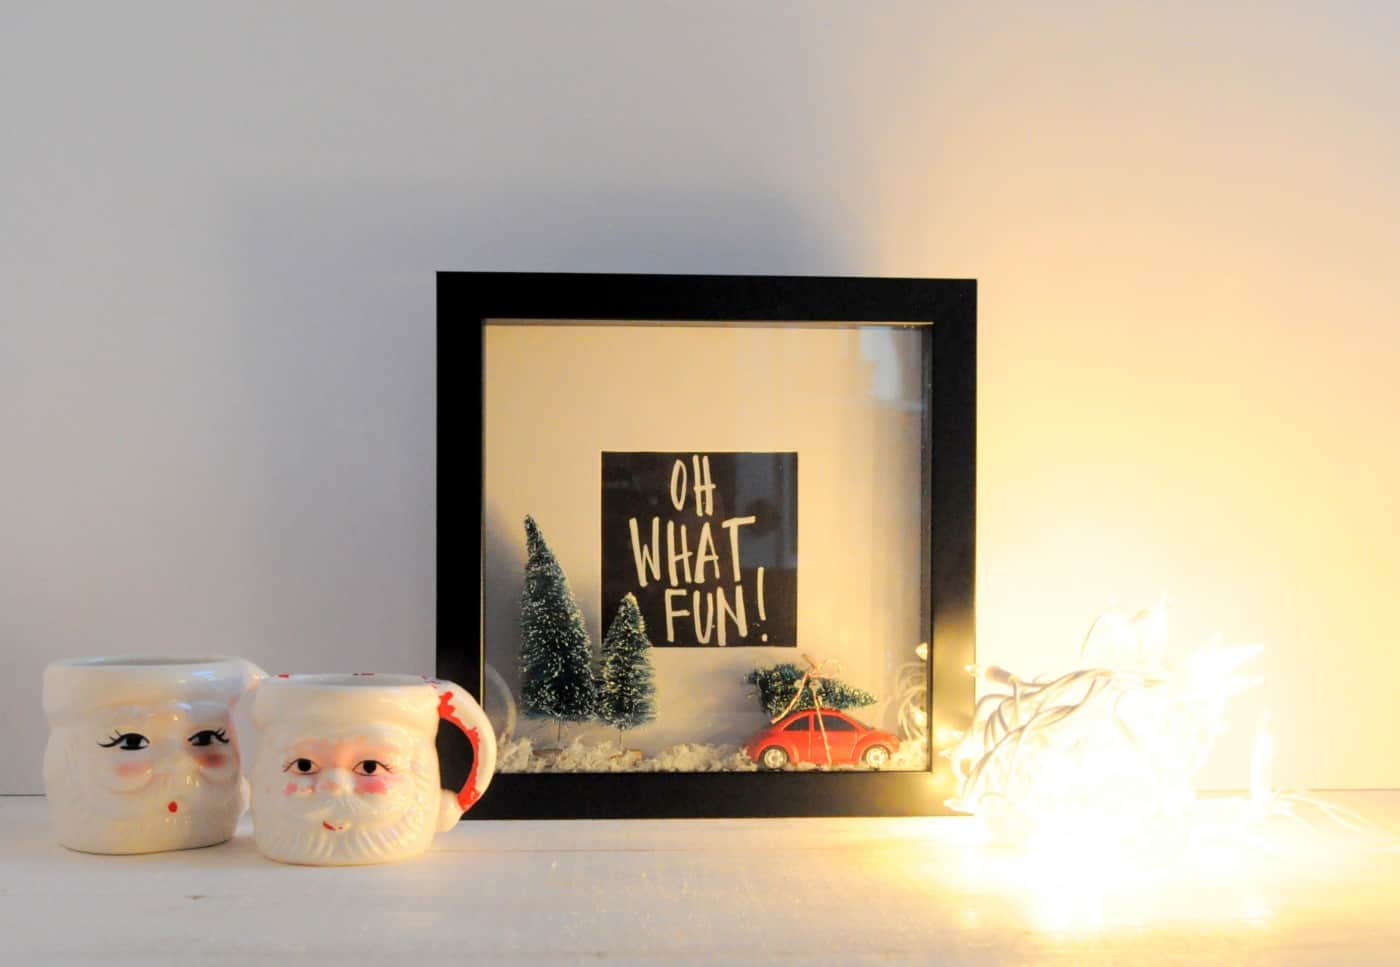
Snow globes are always so festive at Christmastime, so I thought I’d try taking the same idea a bit bigger with a shadow box. I also incorporated one of the season’s most popular trends: Christmas trees on cars.
The result is a fun little decor item . . . a DIY Christmas shadow box . . . and it’ll only take a few minutes to make! I love that this Christmas decoration goes with a variety of styles and themes: modern, farmhouse, rustic, and more.
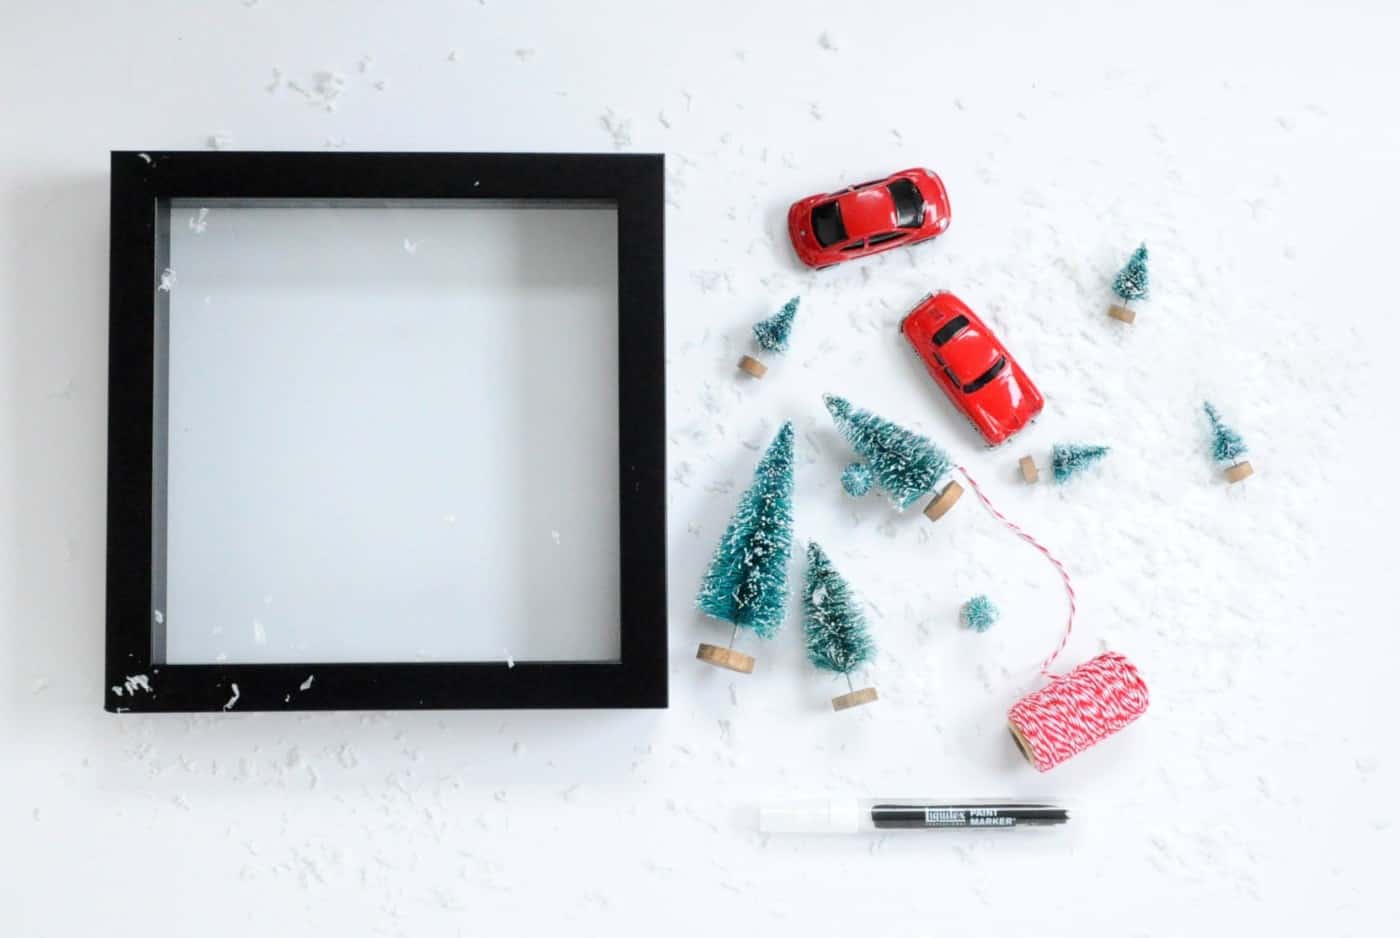
You can also get a lot of these supplies from the dollar store, making this craft an inexpensive way to decorate for the holidays.
DIY Christmas Shadow Box
Gather These Supplies
- Shadow box {available in the frame section of craft stores or IKEA as well as Dollar Tree}
- Cardstock – one piece of black
- Two red Matchbox cars
- Bottle brush trees
- Snow, etc. for a wintery scene
- Black paper or cardstock
- White paint pen
- Baker’s twine
- Scissors
- Hot glue gun
The shadow box needs to be deep enough to accommodate a toy car as well as the backing and glass.
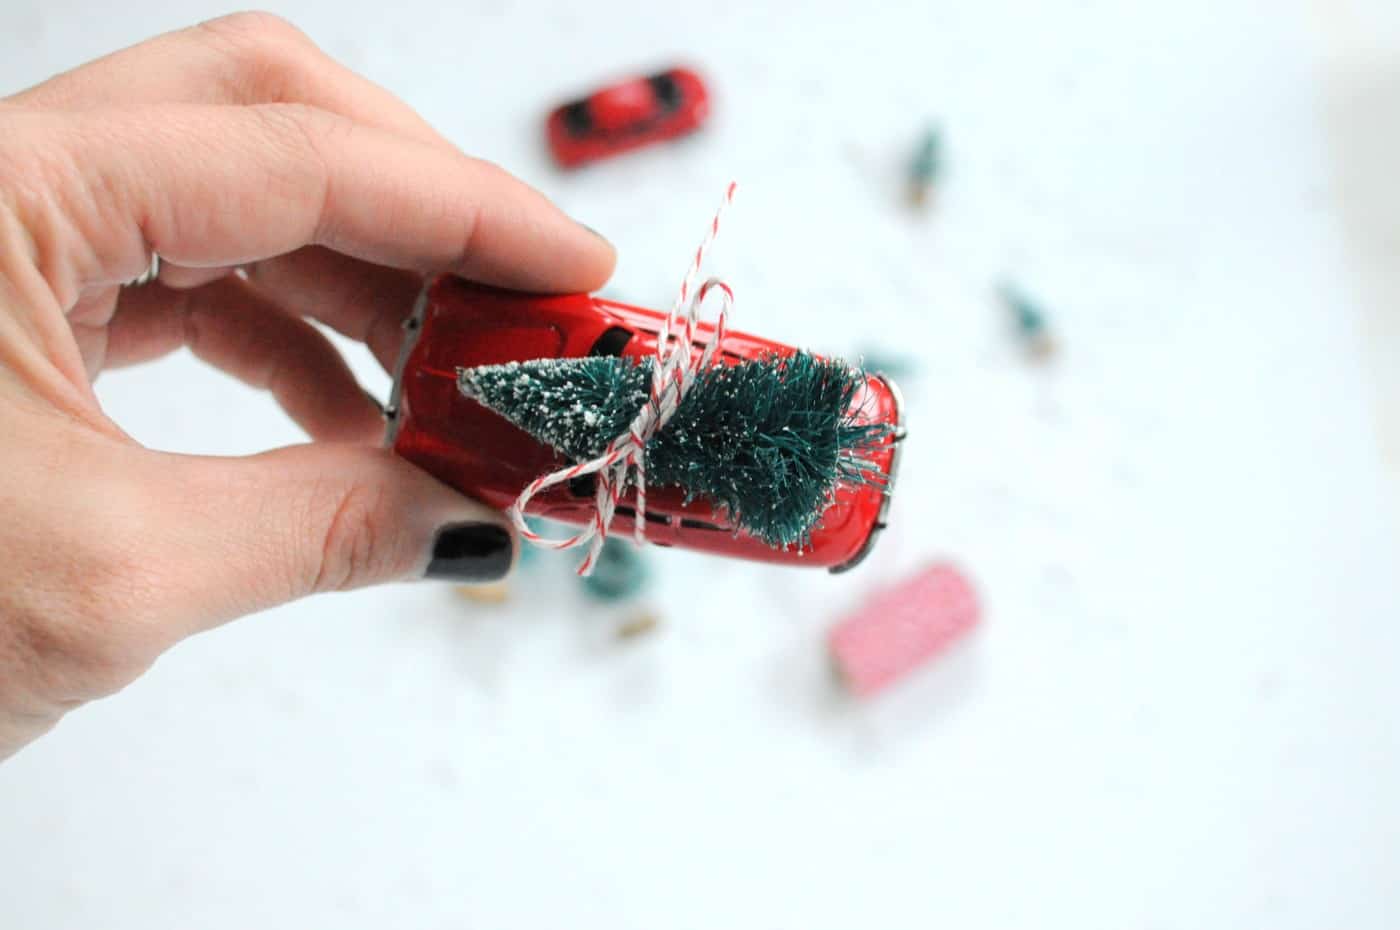
Cut a length of baker’s twine using the scissors. Place a bottle brush tree on top of the car with a dab of hot glue. Let cool and then tie the twine around the car and tree.
You can remove the bottom/base of the bottle brush tree if you like to put on the top of the car. You can use scissors or just pull the base off.
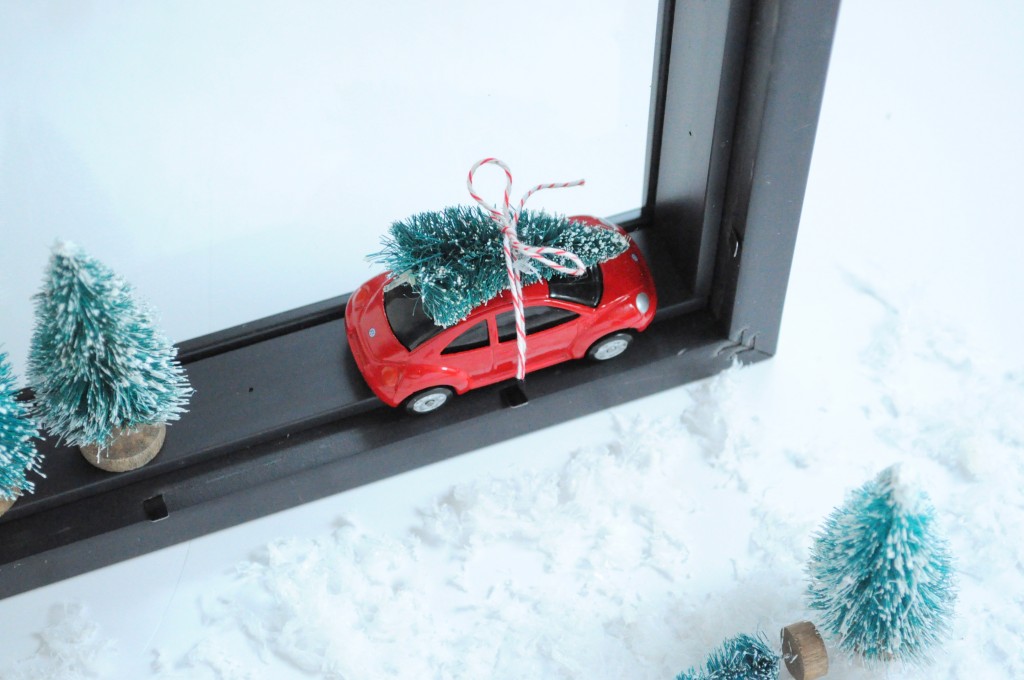
Continue by placing the tiny props inside the frame {use a bit of adhesive or glue to hold them in place if necessary} and sprinkle the entire scene with snow.
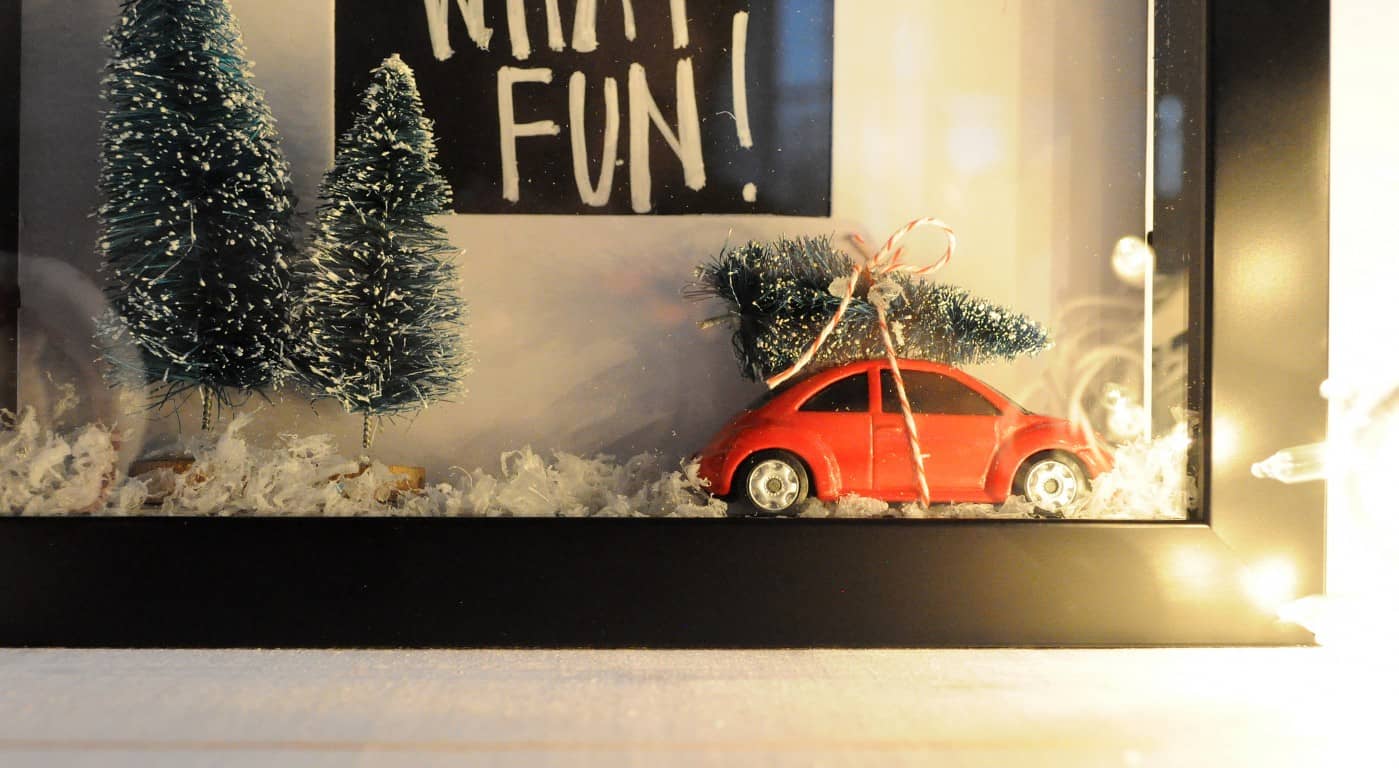
Using the paint pen, write a message on the black cardstock and replace the frame back. Dot the glass with white paint to look like falling snow if desired.
Then display your Christmas shadow box where ever you need a little extra holiday cheer!
Christmas Shadow Box
Equipment
- Paint pen white
Materials
- 1 Shadow box
- 1 piece Cardstock black
- 2 Matchbox cars red
- Bottle brush trees
- Snow etc. for a wintery scene
- Baker’s twine
Instructions
- Choose a shadow box deep enough to accommodate a toy car as well as the backing and glass.
- Cut a length of baker’s twine using the scissors. Place a bottle brush tree on top of the car with a dab of hot glue.
- Let cool and then tie the twine around the car and tree.
- Continue by placing props inside the frame using a dab of hot glue if necessary.
- Sprinkle the entire scene with snow.
- Cut the cardstock to fit the back of the frame. Write a winter message with a paint pen and replace the back.
- Dot the front of the glass with the paint pen to look like snow and display.
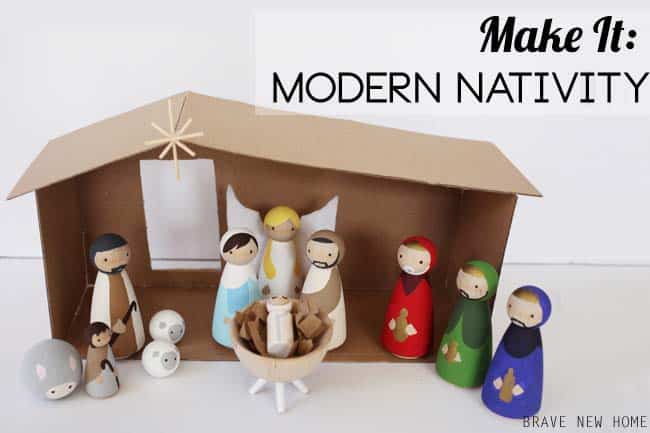
For another fun Christmas decoration that goes with a variety of decor, learn how to make a wooden DIY nativity set:


Such a cute shadow box!
Paige
https://www.thehappyflammily.com/
IT IS SOOO ADORABLE 🥰