Home Sweet Home Camper Appliqué Pattern
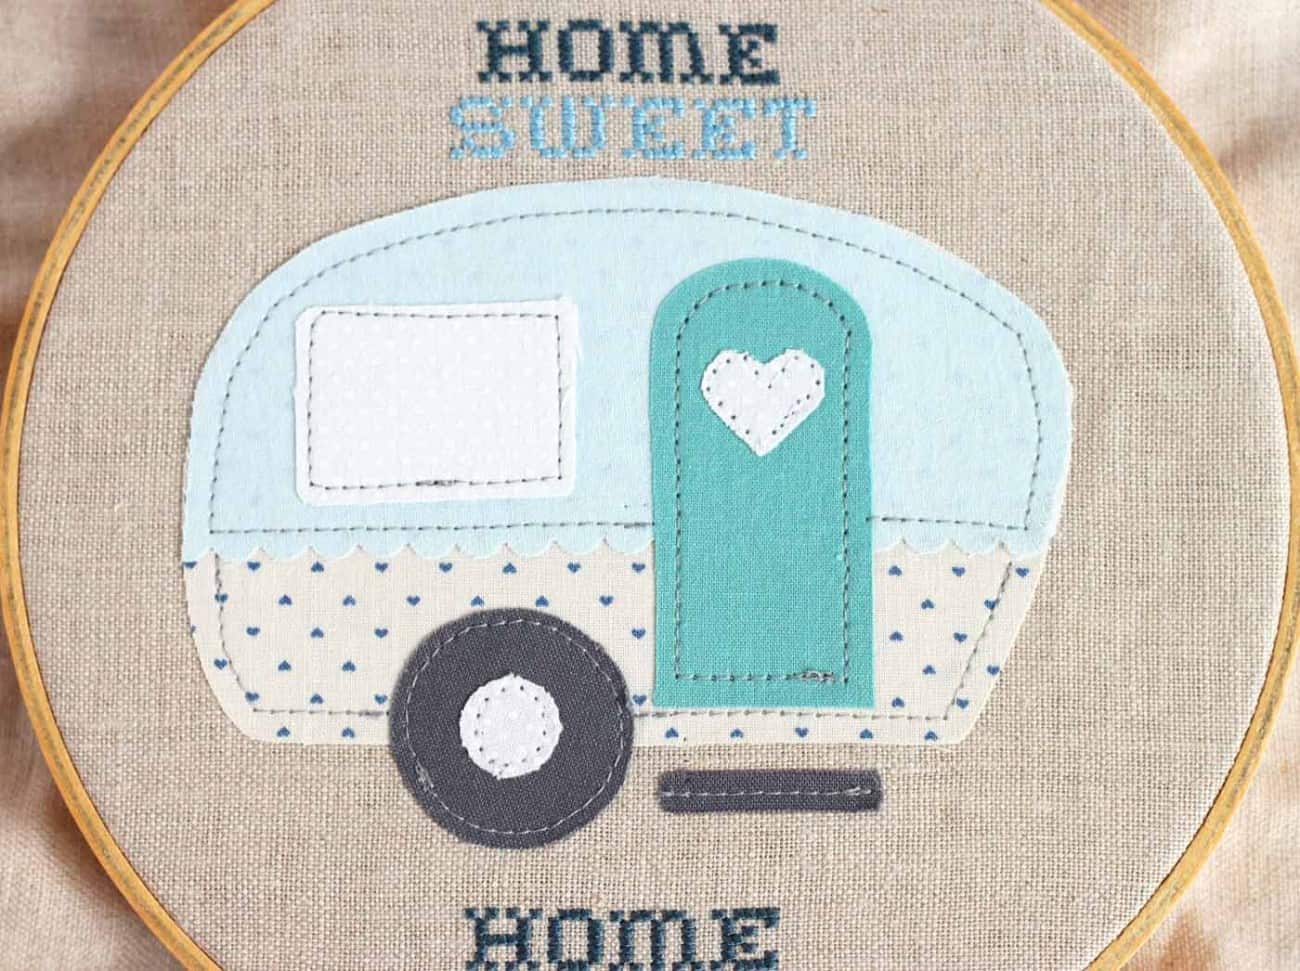
You’ll love this sweet vintage camper appliqué pattern in an embroidery hoop! This makes very cute home decor, or a great gift idea.
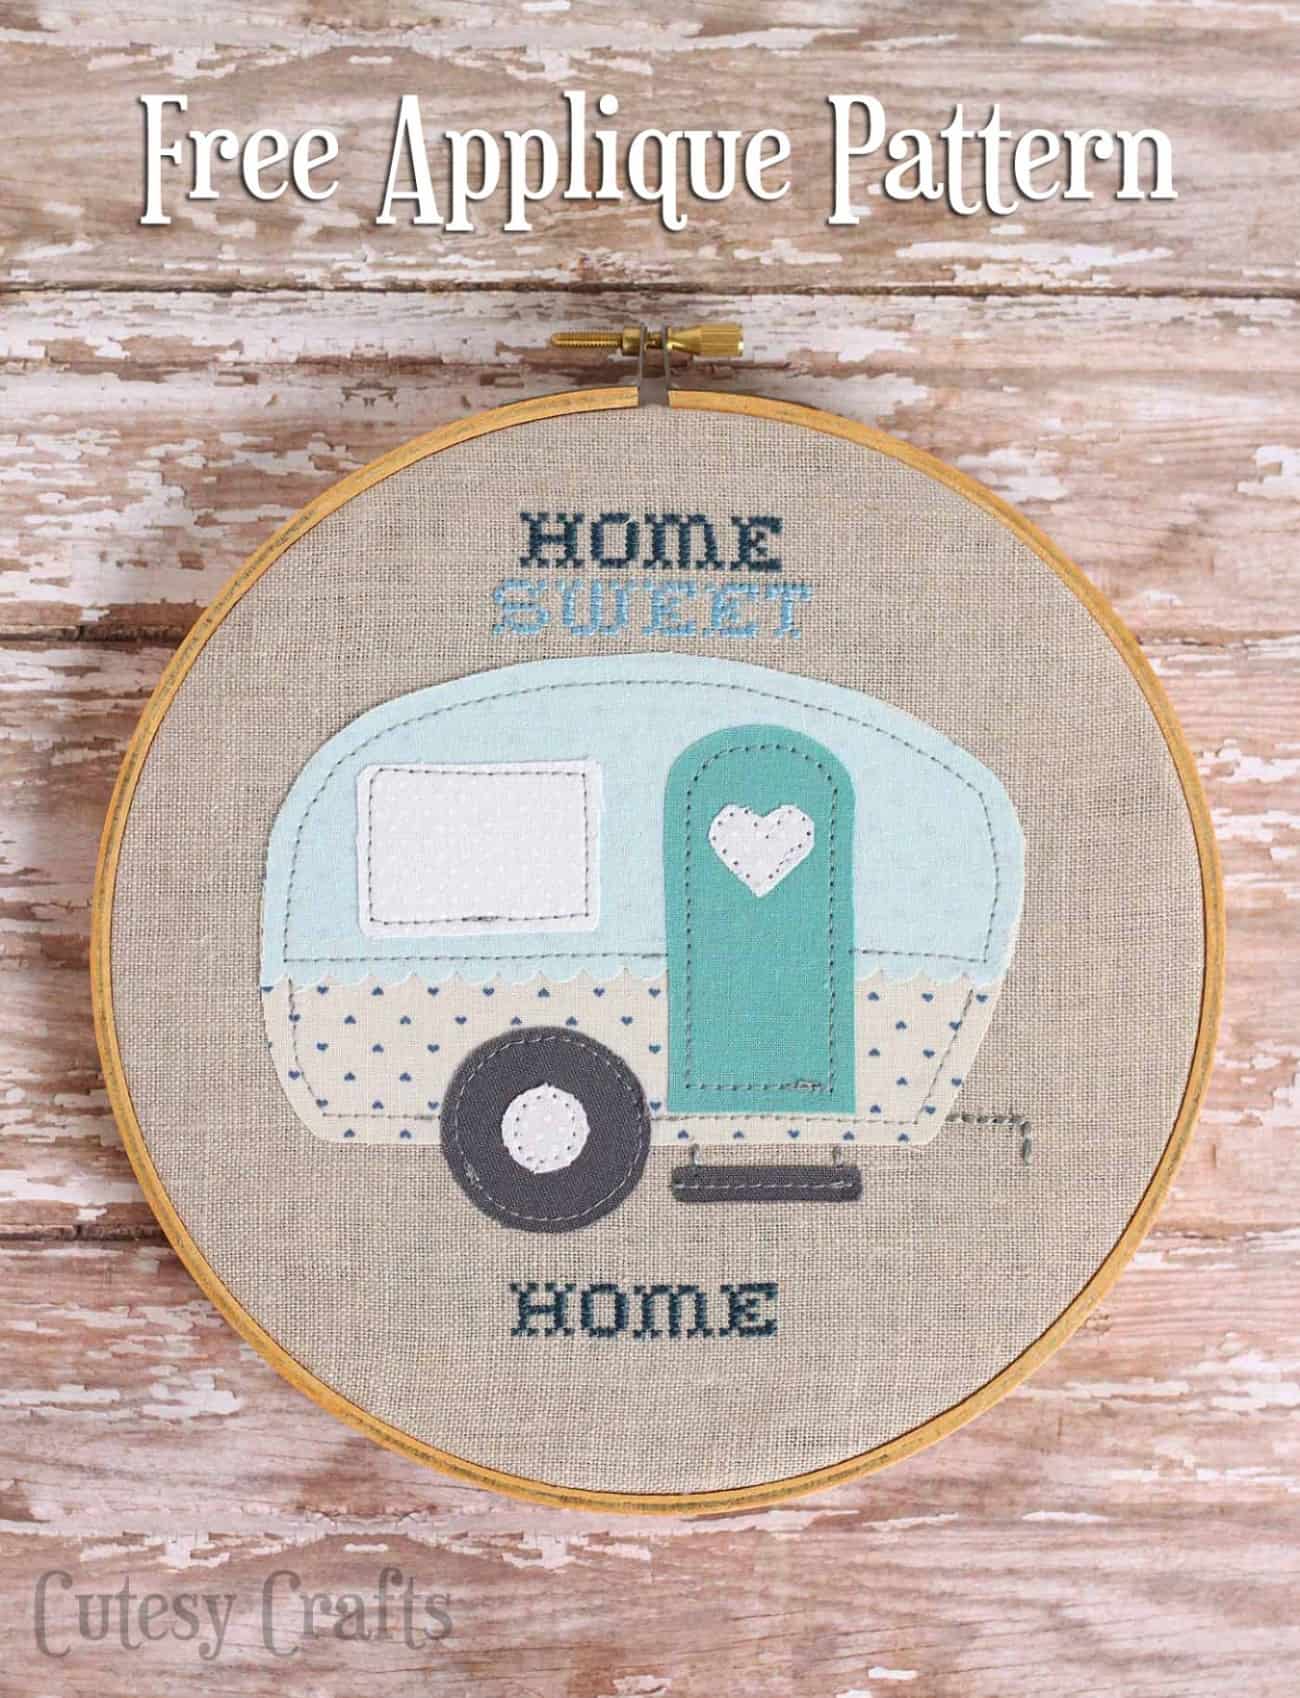
My mom just bought a new trailer for our annual family camping trips. While brainstorming Christmas gift ideas, I thought it would be nice to make a little decoration for it in an embroidery hoop. She is the one who taught me how to craft and sew after all.
I came up with this sweet camper appliqué design for a vintage trailer and cross stitched the words “Home Sweet Home” around it. Don’t worry, her trailer is definitely newer and bigger than this one looks.
I think it might even be nicer than my house! The vintage trailer with the cross-stitched letters is just too perfect though! I hope she likes it.
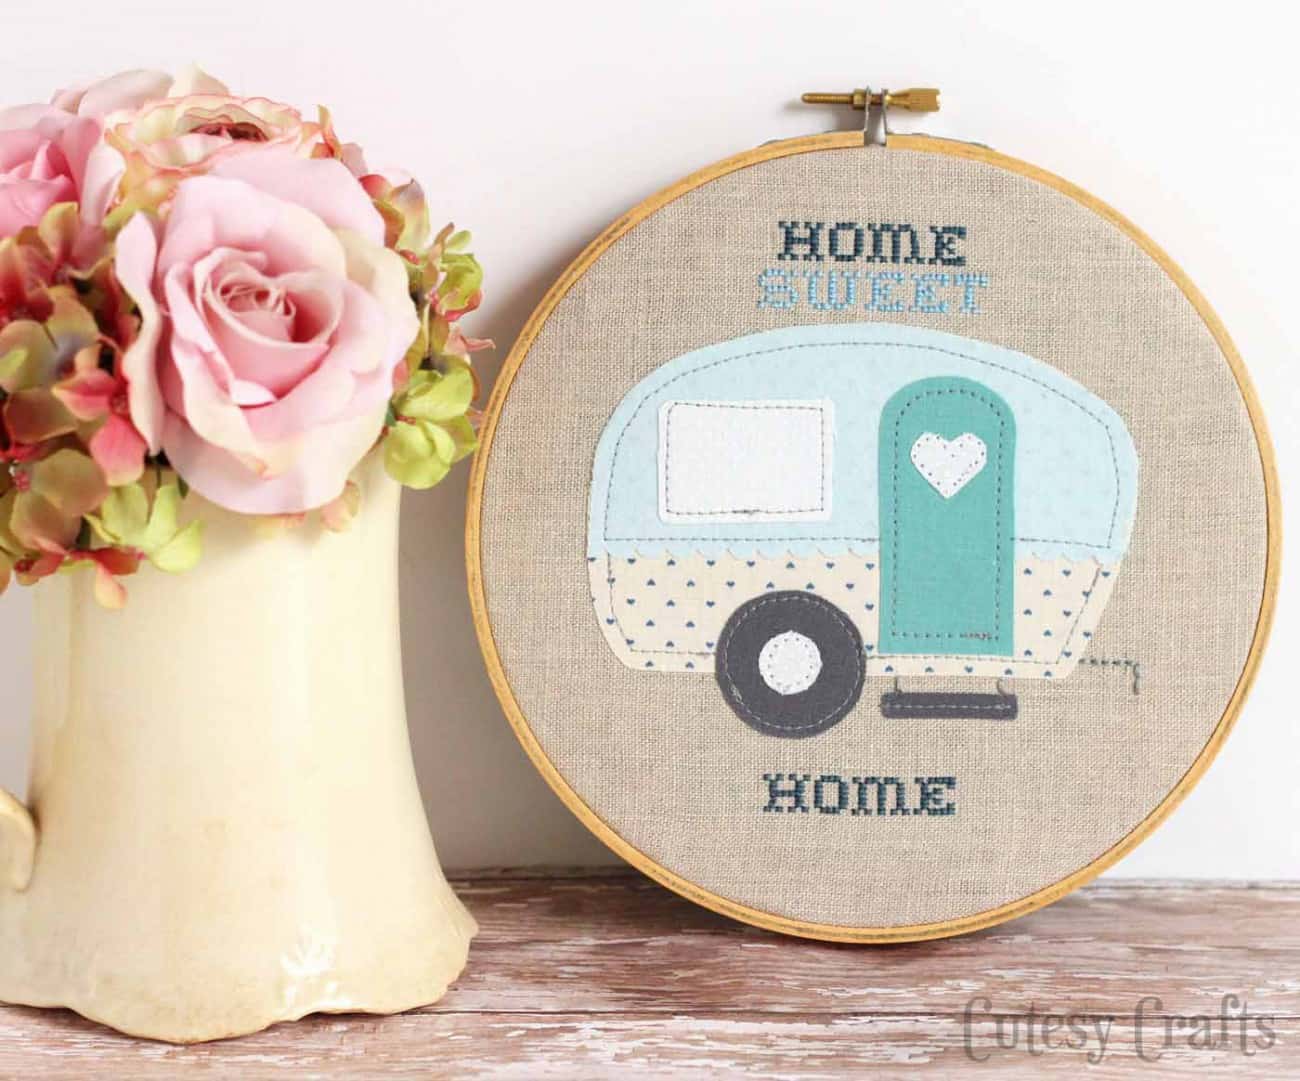
Camper Appliqué
Gather These Supplies
- Free trailer appliqué pattern
- 7-inch embroidery hoop
- Linen fabric
- Embroidery floss (dark blue, light blue, and gray)
- Embroidery needle
- Fusible interfacing (Pellon 805 or Heat ‘n Bond Lite)
- Fabric scraps
- Sewing machine and thread (optional)
- Scallop fabric shears (optional)
- Hot glue gun
- Felt
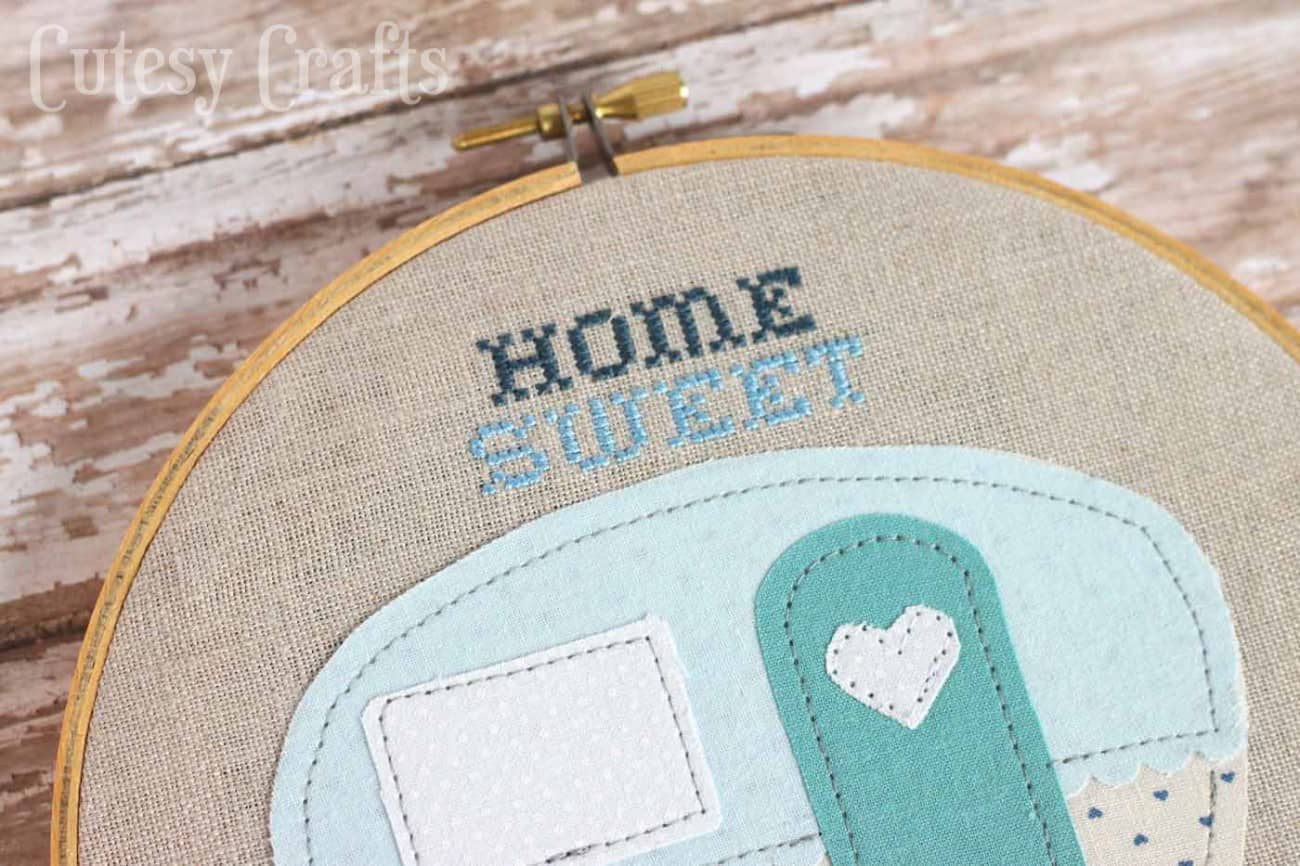
First, you’ll want to cross-stitch all of the words, using two strands of embroidery floss. If you’ve never cross-stitched on linen, I suggest googling some tutorials.
It’s a little bit tricky at first, but once you do the first couple of rows, it gets better. (If you have poor eyesight or you’ve never cross-stitched before, you might try using some Aida cloth instead.)
Cut out the trailer from the pattern to use as a guide for how far to space the last word. Luckily the first and last words are the same, so that makes it easy to line up.
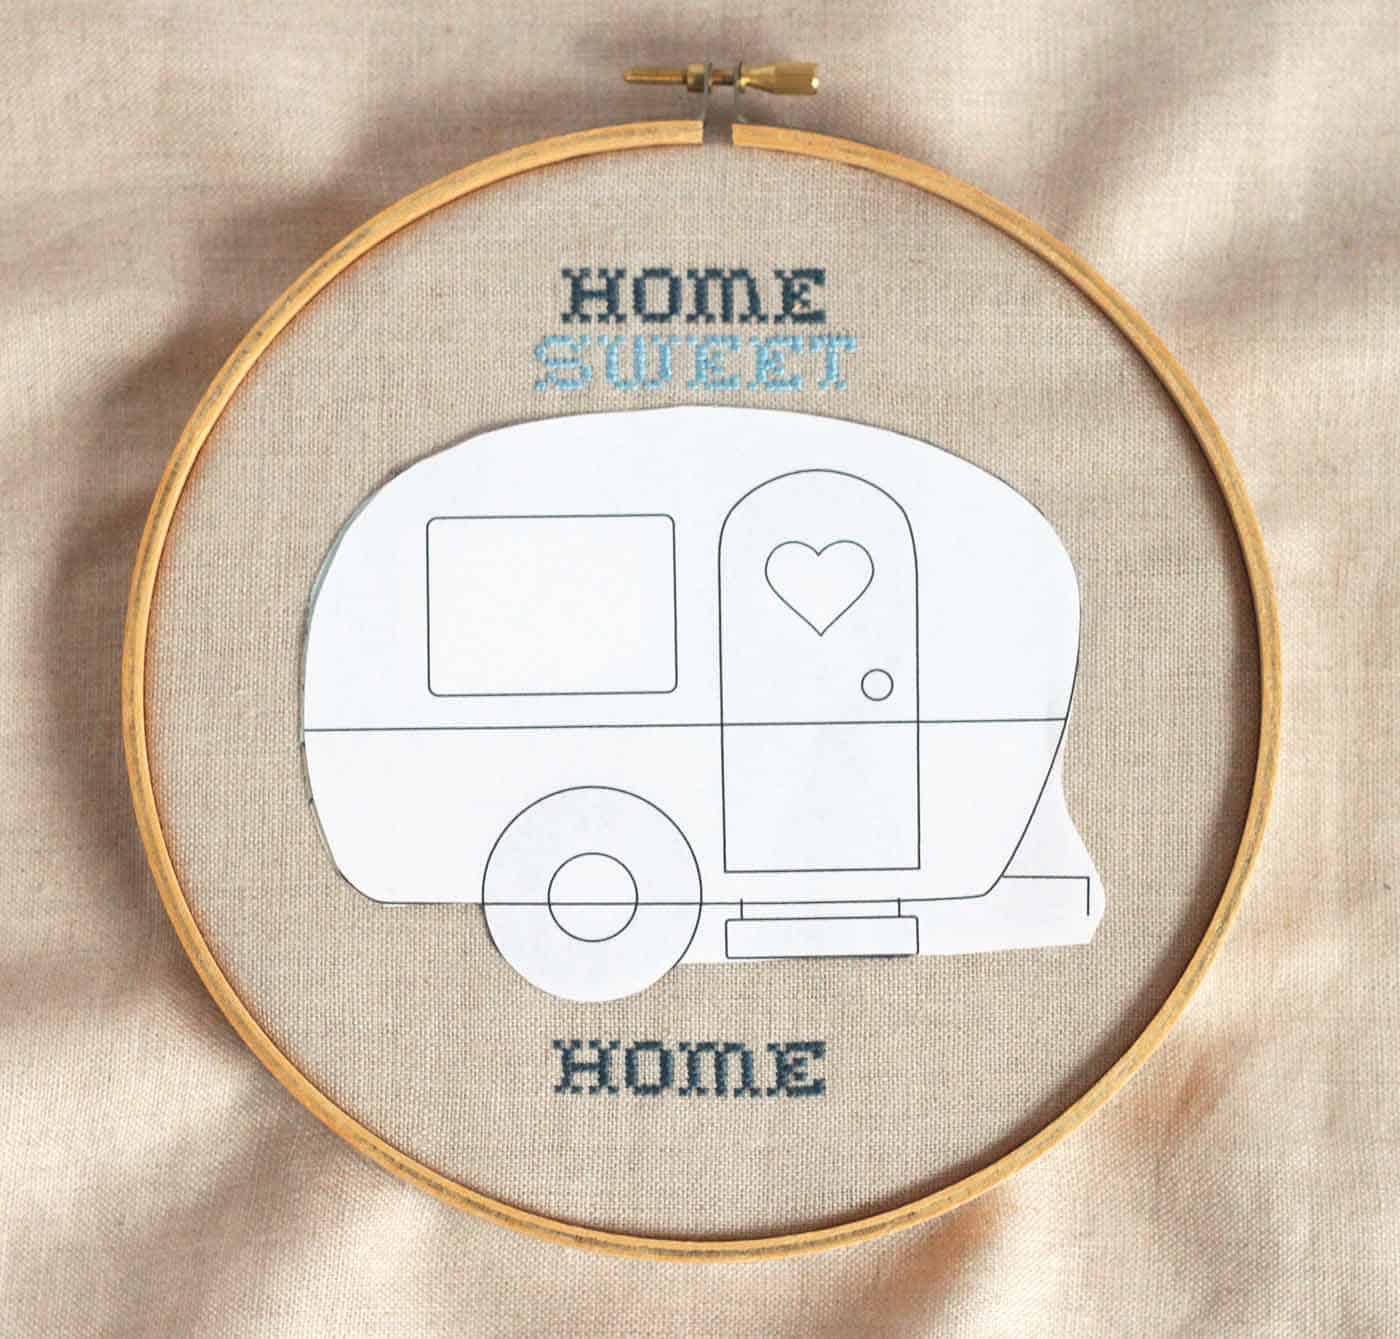
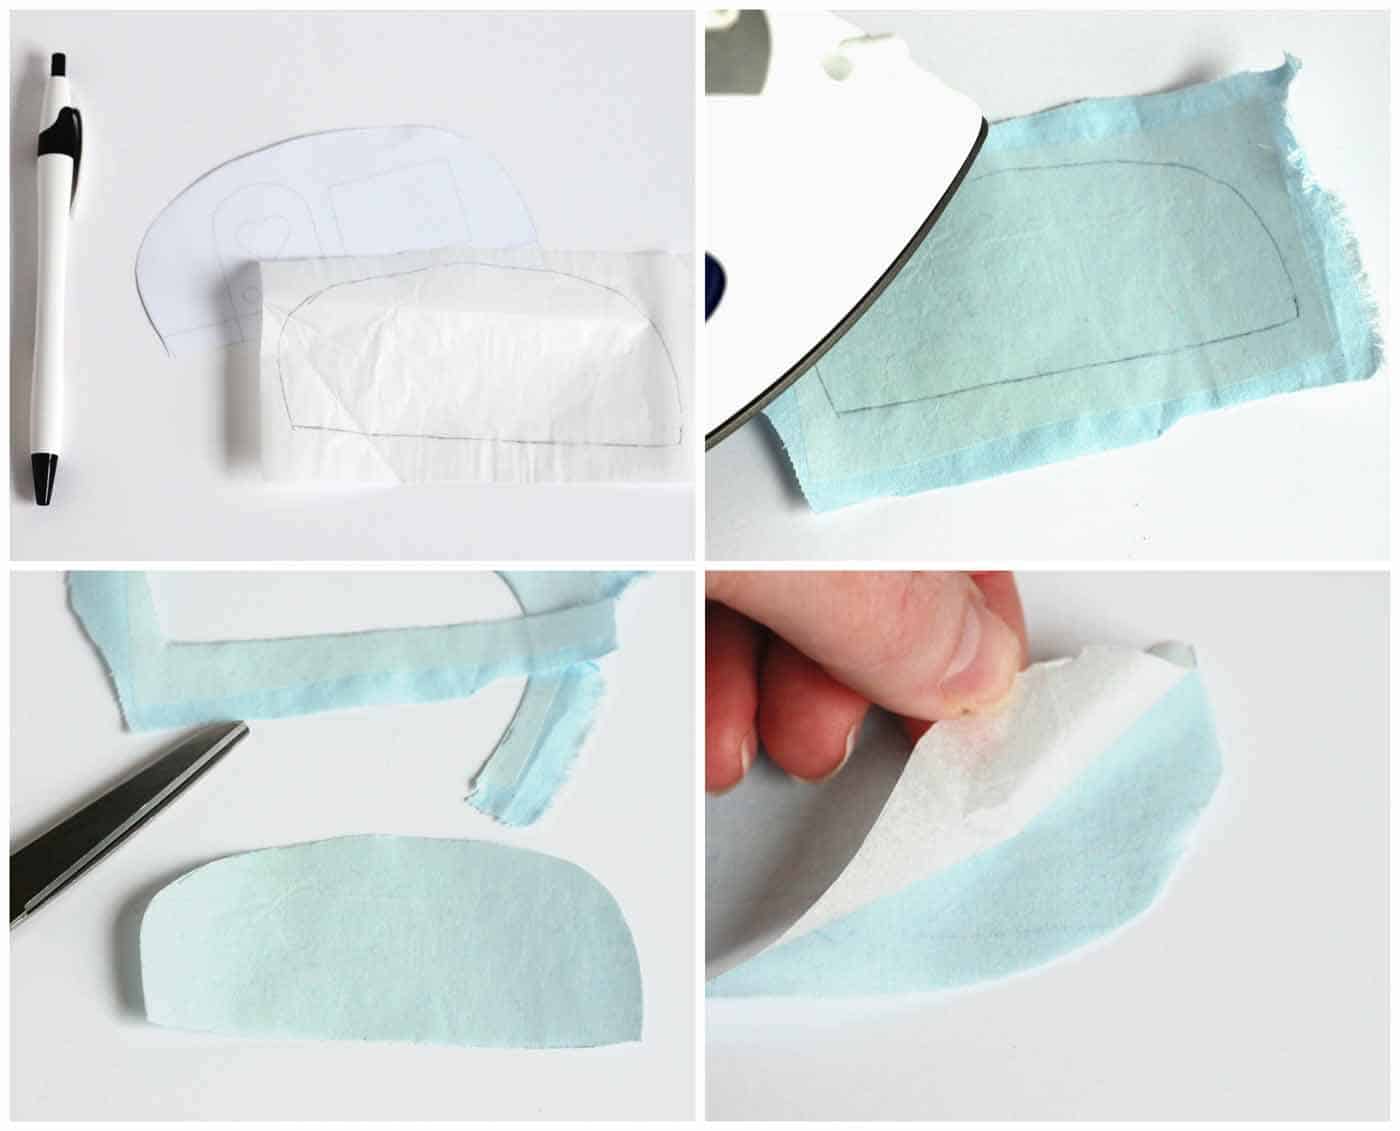
For the appliqué pieces, first trace the pattern on the paper side of your interfacing. The pattern will be a mirror image of your final trailer, so we can iron the pieces onto the back of the fabric.
Put the interfacing, paper side up, onto the back of your fabric, and press with a hot, dry iron. Cut out the pattern and peel off the paper backing. Repeat this process with all of the pattern pieces.
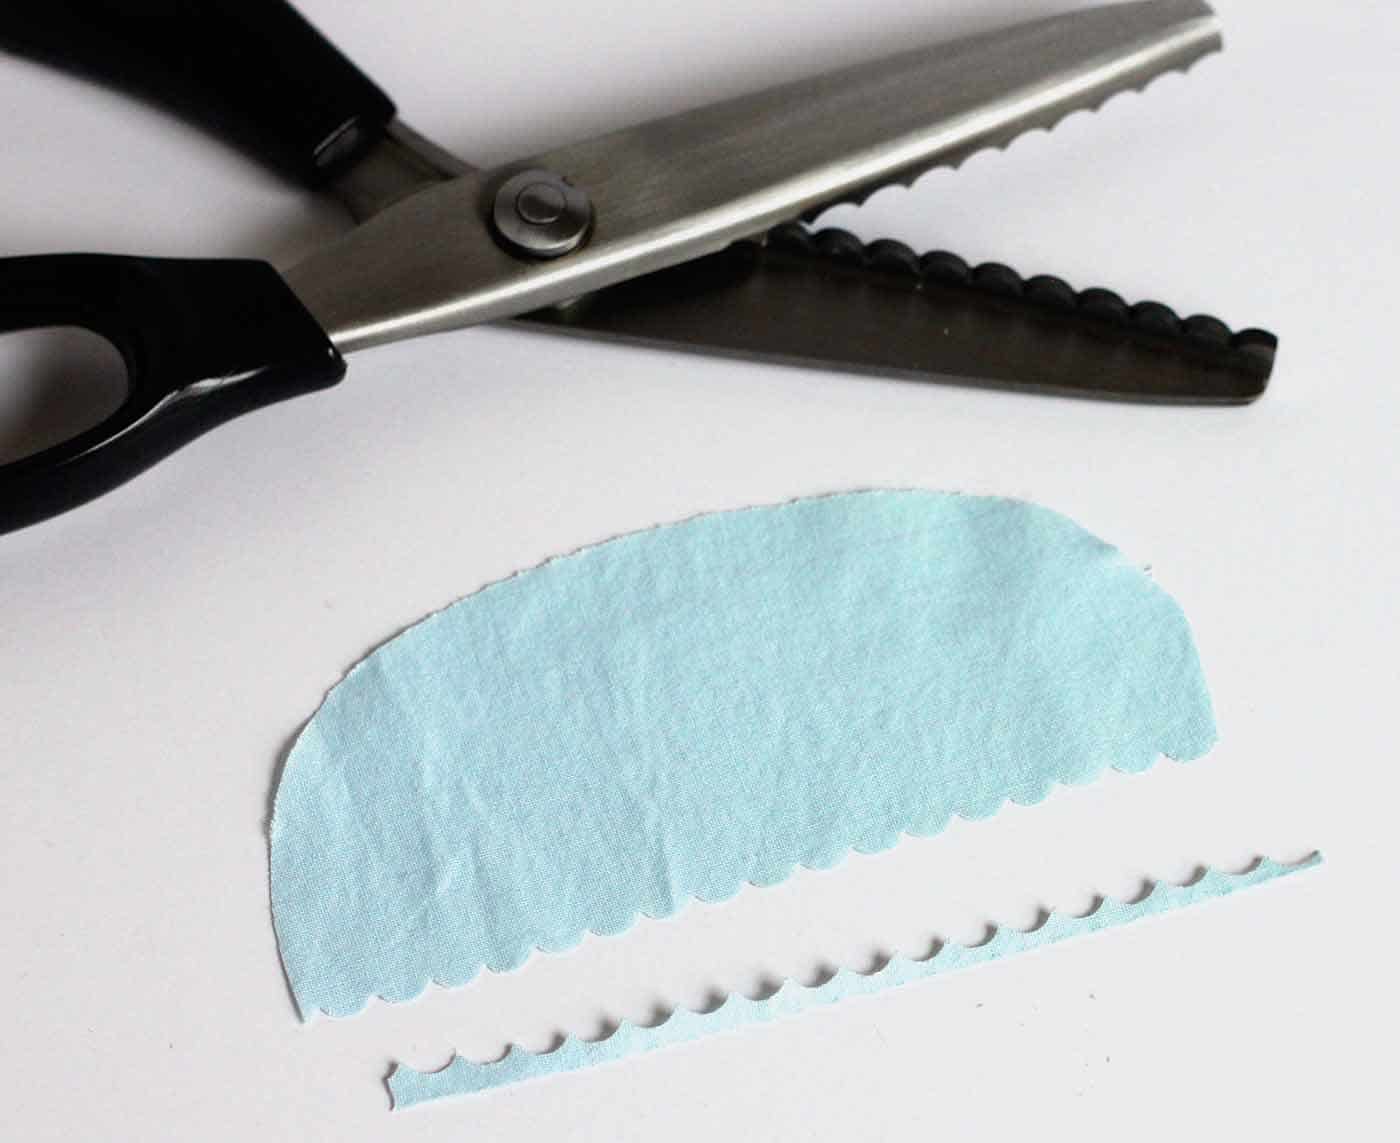
If you want your trailer to have scallops like mine, use some scallop fabric shears to cut the bottom of the “trailer top” piece.
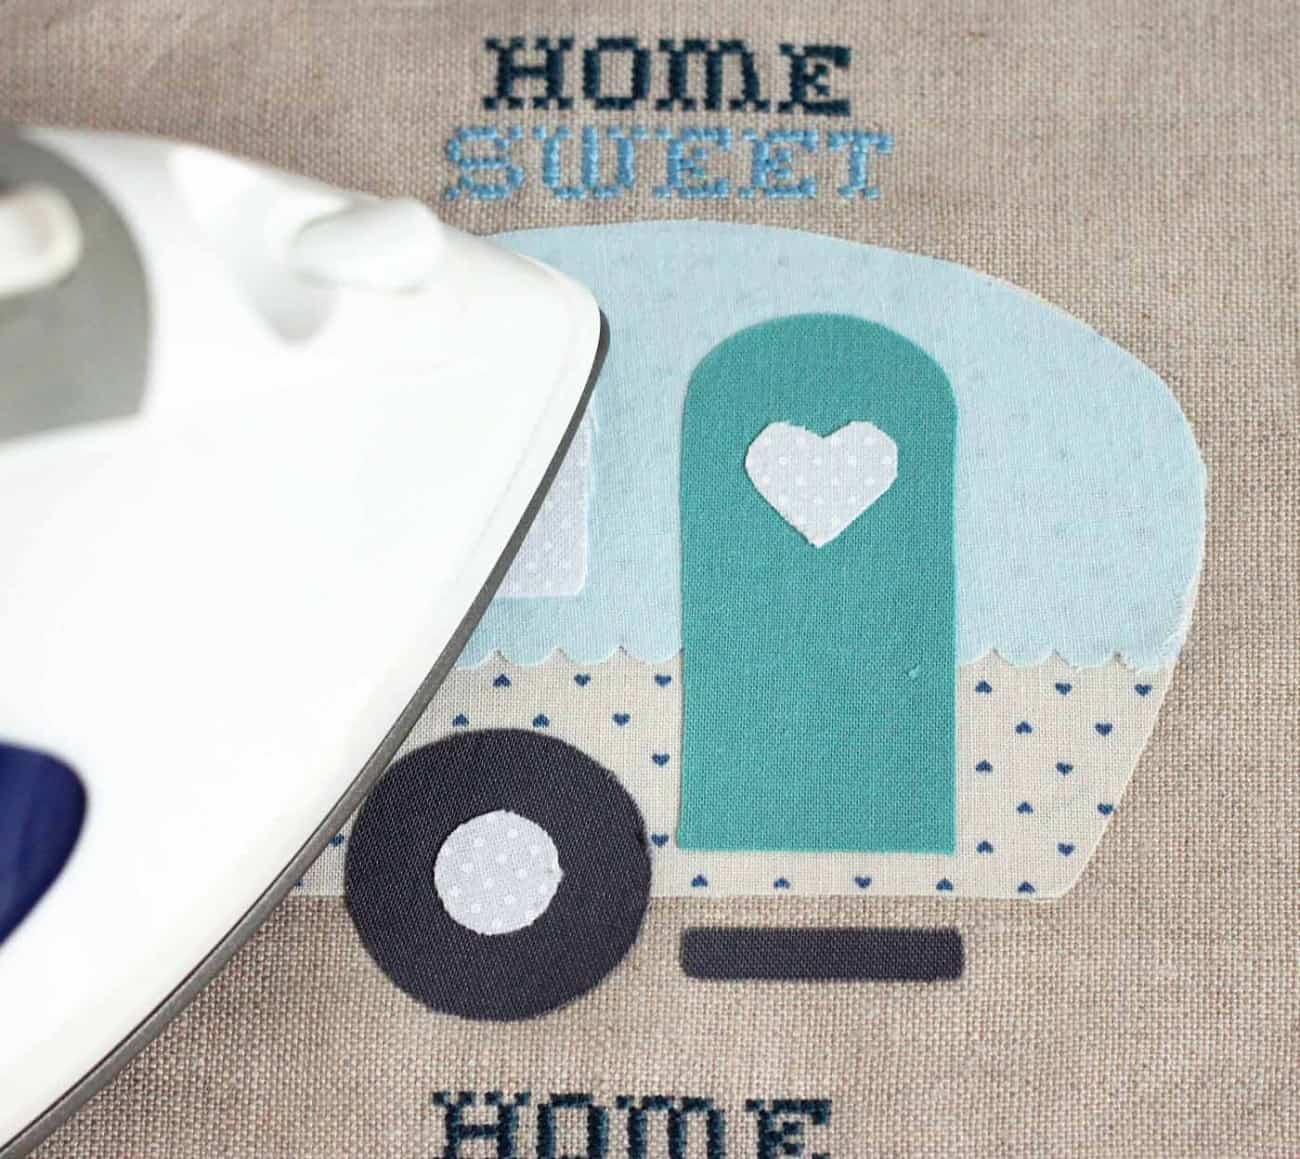
Iron all of the pieces onto your linen one by one.
Use gray thread to machine stitch around the outside of all of the pieces. I’m usually more of a hand stitching kind of girl, but I wanted a different kind of look for this one. You can do either.
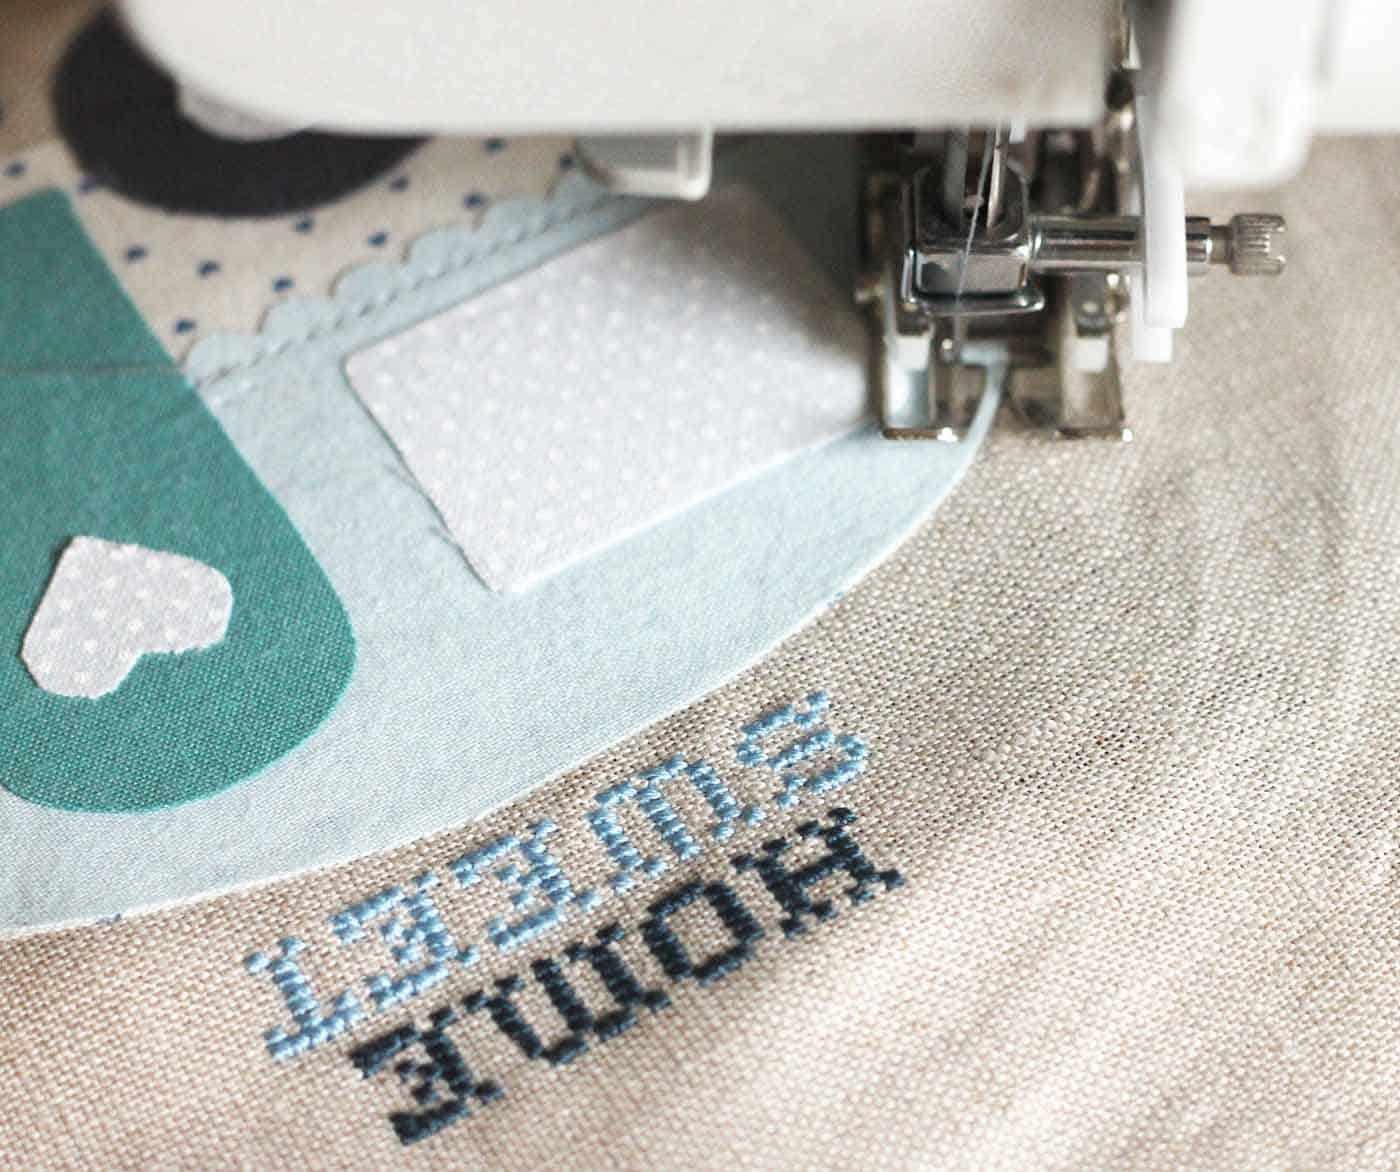
I used thread that matched the heart and inside of the wheel since they are so small. It’s hard to get a smooth line, so it looks better if you can’t see it.
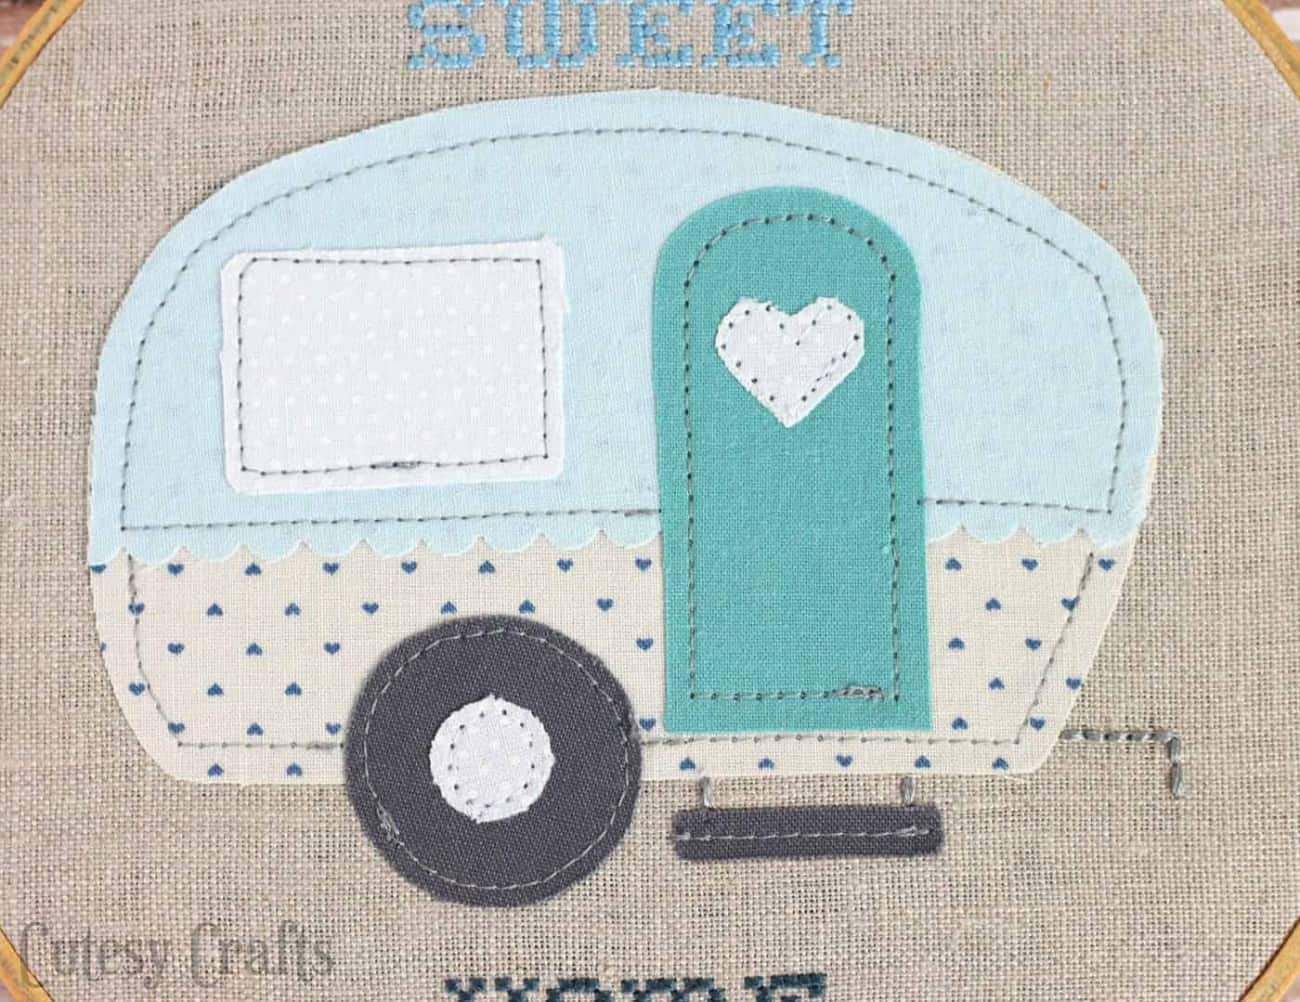
Use a full strand of embroidery floss and stitch the step and hitch details.
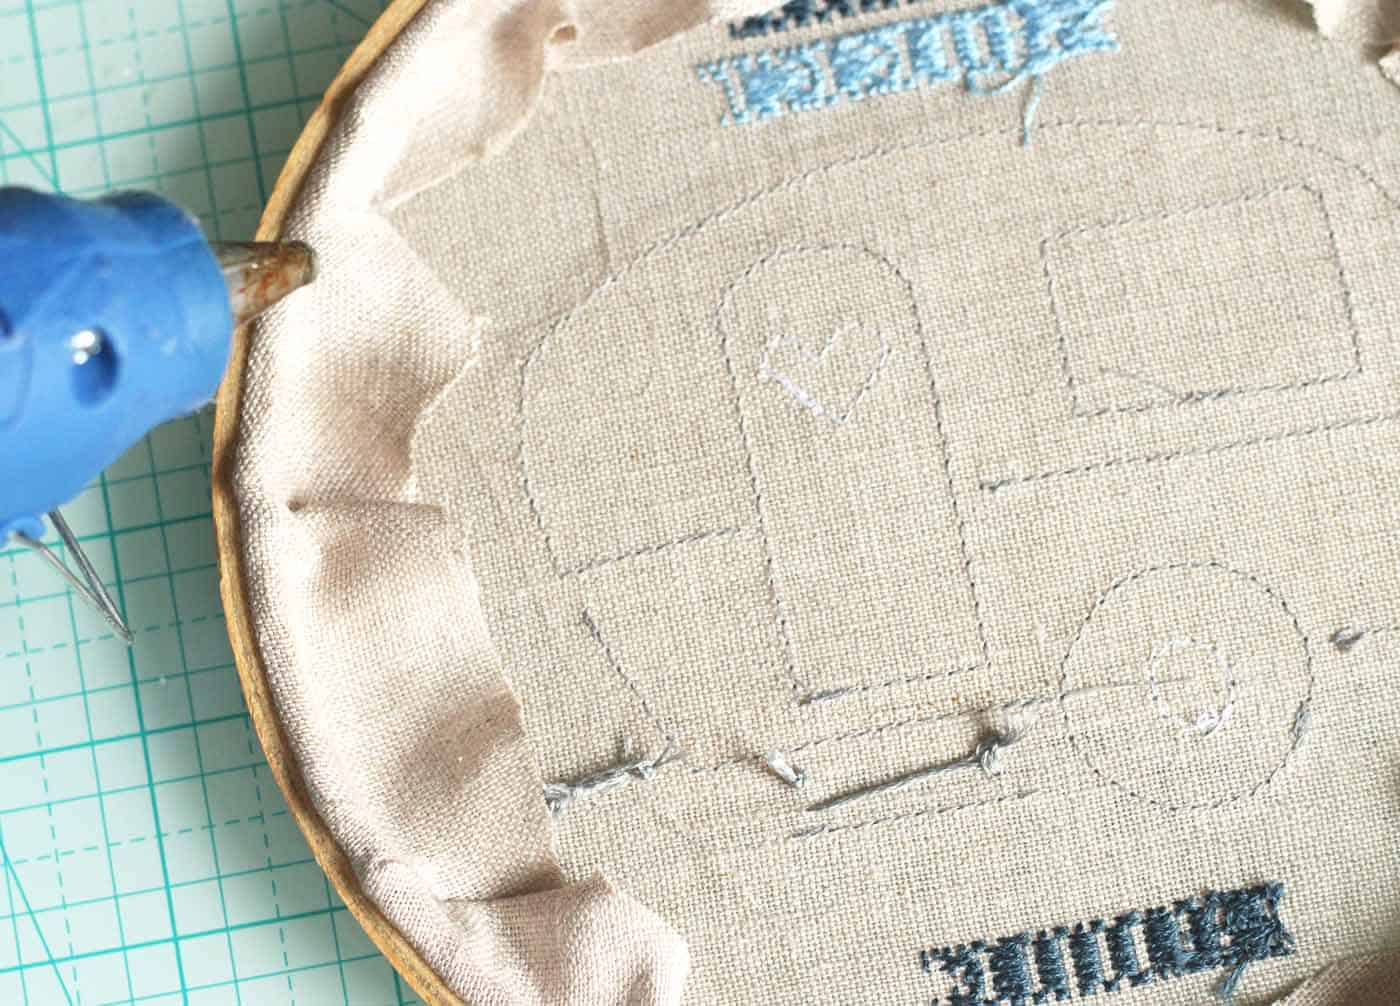
To finish off the hoop, cut off some of the excess linen fabric. Fold over the rest of the excess fabric and hot glue it to the inside of the hoop on the back. Try to keep the glue on the hoop so it doesn’t seep through to the front.
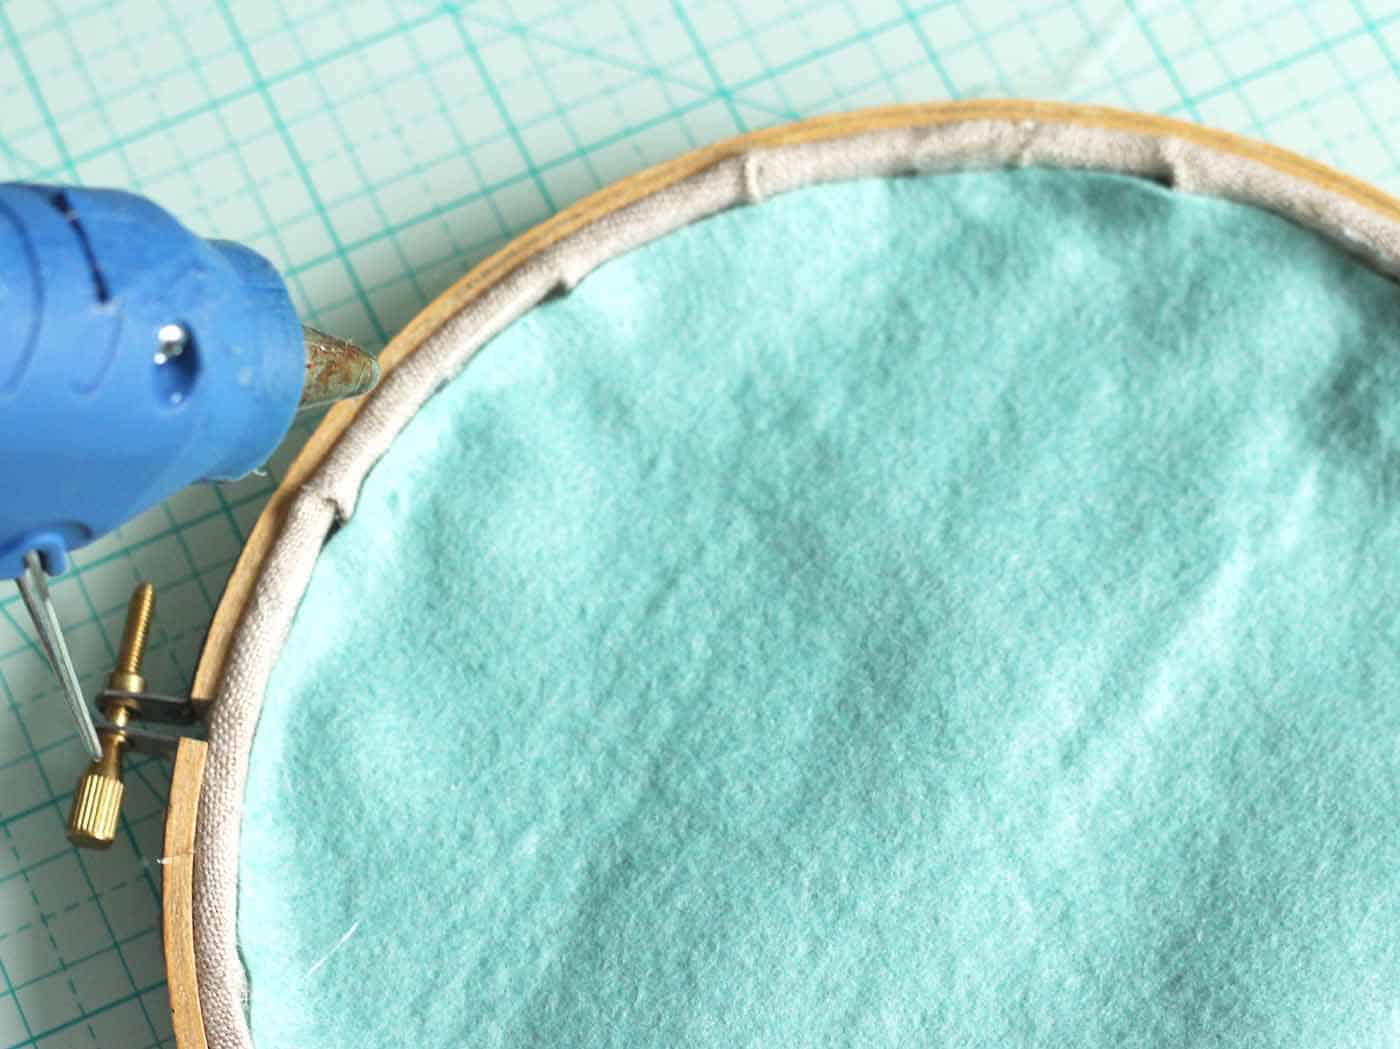
Trace a circle of felt the same size as your hoop.
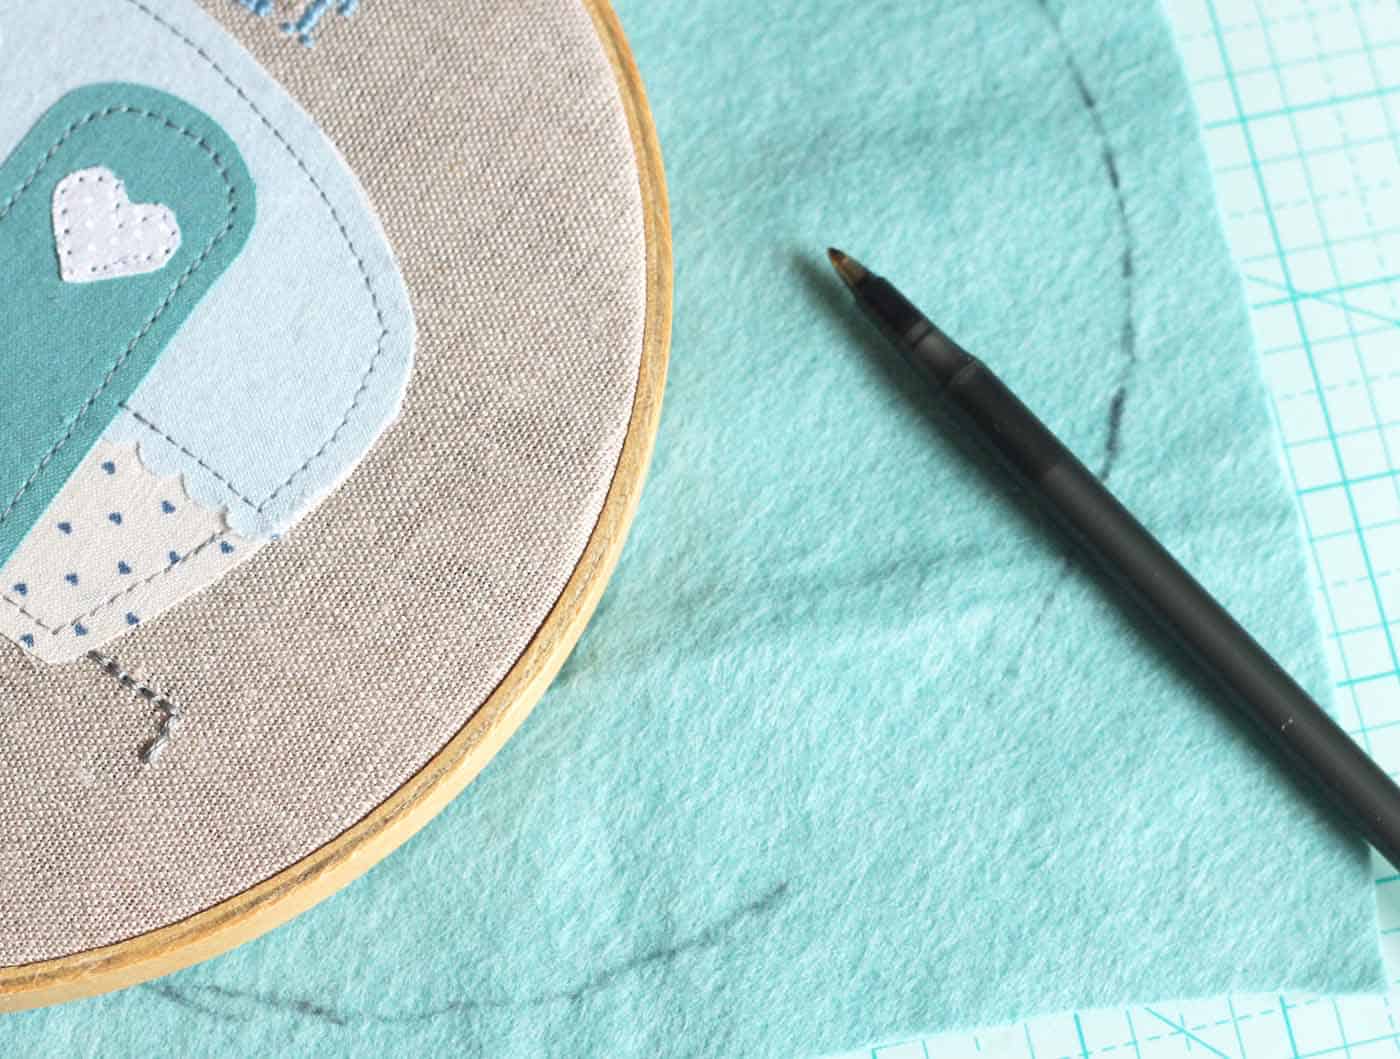
Cut it out and glue it to the inside of the hoop. This just makes everything nice and neat in the back.
There you go! This home sweet home camper appliqué in an embroidery hoop is ready to be hung up in my mom’s trailer. This would make such a great gift for someone who loves to travel!

For more projects like this, visit my blog, Cutesy Crafts. I’d also love for you to check out these other projects:


This embroidery craft looks so fun! totally want to try and recreate it!
Paige
https://www.thehappyflammily.com/
I wish I could print this off. We travel a lot and and I take my projects with me, but don’t always have internet. So if I print things I have lots of projects to keep me busy.
Hope I have gotten all of this down in my notes, so when I get to it, I will remember. I will be making one for myself and my daughter.
very cute …love it …
Where is the “free” camper download?
It is under the supply list:
https://blueprintsocialllc.box.com/s/5xeedmg71wavktwuwpr172r8hzicsimh
Just click the download button at the top right in white. You don’t need to sign up for an account.