Easy DIY Soft Scrub with Simple Natural Ingredients
Learn how to make DIY soft scrub with basic ingredients! This homemade cleaner works great on bathrooms, kitchen sinks, soap scum, and grime.
I have a complicated relationship with cleaning products.
On one hand, I love a sparkling clean bathroom. On the other hand, a lot of store-bought cleaner products give me headaches so intense I suddenly need to lie down and rethink my entire life.
So over the years I’ve started making more of my own DIY cleaning recipes using simple ingredients that don’t leave my house smelling like a chemical factory exploded.
And honestly? Some homemade recipes are kind of disappointing.
This one is not.
This DIY soft scrub recipe is one of my favorite homemade cleaner recipes because it actually has extra cleaning power while still being gentle enough for everyday use in the bathroom and kitchen. It works beautifully on dirt, grime, soap scum, kitchen sinks, grout, and all those mysterious gross spots nobody wants to discuss publicly.
Especially around the tub.
You know exactly what I’m talking about.
One thing I really like about this cleaner is that it uses ingredients most people already have sitting around the house. Baking soda gives the scrub its gentle abrasive texture, while castile soap helps break through dirt and oily residue without making the mixture overly harsh.
And unlike some DIY recipes floating around online, this one avoids combinations that can create unnecessary issues.
For example, you’ll see a lot of people recommending vinegar and baking soda together for cleaning. While that bubbling reaction looks exciting, vinegar basically neutralizes baking soda over time. So unless you’re using the cleaner immediately, you’re mostly creating fizzy disappointment.
Hydrogen peroxide is another ingredient that gets added to a lot of homemade scrub recipes. And yes, hydrogen peroxide can help with stubborn stains. But when peroxide mixes with baking soda inside a sealed jar or airtight container, carbon dioxide can build up over time.
That means pressure.
And honestly I don’t need my bathroom cleaner exploding dramatically under the sink while my kids and pets are nearby.
So this soft scrub recipe keeps things simple, effective, and easy to store at room temperature.
Why This DIY Soft Scrub Works
This cleaner has the thick texture of store-bought soft scrub but without the overwhelming chemical smell.
It’s especially good for:
- bathroom sinks
- tubs
- kitchen sinks
- shower walls
- soap scum
- stovetops
- greasy dirt
- counters
- bathroom fixtures
The baking soda gives just enough scrubbing action to tackle grime without scratching surfaces, while castile soap helps loosen dirt and residue so everything wipes away more easily.
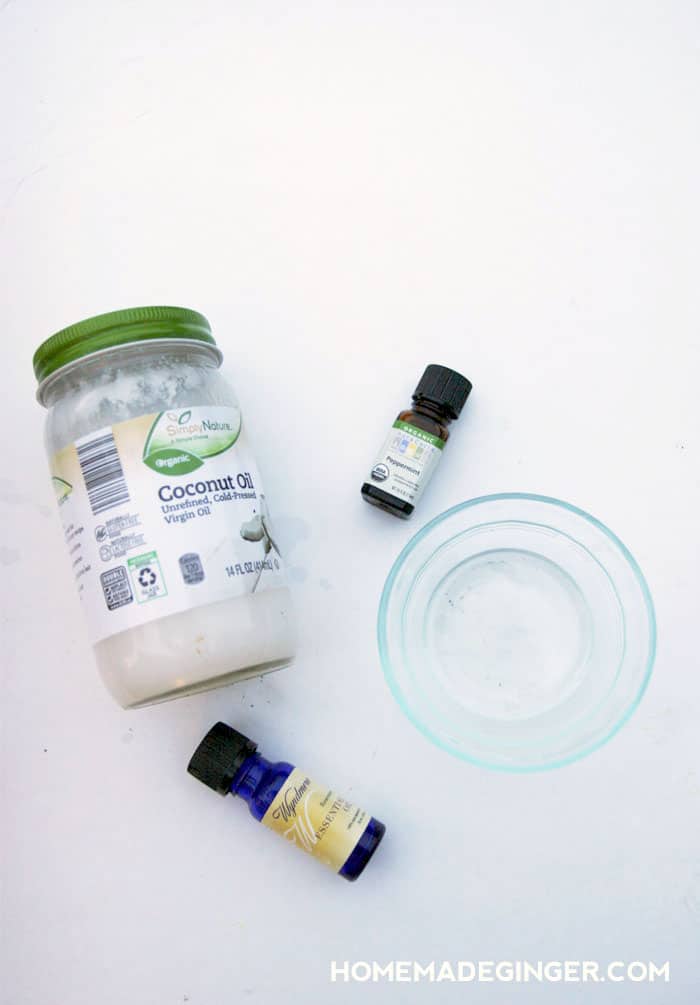
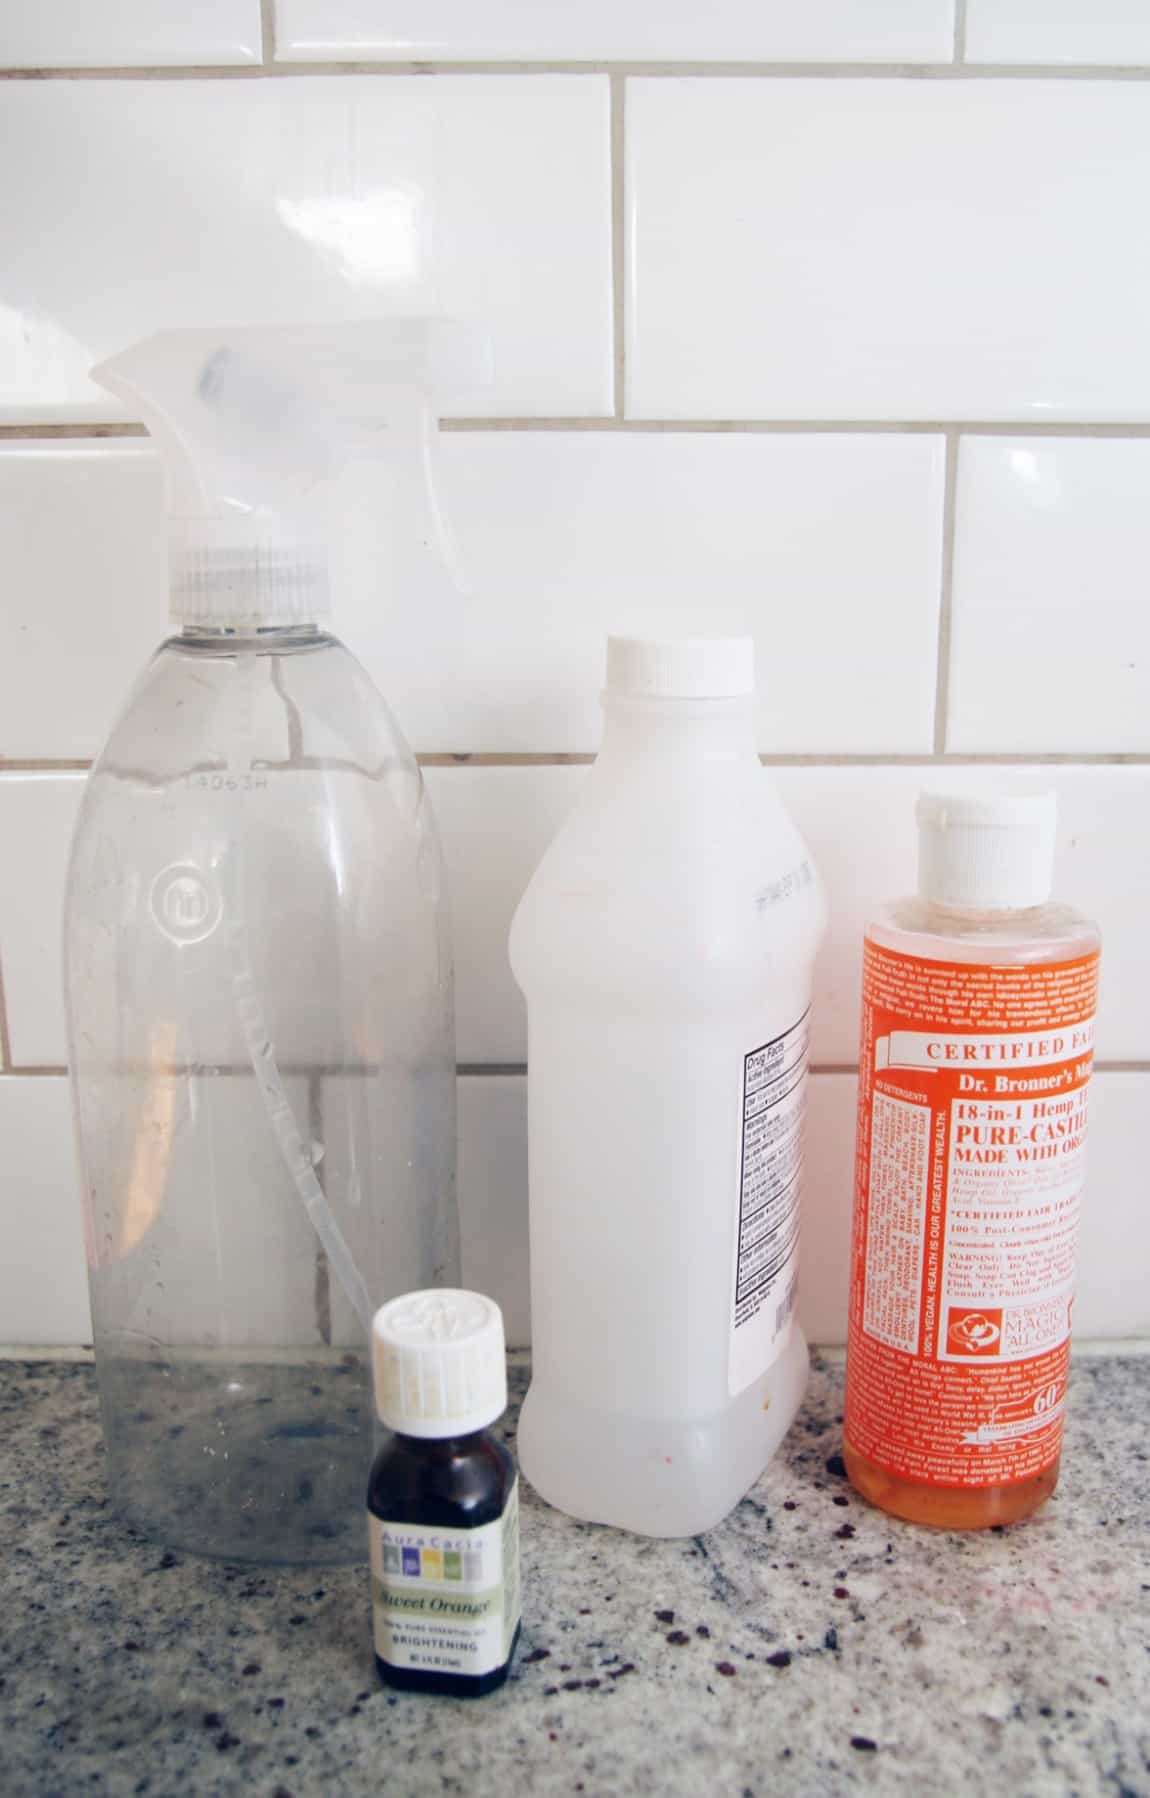
I also love adding an essential oil for scent. Tea tree essential oil is popular because it naturally smells fresh and clean, but lemon essential oil works really well too.
And yes, the mason jar absolutely makes the whole thing feel cuter. That matters to me.

Tips for the Best Results
Use a Damp Sponge
A damp sponge works best for most surfaces because it spreads the cleaner evenly without making the mixture too watery.
Try a Scrub Brush for Grout
For stubborn stains, use a scrub brush instead of a damp cloth. It makes a huge difference in less time.
Store Properly
Keep the scrub inside an airtight container or sealed jar at room temperature so it stays soft and usable longer.
Don’t Add Vinegar to Stored Batches
I know vinegar shows up in basically every cleaning article on the internet, but mixing vinegar directly into stored baking soda mixtures reduces effectiveness.
Be Careful with Hydrogen Peroxide
Hydrogen peroxide and baking soda can create carbon dioxide inside sealed containers over time. If you want to experiment with peroxide, make very small fresh batches only.
Can You Customize the Scent?
Absolutely. You can add almost any essential oil you like depending on the scent you want in the bathroom or kitchen.
Some good options: tea tree, lemon, lavender, grapefruit, or eucalyptus.
I usually add about 10 to 15 drops of essential oil total depending on how strong I want the scent.
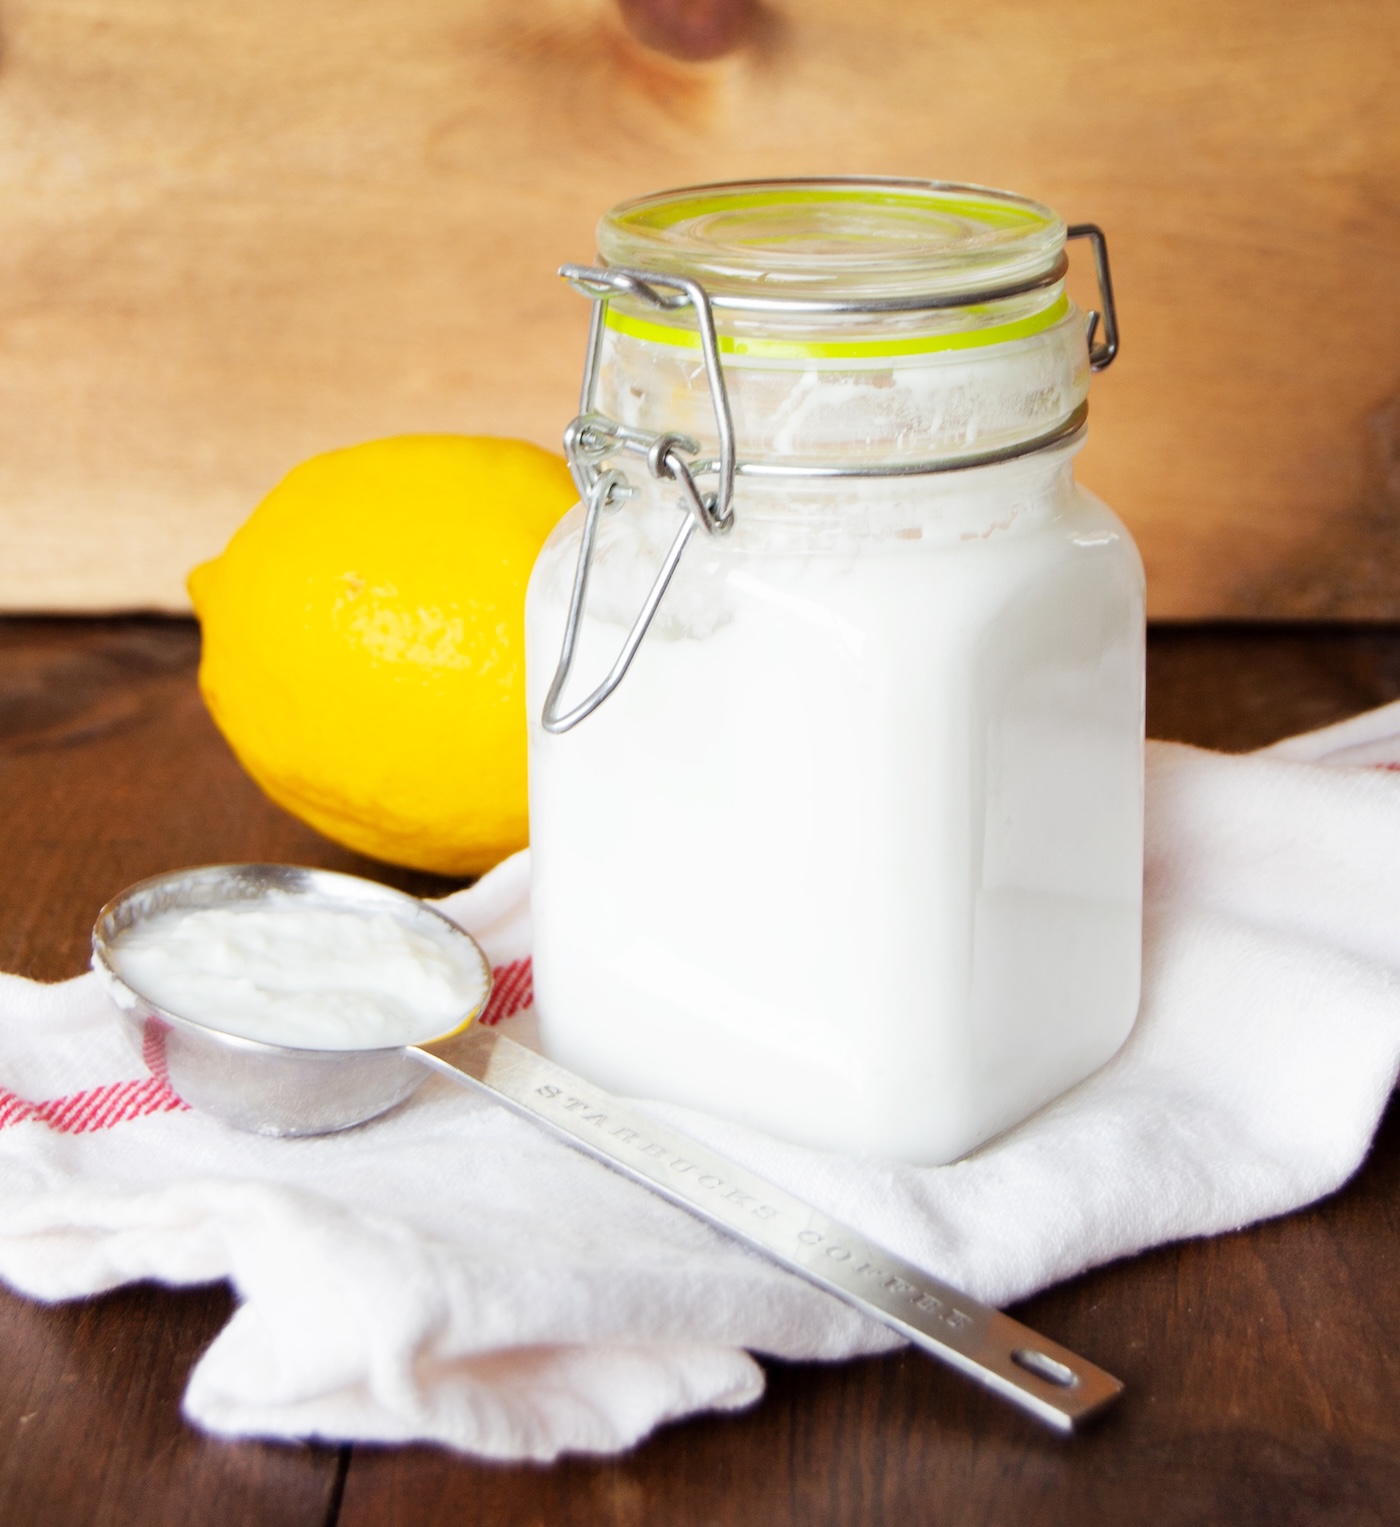
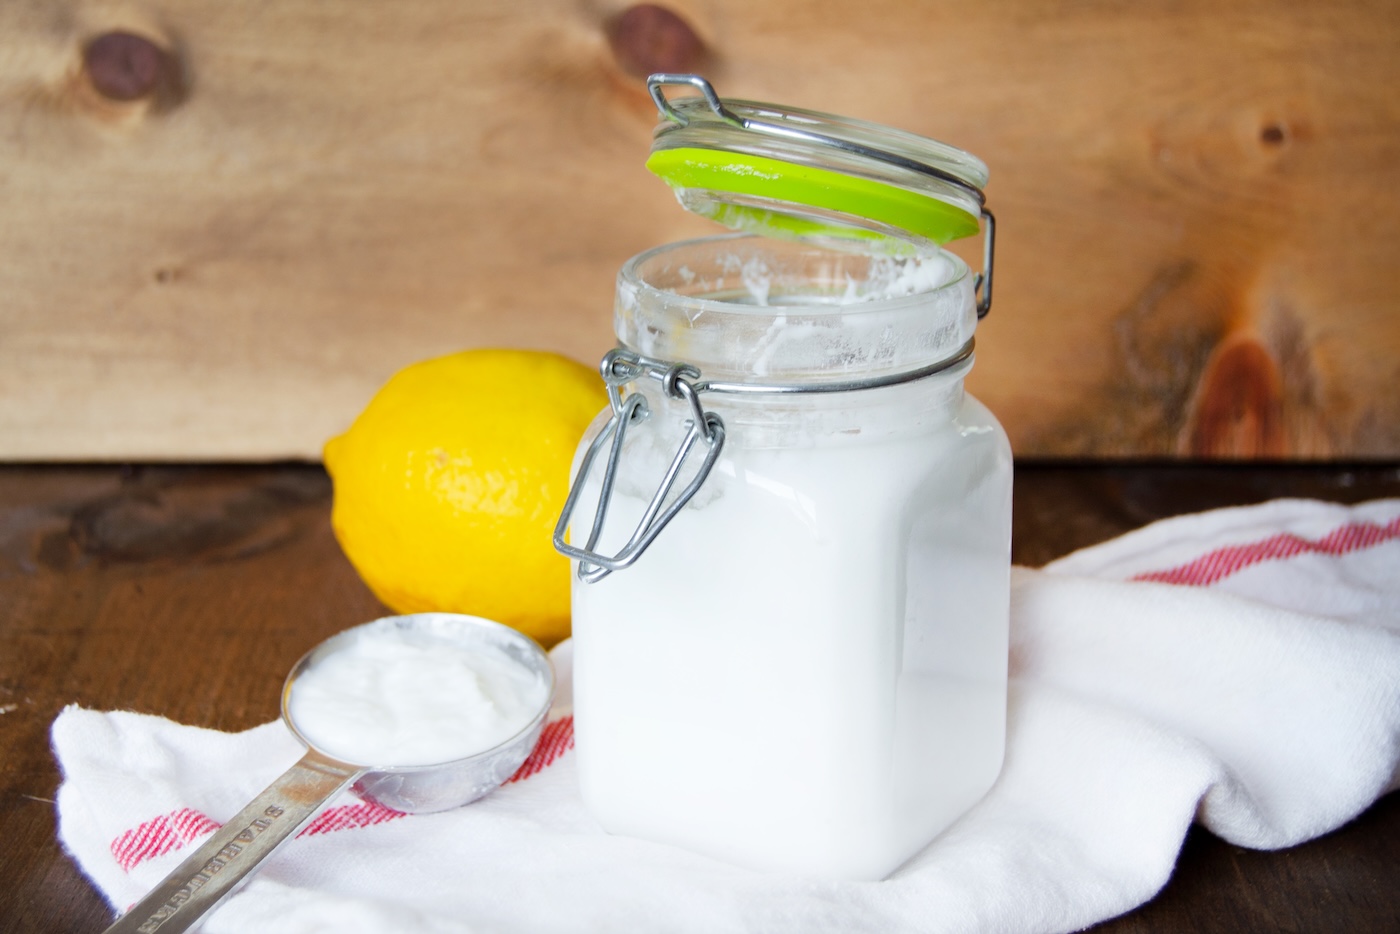
Homemade Soft Scrub
Equipment
- Mason jar
- Spoon or popsicle stick
- Measuring cup(s)
Materials
- 1 cup baking soda
- 1/4 cup Pure Castile soap
- 15 drops Essential oil(s) 10 to 15 drops, optional
- 1/4 cup water
Instructions
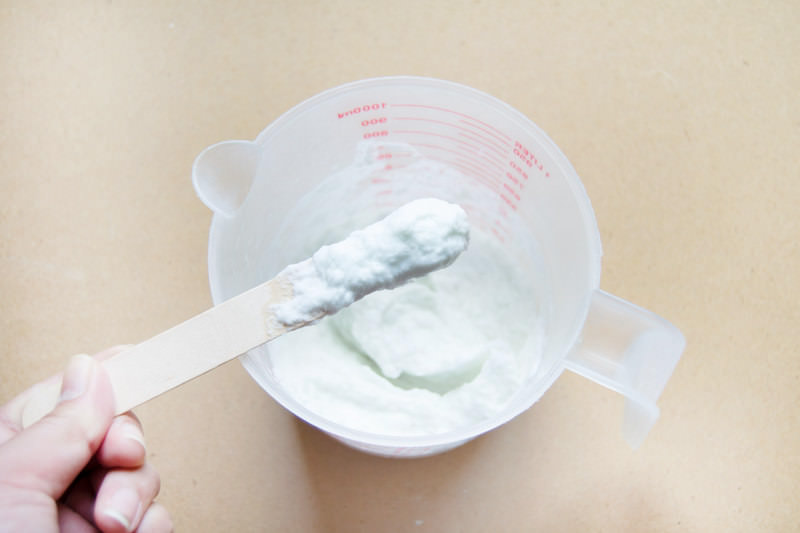
- Combine the baking soda with the Castile soap in a measuring cup, or a big bowl if you're making a batch. Stir, stir, stir to make a thick paste.
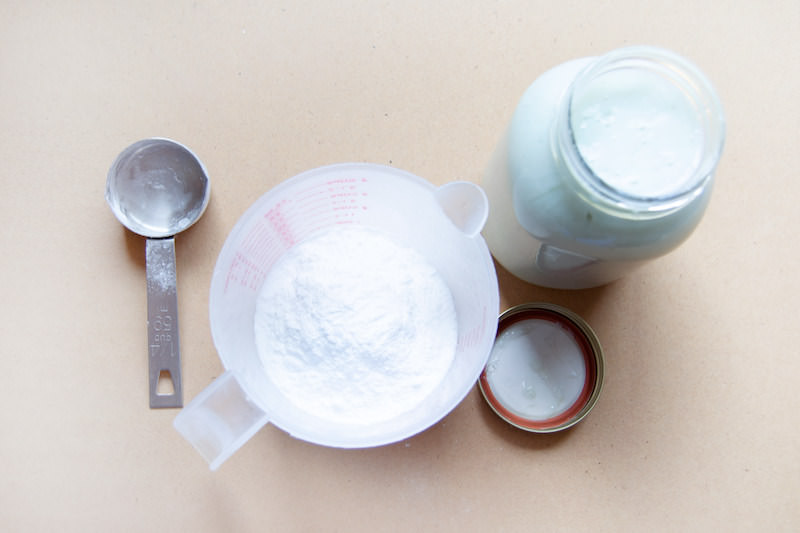
- Add the water slowly, mixing until the scrub reaches a soft, spreadable consistency.

- Add the essential oil if desired and stir the mixture again.
- Transfer to a mason jar or airtight container for storage.
Notes
- Store the scrub in a sealed jar or airtight container at room temperature.
- To use, apply with a damp sponge or scrub brush and work into the surface gently.
- Wipe away cleaner residue using a damp cloth and rinse well.
- This DIY soft scrub works especially well in the bathroom on soap scum, dirt, grime, tubs, grout, and kitchen sinks.
- Avoid adding vinegar directly to stored batches because vinegar neutralizes baking soda over time.
- Hydrogen peroxide can create carbon dioxide pressure buildup in sealed containers if mixed and stored together.
- Keep away from kids and pets just like any household cleaner.
I hope you enjoy this soft scrub recipe as much as I do. Once you realize how easy it is to make your own cleaner, it’s honestly hard to stop experimenting. If so, leave me a comment – plus I’d love for you to check out these other posts:
Carpet Deodorizer • Granite Cleaner Recipe • Home Headlight Restoration •
How to Dye a Faded Hat • Silica Gel Uses

Thank you for this. Works well. I, too, am allergic to fragrances, and chemicals high in VOCs–volatile organic compounds. I get headaches, sunburn-type red rash reactions, asthma. Also makes my eyes dry and painful. No point to use those.
Good I’m glad you like it!
Can I add more water to put it in to a squirt bottle?
I think you could try it and see how well it cleans!