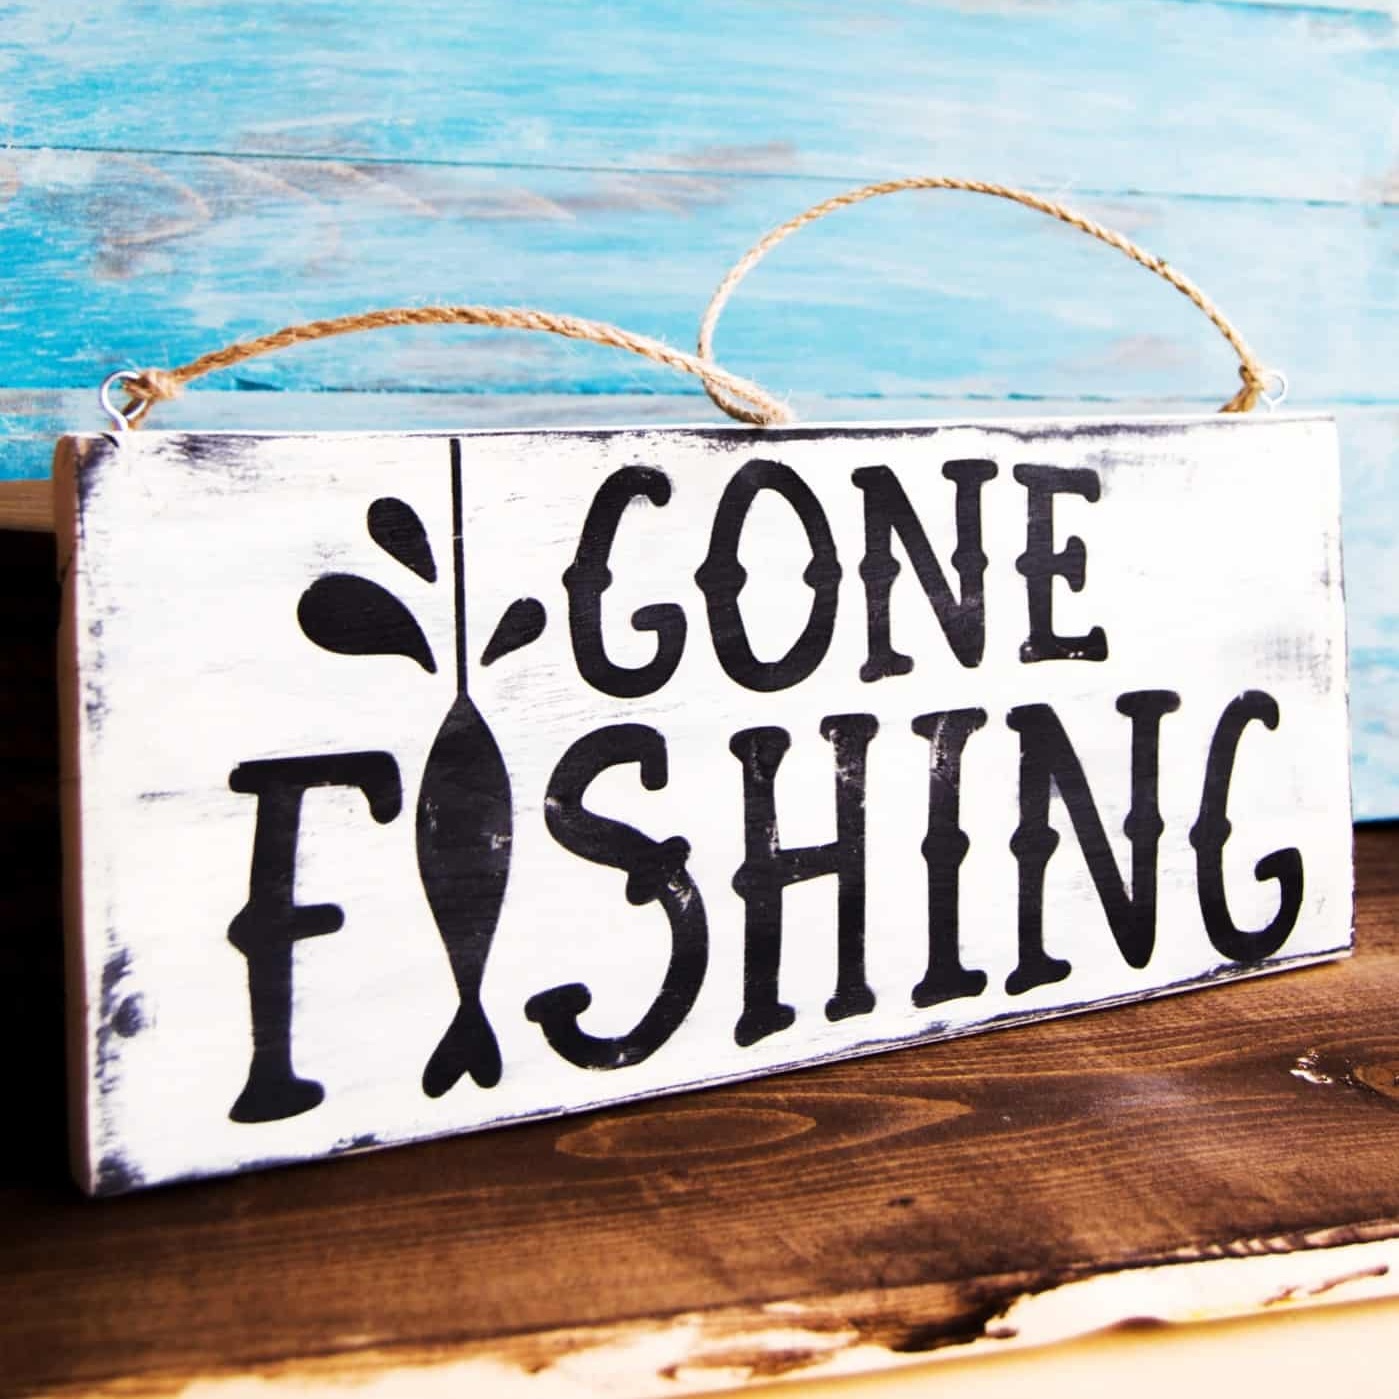
Make a DIY Gone Fishing Sign for Home or Cabin
Looking for a fun Father’s Day gift? This gone fishing sign is perfect for an office or man cave – or for anywhere you need a rustic fishing theme.
Skills Required: Beginner. It’s a very simple DIY project and you only need basic crafting skills to make it. The fisherman in your life is going to love this sign!
Father’s Day is just around the corner and you might have zero clue what to get pops. I know I’ve been in that situation before many a time! This gone fishing wood sign is perfect for your dad – or anyone in your life – that loves fishing!
My dad doesn’t, but my uncle does – and I’m sure he would love this! This is a breeze to make if you have a die-cutter, but you can totally make it even if you don’t have one.
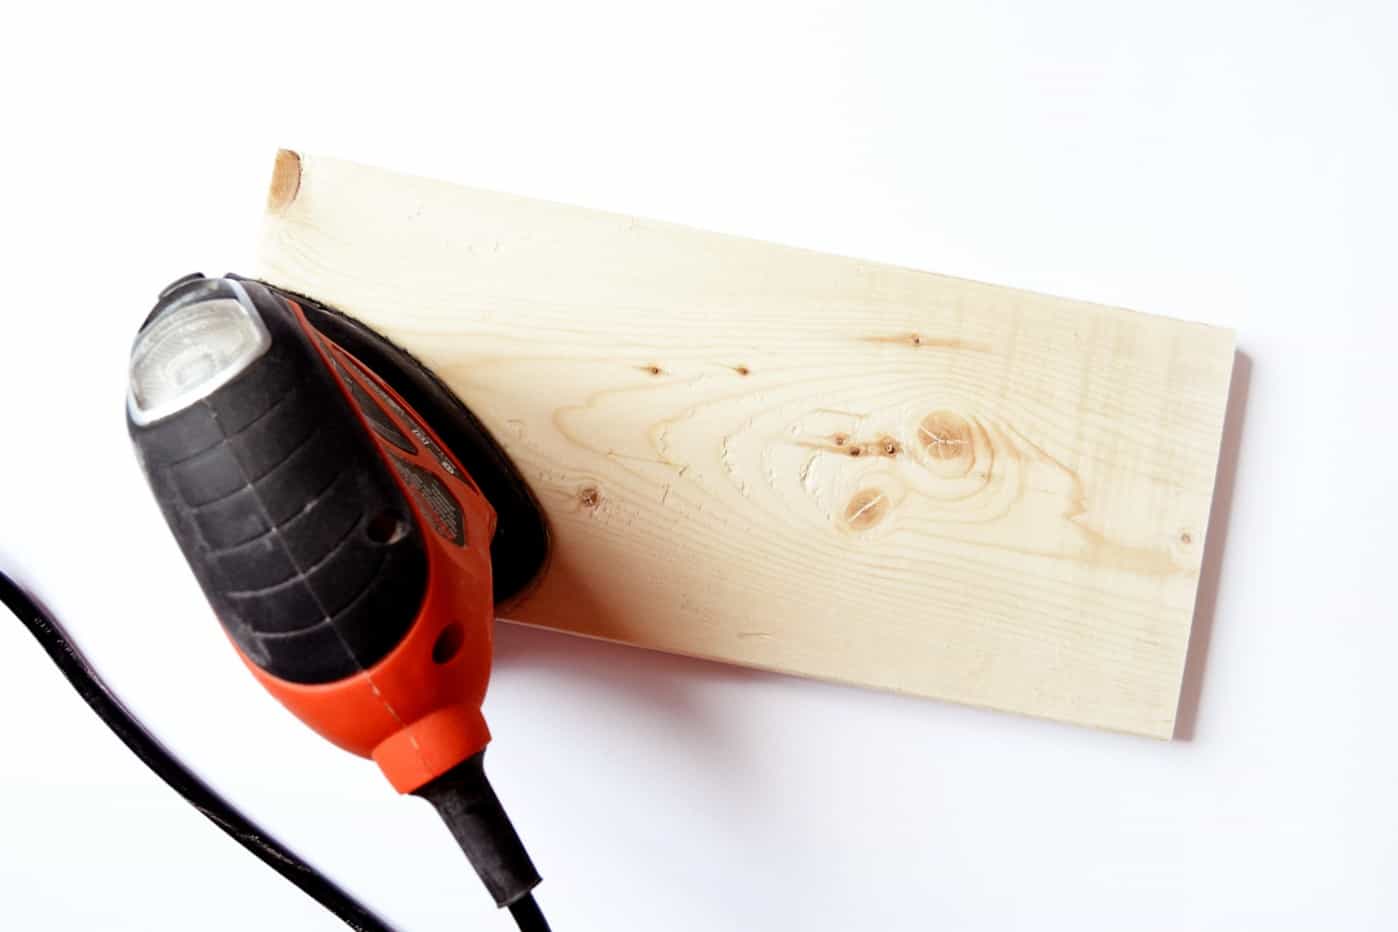
To start this project, I had to find some wood to use. My wood was actually a leftover for a shelf project I was doing not too long ago – it was a 1″ x 5″ x 8′ rough pine board bought at my local hardware store for $3.50.
If you are purchasing wood, you can have them cut it down to size for you. My sign ended up measuring 1″ x 5″ x 12″ – so in actuality, if you are purchasing a pine board for this, one board would give you enough for eight signs!
If you don’t have a cutting machine, use vinyl letters or cut the design out of vinyl with a craft knife. The design isn’t too complicated and the sign is distressed, so the project is pretty forgiving.
This gone fishing sign is an easy and thoughtful Father’s Day gift for any dad who loves to fish. I hope you enjoyed this tutorial and don’t forget to visit my blog for more tutorials and freebies like this! Happy crafting, folks!

Gone Fishing Sign
Equipment
- Electric sander or sandpaper
- 1 Silhouette Cameo other die cutter (optional) or Craft knife
- Foam brush
- Drill with drill bits including a 1/16" drill bit
Materials
- 1 1" x 5" x 8" Rough Pine Board cut to 12" lengths
- Vinyl & Transfer Tape
- Acrylic Paint
- Polycrylic
- 2 Eye Hooks with Screw Pegs
- Twine
- Printable Template for person use only – download here
Video
Instructions
- Cut and sand the wood to the desired size. Have your local hardware store cut it for you, or cut with a saw. Sand using a sander or sandpaper; wipe down with a clean damp cloth afterwards.
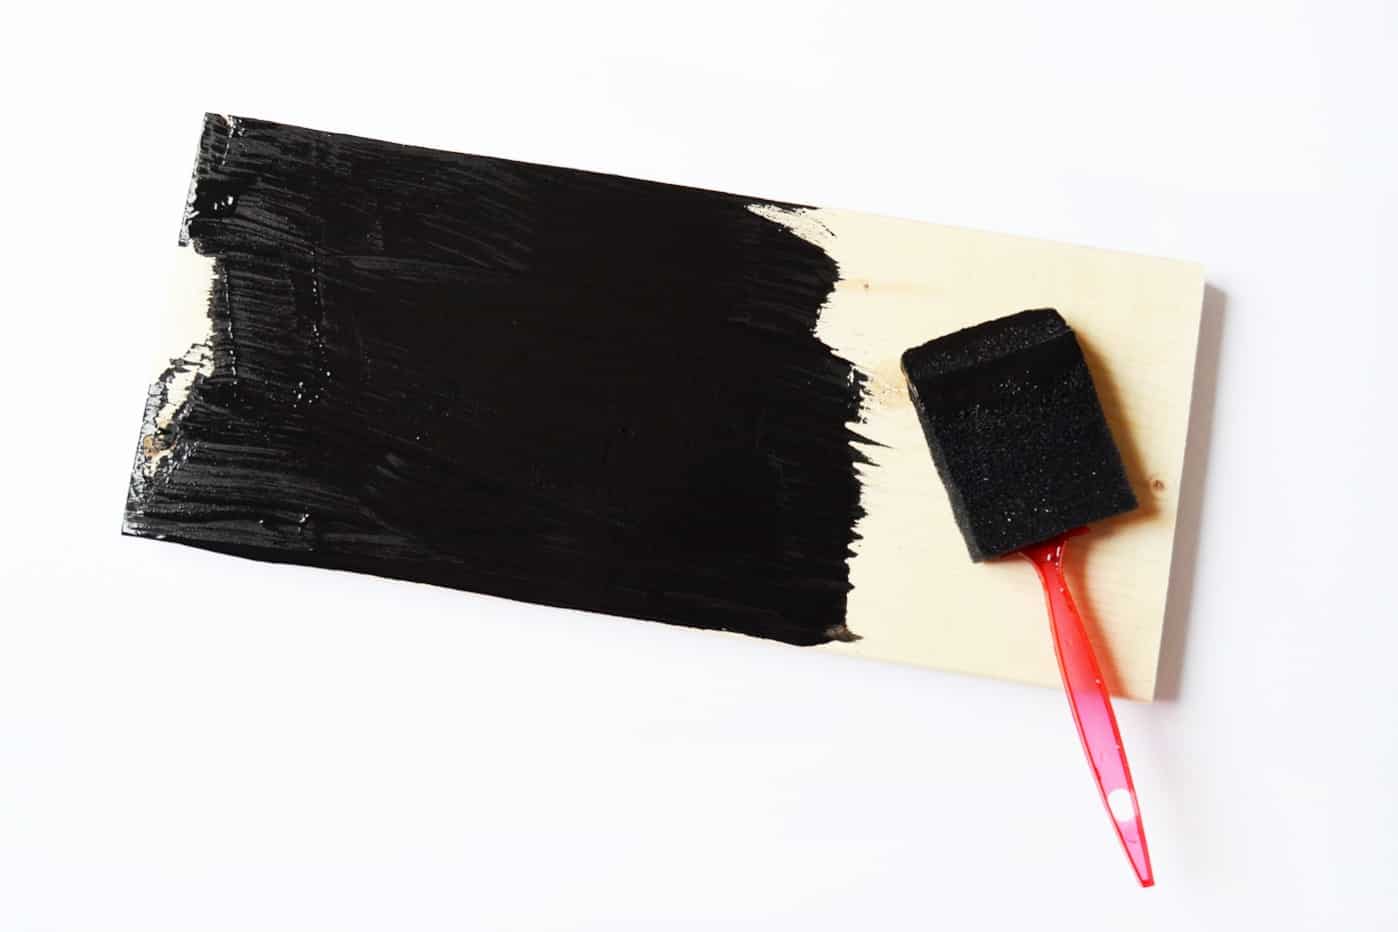
- Paint the wood the color you would like the letters to be. Use a foam brush; give the wood two coats. Let dry completely before transferring vinyl.
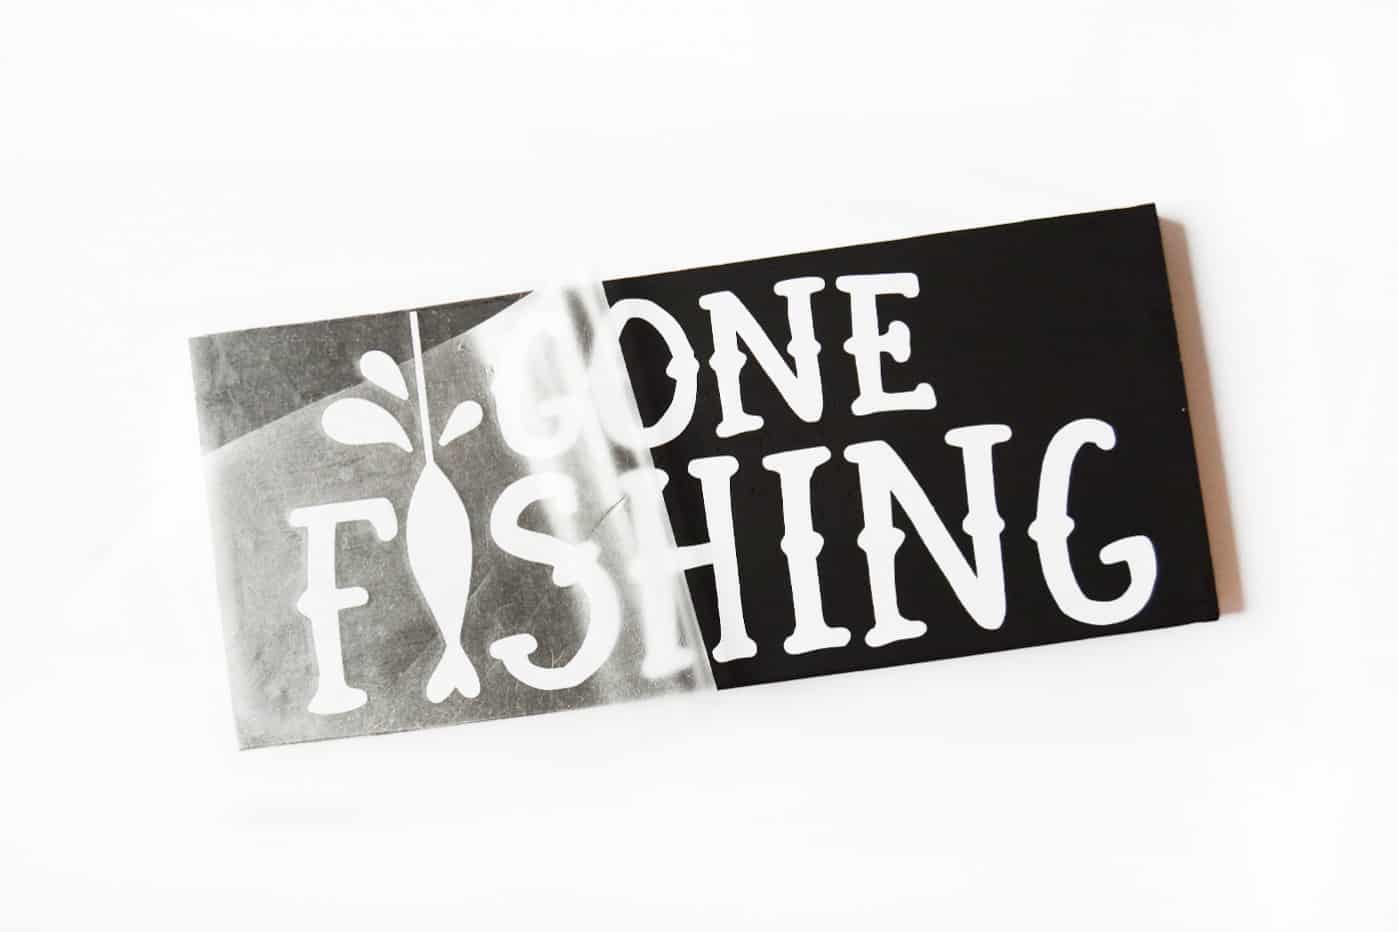
- Cut the letters out of vinyl and apply to the wood (transfer tape comes in handy for this). Use a scraper to make sure your vinyl is adhered properly. Remove the transfer tape.
- Roughly go over the letters with the base paint – do this to seal the edges and prevent bleeding from the top paint coat (underneath the vinyl).
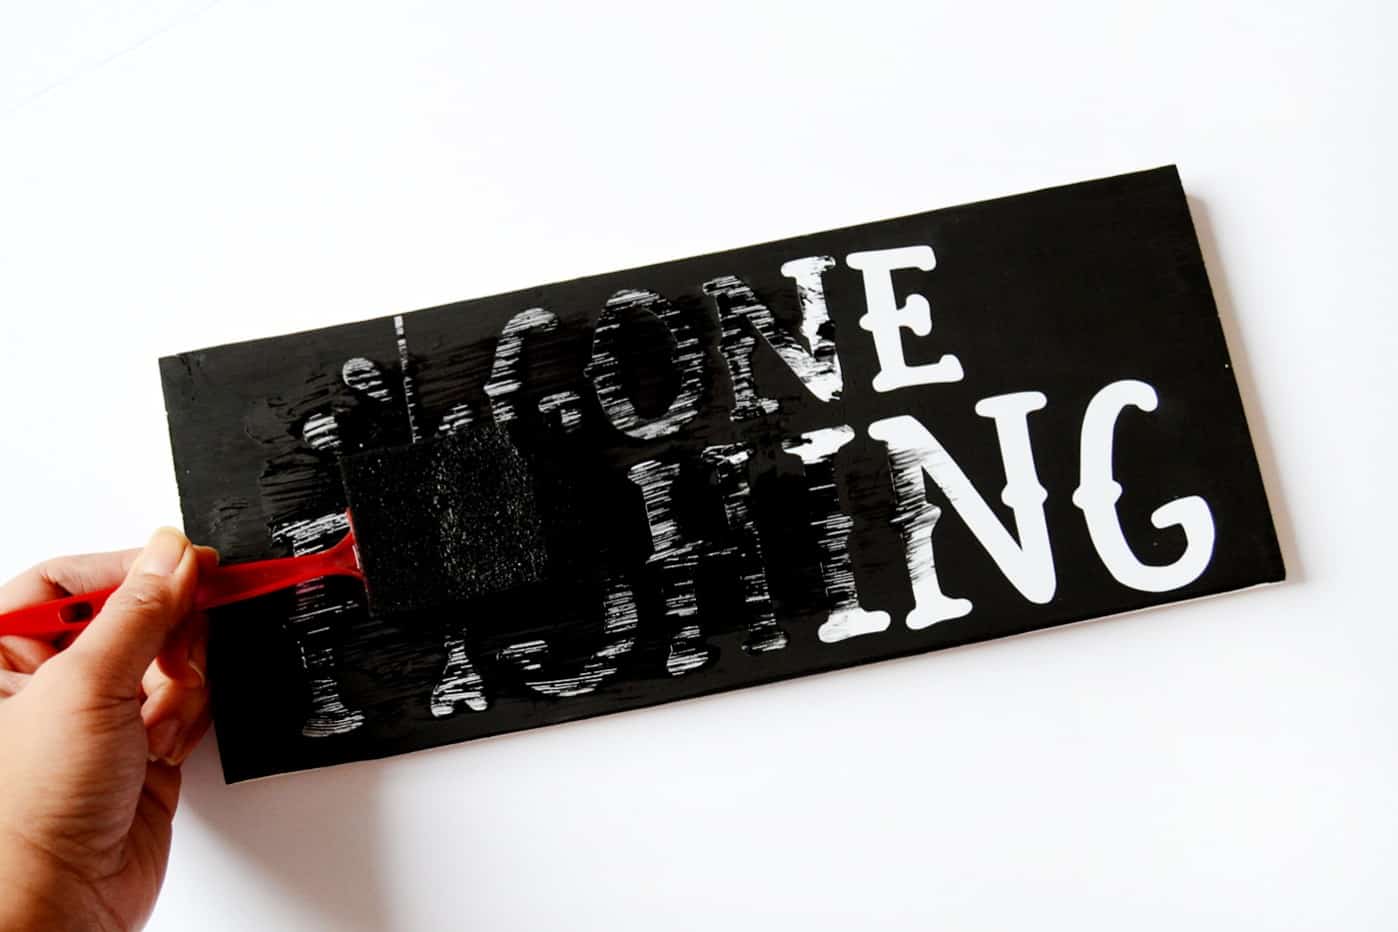
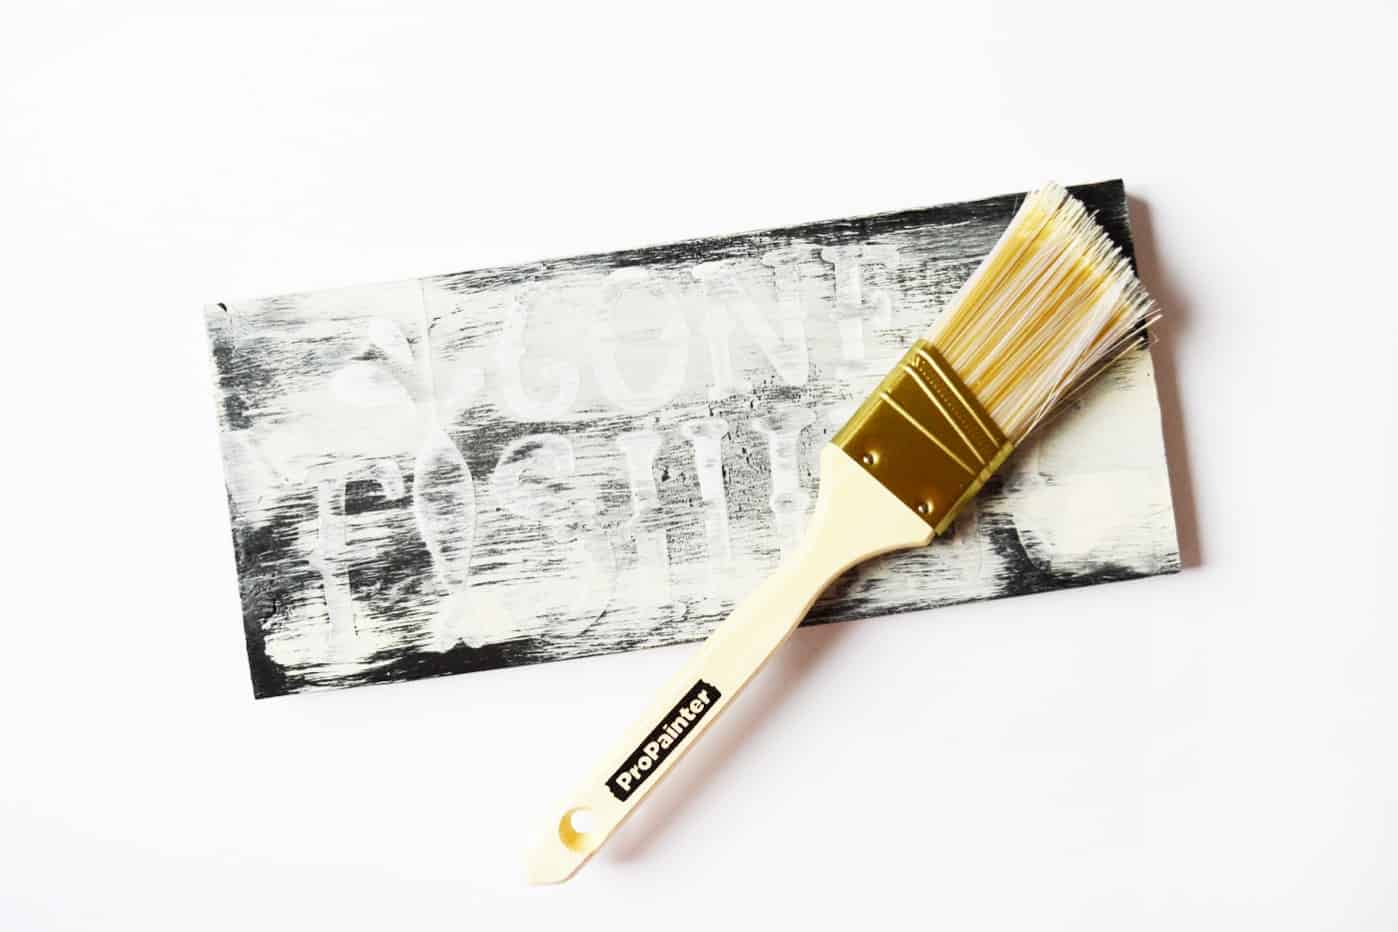
- Paint the top coat with warm white. Use a dry brush for the top paint to give a streaky, rustic feel. Paint the sides and the backside as well.
- Remove the sticker stencils from sign once the paint is dry.
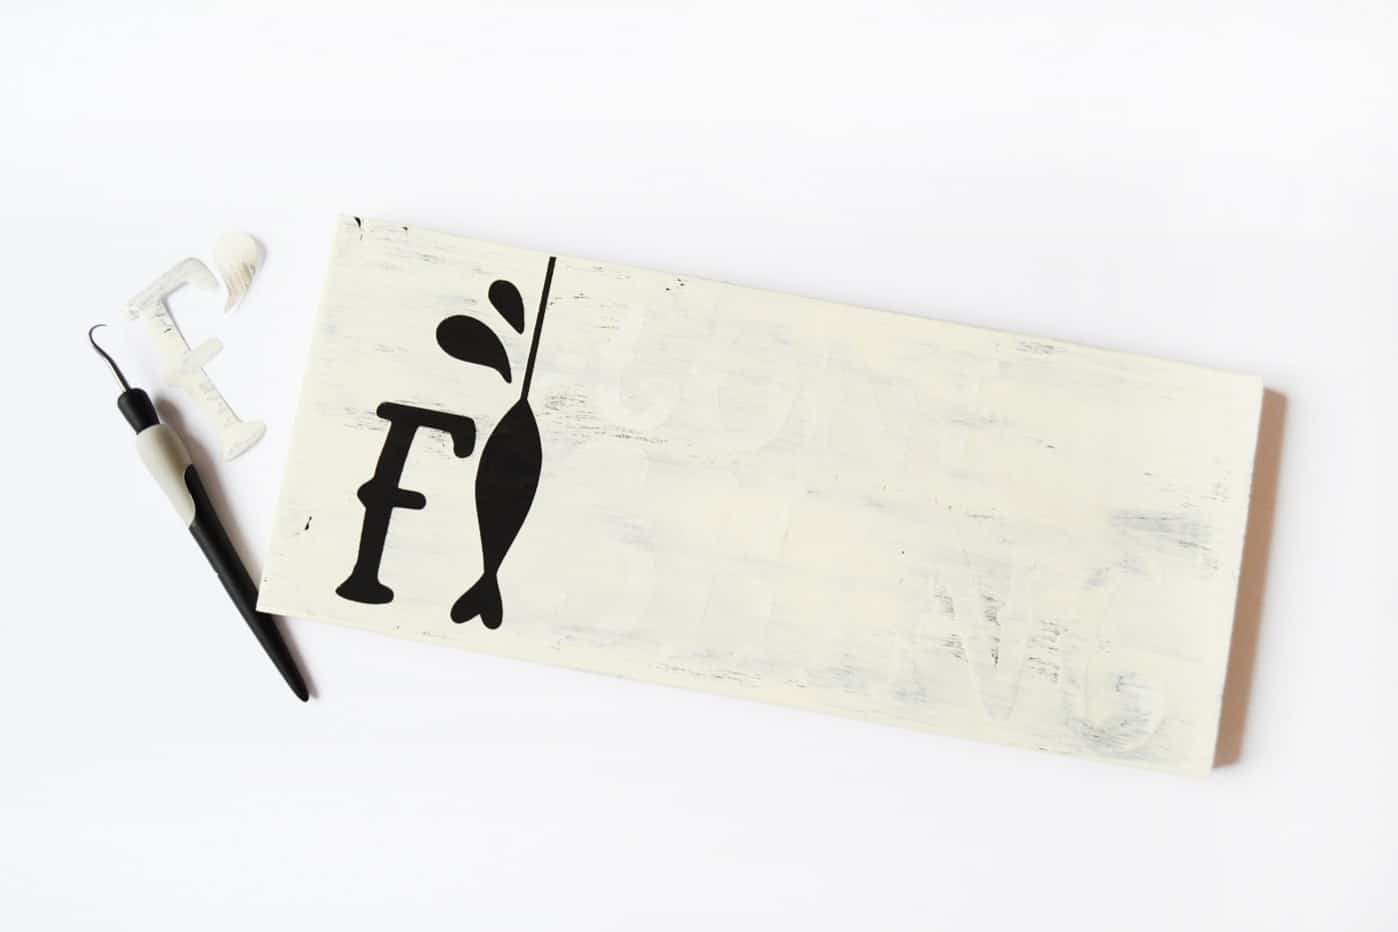
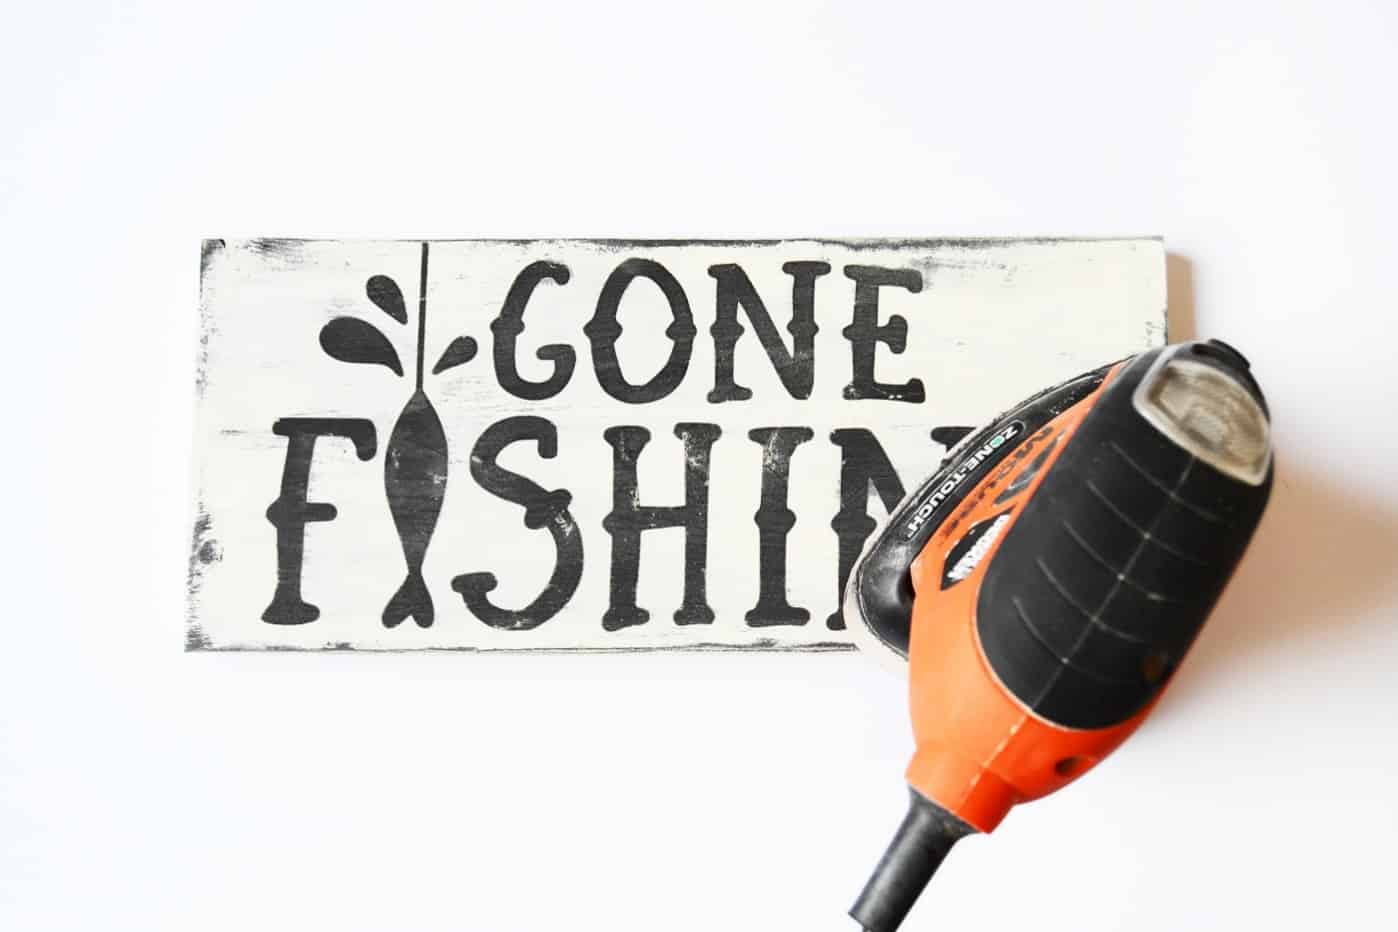
- Sand to distress – again, I used my trusty palm sander for this – it just makes everything so easy. You can also use sandpaper though it may take a bit longer to give you the results you are looking for. You can also opt not to distress again.
- Coat the sign with polycrylic (once dry) to protect and seal it, especially if you are hanging it outside.
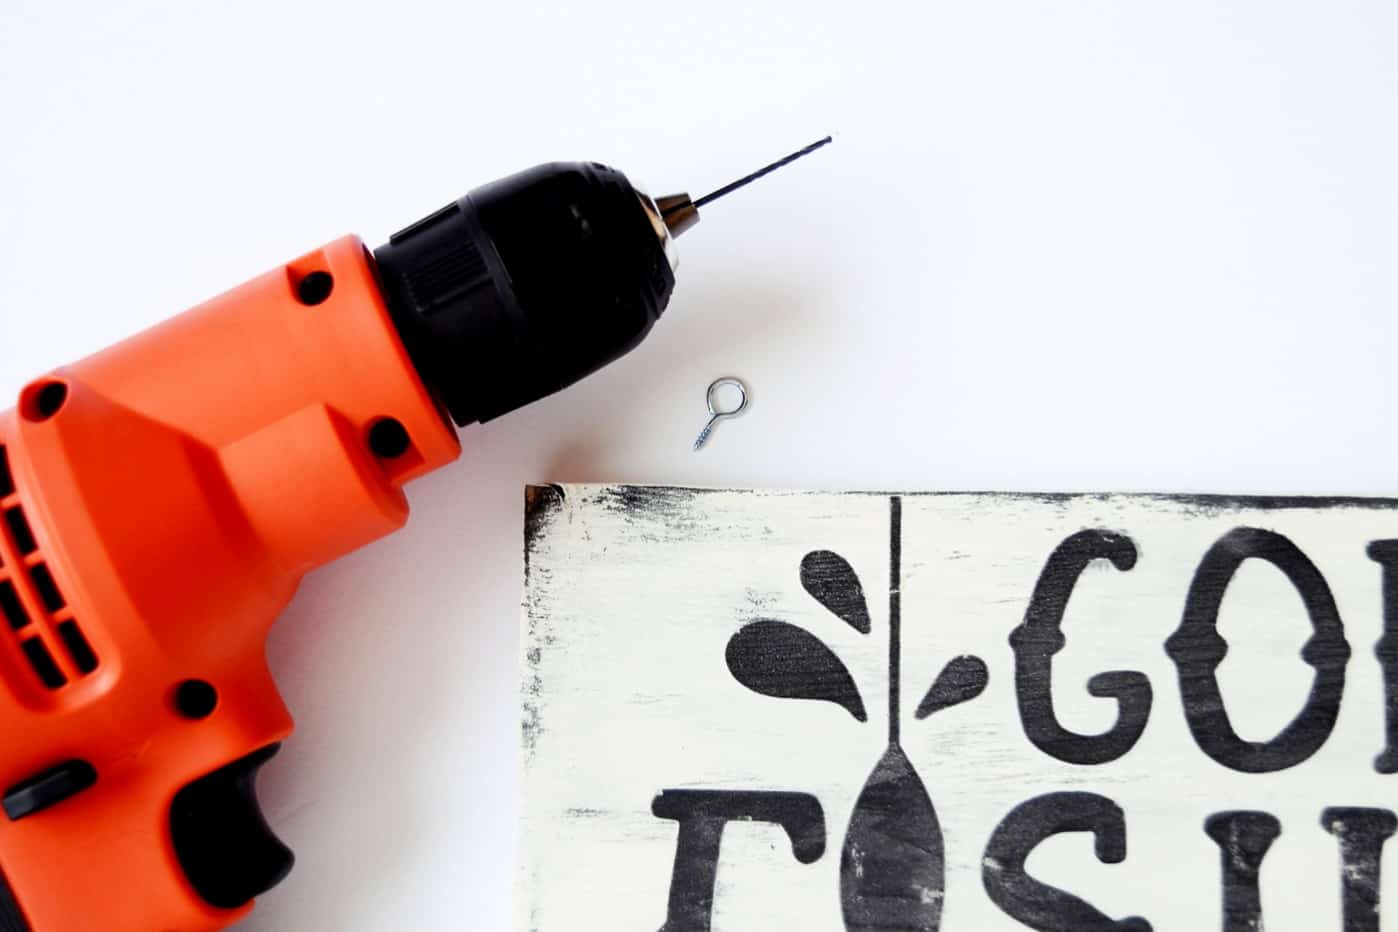
- Drill the sign with a 1/16" drill bit on the top at each end. Attach the hooks.
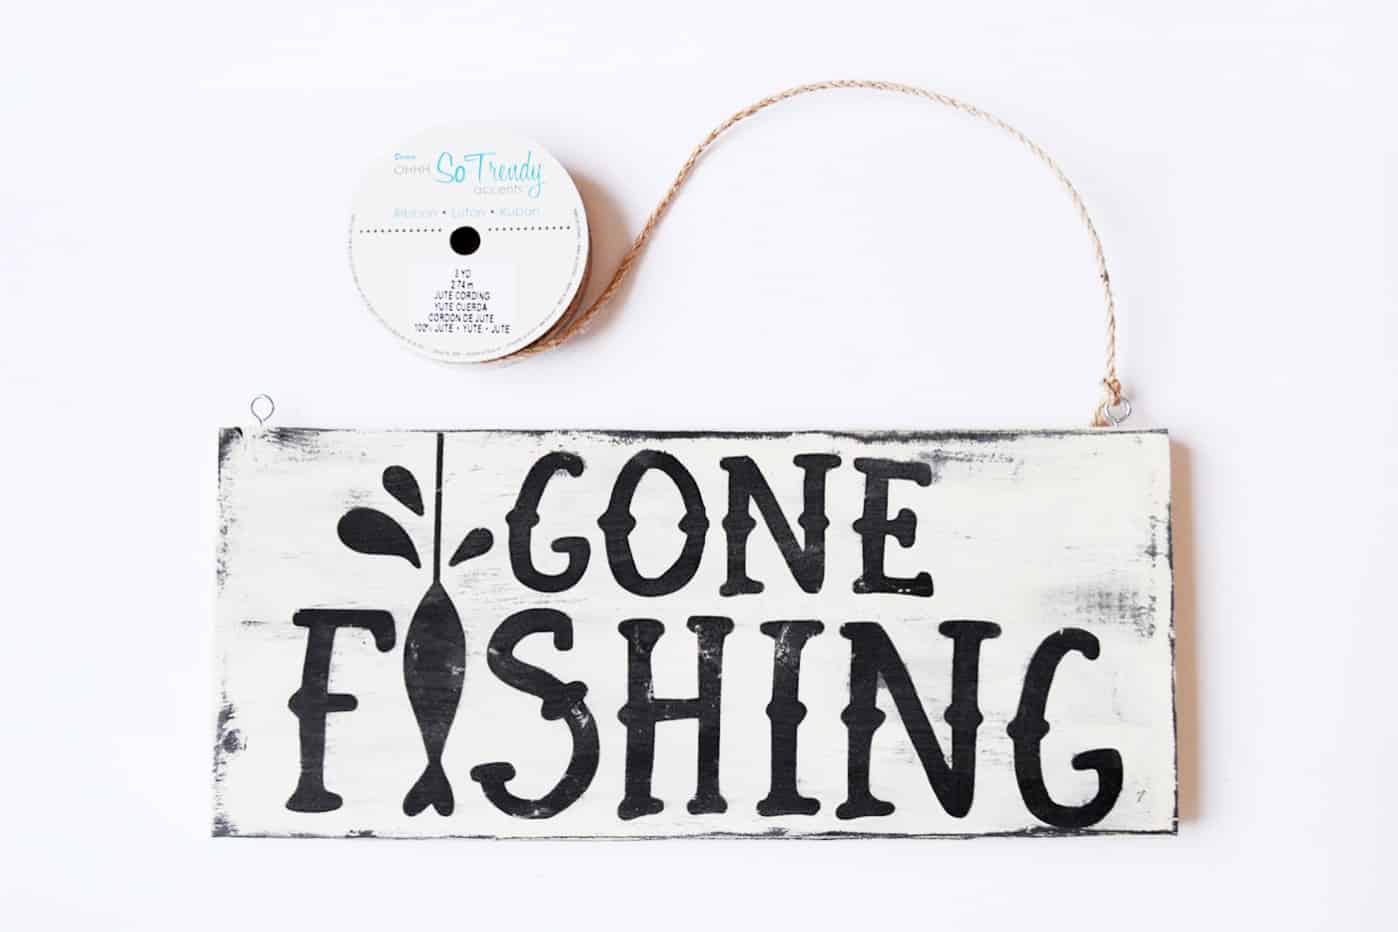
- Finish by tying jute cord on the eye hooks in the length desired. Hang.
Notes
What do you think of this handmade gift idea? Let me know in the comments! If you like making signs, try this DIY wood wall sign tutorial. It’s REALLY easy and perfect for rustic or farmhouse decor. You might also like the following ideas: