How to Make Stretchy Beaded Bracelets That Actually Last
Learn how to make stretchy beaded bracelets with elastic cord and glass beads, plus tips for tying a secure knot that actually holds!
Skills Required: None. Even if you’ve never crafted before, you’ll be able to make these.
If you’ve ever seen a stack of cute beaded bracelets and thought, “I could totally make that”—guess what? You absolutely can. And stretchy bracelets? They’re basically the gateway drug to DIY jewelry.
No fancy tools, no tricky clasps, and no jewelry degree required. Just elastic cord, beads you love, and a knot that actually stays tied. Yes, we’re going to talk about that.
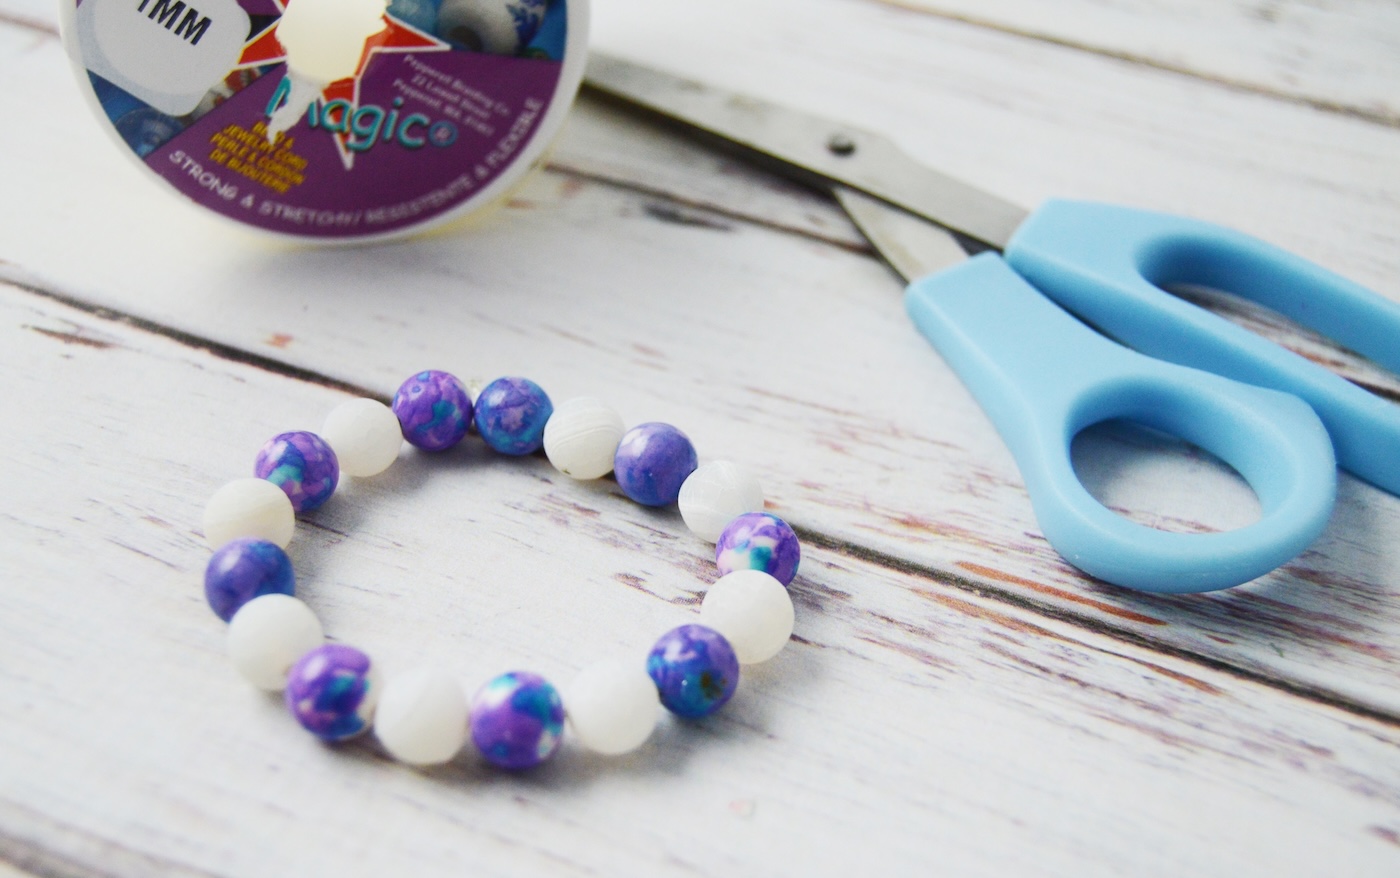
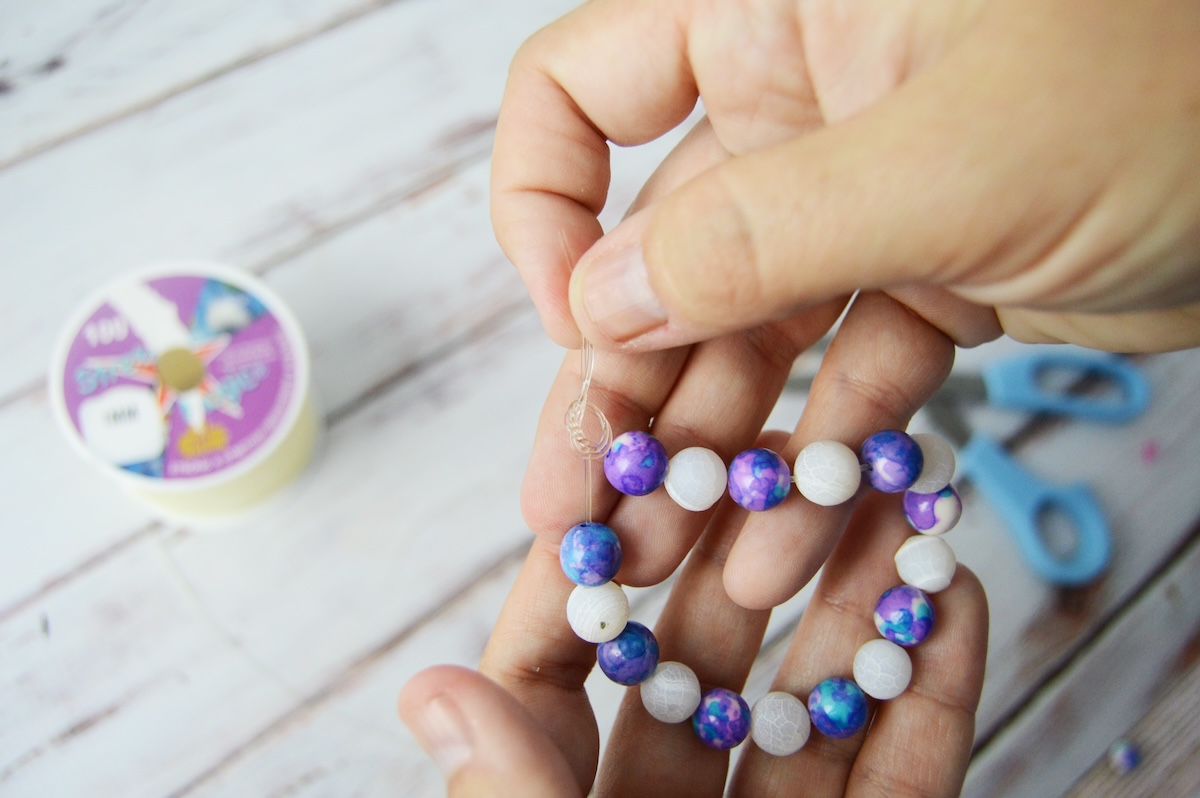
In this tutorial, I’m walking you through how to make a classic beaded bracelet using 1mm elastic cord and 10mm glass beads. You’ll use 15 – 17 beads per bracelet.
It’s fast, satisfying, and kind of addicting once you get into it. These are perfect for stacking, gifting, or making with kids (hello, craft night!).
I’m also sharing all the little tips no one tells you. Like why you should always pre-stretch your cord, how to tie a knot that won’t betray you later, and a simple trick to hide that knot so your bracelet looks polished.
This is one of those crafts you can crank out in 10 minutes but wear like it came straight from a boutique.
So grab your beads and let’s get stringing, because your wrists deserve to sparkle a little.
Get the printable how to card below:

Make Stretchy Bracelets
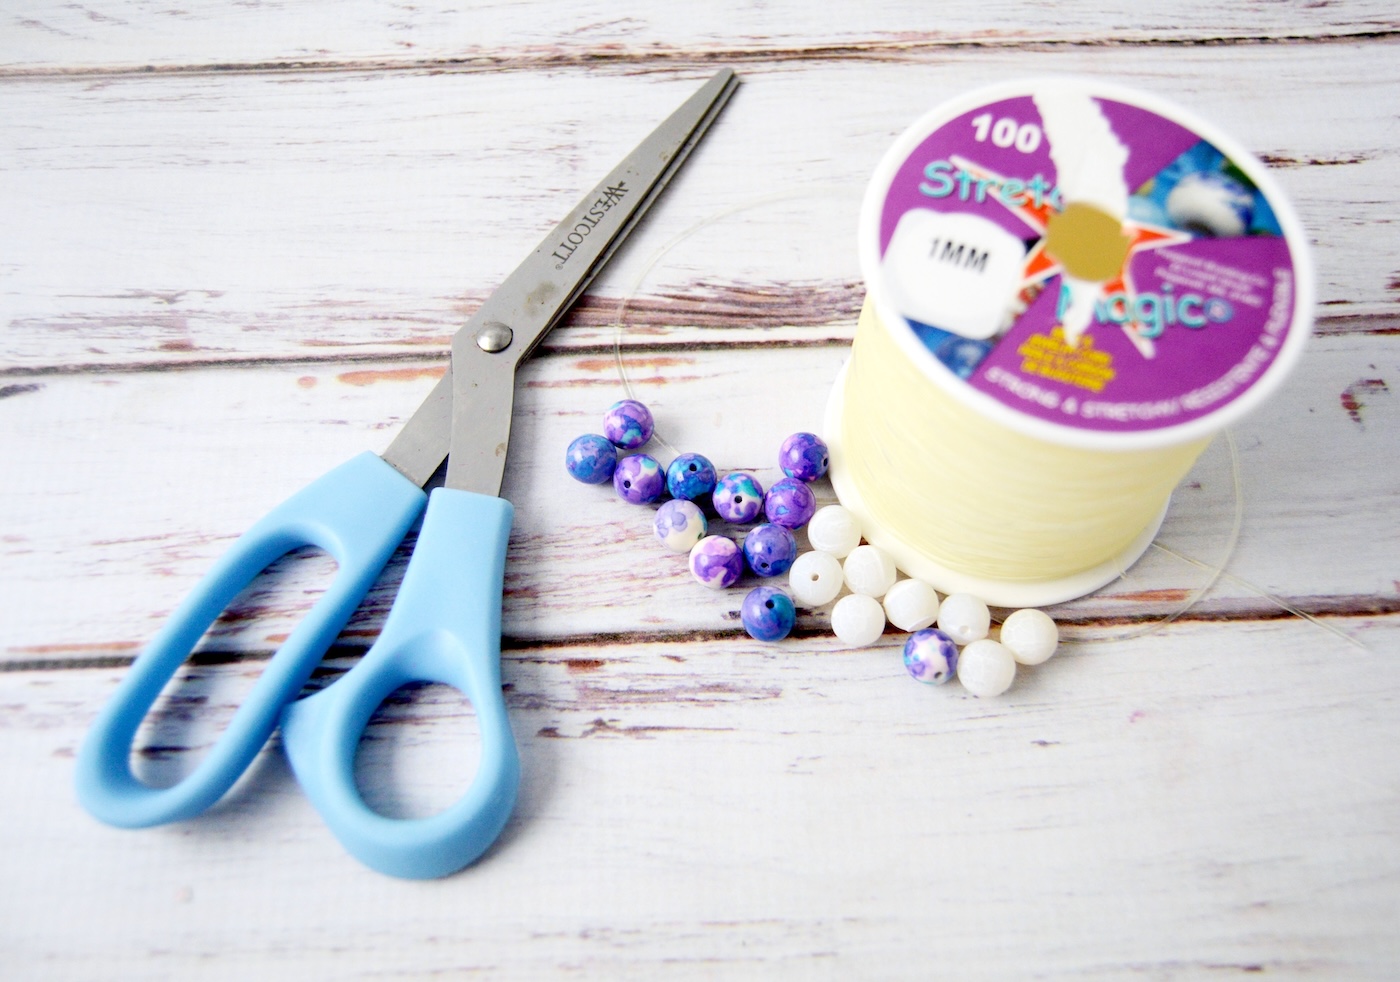
Equipment
- Binder clip or bead stopper optional
Materials
- 12 inches clear elastic cord 1mm
- 17 glass beads 10mm
- Clear jewelry glue optional, but helpful
Instructions
- Cut a piece of elastic cord about 12 inches long. This gives you plenty of room to string beads and tie the knot.
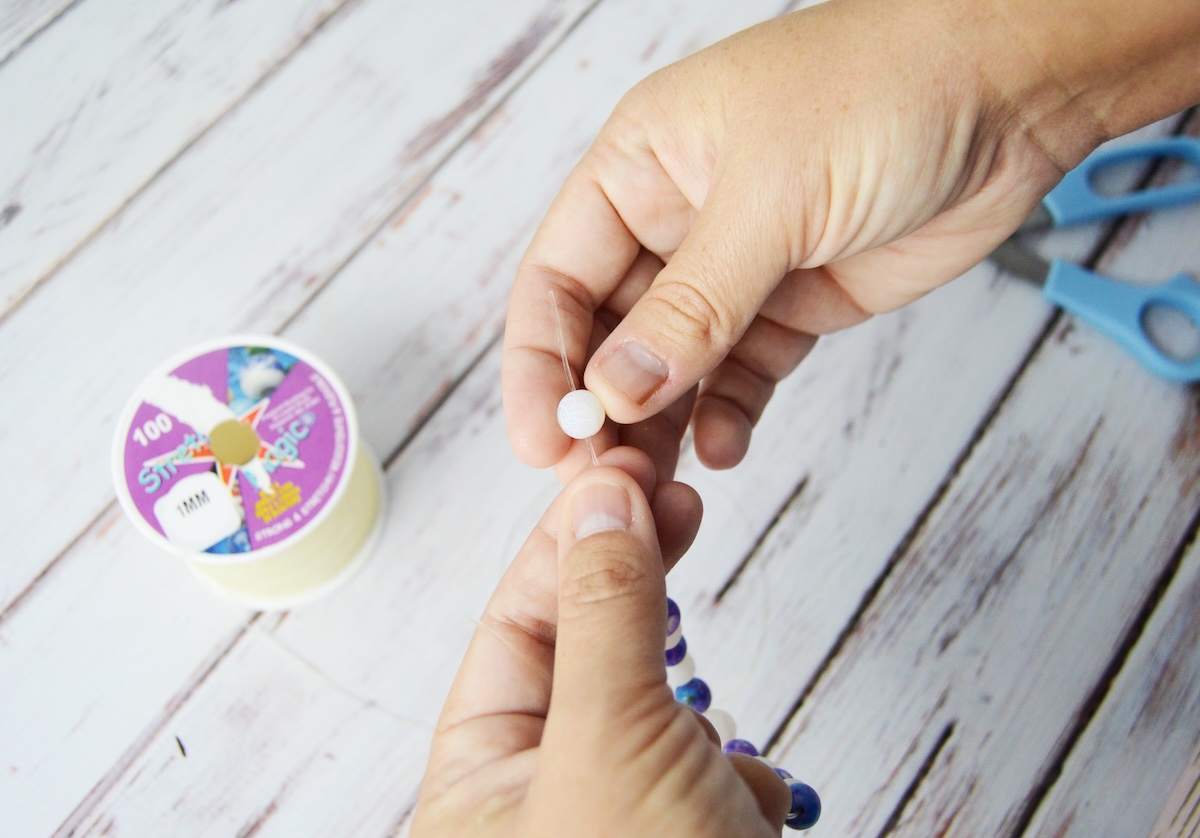
- Before you string anything, give the elastic cord a few gentle tugs along its length. This helps it relax and prevents your finished bracelet from stretching out over time. It only takes a few seconds, and trust me, it makes a difference.
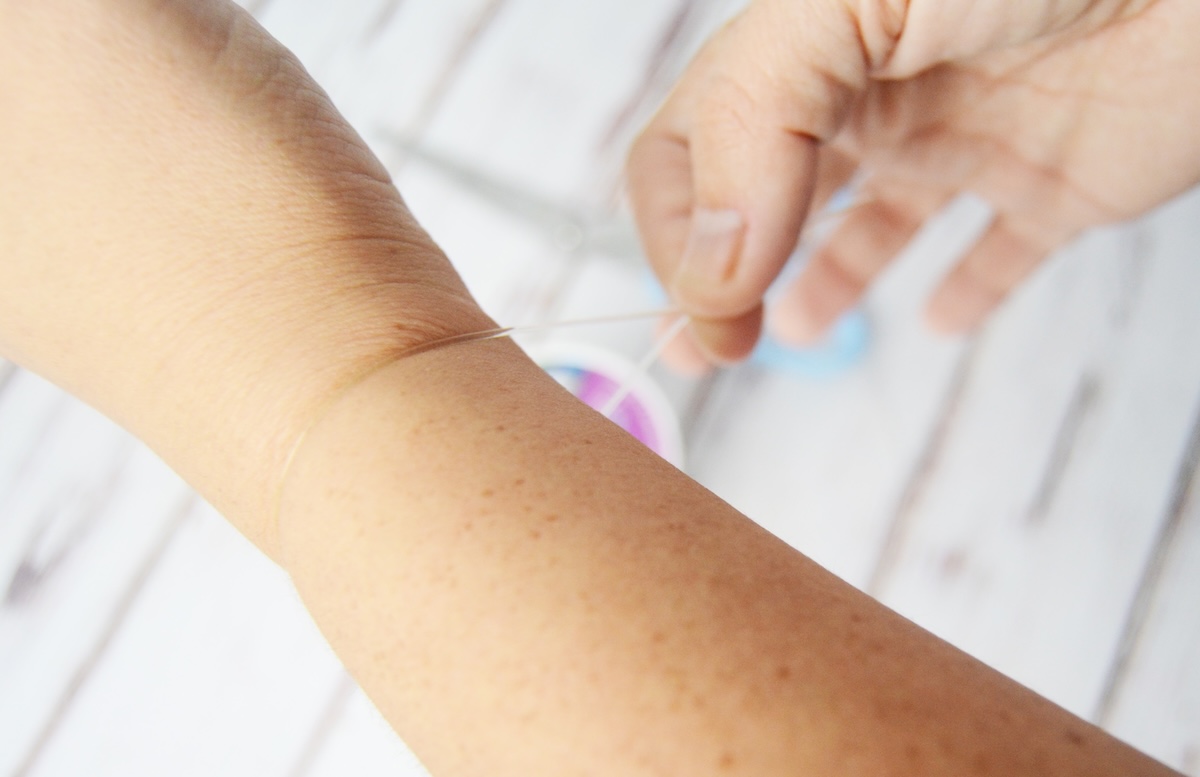
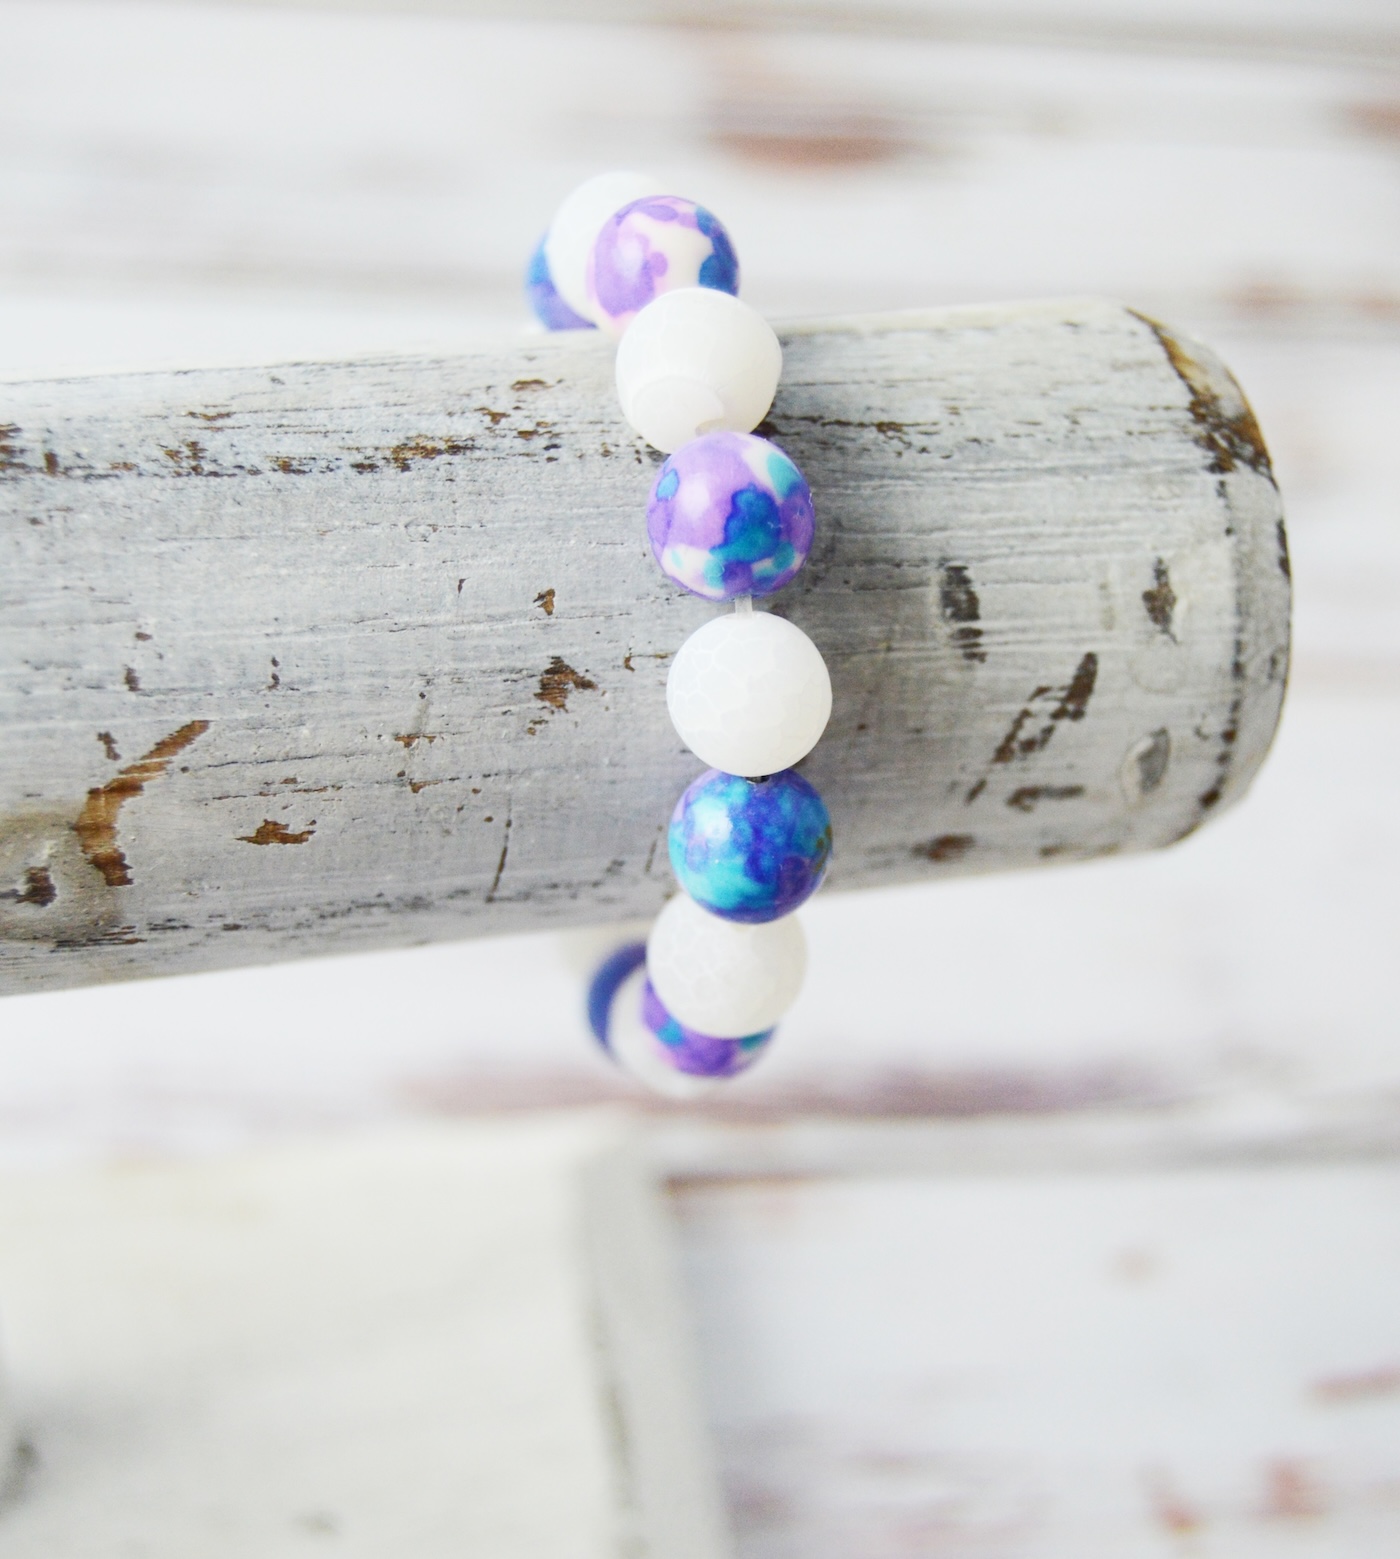
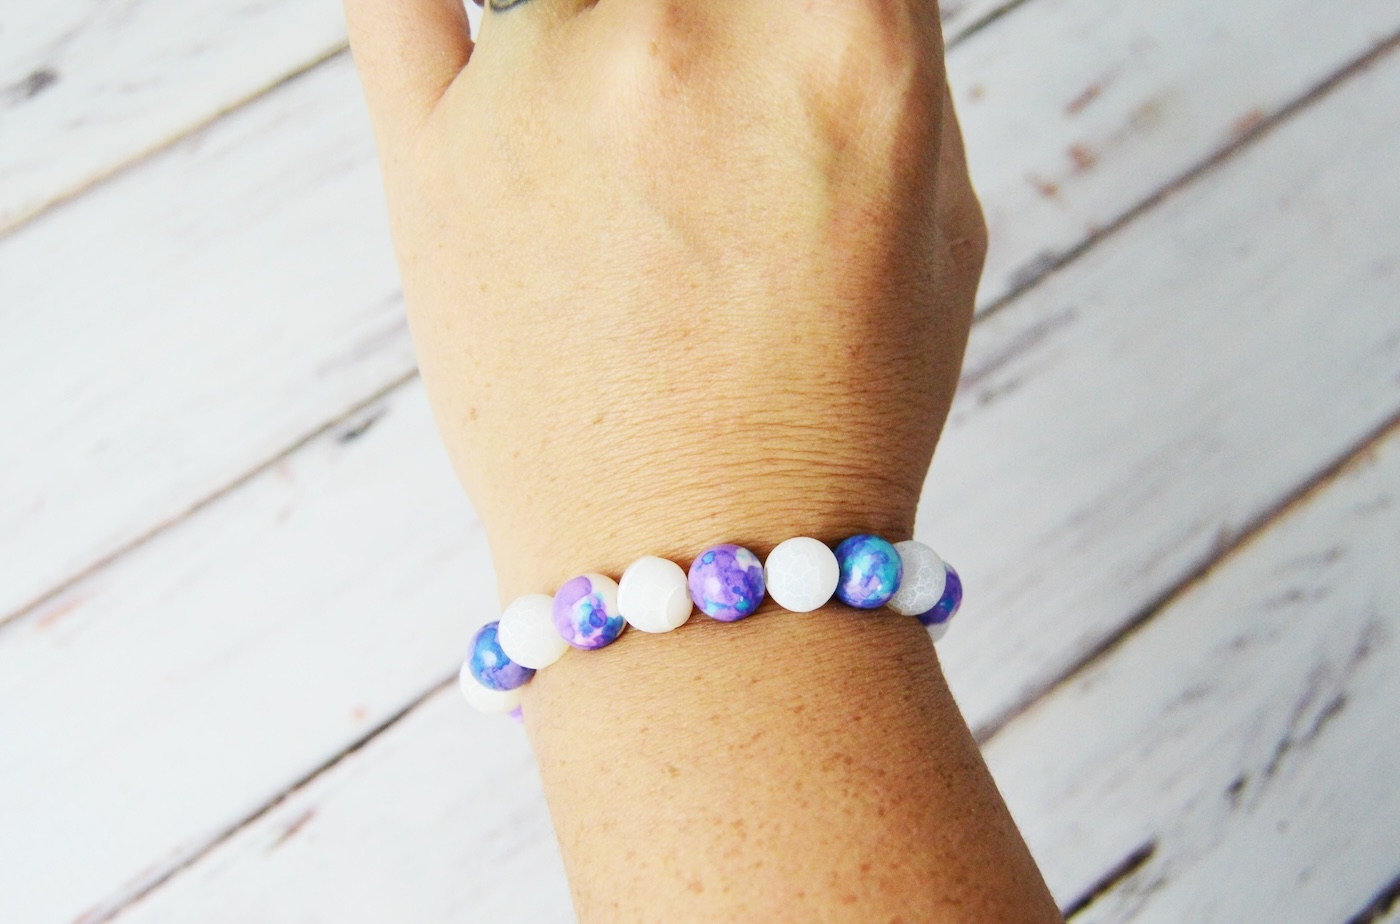
- Add all beads onto the cord in your desired pattern. The finished bracelet should be about 6-7 inches, which fits most adult wrists.
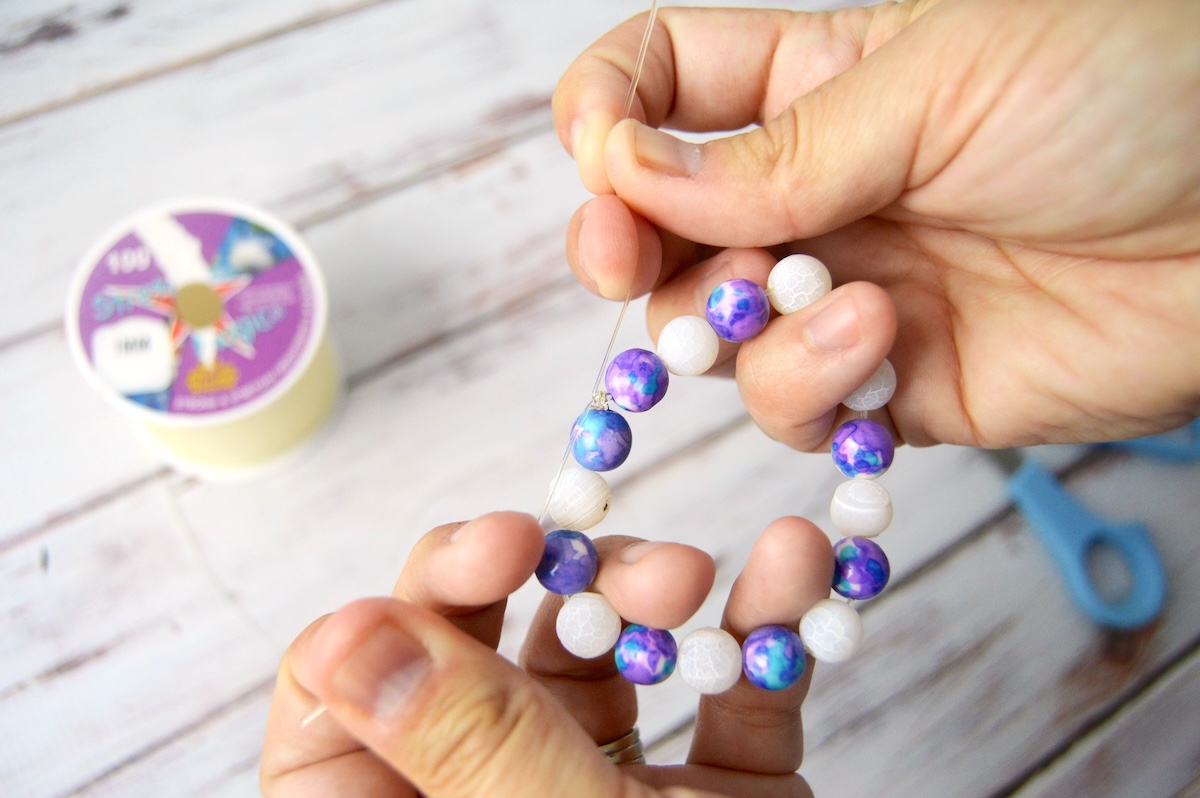
- Bring both ends of the elastic cord together. Create loop at the end and wrap the cord through the loop twice (see the diagram in the notes).
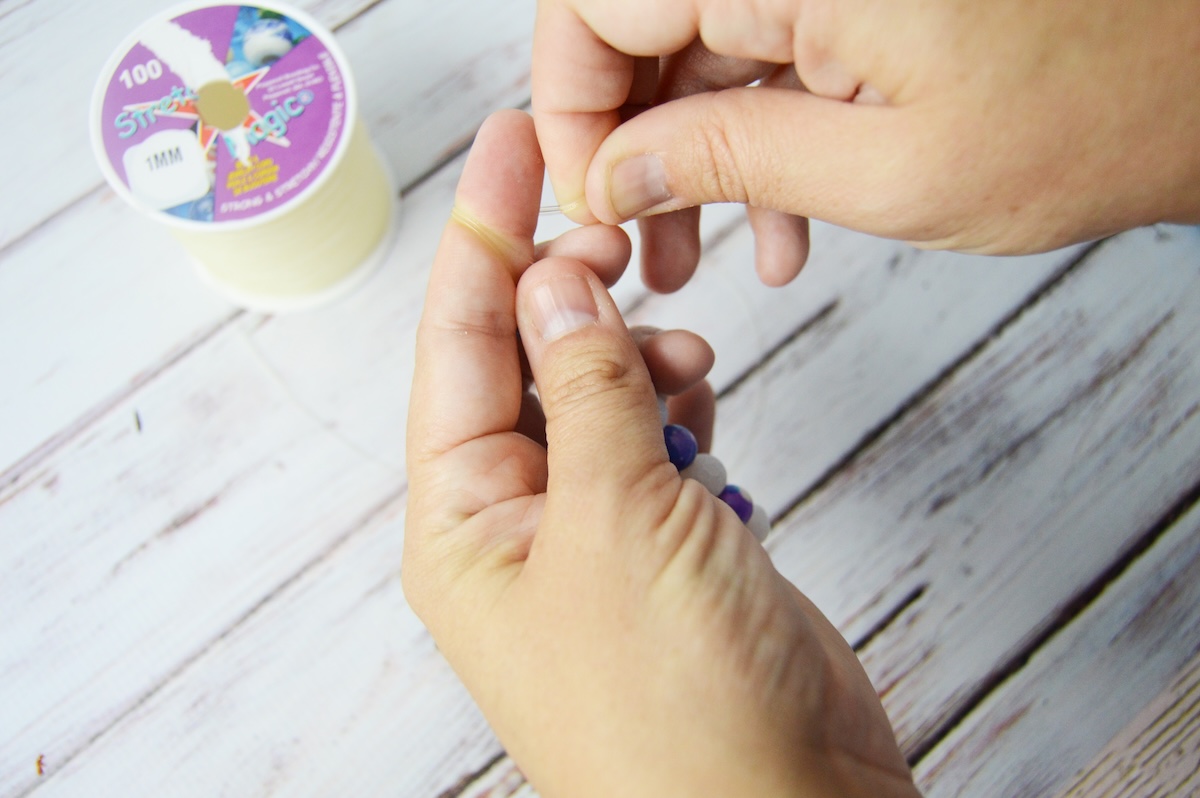
- Pull firmly on both ends and make sure the knot is snug against the beads. For extra hold, add a small dot of clear jewelry glue to the knot. Let dry completely.
- Trim the excess cord, and if possible, slide the knot into the hole of a nearby bead to hide it.
Notes

Enjoyed this tutorial? Let me know in the comments! I’d also love for you to check out these other posts: