
Unleash the fun with this easy fluffy slime guide! Enjoy a squishy adventure with simple ingredients for endless fun. Let’s get sliming!
Skills Required: None. You’re mixing ingredients in a container, and no crafting skills are required for this project.

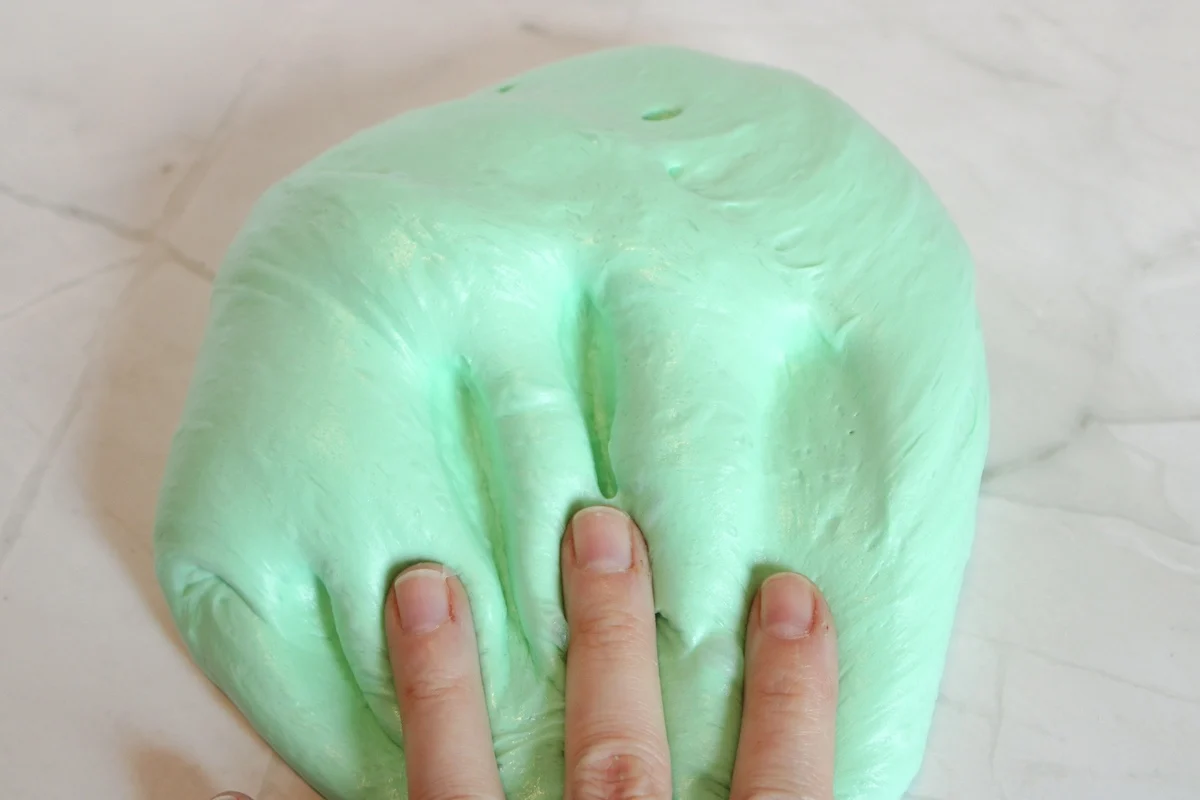
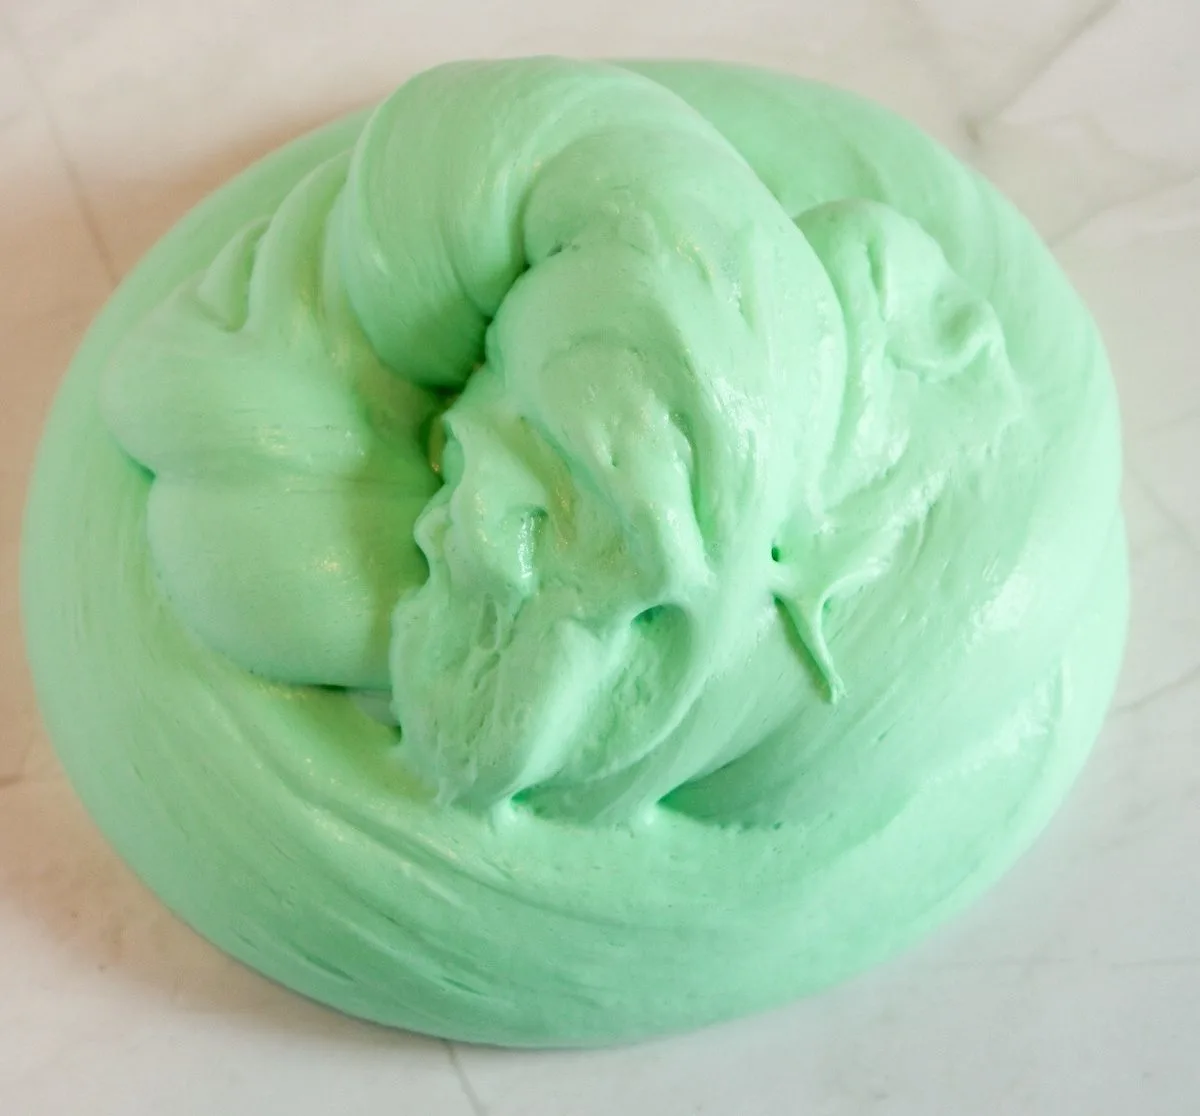
Have you ever wanted to hold a cloud? Maybe give it a little squish or watch it shimmer in the light? Well, buckle up, because we’re about to embark on a DIY journey into the world of fluffy slime, also known to the cool kids (and now you) as “fluffy cloud slime.” It’s like regular slime, but with an extra dose of magic and fluffiness that makes you feel like you’re squishing a piece of the sky itself.
Let’s be honest, making fluffy slime isn’t just a craft; it’s a rite of passage in the world of DIY. It’s the ultimate badge of honor that says, “Yes, I can create something that’s both a solid and a liquid and incredibly fun to play with.” And the best part? You’re about to do it with items you probably have lying around your house. If you don’t, they’re just a quick dash to the local convenience store away. We’re talking about the MVPs of the DIY slime world: school glue, baking soda, water, foam shaving cream, contact solution, and food coloring. That’s it. No need for a PhD in chemistry or a wizard’s spellbook—just some good old-fashioned mixing and maybe a little bit of kitchen witchery.
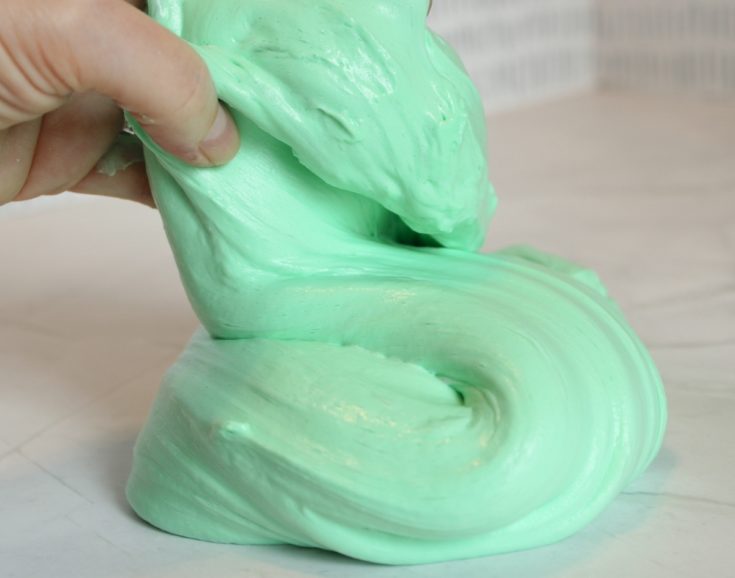
Now, I know what you’re thinking: “But what if I mess it up?” To which I say, “Embrace the mess!” This is your chance to unleash your inner mad scientist. The process is half the fun, and the end result is a gloriously squishy, stretchy, fluffy cloud slime that will have you playing like you’re five years old again (no judgment, we’re all kids at heart).
Making fluffy slime is more than just a craft; it’s a magical experience that’s meant to be shared. Whether you’re looking for a fun activity to do with the kids, a stress-relieving tactile sensation, or just want to make something cool, fluffy slime has got you covered. And who doesn’t want to say they’ve successfully made a non-Newtonian fluid at home? It’s sure to impress at least a few people at your next dinner party.

So, if you’re ready to get your hands dirty (literally) and dive into the fluffy, squishy, and occasionally sticky world of slime making, keep on scrolling. I’ve laid out all the steps you’ll need to create your very own fluffy cloud slime masterpiece. Let’s turn your kitchen into a DIY lab and make some slime that’s sure to put a smile on your face and maybe even leave a little glitter in your hair. Because remember, the messier the craft, the bigger the fun. Let’s get sliming!
Tips for Making Slime
If you’ve never made slime before, here are some great tips you might be interested in. If you don’t need them, head on down to the recipe.
Measure Ingredients Precisely
The key to perfect slime is in the details. Measuring your ingredients as accurately as possible can make the difference between slime that’s just right and a recipe that’s too sticky or too brittle.
Add Mix Ins Slowly
If you’re adding color, glitter, or other fun elements, add them slowly and mix thoroughly to see the effect. You can always add more, but you can’t take it out once it’s in there.

Adjust Texture as Needed
If your slime is too sticky, add a little more activator (like borax solution, liquid starch, or saline solution). If it’s too stiff, add more glue or a bit of water. Do this gradually!
Use Supplies You Don’t Mind Getting Messy
Slime can get everywhere, and while it’s usually easy to clean up, it’s best to use tools (bowls and utensils) and surfaces you’re not worried about.
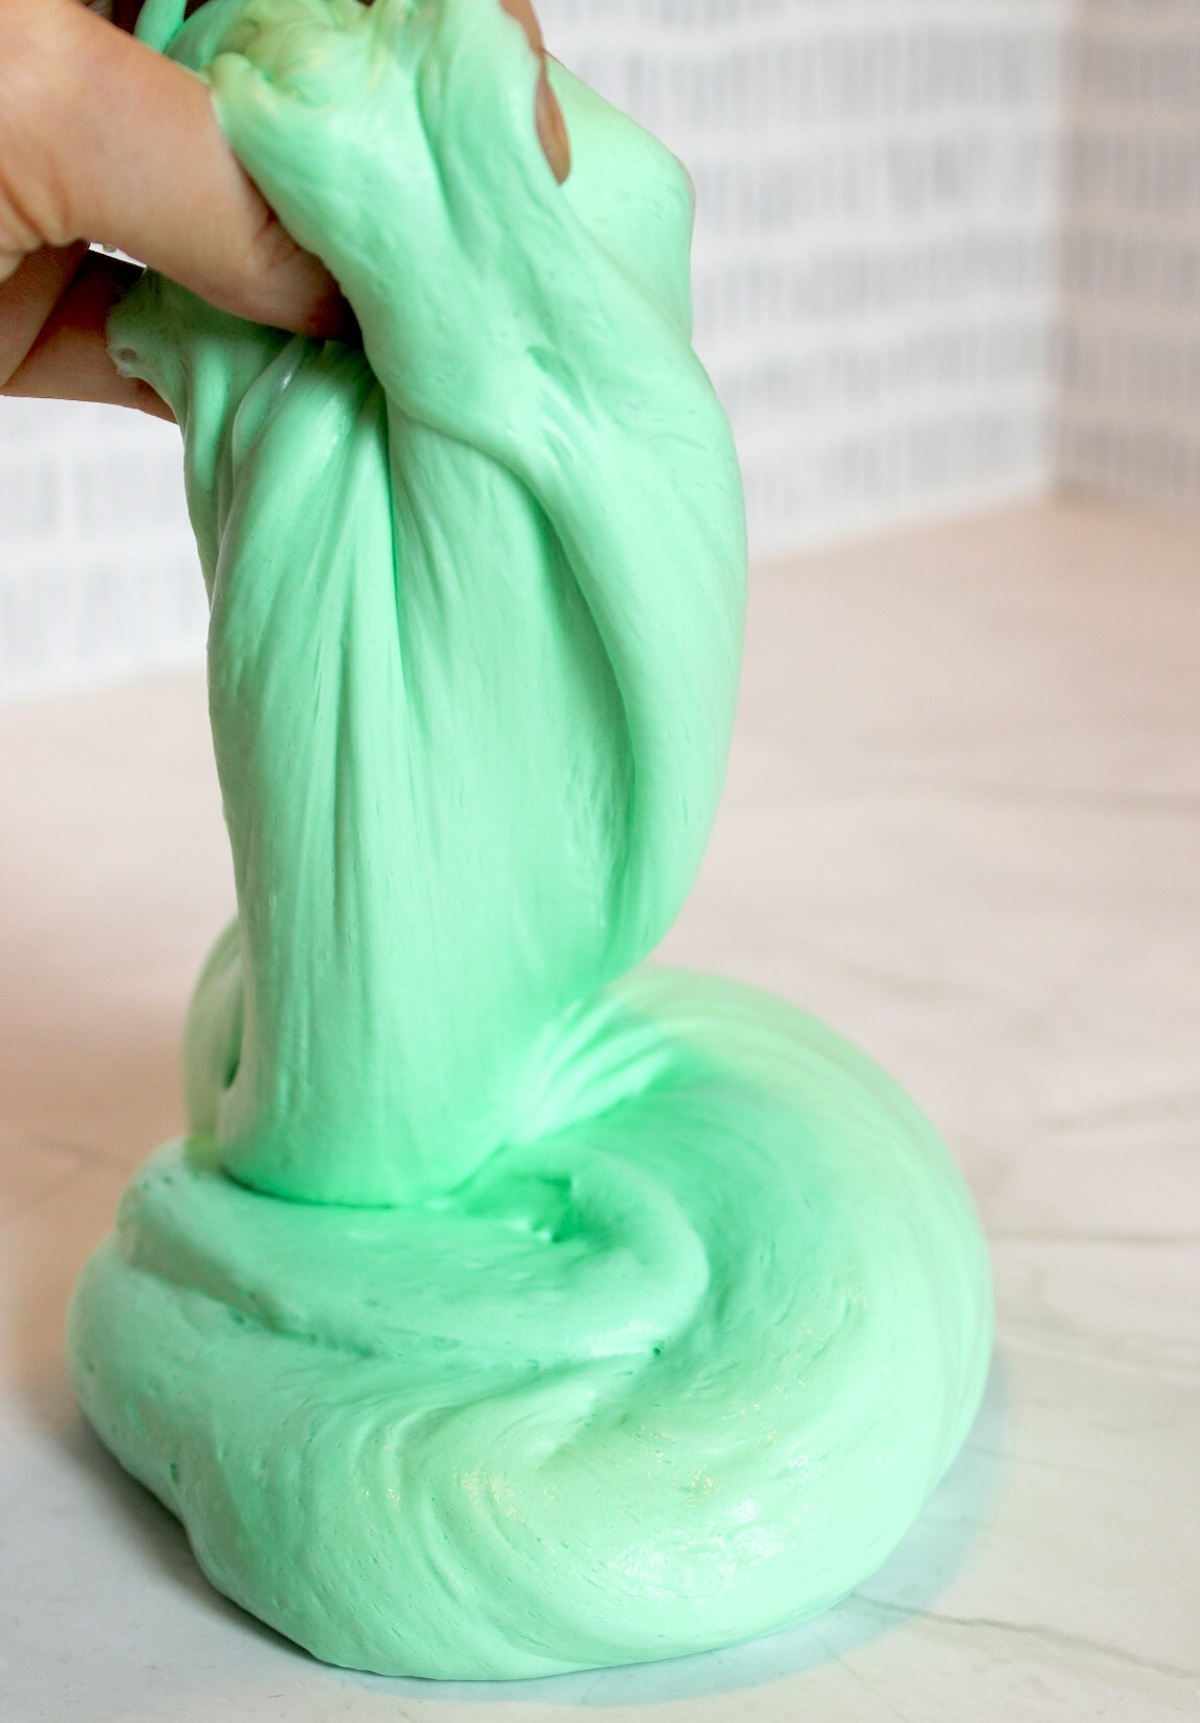
Use Your Hands
Once the slime begins to form, use your hands to knead it. This helps improve the texture and mix everything evenly. Don’t be afraid to get a little messy!
Storage is Key
Keep your slime in an airtight container when not in use. This will help it last longer and prevent it from drying out.
Safety First
Always use safe, non-toxic ingredients, and if you’re crafting with younger kids, make sure they’re supervised, especially with ingredients like borax.


Slime making is all about experimenting and having fun, so don’t be afraid to try new things and see what works best for you. Enjoy your crafting! Here’s what you’re going to need:
Gather These Supplies
- Elmer’s white school glue (6 oz.) – 1 1/2 bottles
- 1/2 tsp baking soda
- 1/4 cups water
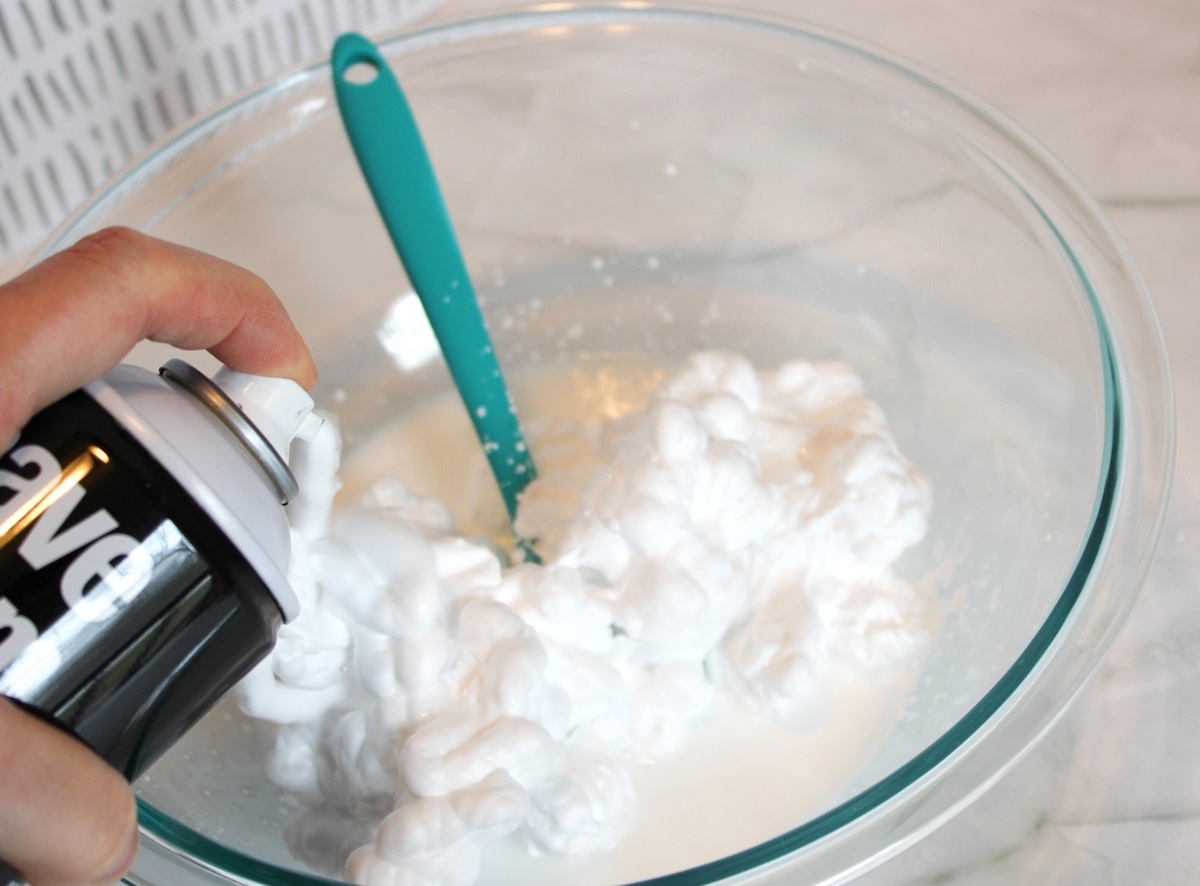
- 3 cups foam shaving cream (NOT GEL)
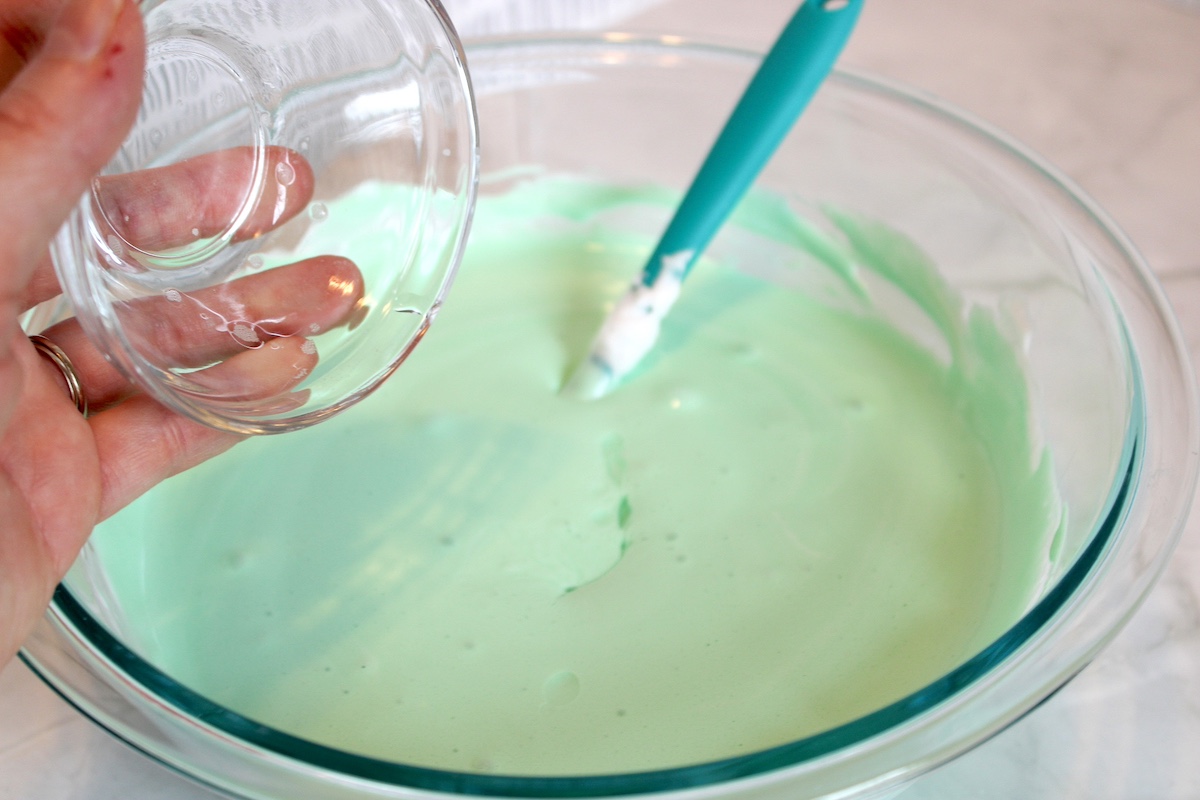
- 2 Tbsp contact lens solution (must contain boric acid and sodium borate)
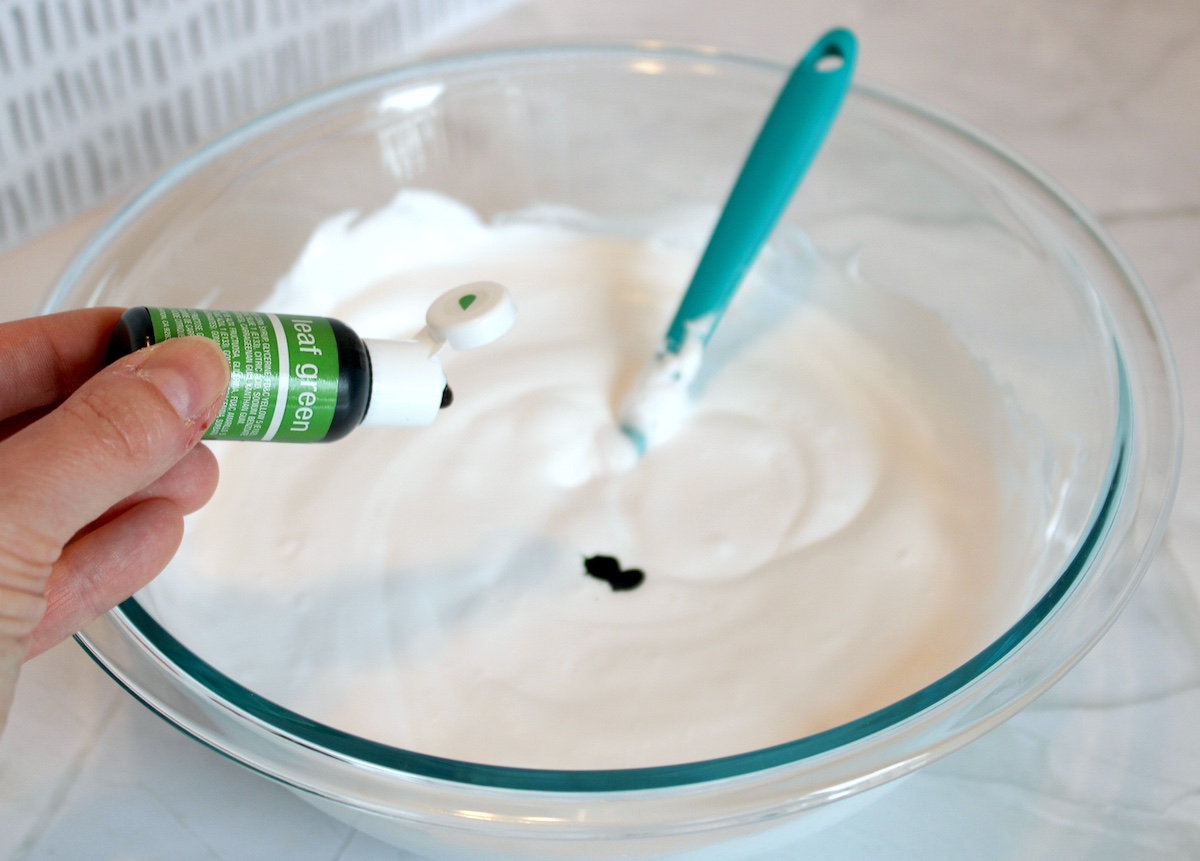
- Food coloring
Tips and Thoughts for This Craft
Store your slime in an airtight container or baggie. If your slime gets stiff, you can try to add a little water – lotion – hand sanitizer – or even a bit more glue to soften and reactivate it.
Get the recipe below:
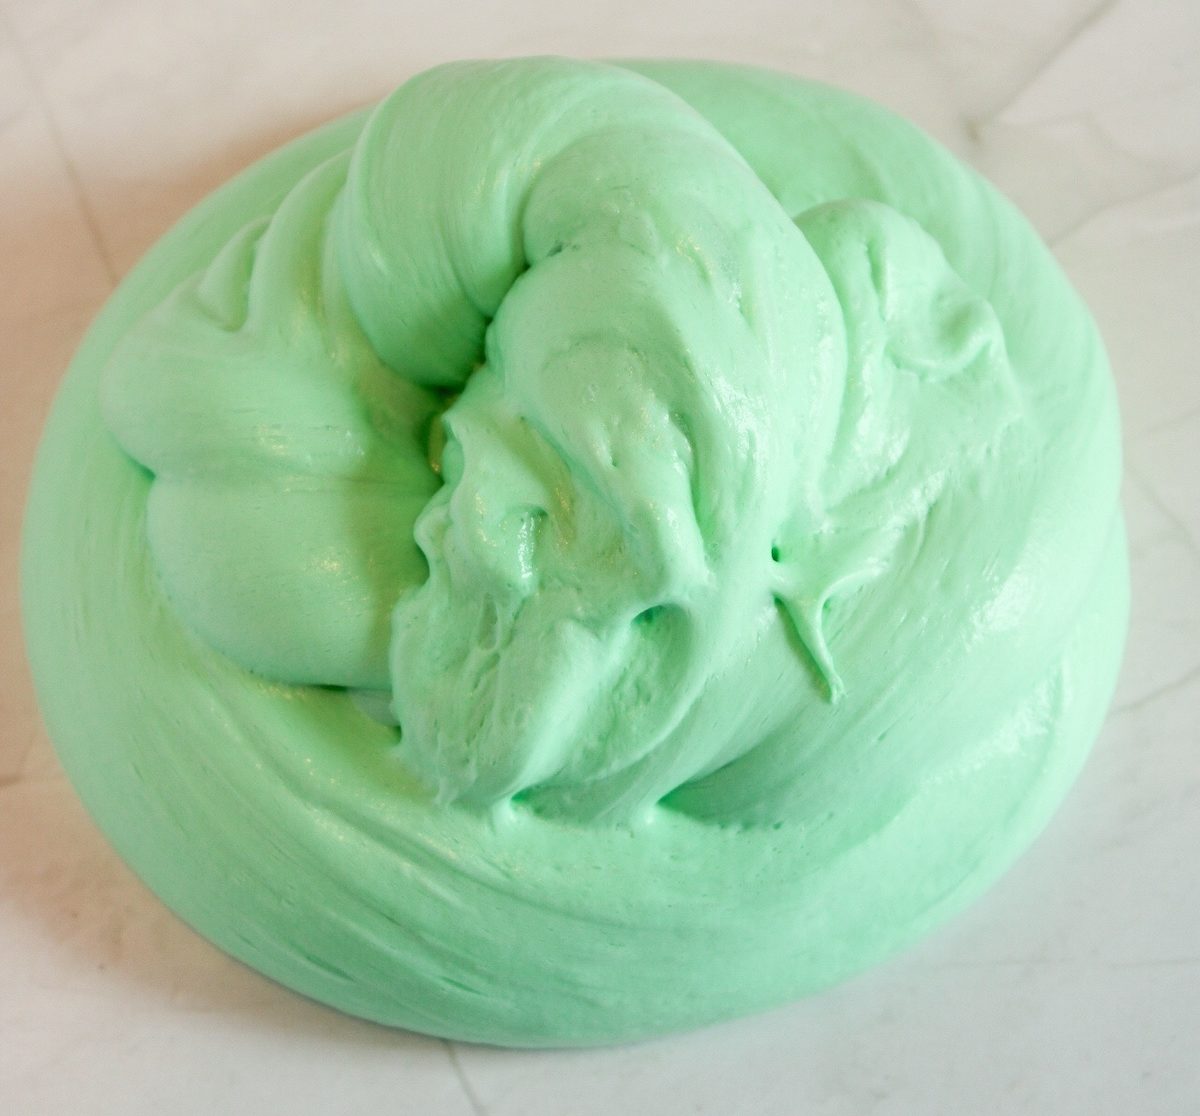
Fluffy Slime

Make your own fluffy slime with this simple tutorial! Fun, squishy, and perfect for DIY enthusiasts of all ages.
Materials
- Elmer's white school glue (6 oz.) - 1 1/2 bottles
- 1/2 tsp baking soda
- 1/4 cups water
- 3 cups foam shaving cream (NOT GEL)
- 2 Tbsp contact lens solution (must contain boric acid and sodium borate)
- Food coloring
Tools
- Bowl
- Stir stick or spoon
Instructions
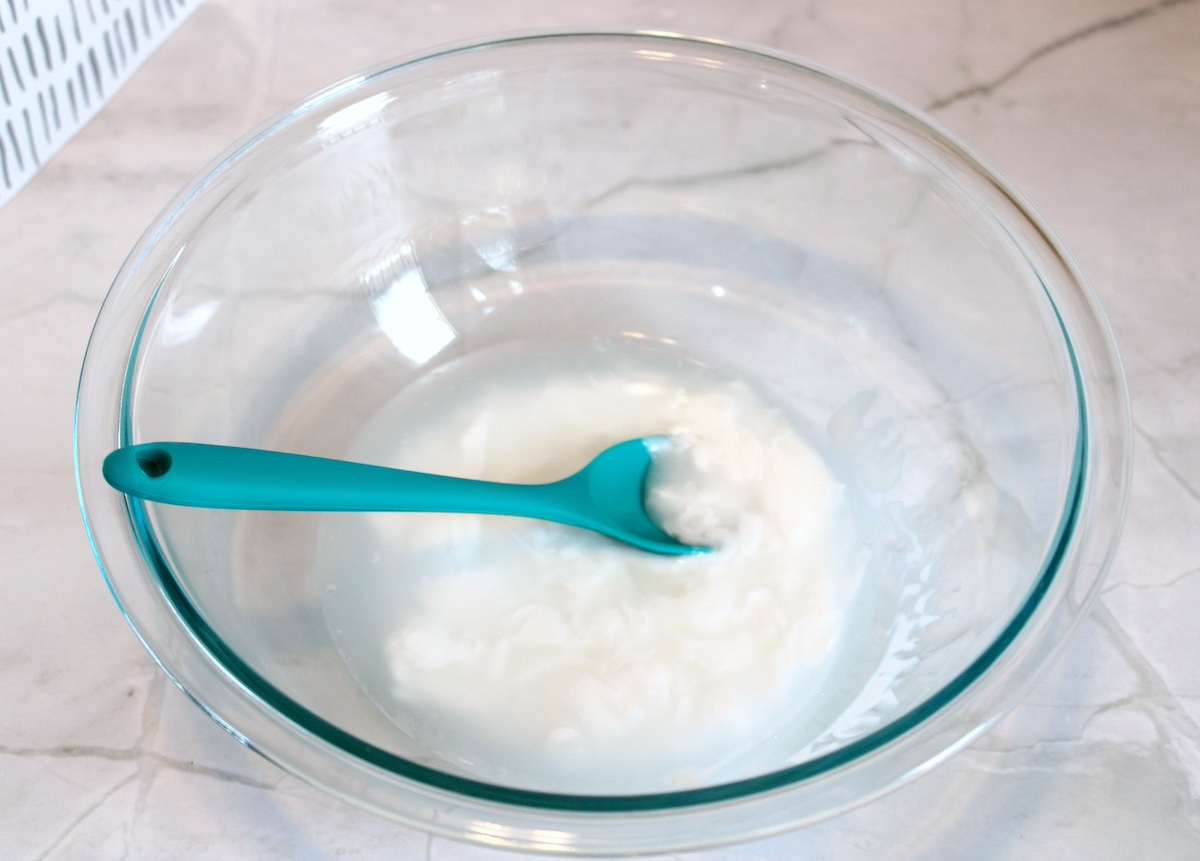
- Add glue and water to the bowl, and stir to mix.

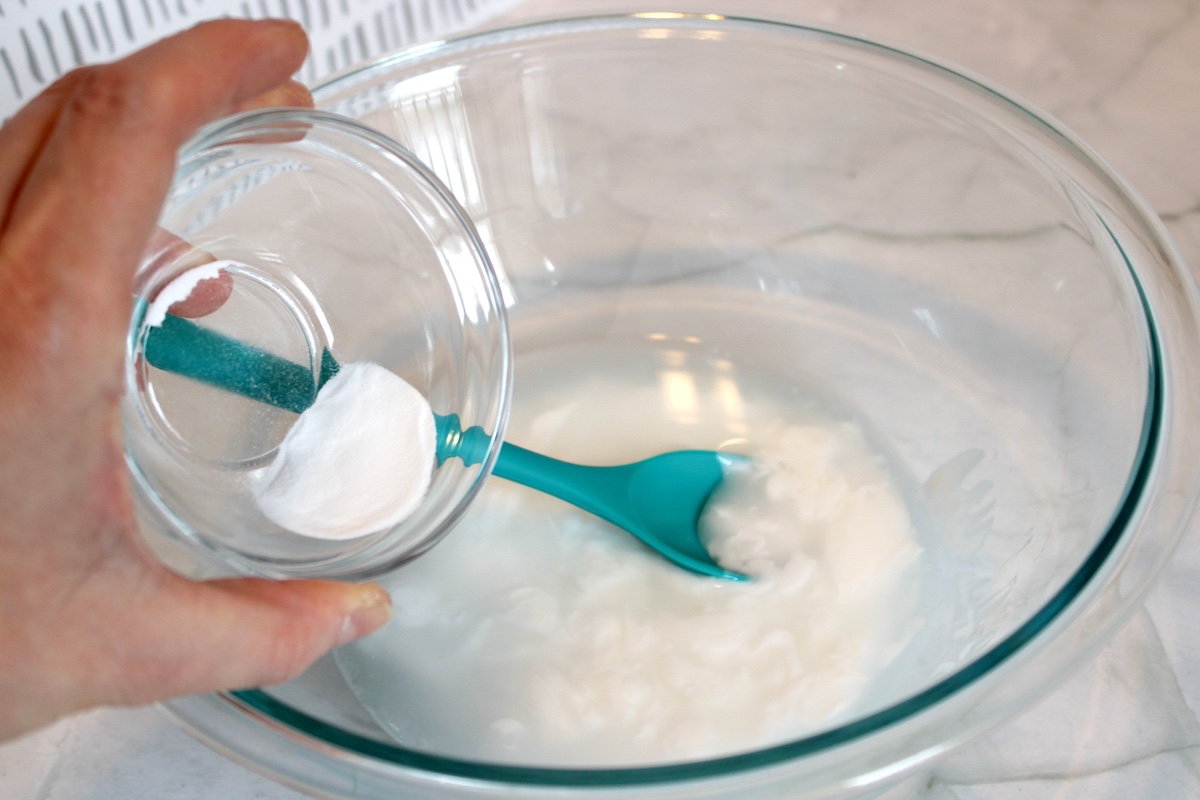
- Add in baking soda and stir to combine.

- Add the foam shaving cream to the glue mixture. Stir to mix all ingredients well.
- Add 1 - 2 drops of food coloring and stir to combine.
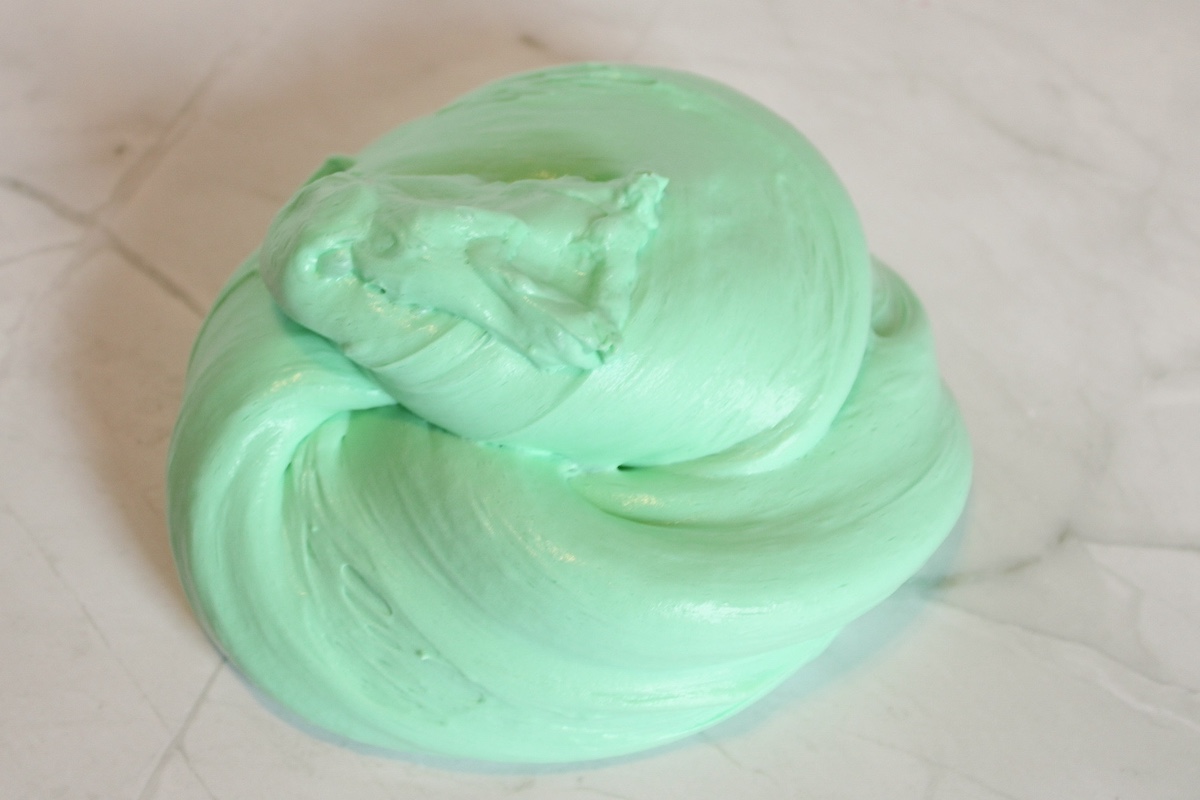
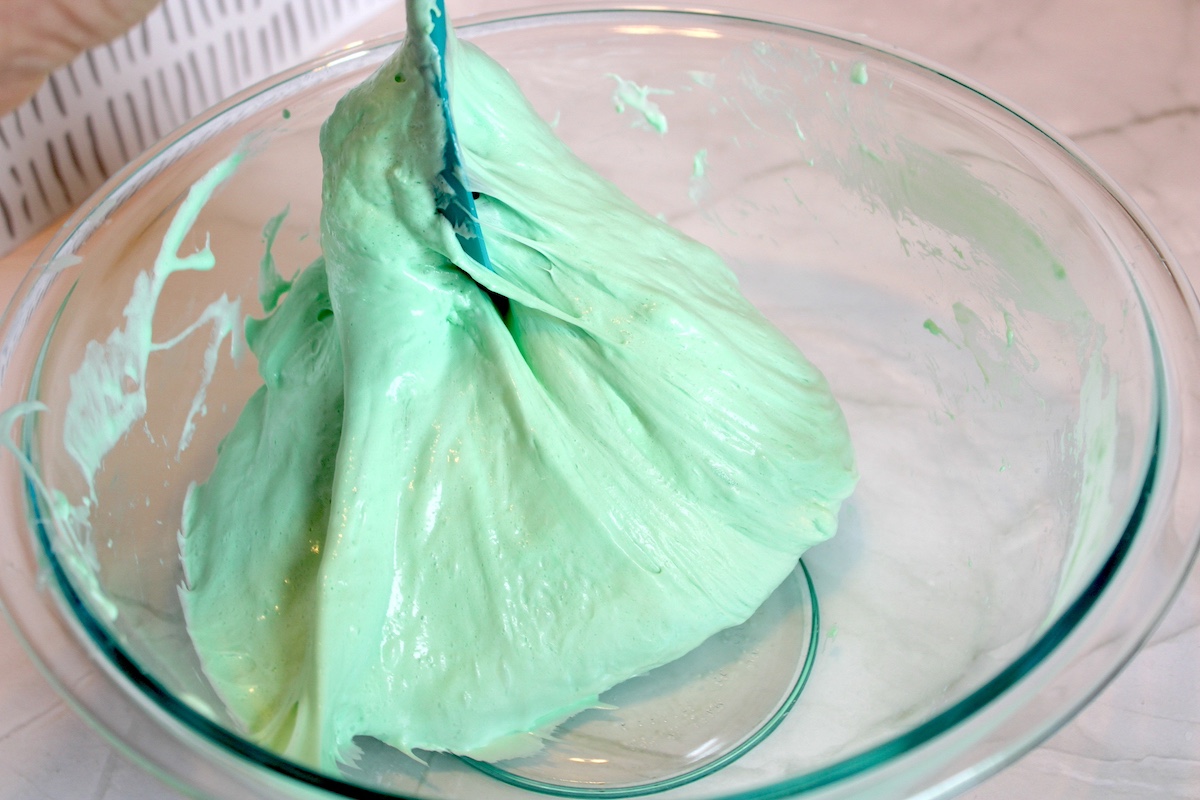
- Add the contact solution and mix with the spoon until slime forms and pulls away from the sides of the bowl. Knead with your hands to help incorporate the contact solution into the slime.
- If the slime is still sticking, add 1/2 tsp of contact solution at a time until it is no longer sticky.
Notes
Costs for this craft will vary - if you make a lot of slime like we do and buy the ingredients in bulk, it can cost pennies!
I hope you enjoyed this fun activity! Please let me know what you think in the comments. I’d love it if you’d go check our other slime posts:
Clay • Clear • Color Changing • Crunchy • Edible • Galaxy • Laundry Detergent • Glitter • Glow in the Dark • Halloween • Play Doh • Sand • Slime Shops • Unicorn