Decorate a Pillow Cover the Easy Way!
Using heat transfer vinyl and tassels, this project shows you how to decorate a pillow cover. Adds a no-sew, personal touch to your home.
Skills Required: Beginner. You’re going to cut a design with heat transfer vinyl and attach it to the front of a pillow cover. Then you’re going to make tassels and attach those too. This is great for newbies and new sewing skills are required!
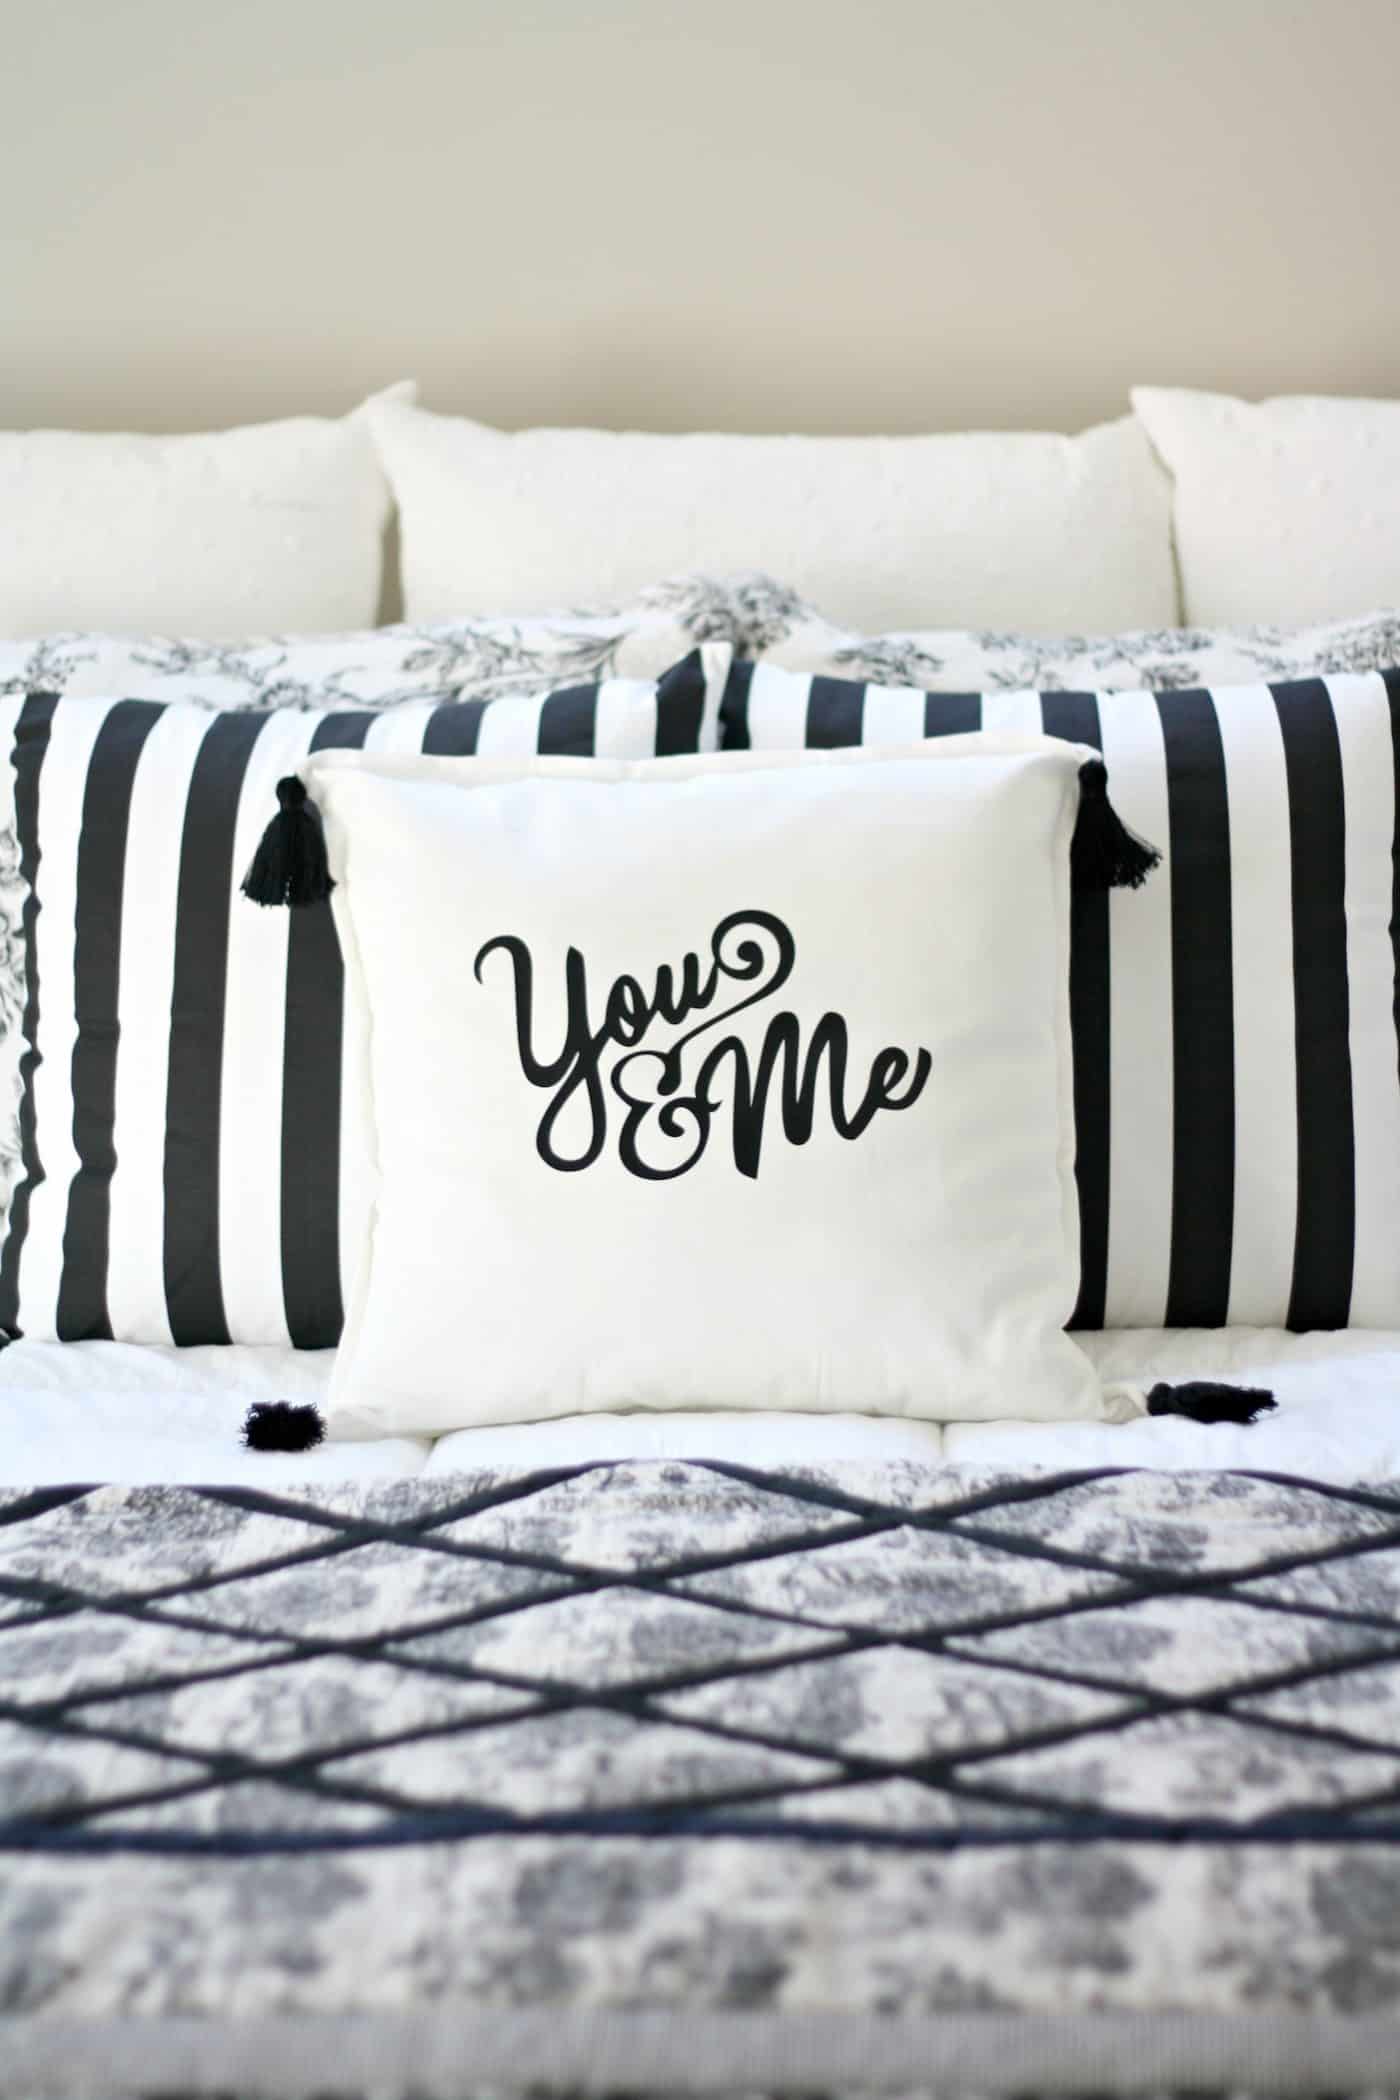
I am so excited to share this simple but darling pillow cover project today! This DIY iron-on graphic pillow with tassels is one of my favorite projects I have made in a while. If you haven’t tried a DIY pillow, this needs to be on your to-do list.
Using Expressions Vinyl Heat Transfer Vinyl, it comes together super quickly, is hard to mess up, and has such an impact in a room. I love the personal touch it adds to our master bedroom! Here is how I made it.
How to Decorate a Pillow
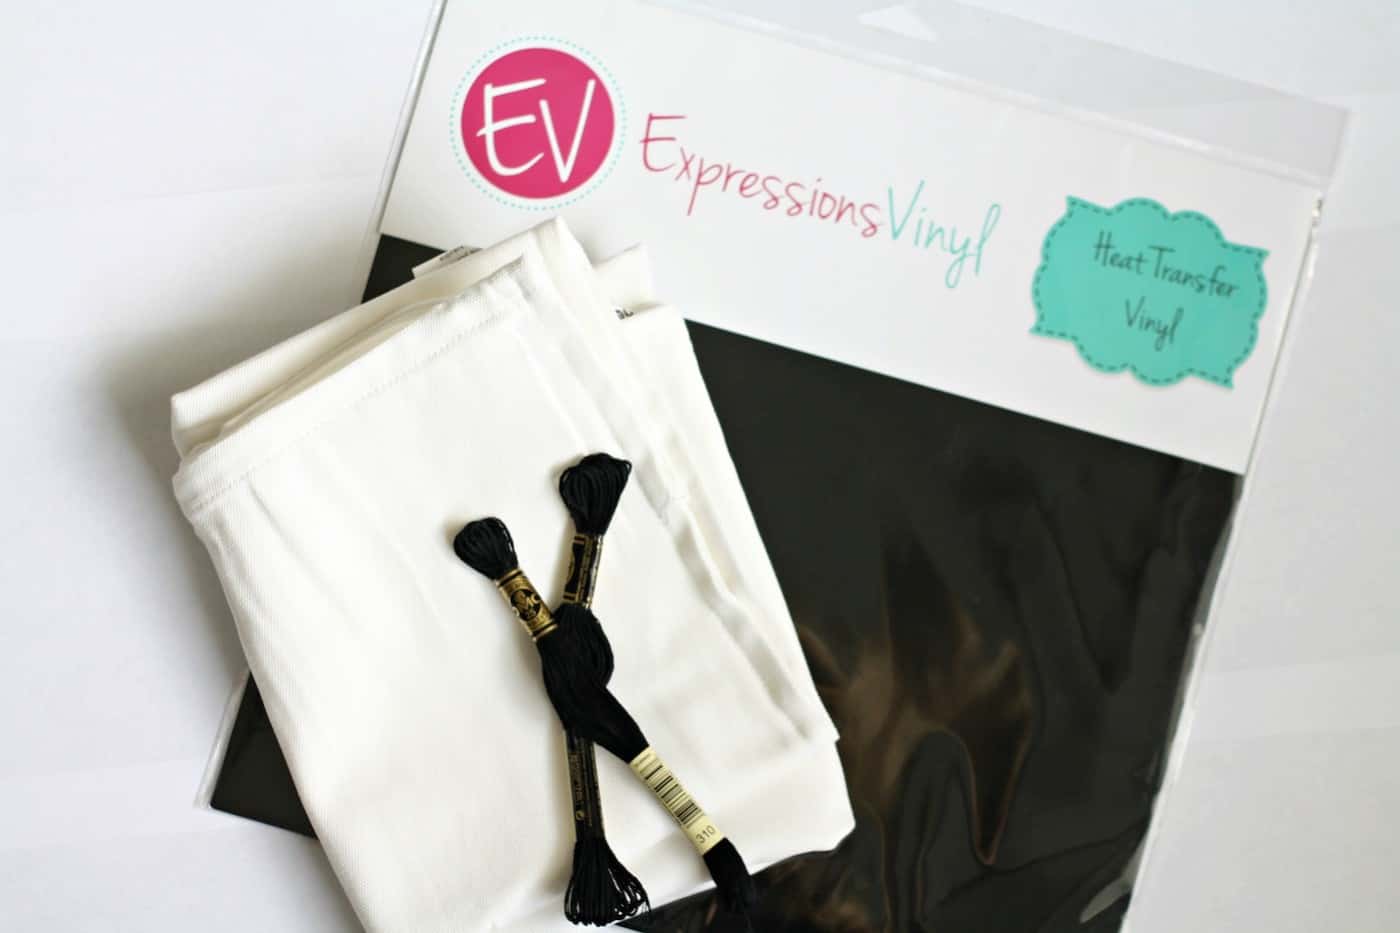
Gather These Supplies
- Blank pillow cover
- Pillow insert
- Expressions Vinyl Heat Transfer Vinyl
- Floss or yarn
- Silhouette and artwork
Cut the Vinyl
Step 1: Cut your design out of the vinyl. I used a cutting machine, but you could also cut by hand for a simpler design (a big heart would be so cute). Make sure you flip your design, if necessary, before cutting! You will need to do this with any words.
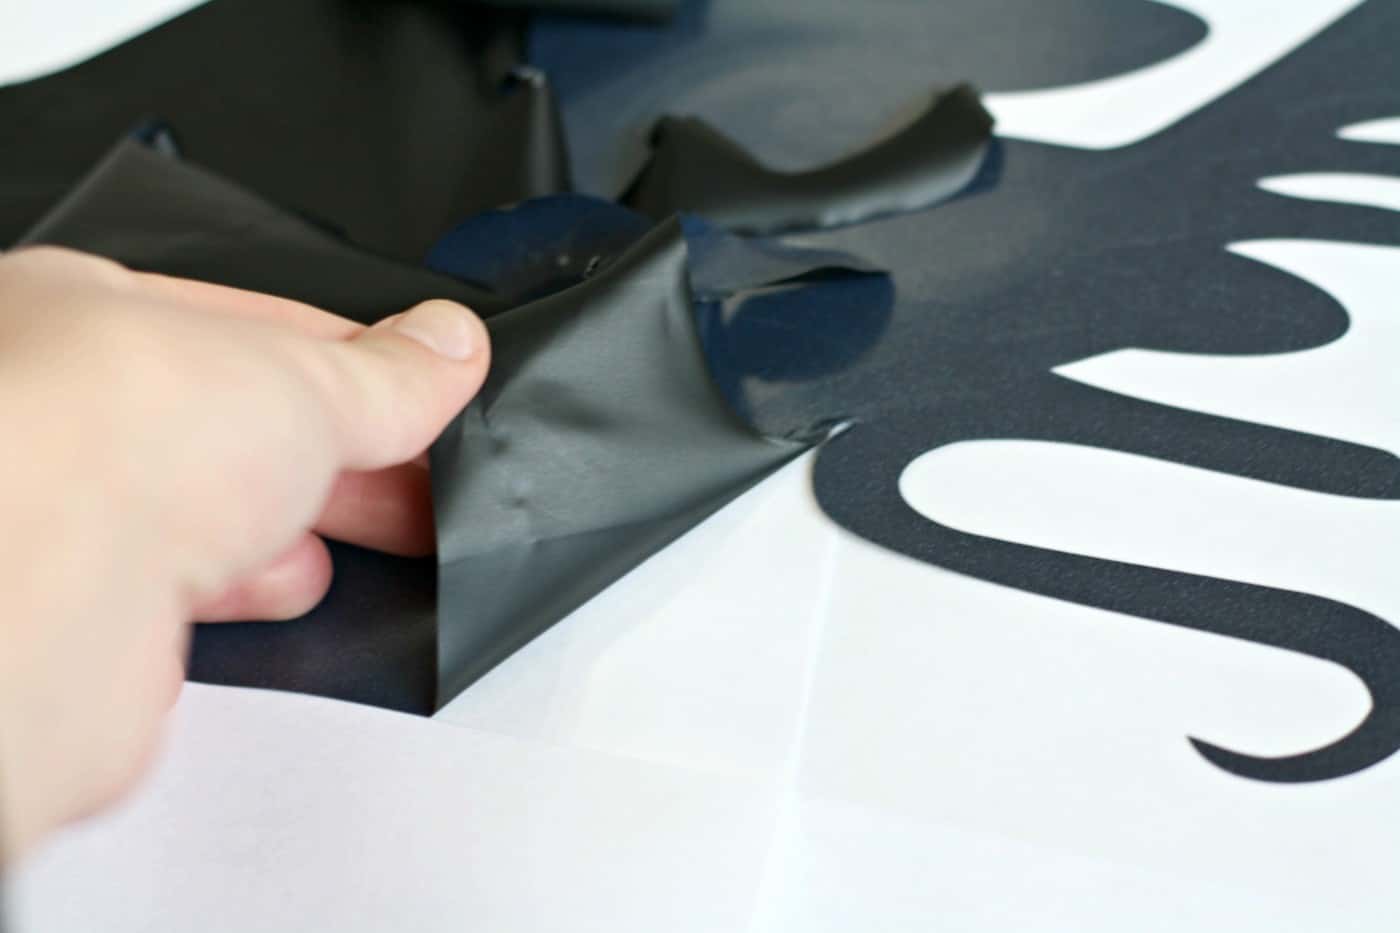
Step 2: Remove the excess vinyl.
Iron on the Design
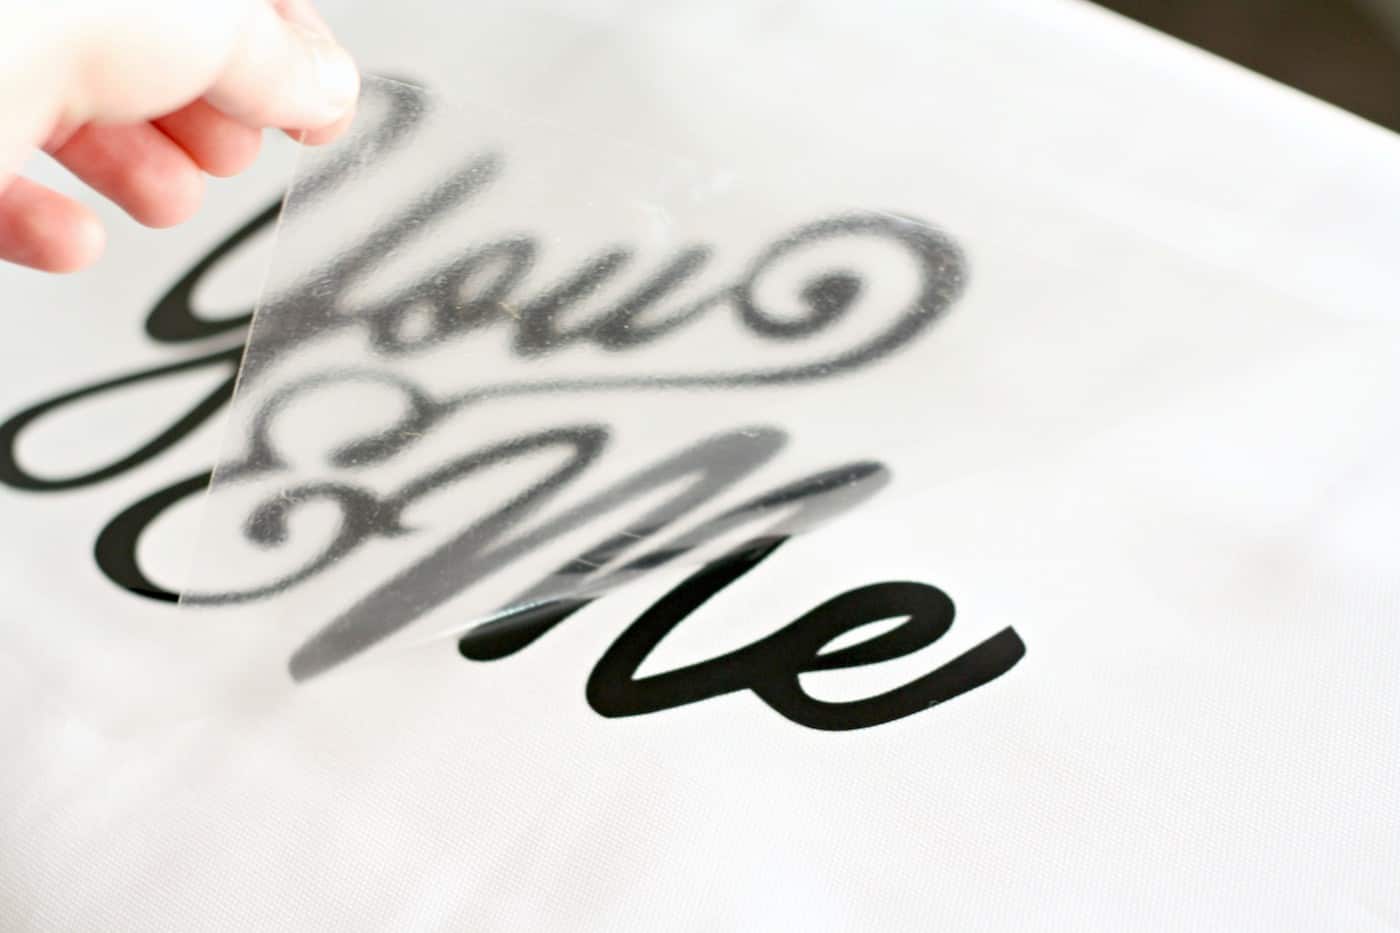
Step 3: Place your design on the pillow insert and iron, following the recommended settings. DO NOT use an ironing board! You really want to put pressure on the design. That is more important than the heat.
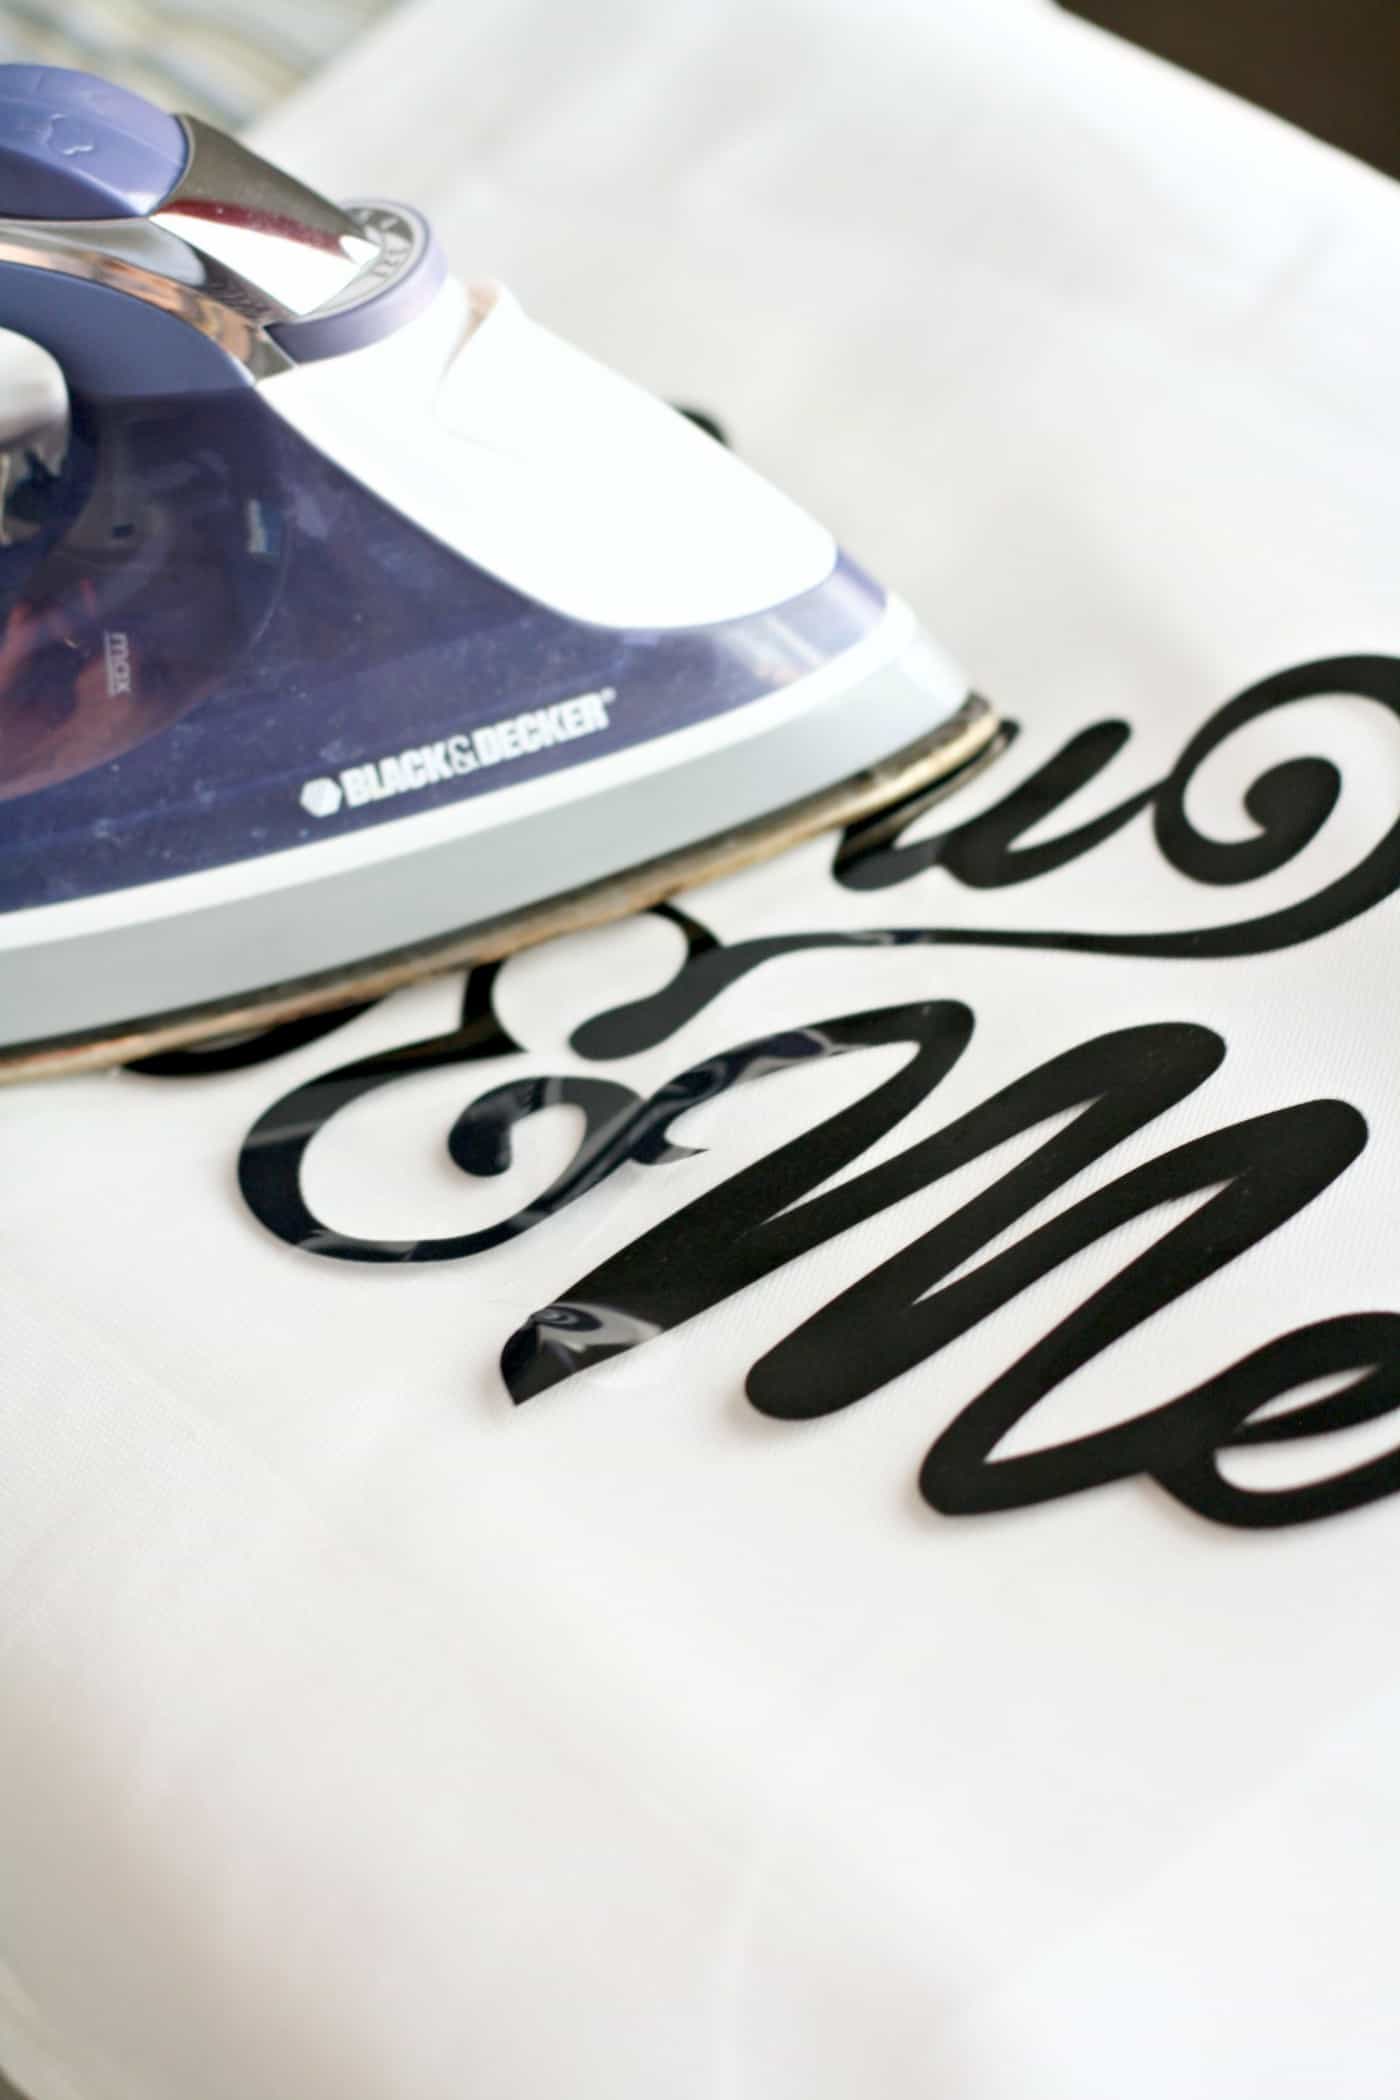
Step 4: Carefully remove the clear carrier sheet (again, following the recommendations for your vinyl).
Make the Tassels
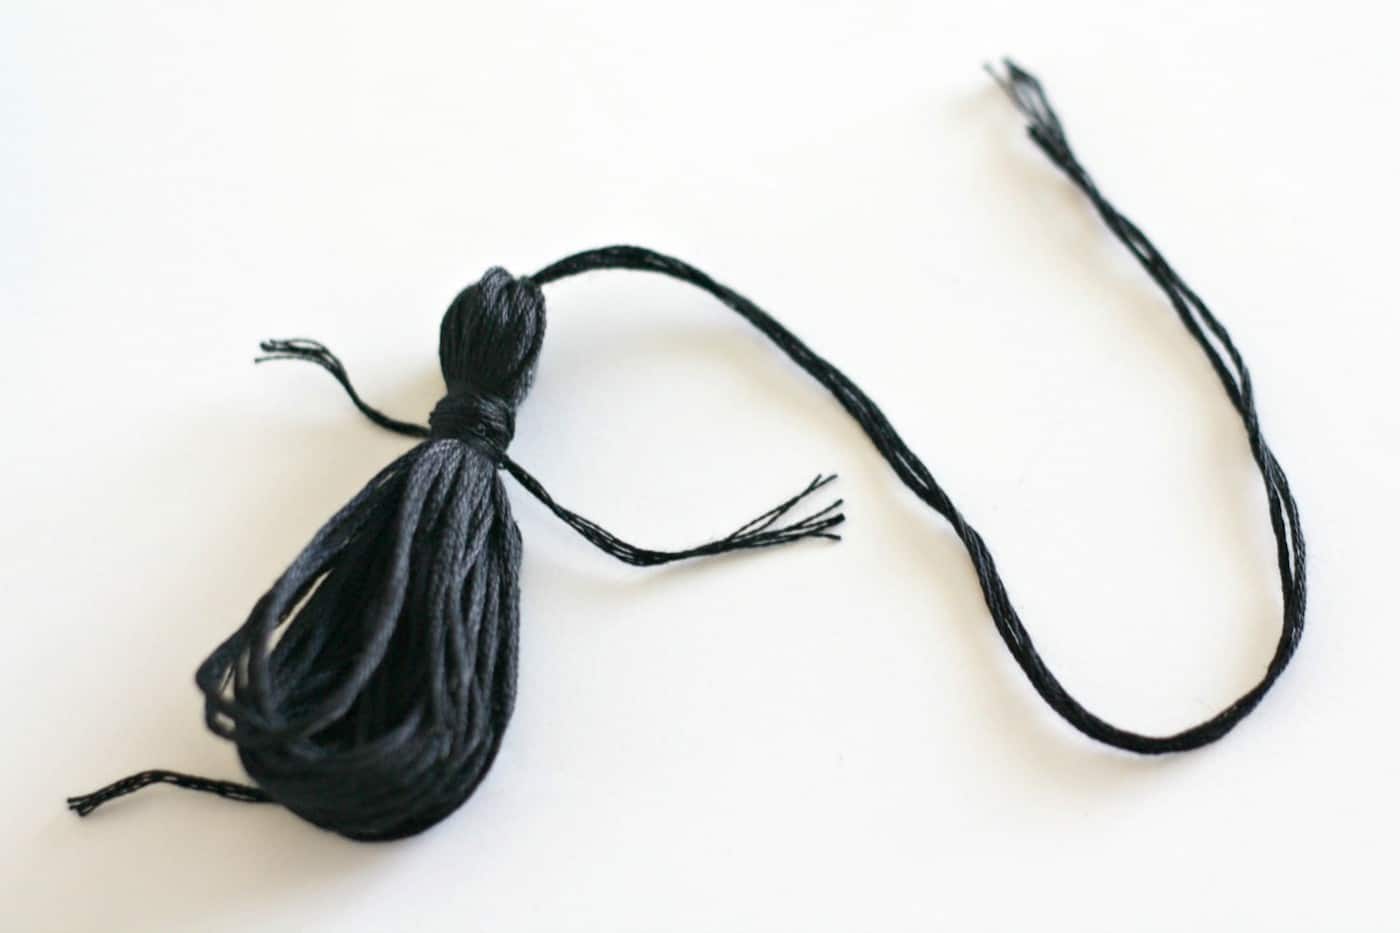
Step 5: Create tassels by wrapping floss around your hand until it reaches the desired fullness. Tie some thread to the top (for attaching to the pillow). Wrap thread around top 1/4 of the tassel and knot.
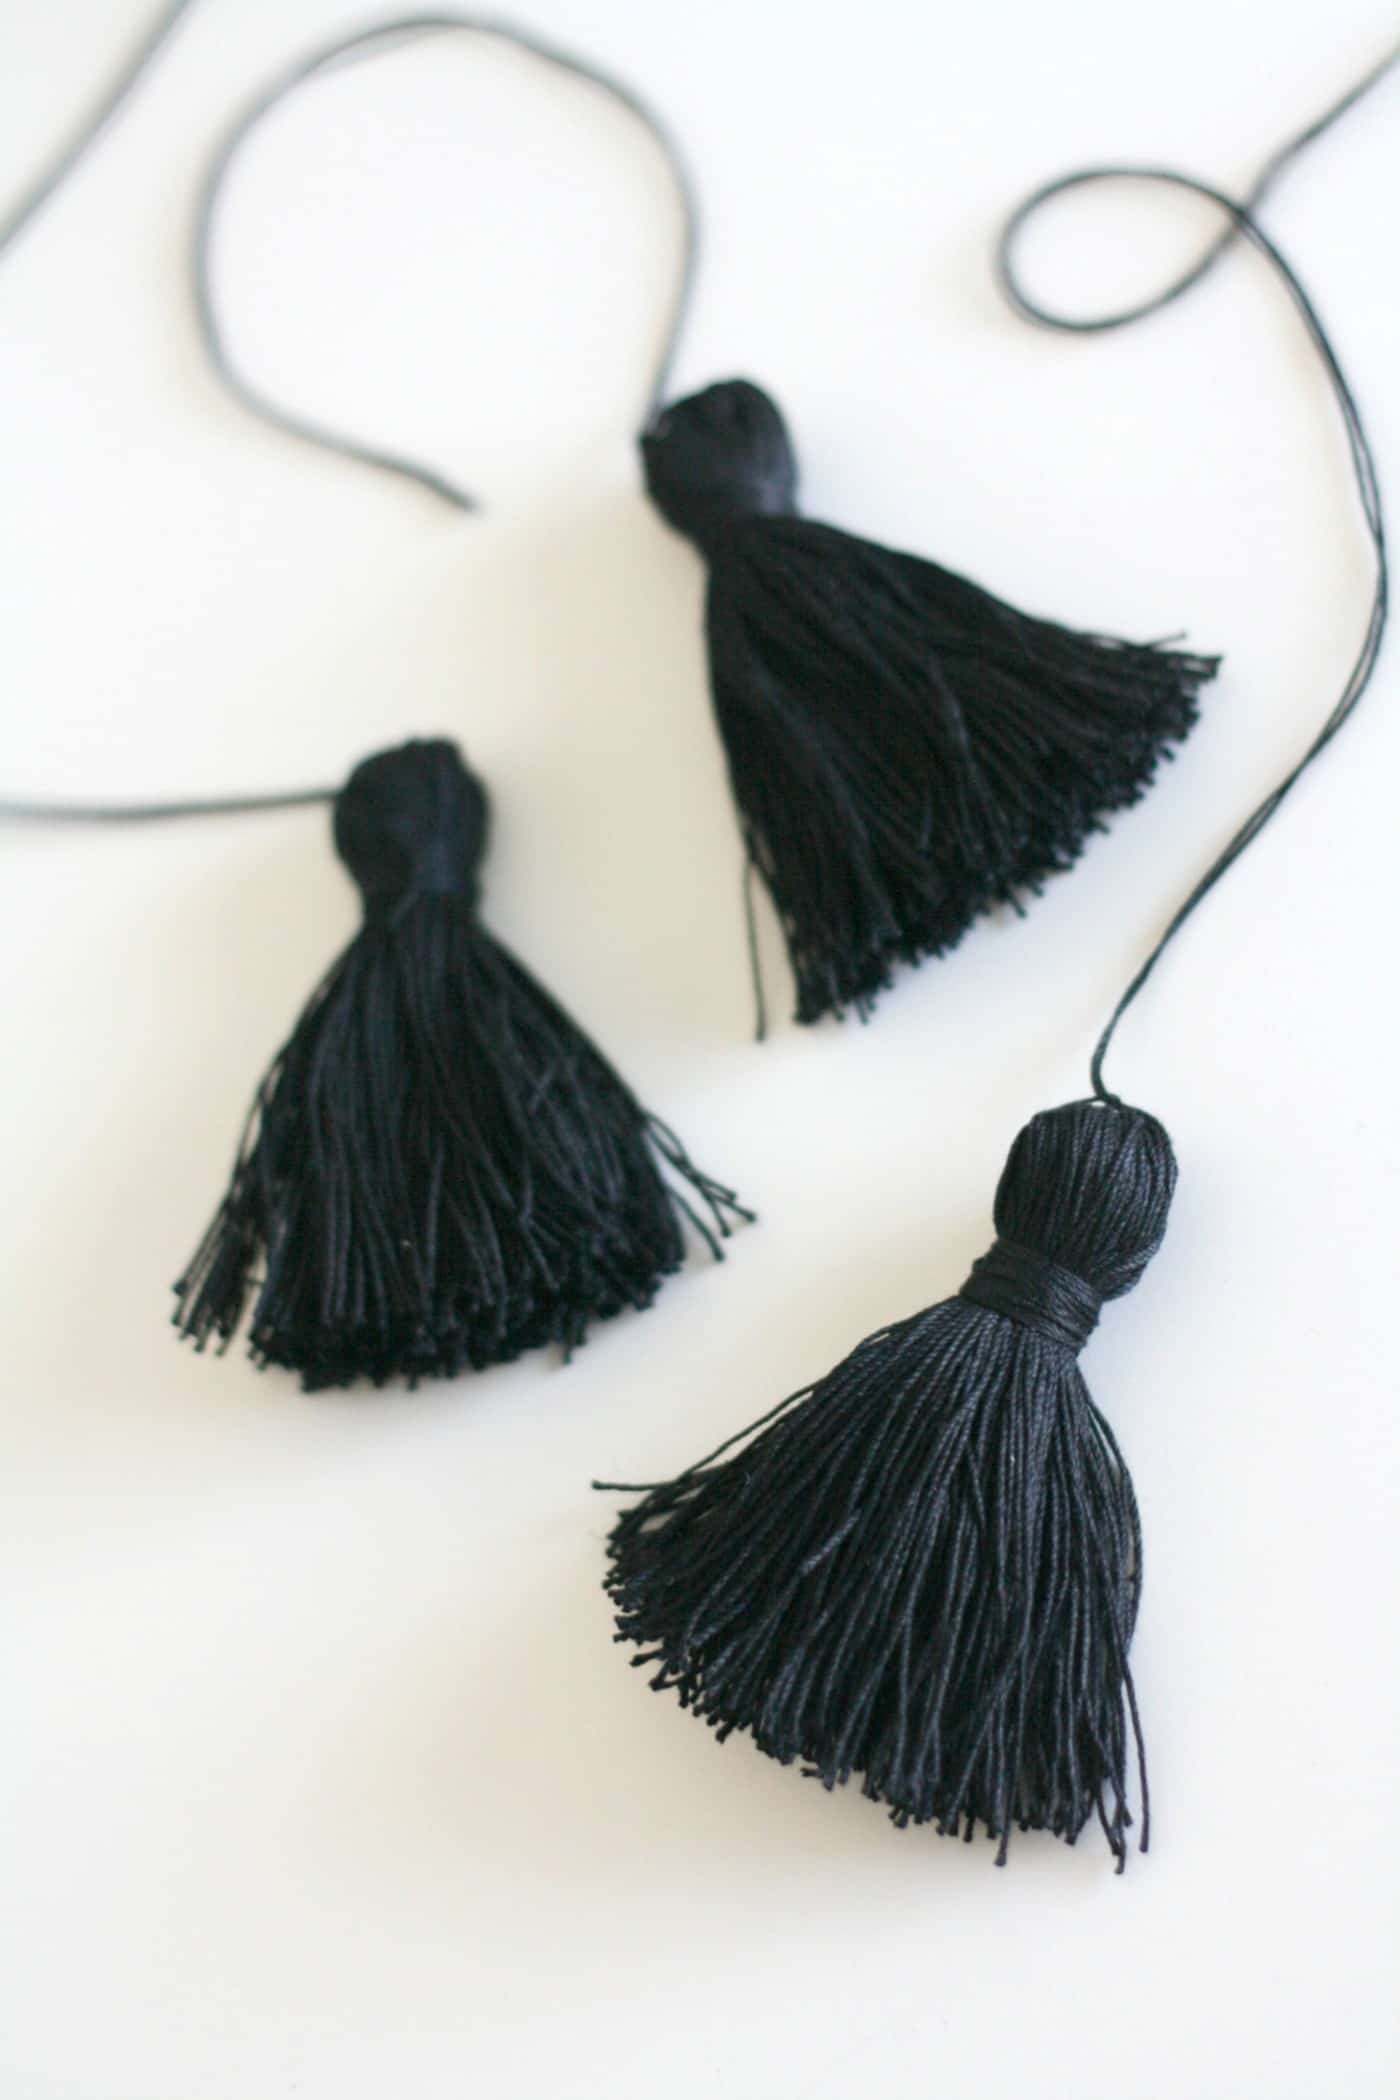
Step 6: Cut the bottom edges of the tassel to create fringe.
Attach the Tassels
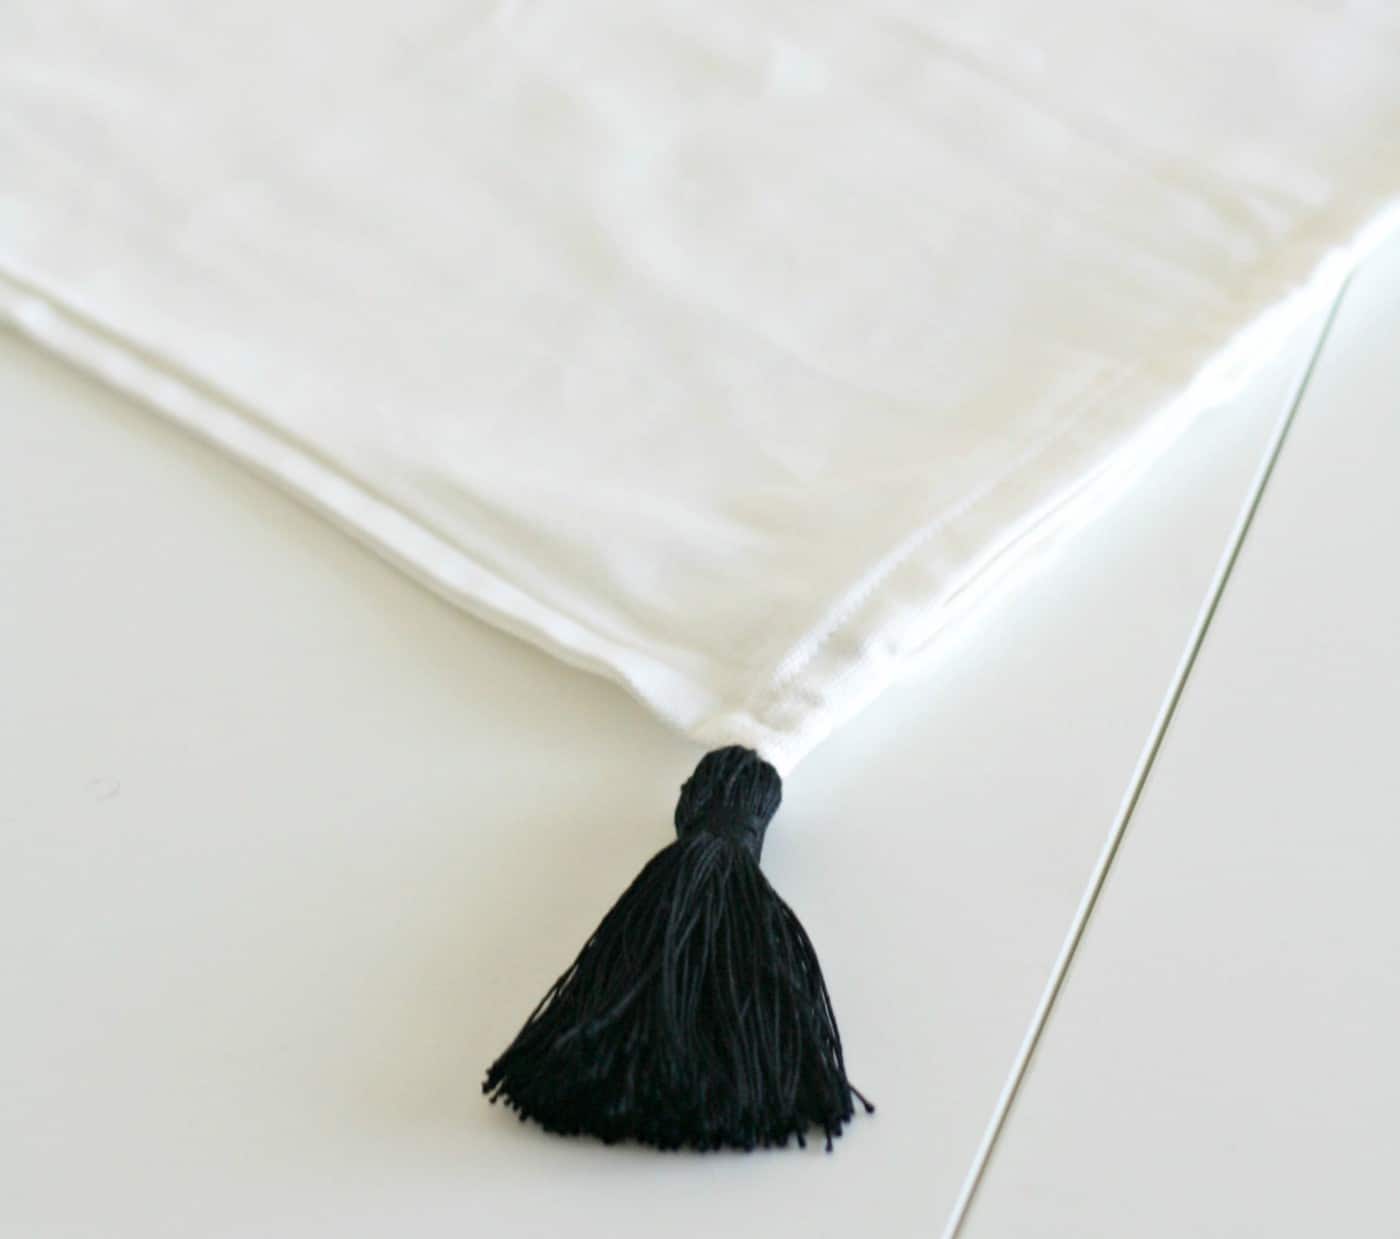
Step 7: Thread the top tassel string through a needle and attach to the pillow cover’s corners. Tie several knots on the inside of the cover to keep in place.
Step 8: Stuff pillow insert into cover.
IF YOU NEED TO WASH YOUR PILLOW: Machine wash in cold or lukewarm water. HTV melts the adhesive into the cloth, and you don’t want to re-melt the vinyl by putting it in very hot water. Preferably line dry, or very gently tumble dry to get wrinkles out.
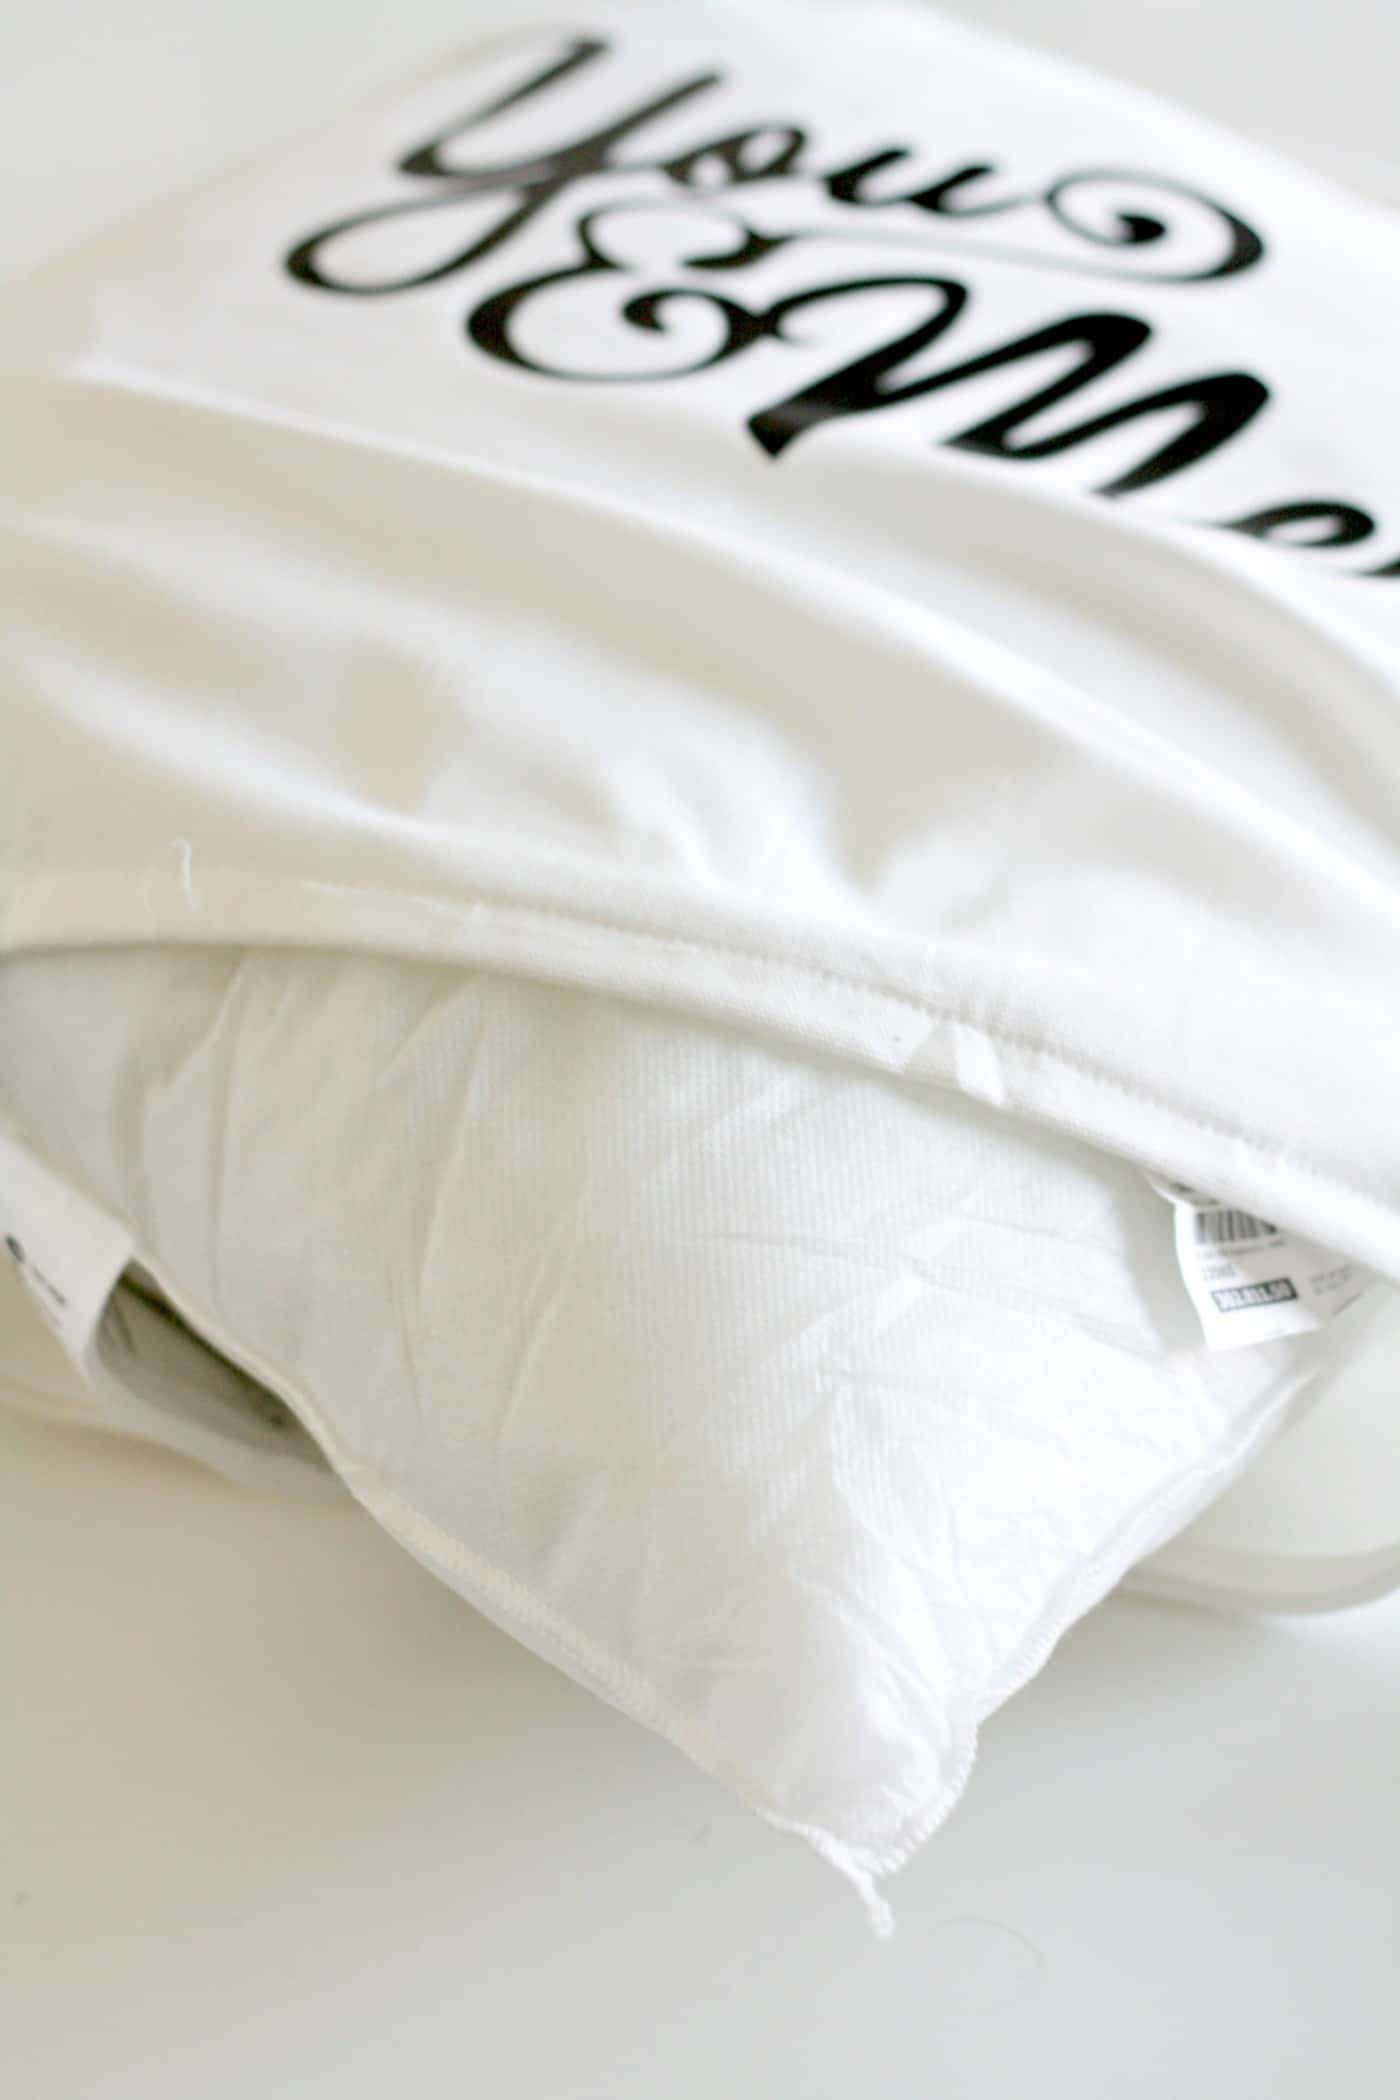
As I finished my decorative pillow cover I realized – you could attach pom poms to the four corners of the pillowcase as well. Or you could use fabric glue to attach pom pom trim all the way around (being careful of the zipper, of course).
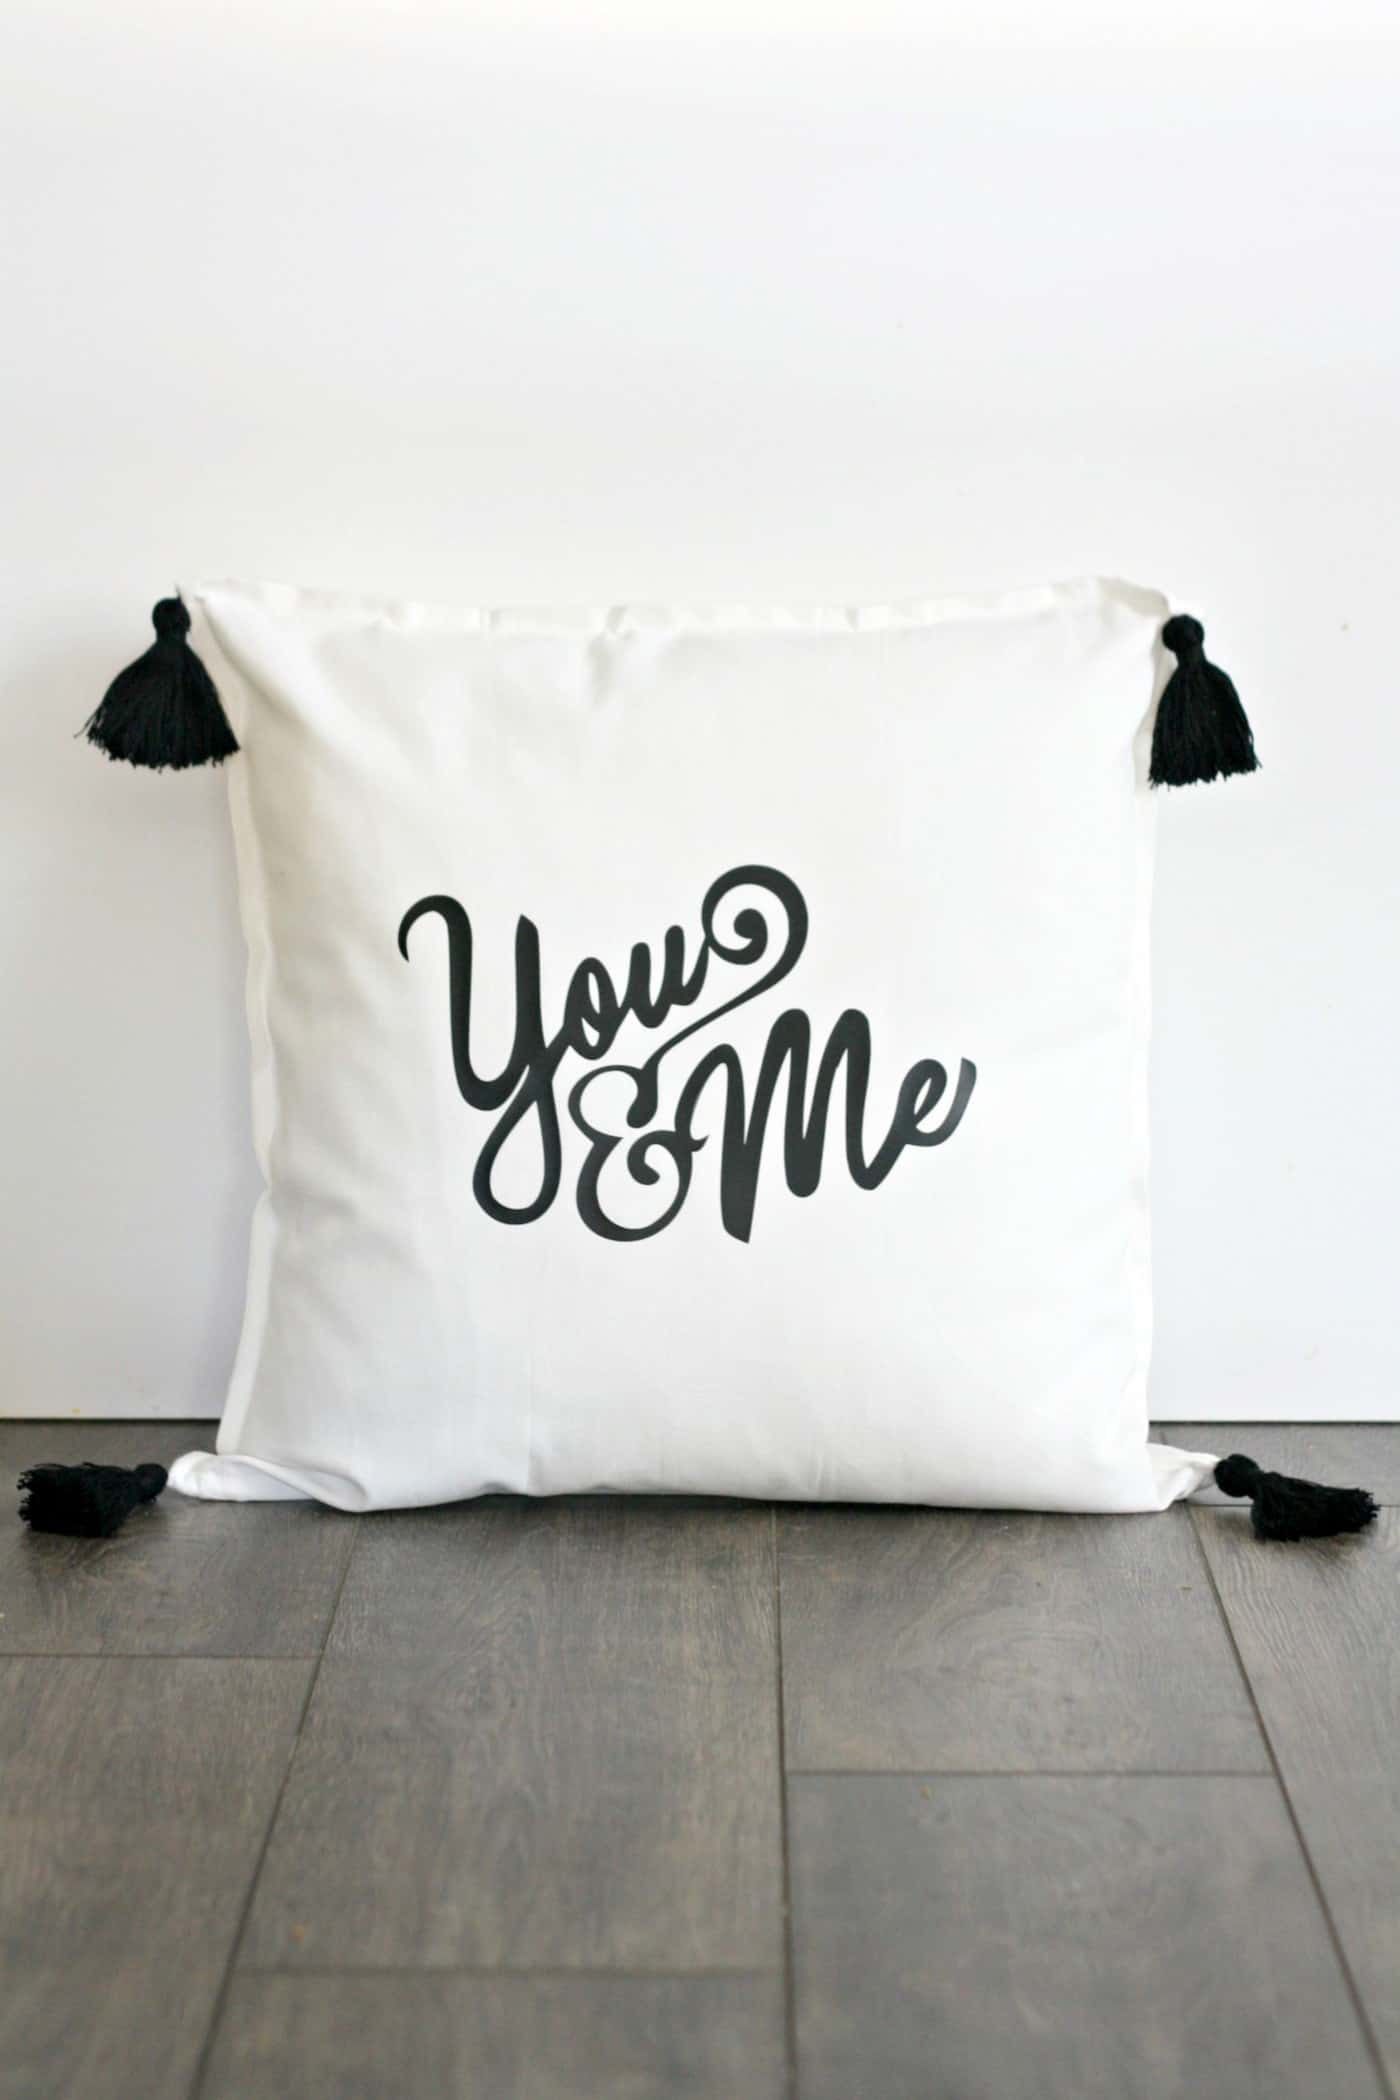
You have a lot of options for this project! That’s what I love about it. Simple and customizable.
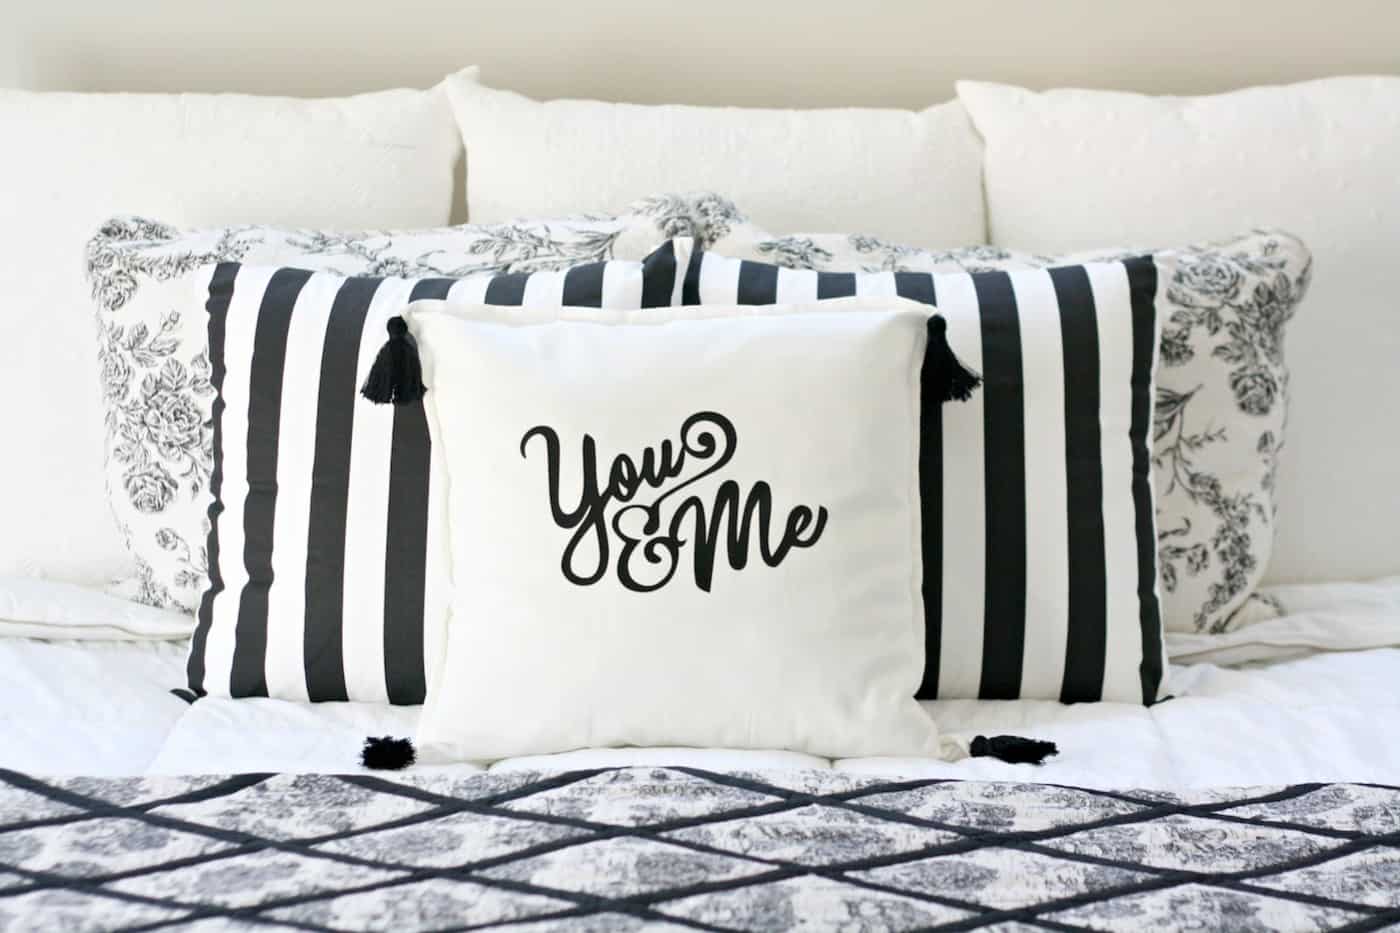
What do you think? How would you decorate a pillow cover? Let me know in the comments!
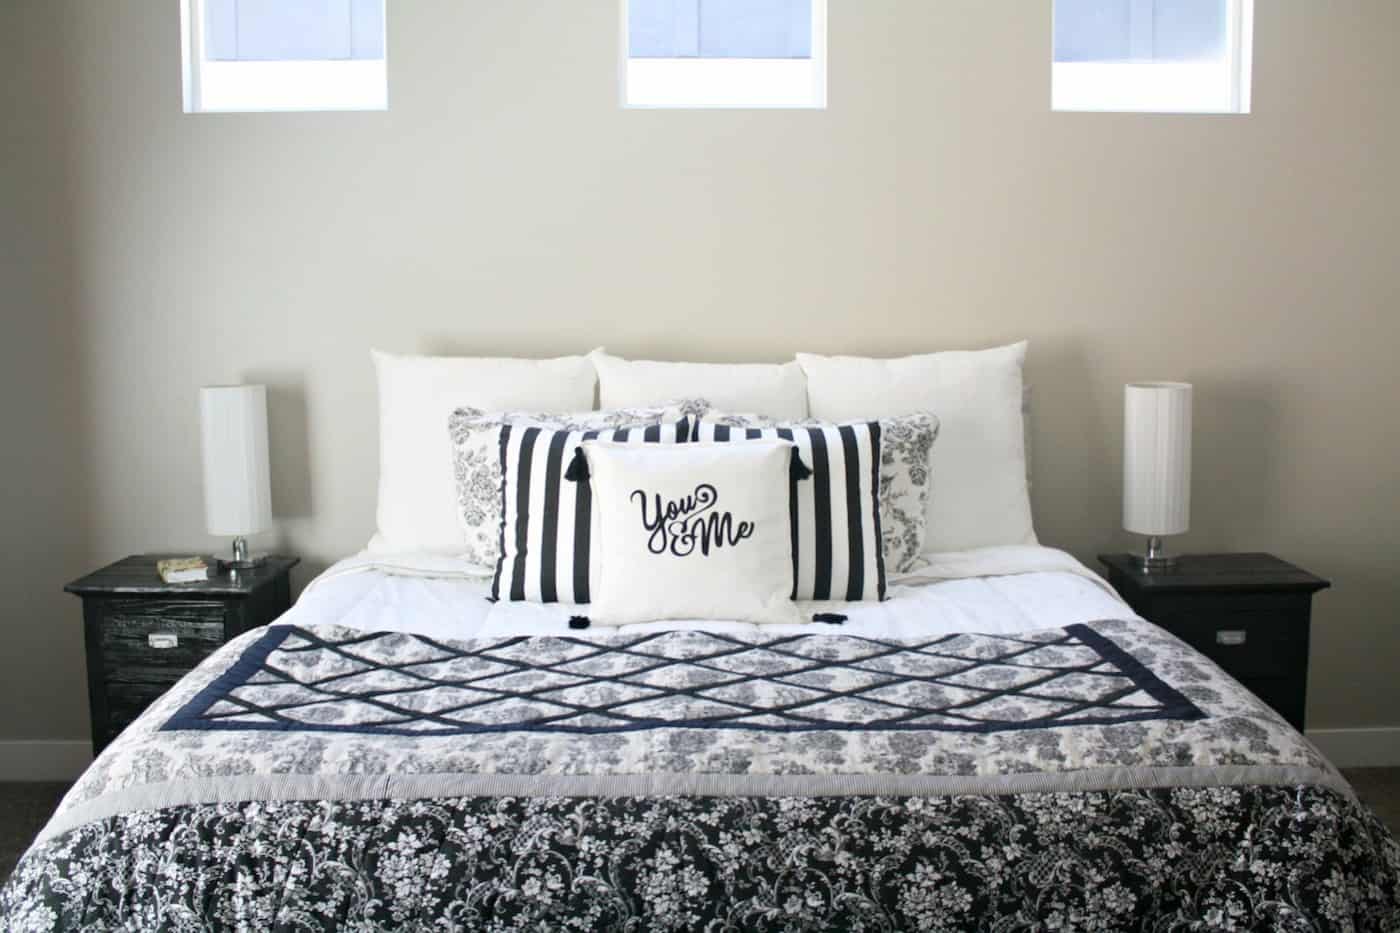
Now, be sure to visit us as we blog about style, food, and the things we love over at the Pretty Life Girls where you can find other fun DIYs!
If you want to see additional decorative pillow covers, check out the following posts:


Wow…….this is really amazing. I couldn’t believe my eyes that how you do it!! This is my dream pillows but never thought before that someday i’ll able to make this pillows at home. Thanks a lot for sharing such a technique with us. Expecting some new ideas like this next. 🙂
Wow……this is amazing. The idea is just awesome and very creative. Looking forward to making this. Thanks a lot for sharing such an idea.