Essential Oil Storage Box in Four Easy Steps!
Do you have a collection of oils? Learn how to make an essential oil storage box that holds your bottles securely. This organizer looks good too!
Skills Required: Beginner. You’ll be sanding, priming, painting, and cutting vinyl. It’s a relatively easy project even if you’re a newbie crafter.

Hi! I’m Jennifer of Brave New Home. I blog about home design, decorating and create lots of fun DIY projects in the process. You might have seen some of my other tutorials here: a drawer organizer, a ring holder, and these air dry clay dishes are some of my favorites.
Today I’m sharing how to create a DIY essential oil box to store your bottle collection. I’ve had my essential oils for some time now and have wanted a more permanent home for them in a dark place where they could stand upright.
I made this essential oil storage in four simple steps. Technically you only need to do three of the steps and the last is optional, but I love using vinyl decals in projects! See the four steps here:
- Remove the hardware from the box
- Make a form for the oil bottles using air dry clay
- Prime and paint the box
- Apply vinyl labels to the box (optional)
Keep reading to learn how I decorate this essential oils storage box.
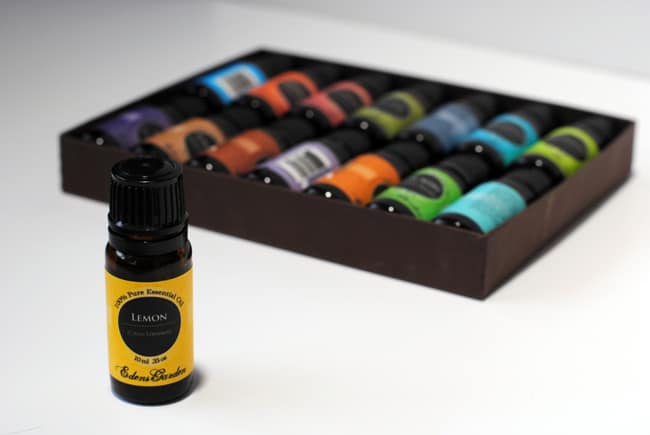
Before you get started, make sure to choose a box that’s going to fit all your oils. The clay tray is easy to adjust in size, so choose your box first!
You might even want to get a box that’s a little larger than your collection, so you have some room to grow as you add additional bottles. We all know that happens quite easily . . . .

Essential Oil Box
Gather These Supplies
- Unfinished wooden jewelry box from the craft store
- Air dry clay
- Vinyl decals – you can purchase a sheet of black adhesive vinyl and cut the shapes (you’ll see below)
- Spray paint – black
- Acrylic paint – white
- Sandpaper
- Rolling pin
- Paintbrush
- Knife
- Wood filler (optional)
- Small screwdriver
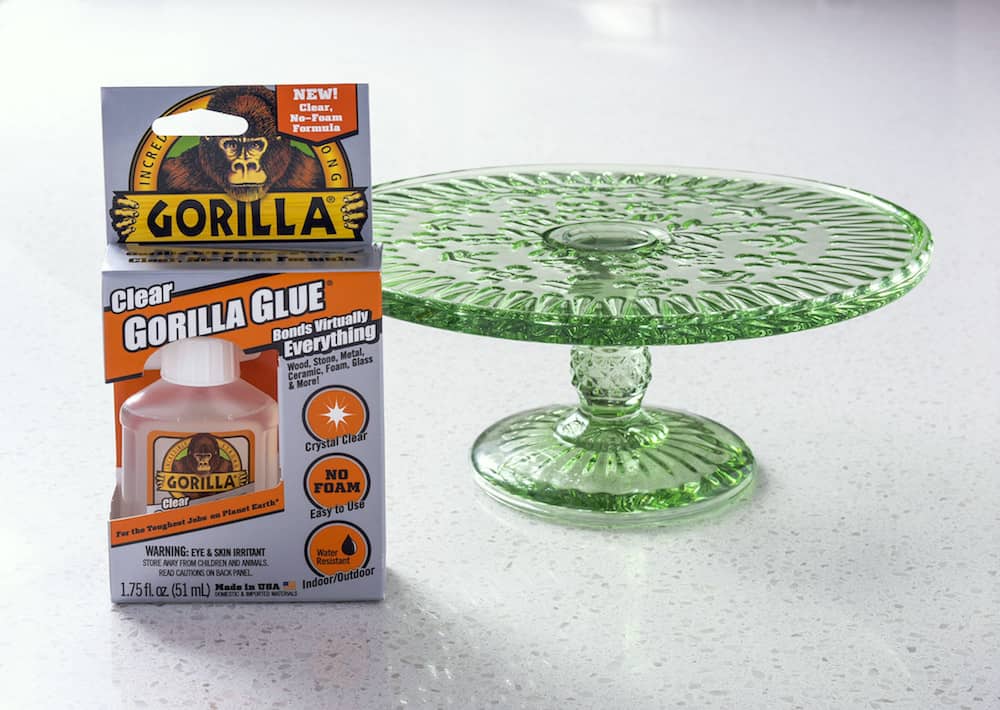
- Craft glue or E-6000
- Ruler
- Pen or pencil
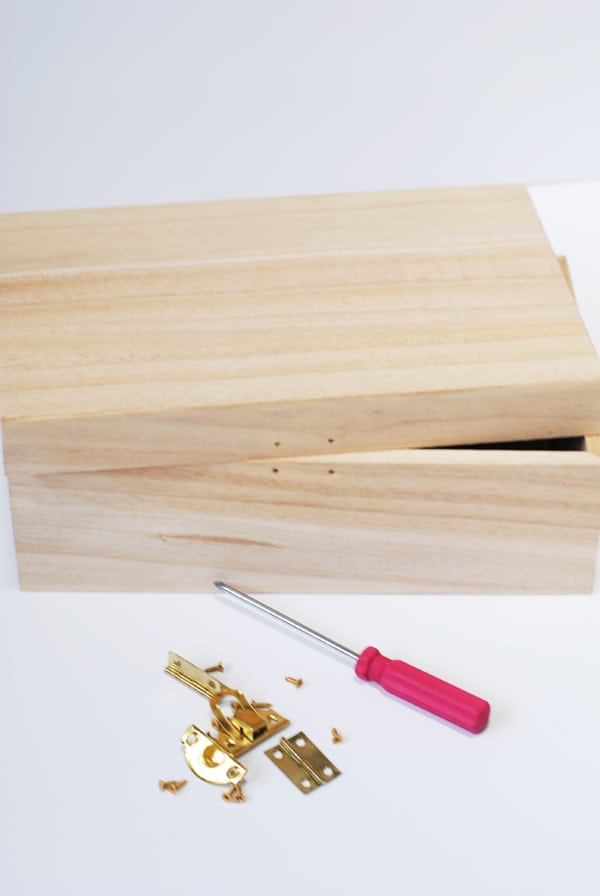
First, I removed all of the hardware. Use a little dish or cup to keep it all together. So the little screws don’t roll away. Ask me how I know. . . .
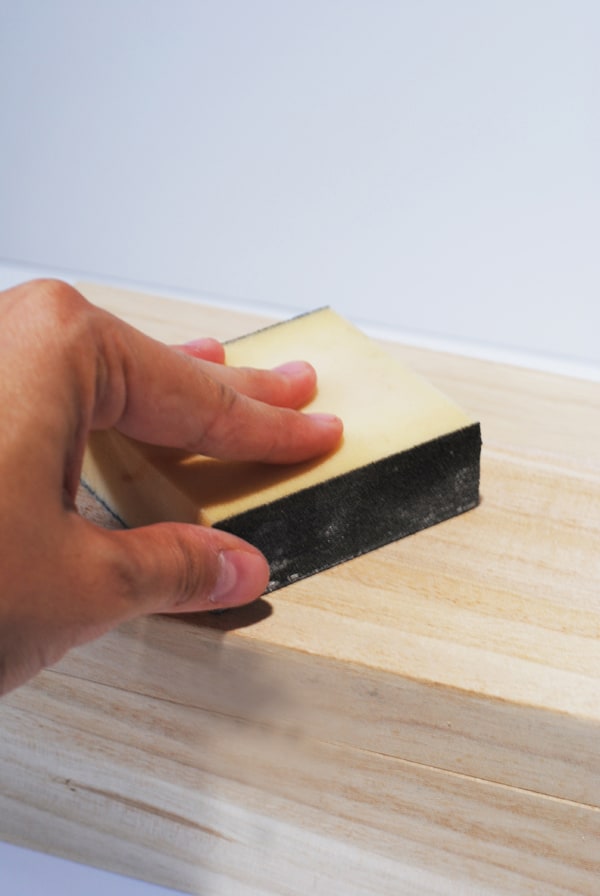
Then I gave the box a light sanding and filled in the holes where the lock was with wood filler.
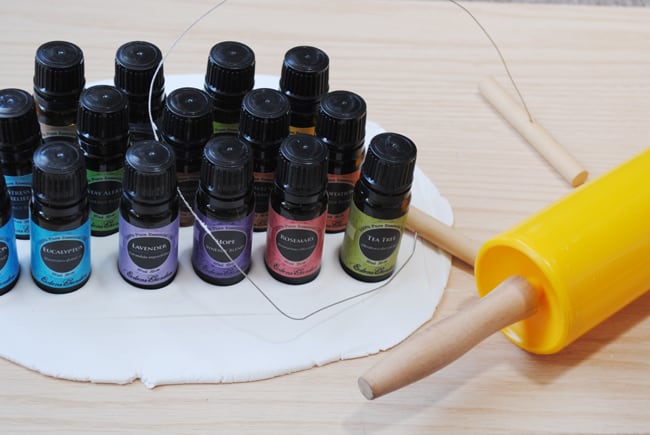
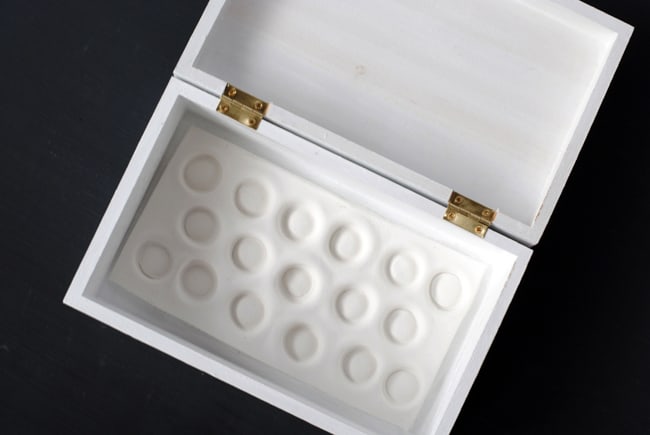
I rolled out some air dry clay then positioned my oils keeping in mind the dimensions of my box. When making your molds, be sure to compensate for the clay shrinking by creating extra room around each bottle in your clay.
Press the bottles into the clay and remove. Let the clay set according to package instructions (usually it’s overnight).
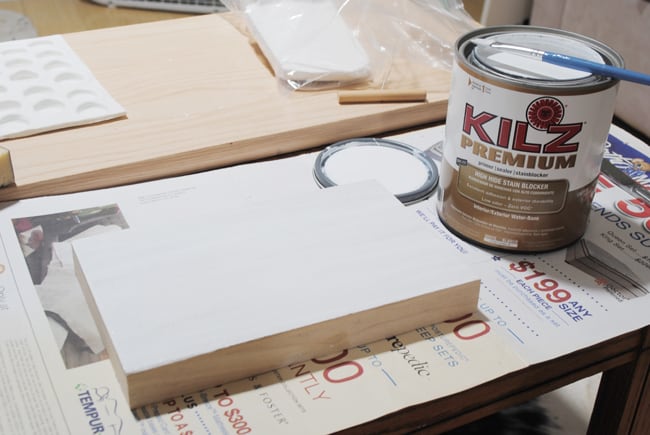
Then I primed my wood. You’ll only need one coat of primer. If you don’t have primer, it’s fine – it’s just that primer is more pigmented, and it’s a faster way to get the box the color you like. So when I have it on hand, I use it.
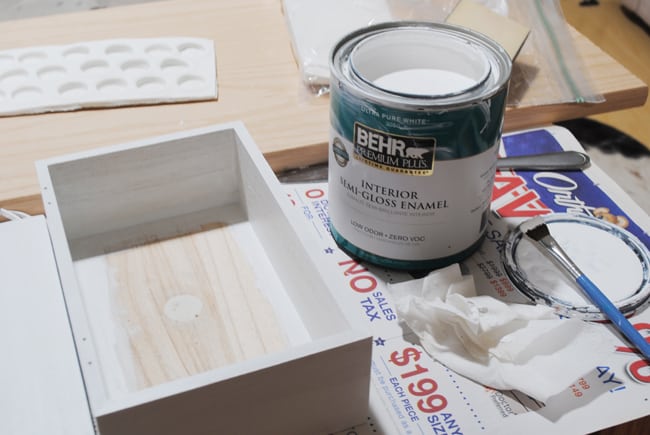
Then painted it a clean white. Again, I just used what I had on hand. I happened to have some wall paint left over, so that’s what I used. If you have craft paint – that’s completely acceptable.
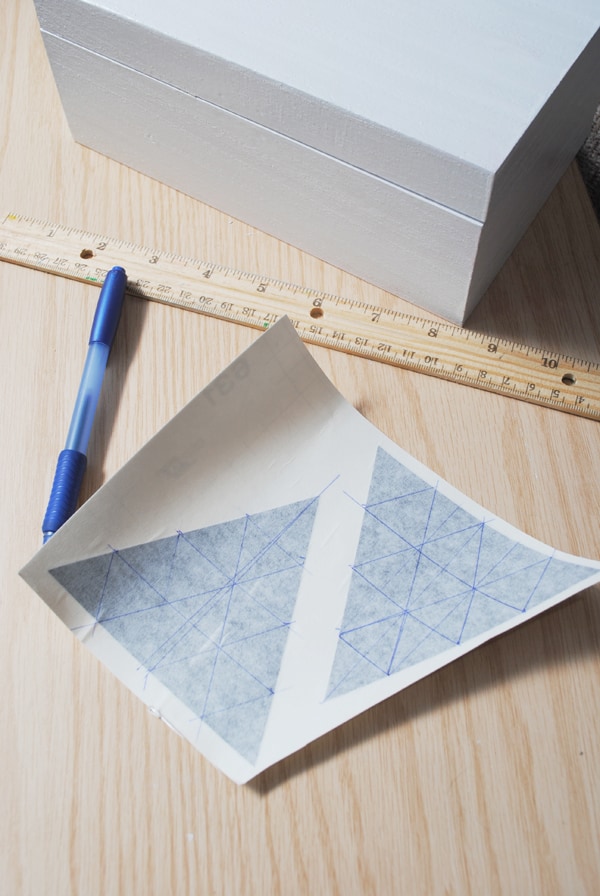
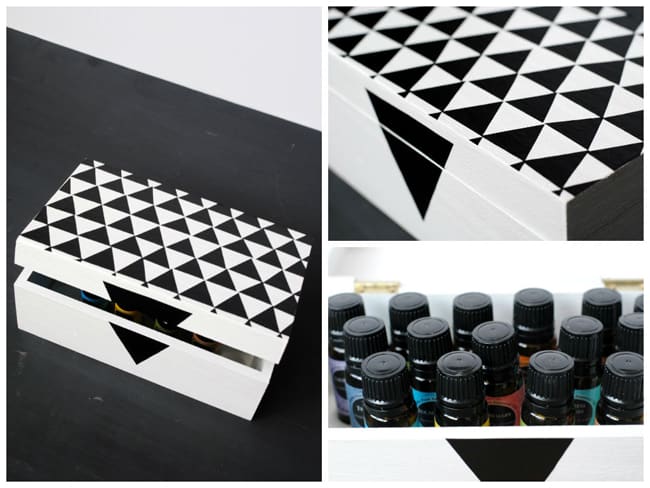
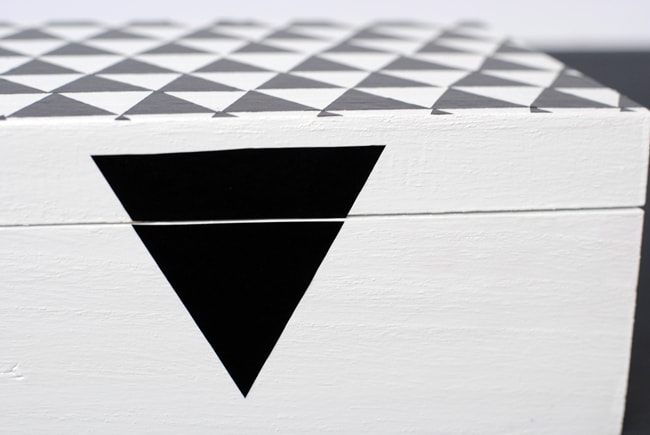
Next, I cut mini triangles out of larger triangle vinyl decals. You have a few options here:
- Cut the triangles any size you like, and have them run off the edge on both the sides and ends (and trim).
- Measure the top of your box and do the math to make the triangles even from top to bottom and side to side. This is going to be more difficult as wooden box tops are usually not a straightforward measurement. You’ll be dividing decimals is what I’m saying.
I’ll leave it up to you, but I opted for the first option.
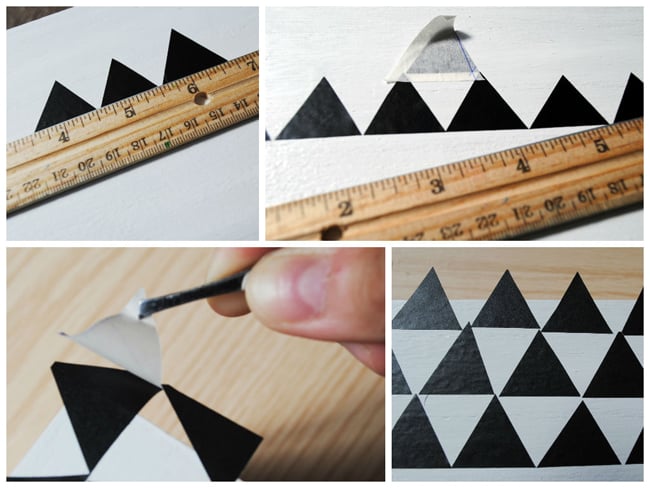
I used a ruler to line up my triangles on the box. To remove the backing, I opted to use a pair of tweezers since the triangles were so small. I let them come off the edges and simply trimmed them to fit the lid when I was all done.
I glued my dried clay form into the bottom of the box after re-attaching the hinges.
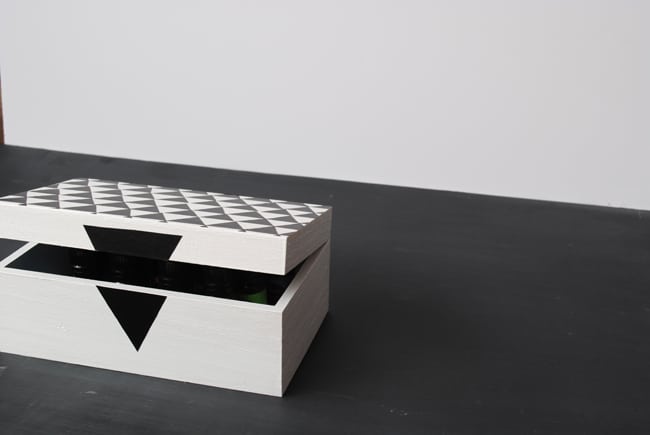
I also added one large decal to the front to mimic the look of a lock. This is where you have another option.
You can spray paint the hardware with several light coats of black paint and replace it on the front of the box. OR you can simply use the hinges for the lid and not have a front clasp as I did. Again, it is crafter’s choice!
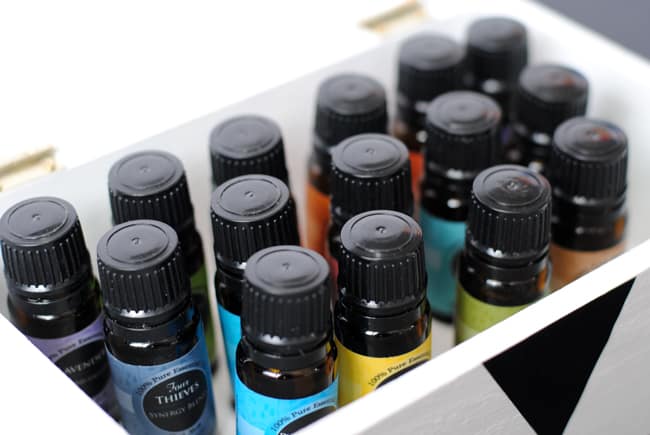
All my essential oils fit nicely into their new storage box, and there is even room to add in a few more.
I love the modern look of my box and of course, its functionality. This type of idea can be adapted to any sized box, depending on the size of your collection!
TIP: if your box is quite large, consider making a few clay trays separately. It’s easier than working with one huge piece of clay and won’t be noticeable when the trays are glued into the box.
Hope you’ve enjoyed this essential oil storage box tutorial. If you don’t have oils, you could definitely adapt this project for any other sort of collection you might have.

Essential Oil Storage
Equipment
- 1 Rolling Pin
- 1 Knife
- 1 Screwdriver small
- 1 Ruler
- Pen or pencil
Materials
- wooden jewelry box unfinished, from the craft store
- Air dry clay
- Vinyl decals
- Spray paint black
- Acrylic paint white
- Sandpaper
- Wood filler optional
- Craft glue E-6000
Instructions
- Remove all of the hardware using the small screwdriver and set aside.
- Sand and fill in any holes if desired.
- Roll out the air dry clay on your work surface. Cut out a rectangle the size of the inside of the box using a knife. Press the bottles into the clay and then remove. Let the clay set according to package instructions.
- Prime the wood (optional). Paint the box using the acrylic paint color of your choice and let dry.
- Cut mini triangles (or the shape of your choice) out of vinyl with a craft knife and ruler. Apply to the lid. Trim excess around the edges.
- Glue the clay form to the inside of the box. Let dry.
- Add a large decal to the front of the box. Spray paint the hardware (optional); let dry and replace.
- Add oils to the box once the box is completely dry.
Video
Want to make some gifts with your essential oils collection? Check out this great list!


Just wanted to make a quick suggestion for the EO box.Most tobacco stores that sell cigars will usually give away or sell (for fairly cheap) the wooden boxes that their products come in.I have found these in EVERY shape and size imaginable and they are just perfect for crafts and would work EXTREMELY well here!!You may not even have to decorate if you like the look of the box.Most have fairly artful designs on them already!Just thought this may help those newer DIYers kickstart this neat little craft!!😉