DIY Marbled Mugs with Nail Polish (with Video!)
Did you know you can make cool marbled mugs with nail polish? It’s easy and you can have gorgeous gifts in minutes. These DIY nail polish mugs cost LESS than a dollar each!
Skills Required: Beginner. You will be using nail polish to create a marbled effect on a mug. Scroll down to the bottom of the post to see a video of the process in action. You’re going to have a great time.

I am SO excited to share this DIY mug decorating project with you, friends! I have been seeing the marbling trend all over Pinterest lately and finally succumbed to e-peer pressure; I tried some nail polish mugs for myself over the weekend.
I was so inspired by this gorgeous post where Jan marbled mugs, and decided I had to start there! My goal was to make them for some cute homemade gifts.
Making Marbled Mugs
The best thing about these nail polish mugs is that they only costs a couple of dollars to make – and even less time to finish. I found my mugs for $.79 each at Goodwill.
I used nail polish I already had at home, which means I was able to make six nail polish mugs for less than $5! A DIY mug is a steal with a BIG payoff. Plus, I’m obsessed with the outcome.

Are Nail Polish Mugs Dishwasher Safe?
No, not right out of the gate. You can’t wash them in the dishwasher nor should you microwave them. Baking them only darkens the nail polish (sometimes to a color that is very unappealing) so don’t bother with that either. These are meant to be hand wash only – but you can seal them with Mod Podge.
Dishwasher Safe Mod Podge
If you’ve never tried Dishwasher Safe Mod Podge, this is the best way to seal your mugs. You’ll just paint the mug with the formula, and then let it cure for 28 days.
This doesn’t mean you can’t use it, but you shouldn’t wash it for that time frame (rinsing out is fine). The Mod Podge will extend the life of your mug.
I still recommend hand washing even after using the Dishwasher Safe Mod Podge. You can try the top rack of your dishwasher, but the nail polish will still wear down just because it’s always going to be slightly fragile. That doesn’t mean a mug like this isn’t worth it, but it’s something you need to consider!
Tip: using Mod Podge doesn’t mean you can microwave your mug. That is still a no-no.
If you’re ready to try this adult craft project – here’s how you make these marbled mugs!
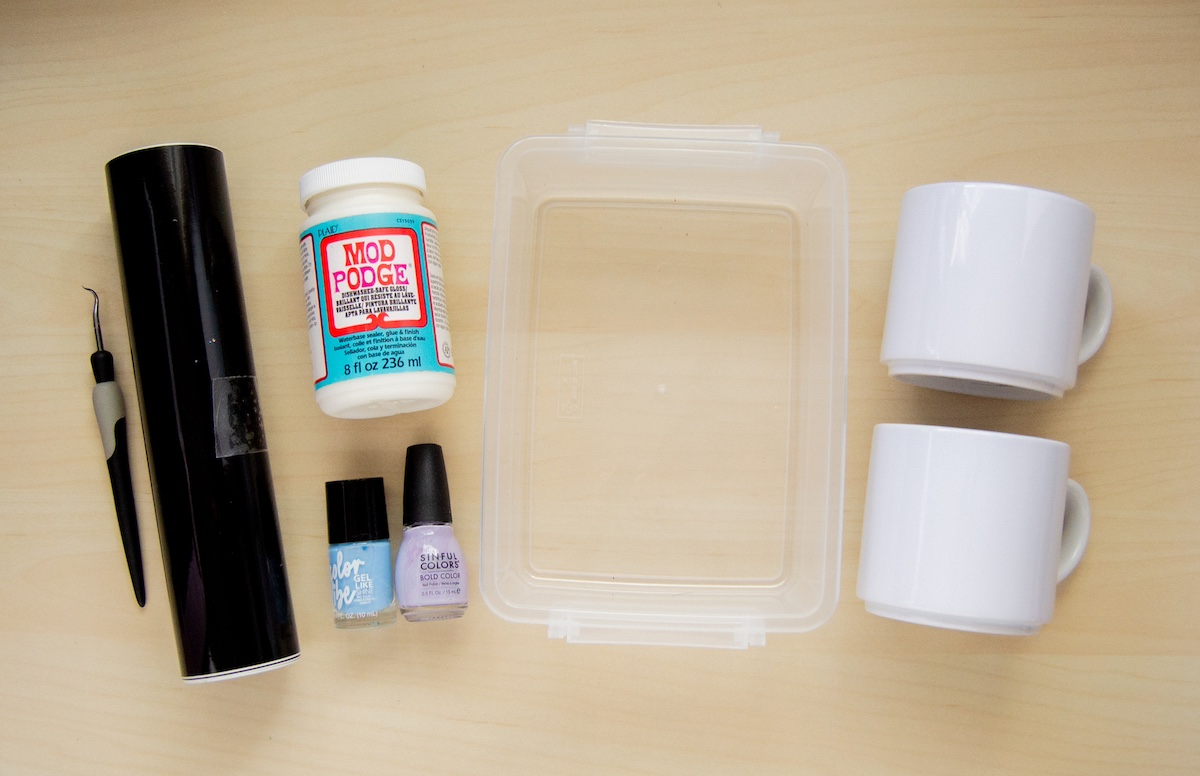
Gather These Supplies
- Mugs
- Nail Polish (stay away from quick dry!)
- Dishwasher Safe Mod Podge
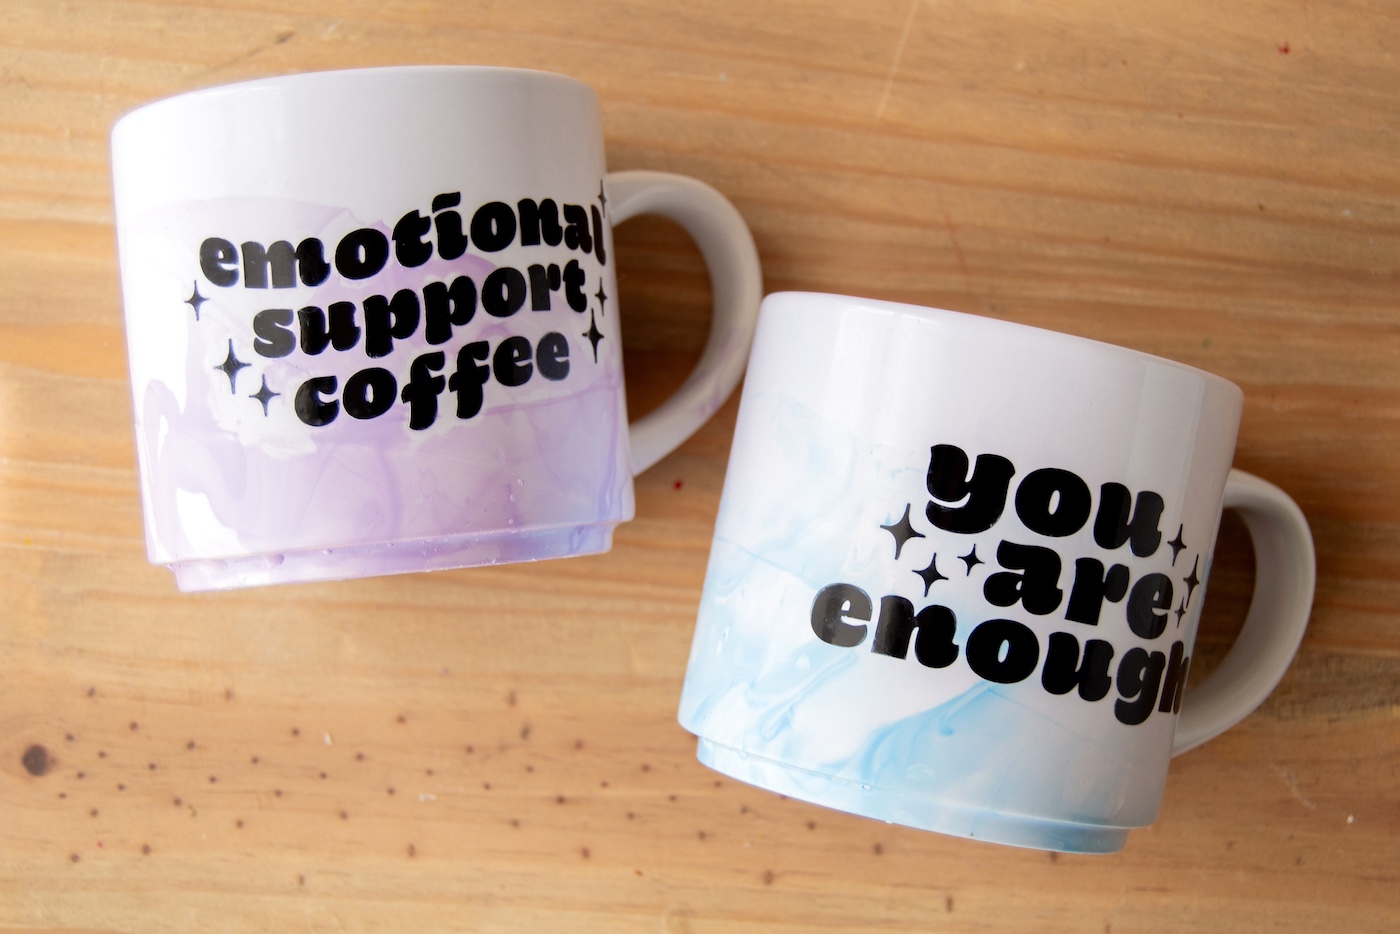
- Printable sayings in SVG format – You Are Enough and Emotional Support Coffee (optional)
- Die cutter and permanent vinyl (optional)
- Toothpicks
- Acetone and cotton swabs
- Container (this will get ruined, so make sure it’s old or disposable)
Note: If you want to use the printable sayings, apply those with permanent vinyl before you dip the mugs.
My Best Tips After Making This Project
When dipping your marbled mugs, it’s best to only dip them on the mug below your lip line, at least on one side, for your health.
Get all your supplies ready so that you can work quickly. The hot water will keep the nail polish from drying too quickly, but you’ll still need to move fast.
Spread your nail polish over the surface of the water CLOSE to the water. If you pour it from above, it’s going to clump. This will cause clumps on your mugs.
Use a toothpick to mix the colors together if you want to get creative and mix multiple polishes. Pour the polishes in various areas (not all together), and spread out thoroughly over the surface of the water.
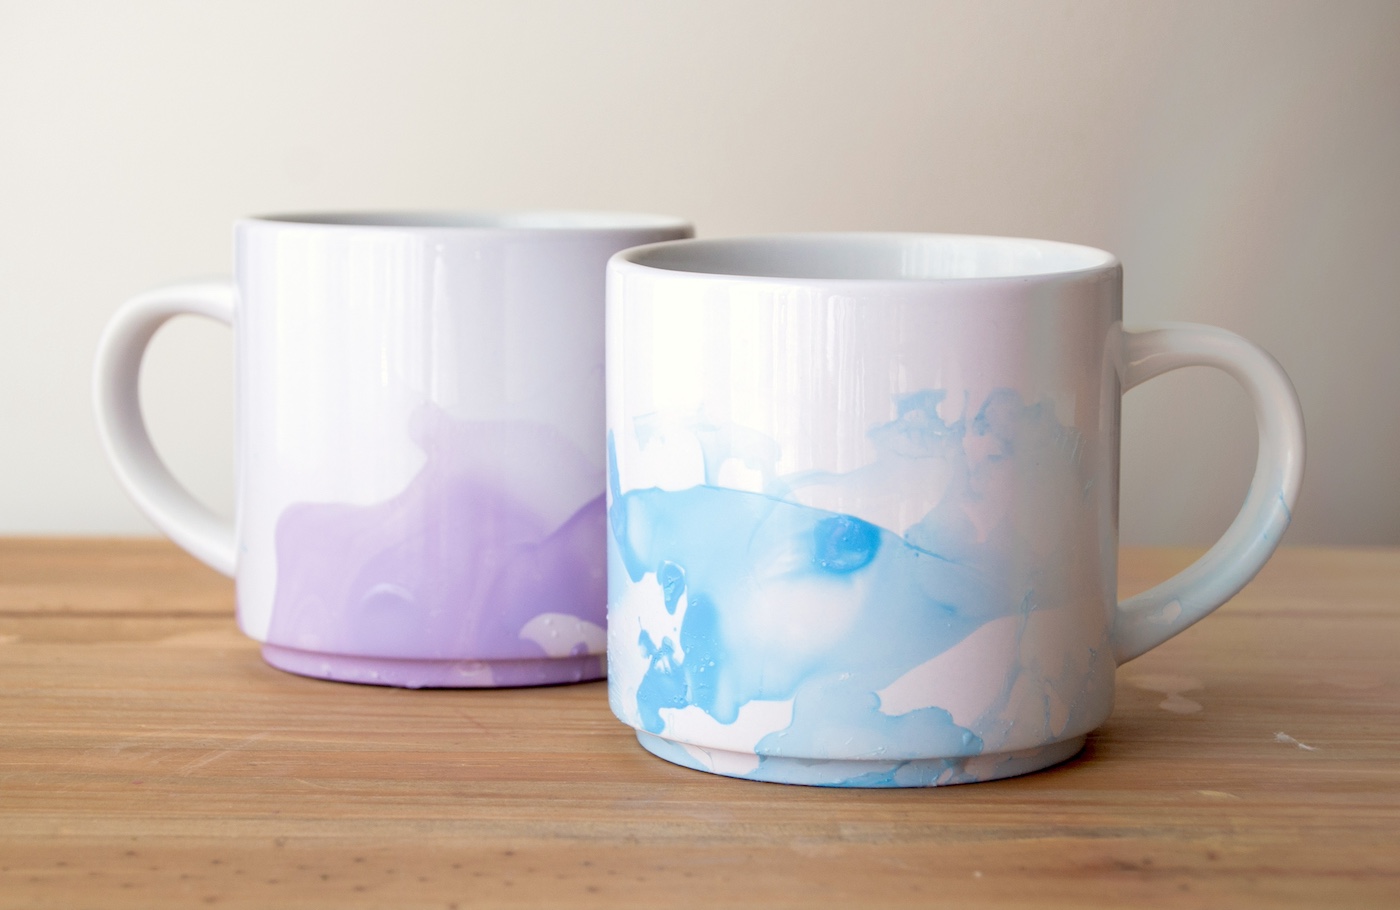
Want to see how these marbled mugs were made? Check out the video inside the how-to card below:
Marble Nail Polish Mugs
Equipment
- Disposable water basin
- Acetone and cotton swabs
Materials
- 2 Mugs
- Nail polish – not quick dry
- Toothpick(s)
- Dishwasher Safe Mod Podge
Video
Instructions
- Pour hot (but not boiling) water into the container. Once the nail polish touches the water it is going to want to set and the heat will slow the process.
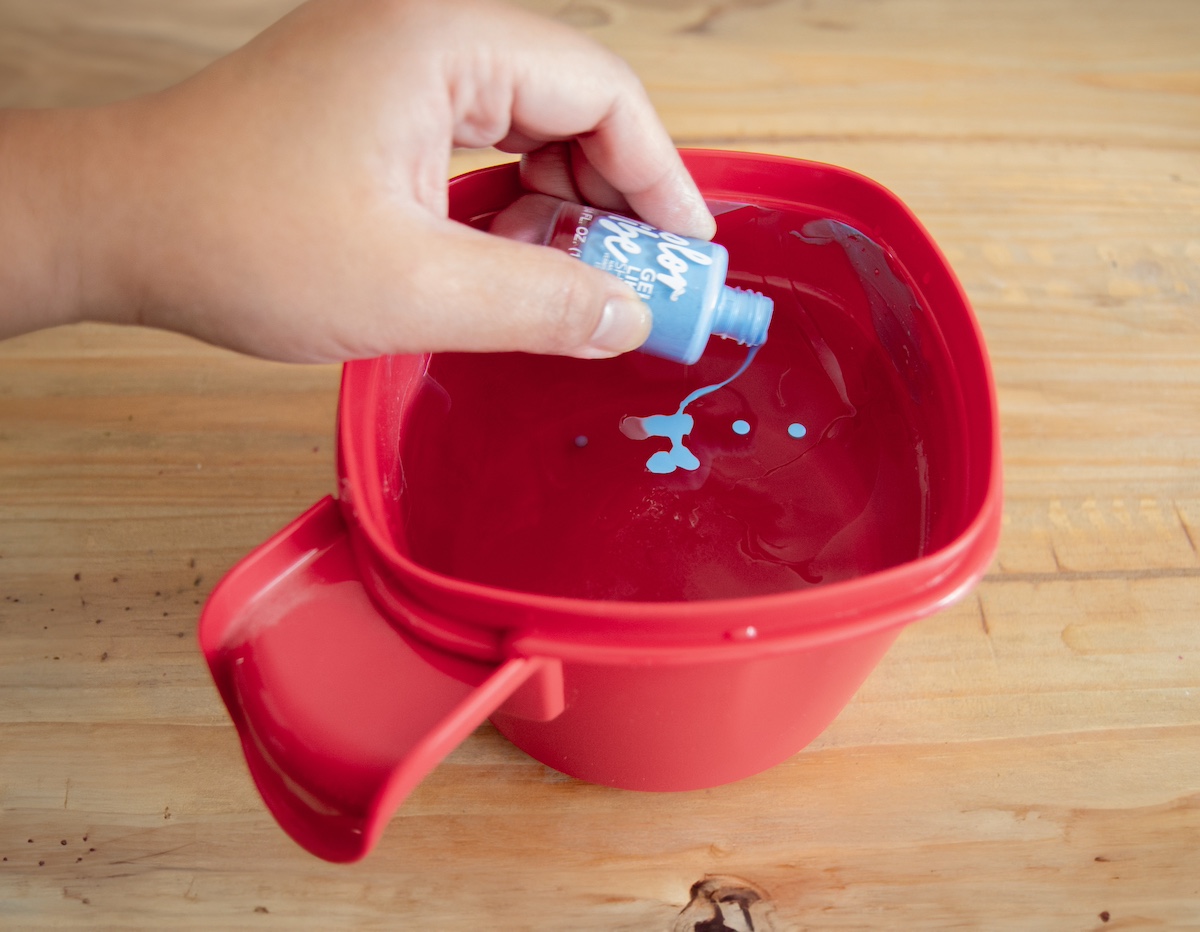
- Carefully add drops of nail polish into the water, keeping the bottle close to the water to prevent the nail polish from sinking into the bottom. I added a few drops of nail polish and also moved the bottle around as I poured to help create a swirl effect.
- Quickly use your toothpick to swirl the polish around.
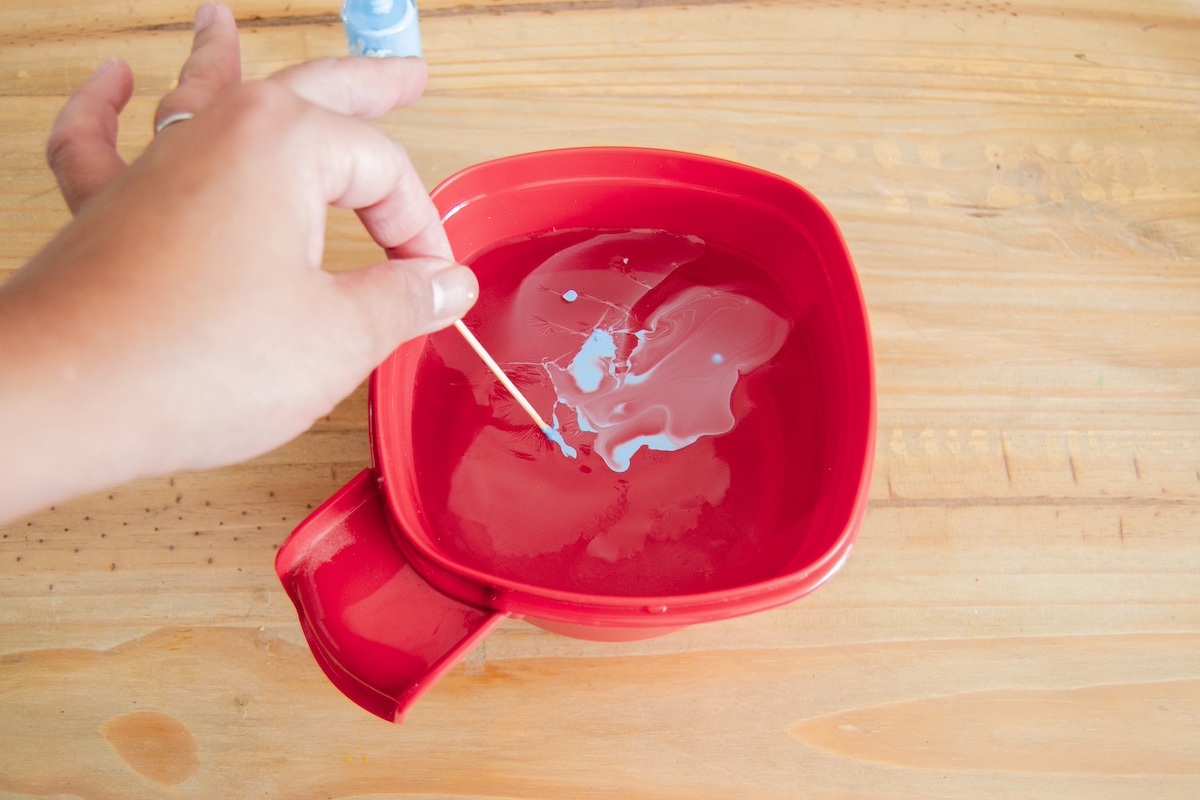
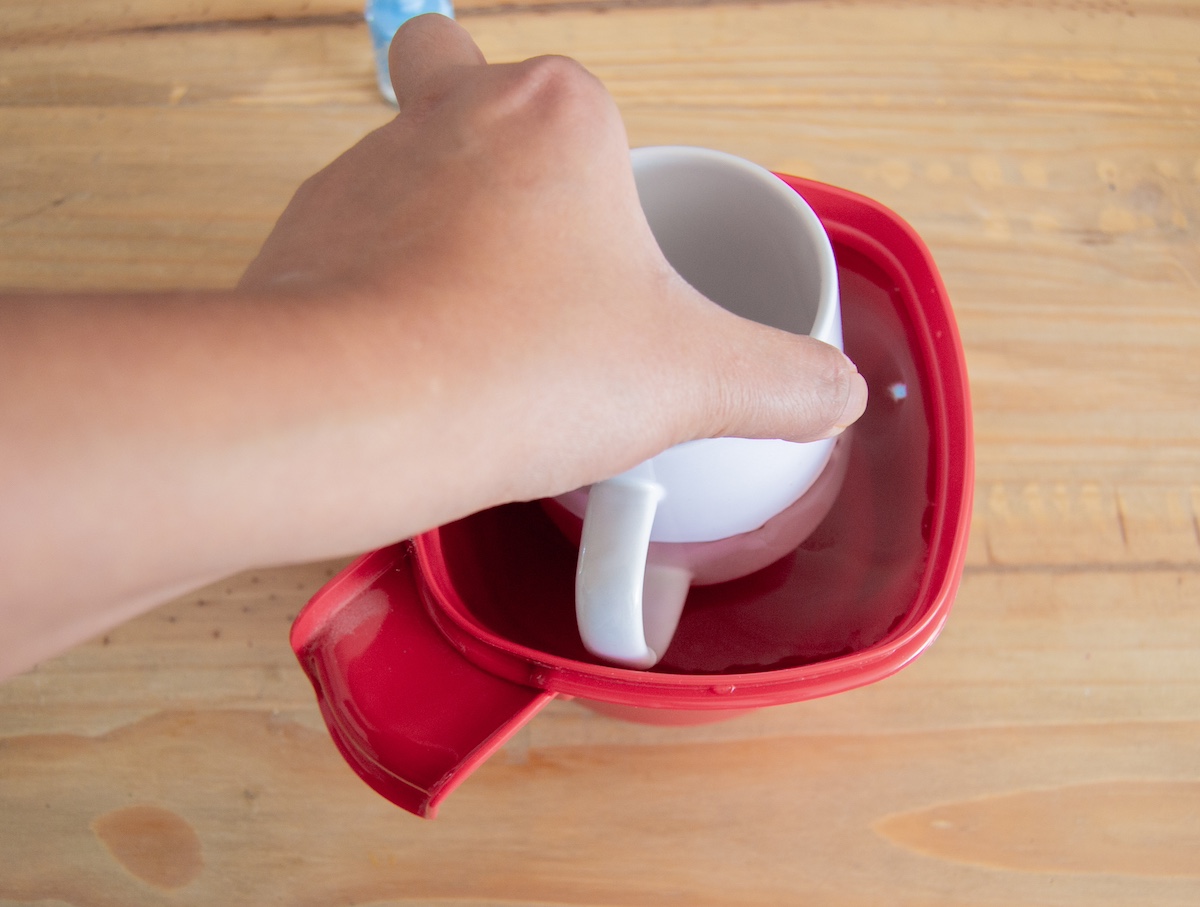
- Once you are happy with the swirl effect, quickly dip the mug in, making sure to submerge at least half of the mug’s body. The setting process is quick once the polish touches the water, so you'll want to move quickly. Depending on the lightness of your mug and how big your container is, you may have to repeat this process another time to fully cover the mug’s sides.
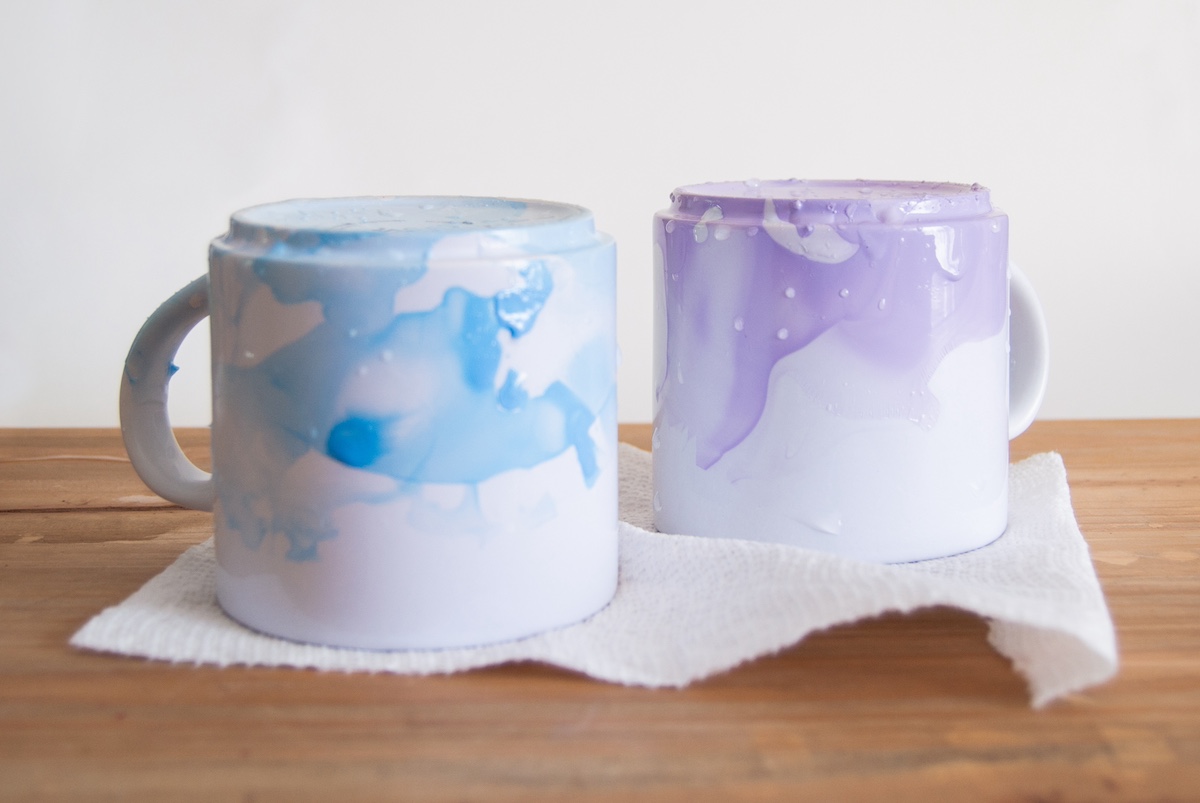
- Place the mug on a paper towel to dry, top down.
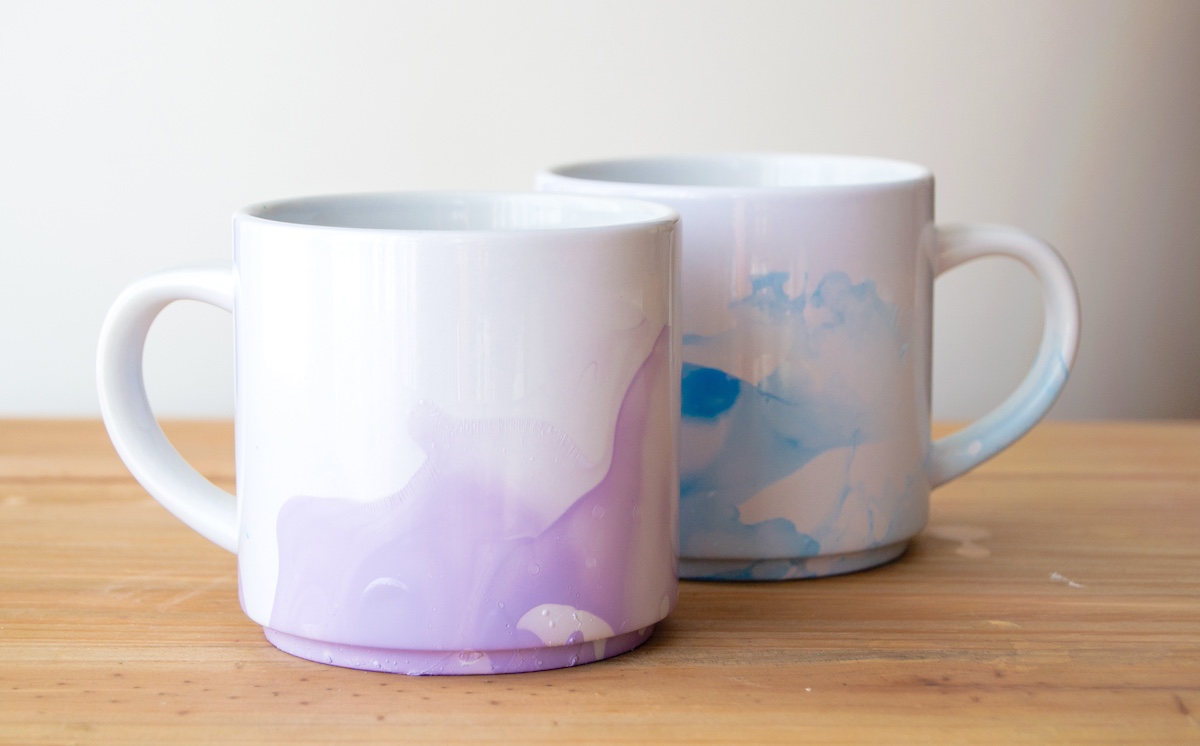
- Use nail polish remover to take the excess polish off the bottom of the mug. Let set overnight. Use Dishwasher Safe Mod Podge to seal if desired.
Notes
If you’re ready for more, learn to decorate mugs ten ways. This is also part of a collection of easy crafts for adults, homemade Mother’s gift ideas, and Mother’s Day crafts for kids so you should check those posts out too!


do you think sealing the mugs with something would be a good idea?
You can do it to extend the life – try Dishwasher Safe Mod Podge over the top!
I’ve been seeing this all over pinterest too and was wondering if it was worth a shot! I have a few white mugs as well that i’d like to decorate, and of course some nail polish laying around! yours look fantastic! i can’t wait to experiment with some different colors like you! love this post, thank you!
That’s what I thought also, but I could never get the project to work. My nail polish would just clump in the water. I tried so many different brands of nail polish & none of them worked. At least my daughter-in-law & granddaughter are now enjoying all the different colored nail polishes I bought for this project that didn’t work. Good luck. If anyone has any hints as to why my attempt didn’t work – I’m open to suggestions. Hate it when a craft doesn’t work as it is directed to.
When I did this, I found that once you dip your mug, any polish remaining on the water will “set” and not allow any new polish to be fluid enough to marble. Once you dip a mug, I recommend using a paper towel to remove any excess polish that might be in/on the water. Just lay the paper towel over the entire surface of the water, then lift up. The paper towel will “catch” all remaining polish, leaving a clean surface. Also, make sure you keep your water warm or hot (not scalding hot) as mentioned in the instruction.
Beautiful! It looks like abstract art. Pinning this now 🙂
Is it toxic to drink out of it if it has nail polish on it? Can u put shaRpie on top and then bake The mug or no?’
As long as you don’t touch an area with nail polish to your lips, you’re fine. It’s like painting a mug with ceramic paint! And in terms of the sharpie, I’m not sure if you could do it over the nail polish. It’s worth a try! Grab a dollar store mug to do an inexpensive test (and watch it closely in the oven).
i was also wondering the same but something a little different; i didn’t read that you can’t do it over lip line, and i would like to use these mugs when people come over. Can you bake them and then be able to drink from them ? please let me know! doing this for mother’s day present!
Michelle are you meaning with the nail polish? I have heard you cannot bake the nail polish.
You can bake the mugs. I put the oven on 300 and let them bake for 15-20 minutes!!
the colors of nail paint will wash off later ..as we are going to use it not regularly but yes we will use it. Please answer 🙂
They are hand wash UNLESS you put something over the top like Dishwasher Safe Mod Podge. Please don’t put them in the microwave 😀
its really awesome…… i will definitely try it!!
I just did this and love the way it turned out. Buuuut when does it stop smelling!!!! The mug smells like nail polish so bad I don’t think I can even use it! ?
Shana I’m sensitive to smells too – place it in an area that it won’t bother you as it airs out and cures. Garage, outside (if it’s not too cold), even closet?
Do you know where I can find these exact mugs or at least the same brand?
Hi Brianna! These were thrift store finds!
Hermosas y muy fáciles, me encantará recibir mas ideas
Oh my gosh! This worked so well for me! I suggest using bright colors because I tried one with light purple and it didn’t come out. But other than that it works amazing! Thanks for the tutorial!
Can you do more then one color?
Yes, I did three, and it looked wonderful!
Awesome DIY!!! 😀
i was just wondering if there is anything i can do to make it microwave safe?
Mia – You might try Dishwasher Safe over the top? This is a warning though that I have NOT tried it and don’t know if it works! I haven’t had a chance to try it yet :0
I made some last year and put them in the microwave all the time. No problem. To take care of the smell… I baked the mugs at low heat in my oven for a few hours. Once they were good and dry, the odor stopped. When I got tired of the designs, I started washing them in the dishwasher until the nail polish came off and I’m ready to do again. Fun project.
Total bust!..I just tried doing this myself and it didn’t work. I even tried a bunch of different brands of nail polish and none of them worked. There was an oil that would appear around the nail polish in the water and make it impossible to swirl with a toothpick or do anything with. Very disappointed.
I did it this morning and it worked beautifully. I was very pleased.
i had the same problem. i tried for so long to marble stuff and it never worked out for me, until i figured out that you need warm to hot water with a more liquidy nail polish. The best nail polishes i found to work were the sinful colors brand; and for spreading them.. i just blew on the nail polish in the water. i tried the toothpicks and the nail polish kept sticking to my toothpick and lifting out of the water.
This would be good crafts for my 12 year old granddaughter to go with Starbucks themed party.
T_____T i’ve tried twice and it was a mess. The nail polish becomes heavy drops of ink and sticks to the mug and the water recipient. Do you know why?
Hi Patricia! It’s probably the brand of nail polish – check out this blog post:
http://baylorlariat.com/2014/10/14/pinbusters-watercolor-coffee-mugs/
Sounds like you might need to try with a few? I’ve found the cheaper brands work better as long as they are not quick dry!
Sorry, it did not work for me. Though I used very hot water, nail paint just did not spread.
I tried 2-3 brands.
Can you suggest a brand available in Australia ?
Hi Sade! I wish I could help you – I’m so sorry, I’m not aware of nail polish brands in Australia :/
Hi there! Thanks for the idea. I’d like to ask if the nail polish would be removed if I constantly wash the cup, please, waiting for yourr response. Thanks!
Hi Carolina! We recommend hand washing OR using Dishwasher Safe Mod Podge over the top 😀 Thank you!
Wow! This is a great craft!
The guide was easy to read, the pictures were great, and it was really simple to follow!
I really appreciate that
Could you do this on clothing as well? I was just wondering. I know I have spelt fingernail polish on clothing and it never seemed to come out. I think this would be a great design for t-shirts.
I think that would very interesting and I don’t know why it wouldn’t! I think I’d try it on a cloth napkin first or an old t-shirt I didn’t mind throwing away. If you try it please let me know!
My daughter and I made these for Christmas gifts. They turned out awesome! Thanks so much.
Yay! Glad you had a good experience!
Hey! When using a different color polish each time to make multiple cups, do I need to remove any left over floating pieces of polish before adding a new color? And can I use the same tub of water or does it need to be changed out with each mug?Thank you!
You can use the same tub of water! If you’re changing colors, yes, you’ll want to get the other colors out of the water. It can help to place down a piece of paper on the top of the water and hopefully the nail polish sticks to it. You can also try to scoop out the water with the polish in it using a measuring cup or something like that. But the paper usually works pretty well (you might need a few sheets of paper). If all else fails, just pour out the water, but it should work.
Thanks for sharing. I’ve tried this project a hundred times and mine never come out as smooth as everyone else’s, oh well, maybe one day I’ll get it. LOL
You are right about Goodwill…I get almost all of my glasswares and mugs there…and the stores in my area have 50% Saturdays once a month…sooo cheap!
I am curious though, you suggest not dipping around the lip line, but in your photos a few have color all the way to the rim and I have four questions, please:
1. Did you use MP to seal these in your photos?
2. Is MP food-safe?
3. If the color is kept below the lip line and you use MP, do you apply the MP just over the color, or do you apply it all over the entire mug, lip rim and all?
4. Do you have any tips for applying the MP without leaving brush marks?
OK, that’s all. Thanks again for sharing!
1. No, Mod Podge was not used to seal these.
2. No, Mod Podge is not food safe.
3. Just over the design.
4. Use a soft brush!
I actually have a guide to Dishwasher Safe on my other blog!
https://modpodgerocksblog.com/dishwasher-safe-mod-podge/
How did you dispose the rest of the water when you were finished?
You can usually skim the surface of the water with a paper towel or large spoon and get the nail polish out, at least most of it. Then you can pour out the water. You could probably pour it through a sieve too and filter out all the chunky monkeys 🙂
Thank you, I realized I have to wait a little till polish gets dry and becomes sticky, then I pulled it with toothpick that I used for marbeling the colors
Oh that’s good to know! Picking it out with a toothpick is a good idea.
I followed this exactly as well. Thank you for emphasizing the word fast and quick. It really felt like I was rushing! I know it says an adult craft but my 5 year old did it too and was very patient. He wanted to swirl the paint and do the drops. I dipped the cups. Some of the mugs turned out great and some didn’t. Some are just like your picture and others seem like the nail polish just didn’t stick or only on one side. We really enjoyed the project and the fact that we had to be fast is great. This was a really unique activity. Thank you!
Glad you enjoyed it!
Do you have to put anything on top of them after dipping them in nail polish or is it optional