
How to Make Paper Mache Bowls Without Flour Paste
Skip the messy flour paste! Learn how to make paper mache bowls the easy way with Mod Podge, newspaper, and a few simple supplies.

I think paper mache has a branding problem.
Mention it to most people and they immediately picture elementary school art class, sticky hands, newspapers everywhere, and a giant bowl of flour paste sitting in the middle of the table.
And don’t get me wrong – I have nothing against traditional paper mache. If you’ve ever made masks or other DIY projects using paper mache recipes made with flour and parts water, you know it works.
But it can also be messy.
Very messy.
That’s one of the reasons I love these paper mache bowls.
Instead of using a blender, mixing flour paste, worrying about lumps, or making a giant batch that needs to be used immediately, this project uses Mod Podge straight from the bottle. It’s cleaner, simpler, and much more beginner-friendly. Plus, you probably already have everything you need at home.
Even better? The final product looks surprisingly modern.
These aren’t the paper mache bowls you made in grade school. This is such a fun project!
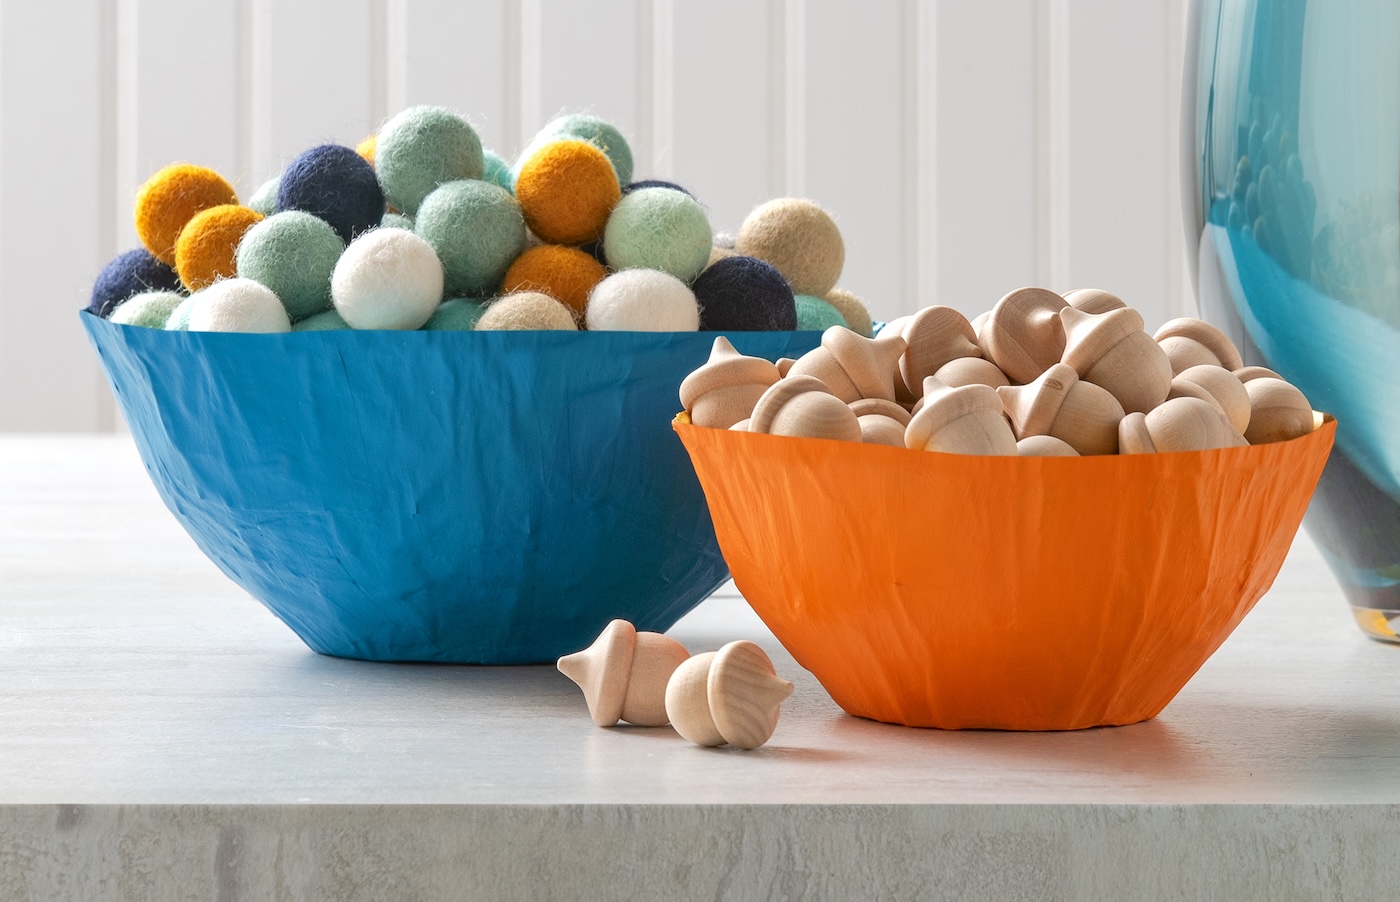
Once painted, they’re recycled decorative pieces that look right at home holding keys, jewelry, loose change, or other little treasures. They also make wonderful gifts because no two ever turn out exactly the same.
Why I Prefer Mod Podge for Paper Mache
If you’ve spent any time looking up paper mache tutorials, you’ve probably seen all kinds of methods. Some use flour and water. Others use school glue, white glue, paper pulp, or even plaster-based mixtures. They all work, but for a simple paper mache bowl, I think Mod Podge is the easiest option.
No Paste Making Required
This tutorial doesn’t require you to mix any paste. You’ll be using Mod Podge straight out of the bottle.
There’s no measuring, no mixing, and no wondering whether your paste has the right consistency. You simply brush it on and start layering. It creates less mess, helps avoid excess paste, and lets you focus on the fun part—making something cool.
I also like that it cuts down on cleanup. There are no leftover recipes to deal with and no giant mixing bowl to wash afterward. For a busy crafter, that’s a pretty big win.
Tips for Making Strong, Smooth Paper Mache Bowls
The biggest trick to making a sturdy paper mache bowl is patience.
The more layers of paper you add, the stronger your bowl will be. While two layers can work, I recommend at least four layers of newspaper strips. If you want a sturdier bowl, add even more.
Pay special attention to the last layer. Smooth down the strips of newspaper as much as possible before they dry. If you notice lumps or loose edges later, simply brush on a little more Mod Podge and press them back into place.
Drying time matters too. A couple of hours may be enough for the surface to feel dry, but some bowls can take 2-3 days to dry completely depending on humidity.
The layer of plastic wrap used in this tutorial also makes removing the bowl from the mold much easier. If the bowl feels soft when you remove it, simply place it back on the mold and allow it to dry longer.
Decorating Your Bowls
This part is a lot of fun.
A coat of white paint creates a clean base and helps colors pop. From there, use acrylic paints to create interesting designs, geometric patterns, florals, or abstract artwork.
I also love gilding on paper mache projects. A little metallic gold on the inside of the bowl instantly makes it feel more polished and expensive. The contrast between colorful exteriors and metallic interiors is one of my favorite looks.
You can also make bowls in different sizes for different purposes. Smaller bowls are perfect for jewelry, while a large bowl works well for keys, mail, or decorative displays.
Whether you’re making decorative bowls for your home, creating gifts, or looking for a fun craft to do with kids, these paper mache bowls prove that simple supplies can create something surprisingly beautiful.
Now let’s make one!
Make Bowls with Paper Mache
Equipment
- Bowls
- Sandpaper optional
Materials
- Newspaper or scrap paper
- Mod Podge any formula
- Multisurface craft paint
- Plastic wrap
Instructions
- Cover a clean, dry bowl in plastic wrap. Tape the plastic wrap to the insides of the bowl if necessary to secure. Cover your work surface.
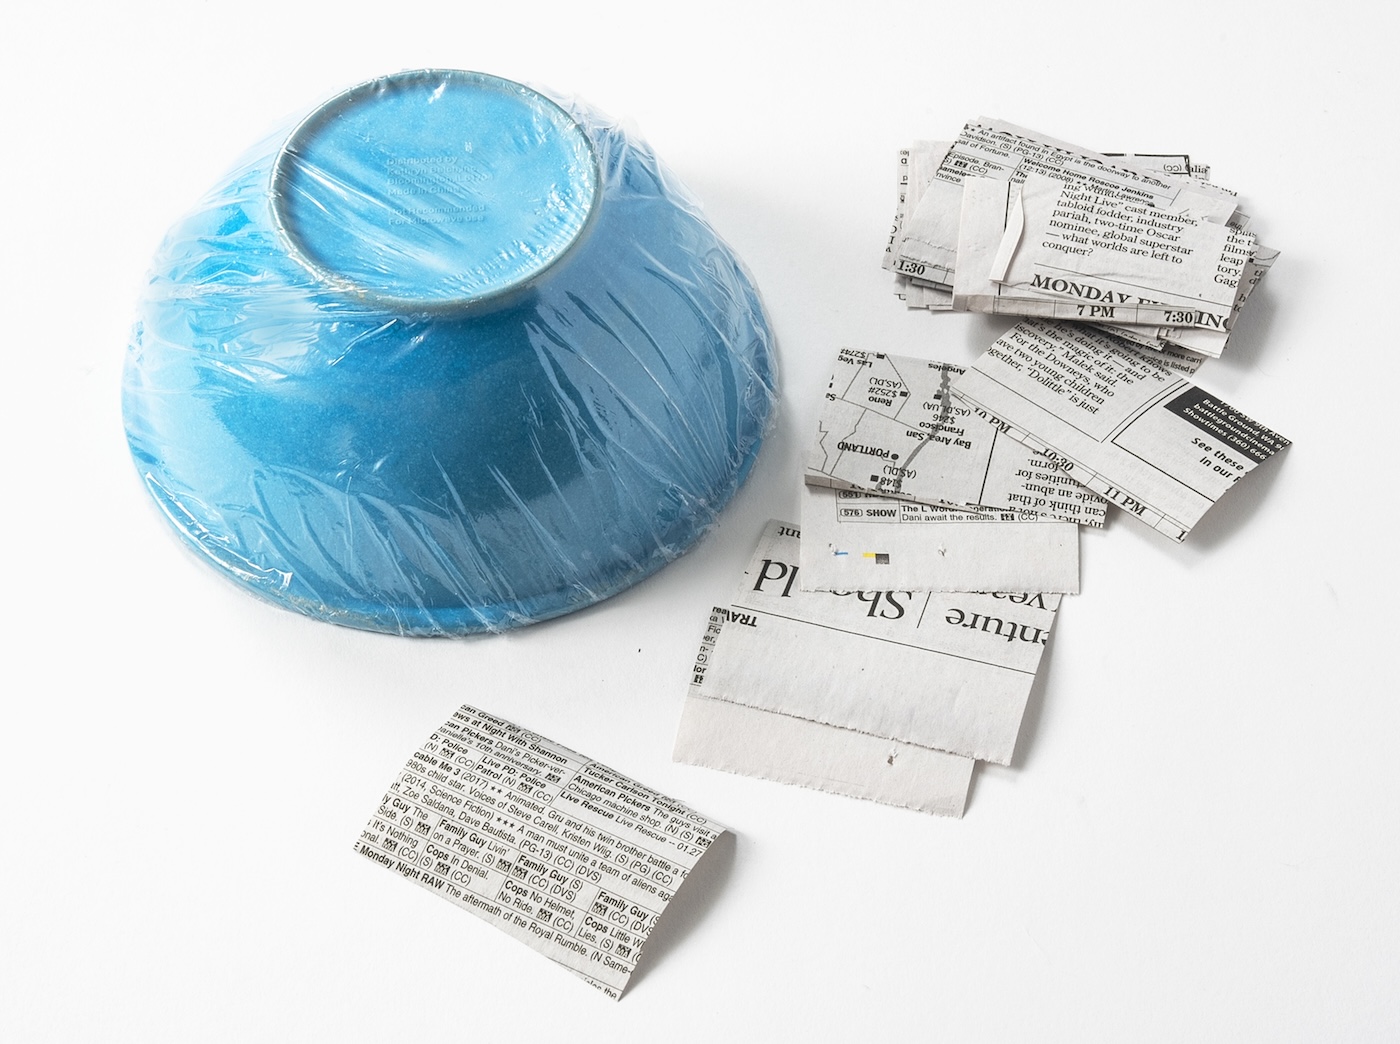
- Tear or cut several pages of newspaper into 1 to 2” squares.
- Place a layer of decoupage medium on the outside of the plastic wrap. Lay down pieces of newspaper down on the surface of the bowl and smooth with a paintbrush covered in decoupage medium.
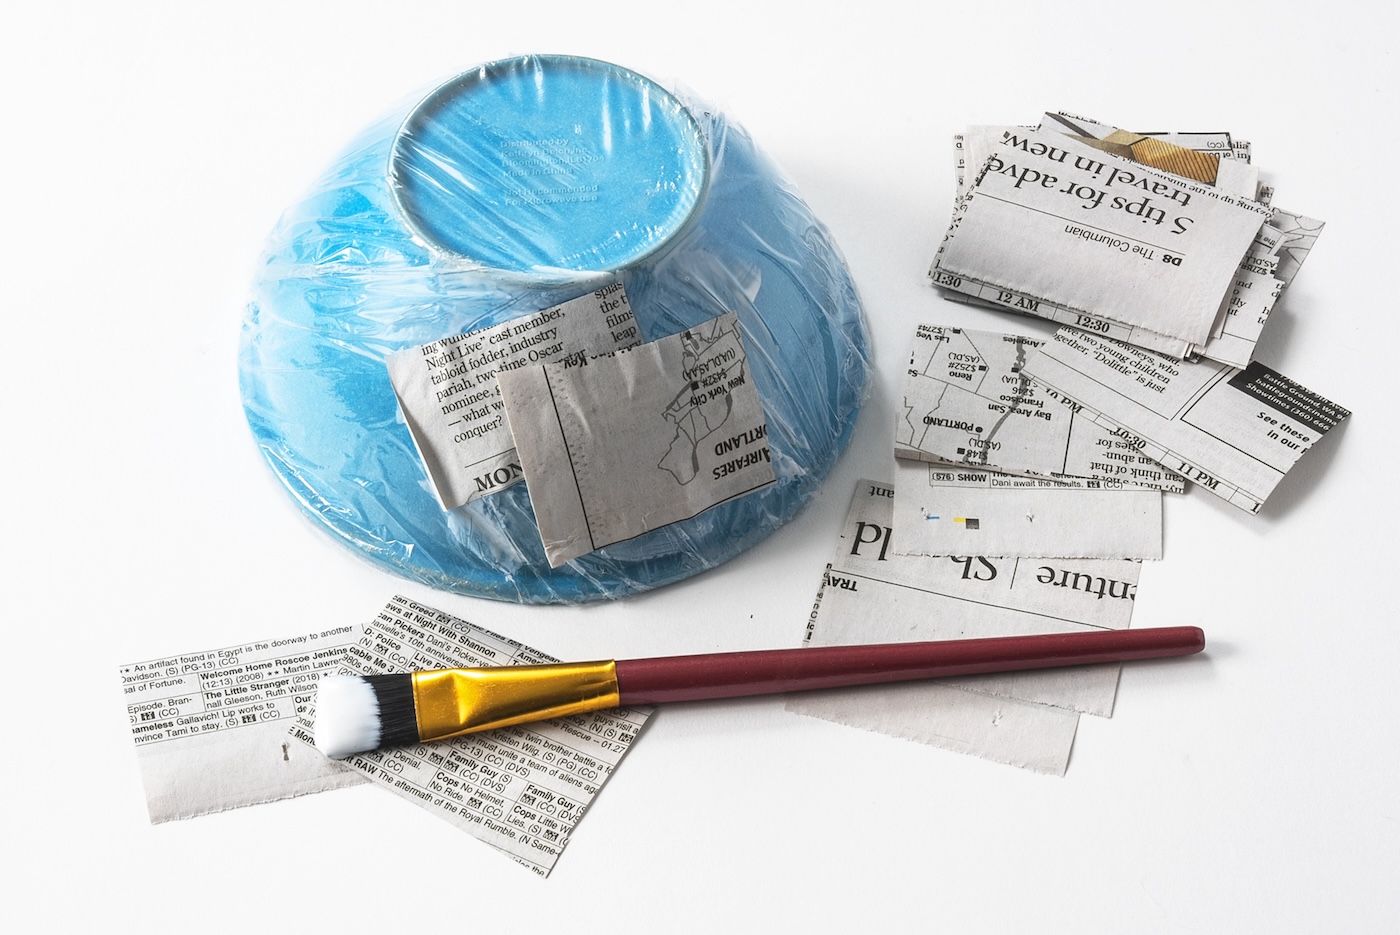
- Continue overlapping newspaper pieces and applying with decoupage medium until the entire bowl is covered. Apply a second layer.
- Let the entire bowl dry on your work surface. It will take a few hours depending on the climate.
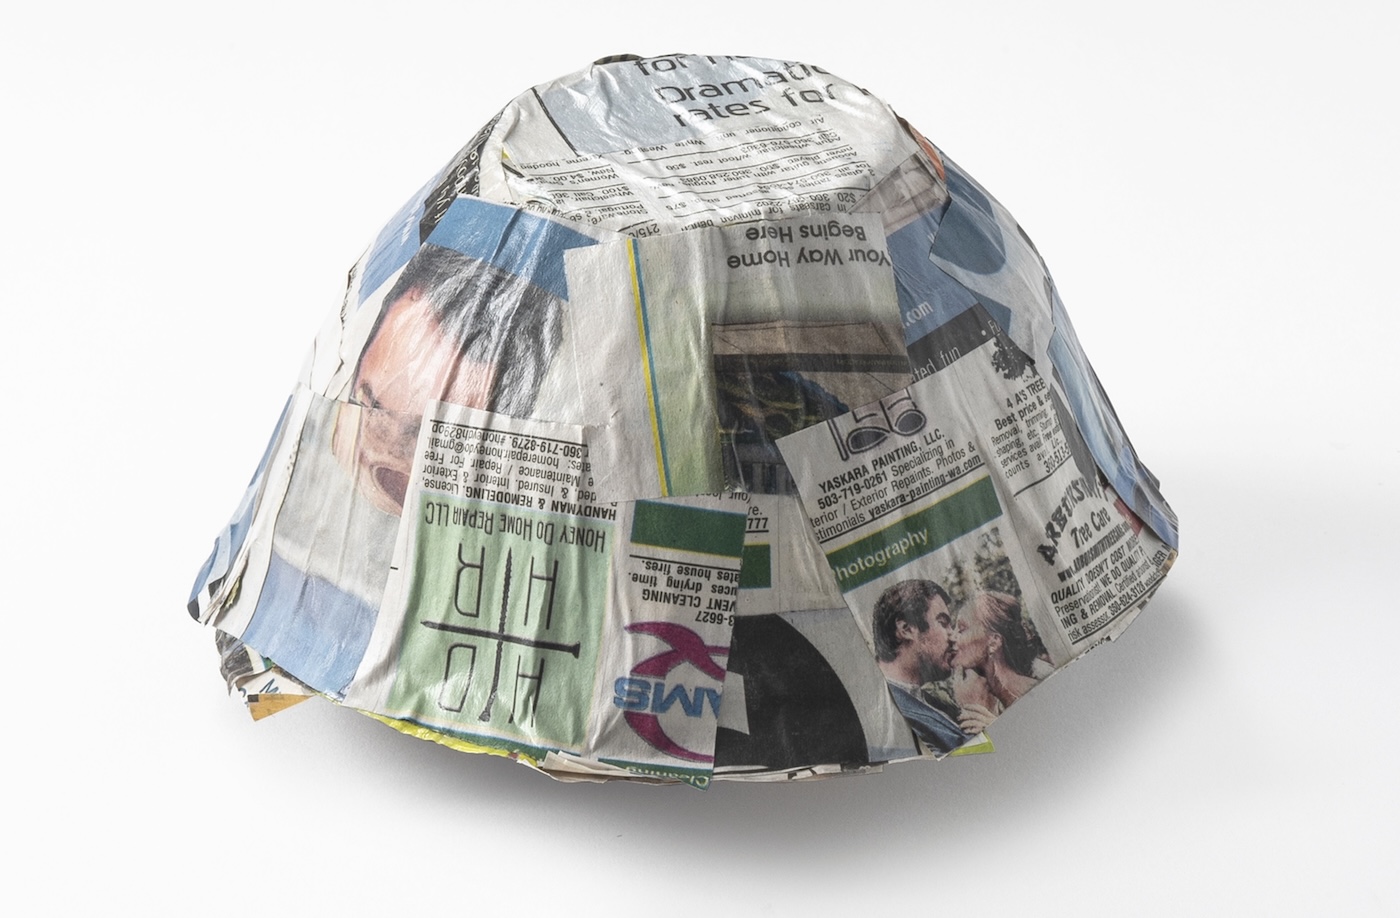
- Once dry, remove the layer of plastic wrap from the bowl mold, releasing the paper mache bowl. Remove the plastic wrap from the paper mache. If not all of the plastic wrap releases, that’s okay. You can remove as much as possible and paint over it.
- Use the bowl mold as a template to trim the edges of your newspaper bowl.
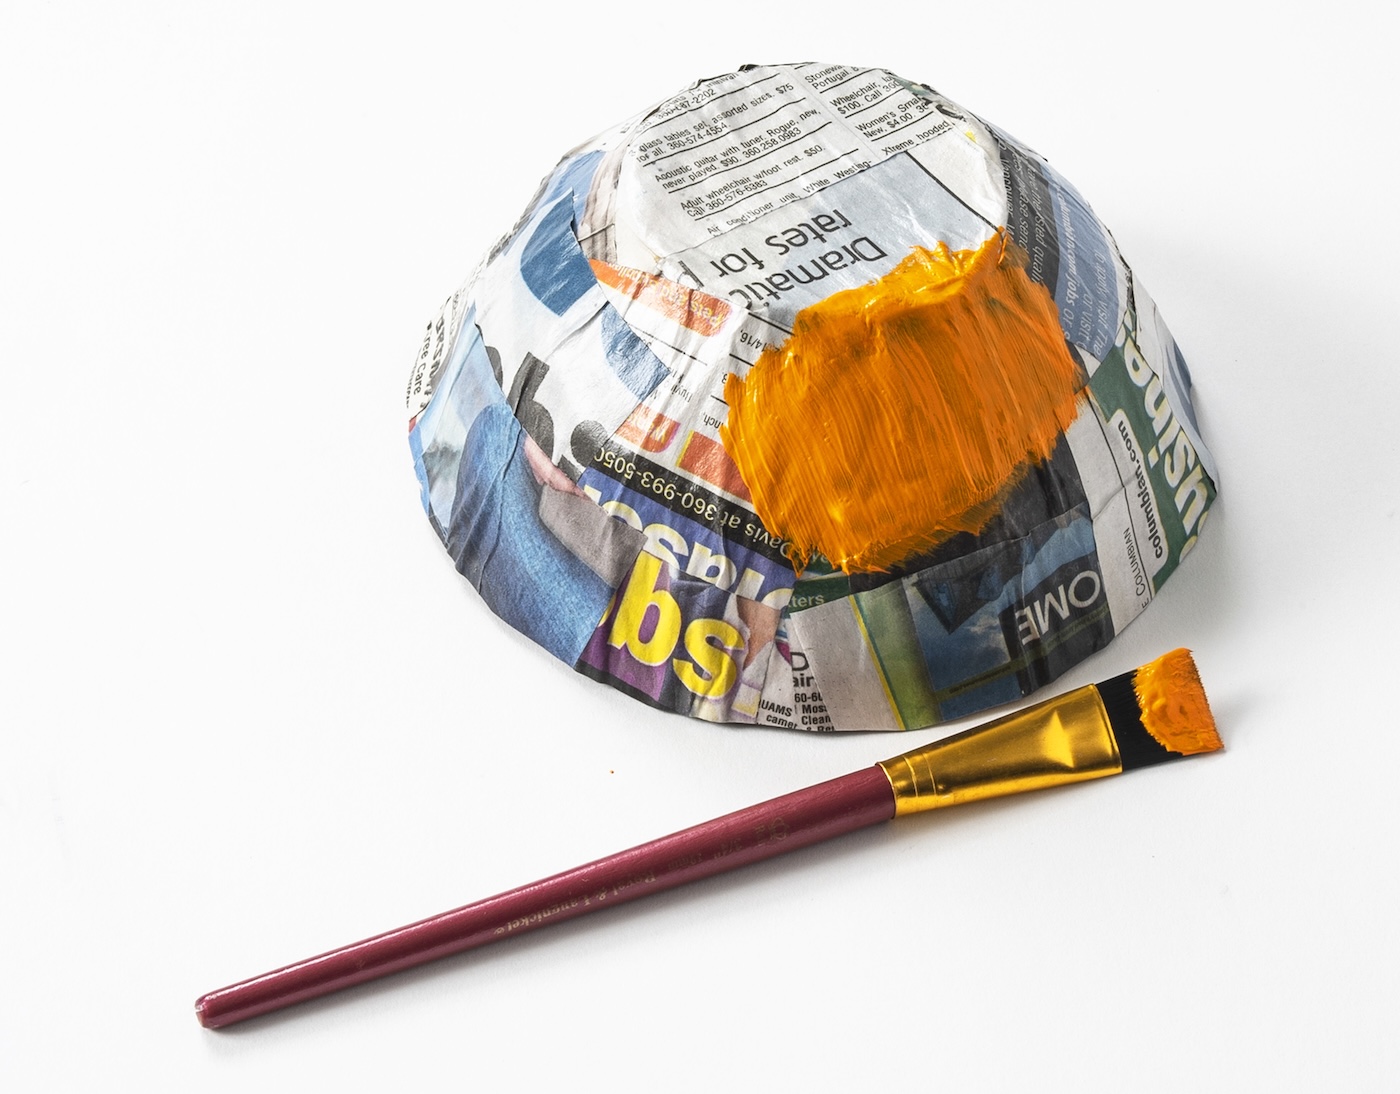
- Paint the bowl using the colors of your choice and a paintbrush. Paint several layers and let dry. Mod Podge the outside of the bowls to seal.
I hope you loved this project! Please let me know what you think in the comments. I’d also love for you to check out these other budget friendly posts:
Bean Art Mosaics • Clay Photo Holders • Clay Trinket Dish • Clothespin Trivets • Decorate Canvas Shoes • DIY Bath Bombs • DIY iPad Case • Doily Bowls • Embroidered Notebook • Magazine Collage • Painted Mugs • Shrinky Dink Keychains • T-Shirt Tote Bag
Love this paper mache bowl idea! Such a fun and budget-friendly way to make custom decor. Today I’ve featured your tutorial on Crafts on Display, I hope you enjoy it – https://craftsondisplay.com/paper-crafts/paper-mache-bowls-189580/