T-Shirt Stamp from a Takeout Box (Easy DIY!)
Learn how to make a DIY t-shirt stamp in any design from the unlikeliest of surfaces! You’ll love this fun fashion project – and it’s so easy, the kids can help! Great craft for tweens and teens.
Skills Required: Beginner. Anyone can do this project, even with no prior crafting experience. If you’re a newbie crafter, start with a small, less complicated design on a fabric sample first.

Along with everyone else, we are obsessed with the pineapple craft trend right now. And after seeing this perfect pineapple tee on Pinterest, I decided to make a one of my own using a DIY t-shirt stamp! You’re going to love this fashion craft.
It took me awhile to figure out what I could use for my t-shirt stamp that would be a little unusual and/or interesting.
It finally occurred to me while I was getting Chinese takeout what I could do – use the box!
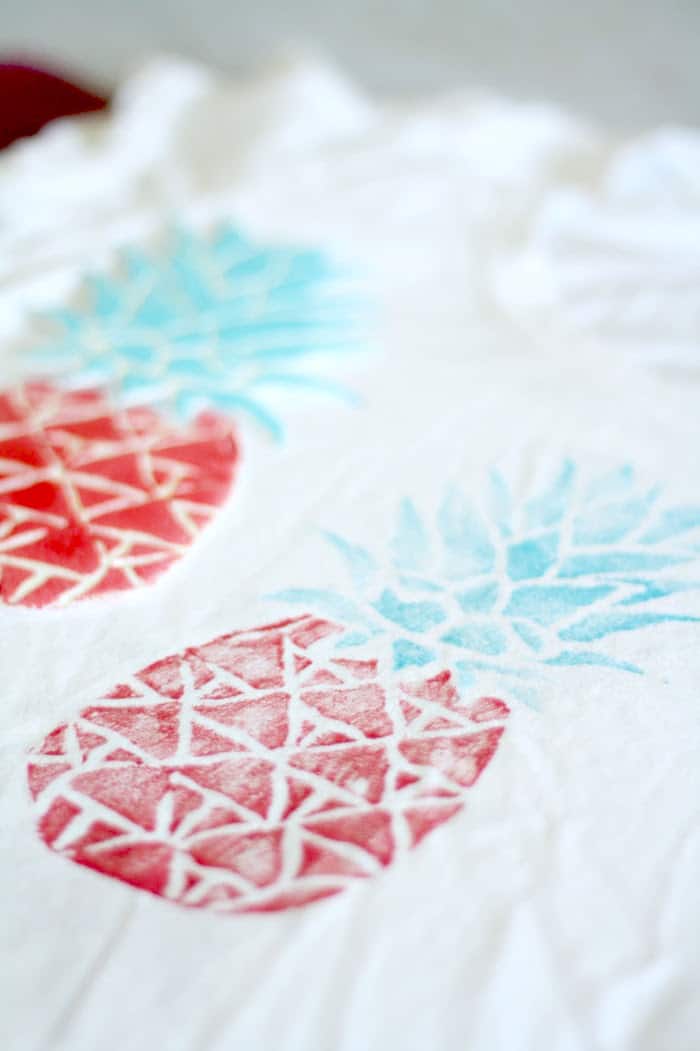
Using takeout boxes to create a large t-shirt stamp is the easiest and cheapest technique, and you could use it to make any design you want. This hand-stamped pineapple tee is so easy, the supplies are simple, and I love how it turned out!

Choosing a Design
In this project you’ll use a pencil to make the lines of the design. This means you can’t get quite as detailed with your design (and let’s face it, you can’t get too detailed in general with a takeout box).
If you want a bit more detail, use a sharper object with a smaller tip. Just be careful not to rip through the foam.
I think the challenge is to take your design to the maximum level of detail for what the item is – and still have it look good!

Isn’t this the cutest tee shirt for summer? And think of the possibilities! You can put a design like this on an apron, beach bag, kids’ white summer dress, tea towels or tablecloths . . . it has a fun organic look that works well.
Get the printable how to below:
Stamp a Shirt at Home
Equipment
- Pencil(s)
Materials
- T-shirt
- Takeout box
- Fabric paint
Instructions
- Cut out flat foam squares from your takeout box(es) using the scissors.
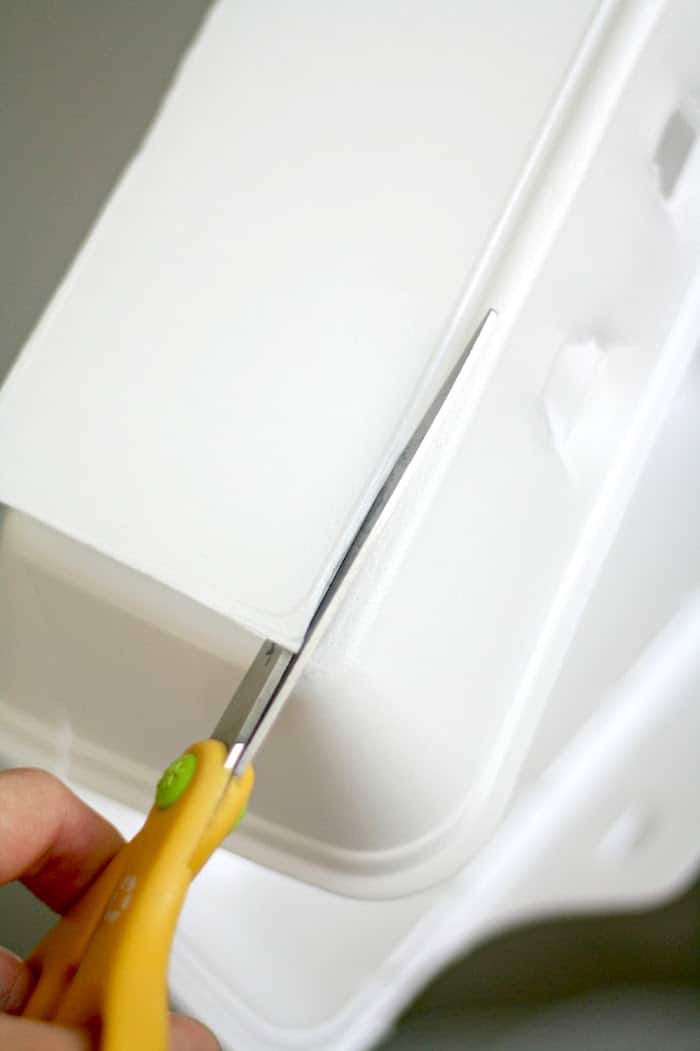
- Draw or trace your design on the foam using a pencil.

- Cut the outside edges of your stamp design. You'll want to go right up to the edge, because anywhere you place ink is going to be on your surface.
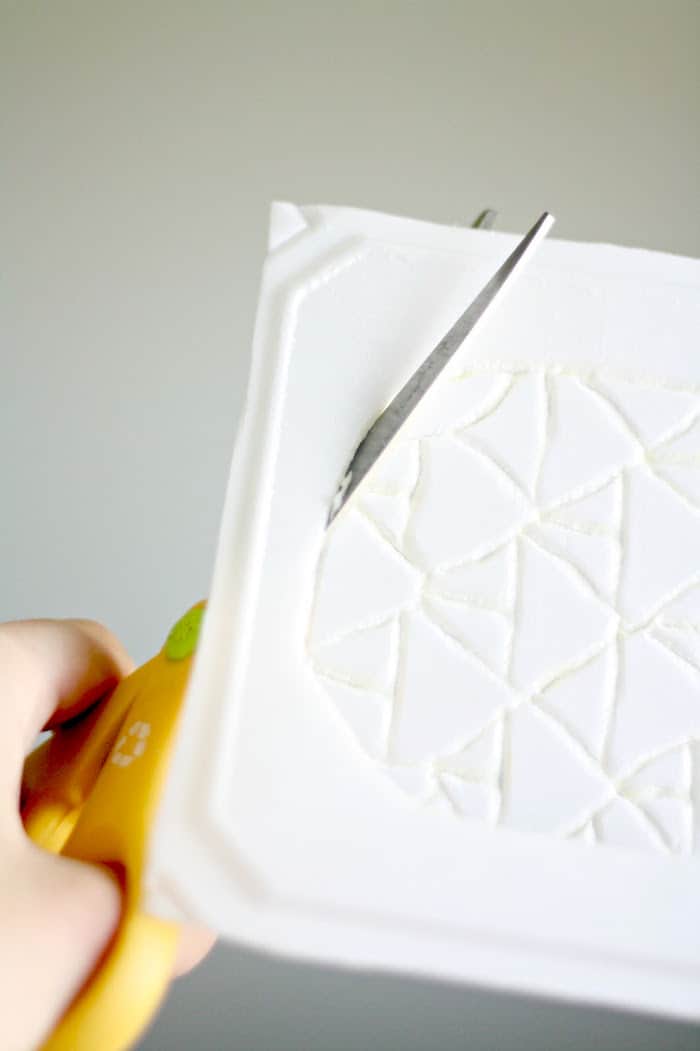
- Apply paint to the foam. I found it's easiest to brush the paint on with a foam brush, or roll it on with a roller.

- Press stamp on shirt (making sure to press on all areas), and remove.

- Let dry. Follow any additional instructions for your fabric paint to set.
Notes
Happy t-shirt stamping! Now be sure to come visit my sister and me as we blog about style, food, and the things we love over at The Pretty Life Girls.
If you want to try some other fashion craft ideas, I’d love for you to check out these other projects:




I love the Pretty Life Girls! So fun that you guys collaborated with this post! This shirt is so fun! I’ll definitely be making one soon!
Paige
This is one of the coolest ideas! The thought of carving into the styrofoam and using it as a stamp NEVER crossed my mind, but now that I see it here, I have so many ideas of other stamps that can be created, and with the ease of just drawing it, rather than trying to carve it out of let’s say a potato. Pinning for sure!