Farmhouse Thanksgiving Sign with Rustic Style
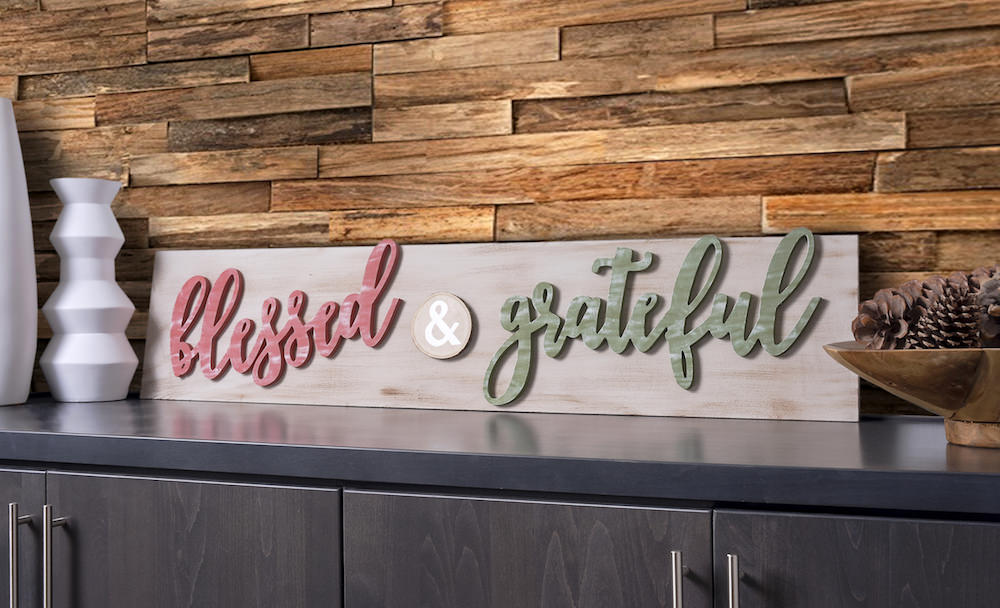
This blessed and grateful DIY Thanksgiving sign is a perfect compliment to your holiday decor. It’s very EASY to make – great for farmhouse or rustic style!
Skills Required: Beginner. You’re going to be doing a lot of painting, but there’s a lot of room for error due to the rustic look. Besides that, you’re gluing.
I’ve noticed that we don’t have a lot of Thanksgiving decorations around here. I can attribute that to one unfortunate characteristic of Thanksgiving that you’re already aware of – it’s sandwiched in between Halloween and Christmas.
Halloween is my absolute favorite holiday, so I spend a lot of time on decorations, and before I know it . . . it’s Christmas! But not this year. This year I told myself that since we were in a new home, I’d be more intentional about Thanksgiving.
I decided to make a DIY Thanksgiving sign to celebrate the holiday, and I’m really excited with how it turned out. I found a really long (12″ x 24″) wood plaque and some cursive wood words at Michaels, and I knew that I had the perfect makings of a Thanksgiving sign.
The only thing that was a bit of a concern was how to attach the wood words, given that I can’t stand using regular glue and watching it squeeze out the sides when the wood is pressed down (especially on the smaller, cursive portions of the letters!).
I grabbed a bottle of Gorilla Glue from Michaels for this project. This formula is particularly amazing because it offers two ways to dispense the glue – you can squeeze it from the nozzle tip and then brush it exactly where you want it. That is absolutely perfect for my Thanksgiving sign. Are you ready to see how it’s made?
Blessed and Grateful Sign
Gather These Supplies
- Gorilla Super Glue Brush & Nozzle
- Unfinished wood sign – 1′ x 4′
- Unfinished wood words
- Chalk paint – I used FolkArt Home Decor Chalk in Oatmeal, Salmon Coral, Sheepskin, and Spanish Moss
- Antique wax – I used FolkArt Home Decor Wax
- 4″ wood circle
- Ampersand art
- Tracing paper
- Stylus or pencil
- Paintbrushes
- Washi tape or stencil tape
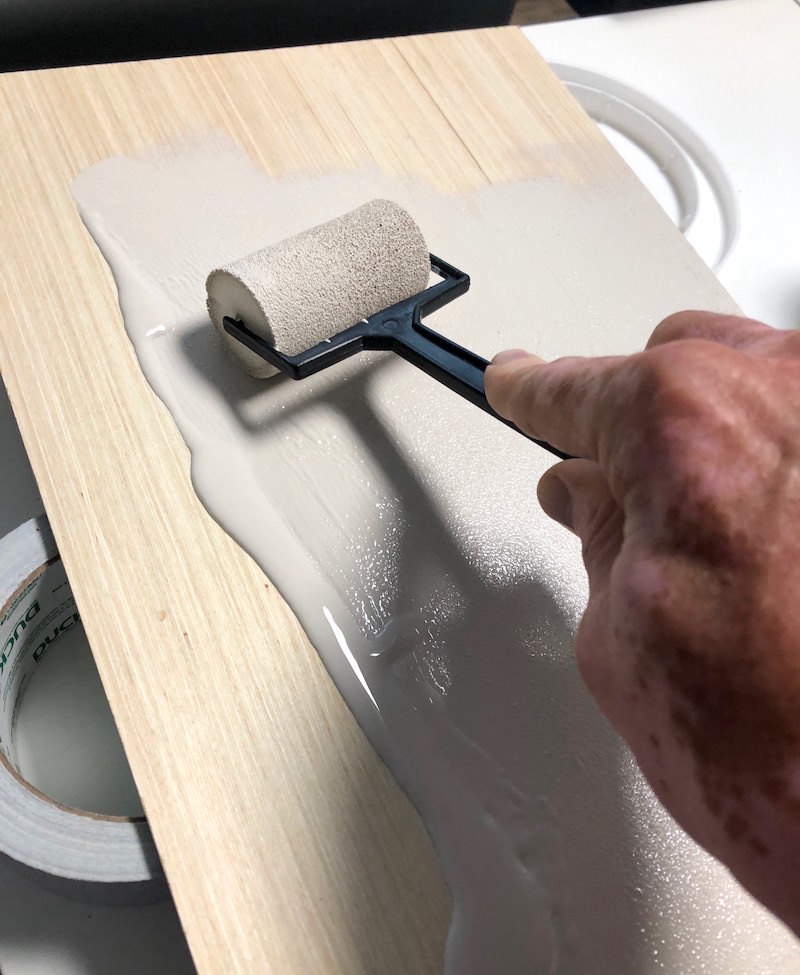
Apply a medium coat of oatmeal chalk paint to the top of the unfinished wood plaque. Use a brush or roller to apply the paint. Let dry and apply a second coat if you need to. Let dry completely.
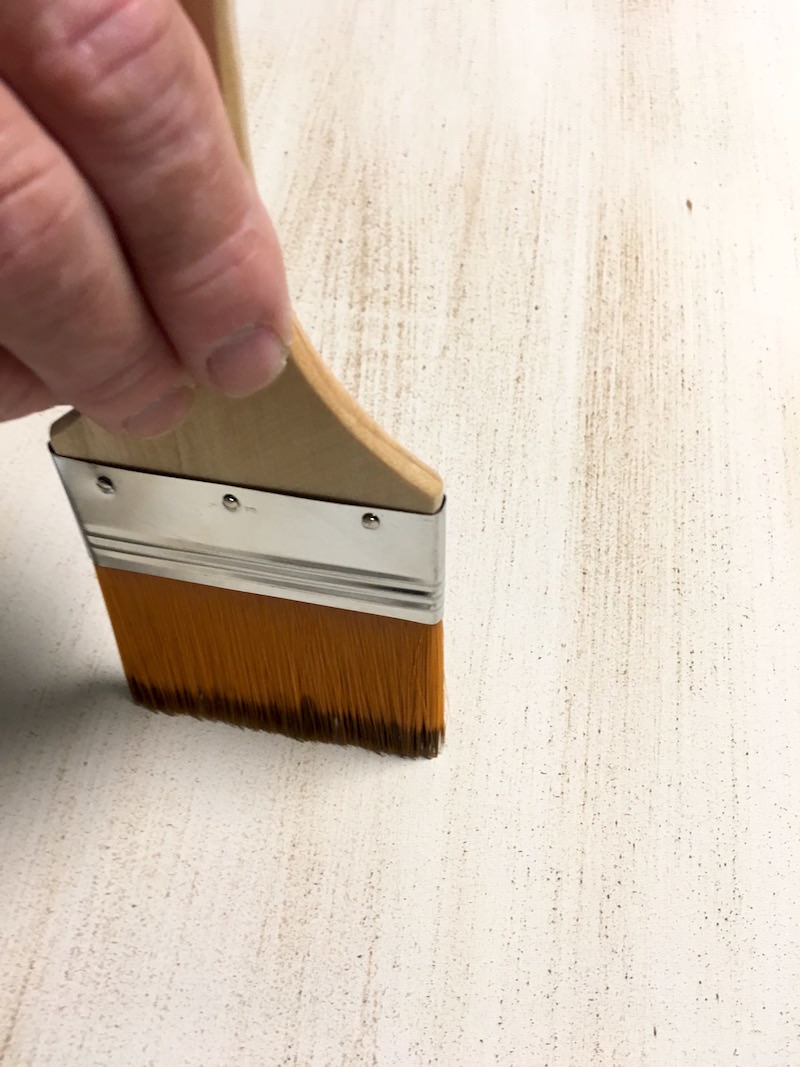
Dip a paintbrush into the antique wax and blot most of the liquid off the end onto a paper towel. “Dry brush” the antique wax onto the plaque. You’ll want just a little bit of the wax to go onto the plaque. Repeat until you’ve distressed the plaque evenly and let dry.

While your plaque is drying, paint your words. Basecoat (completely cover) each word with a separate color of paint. Let dry.
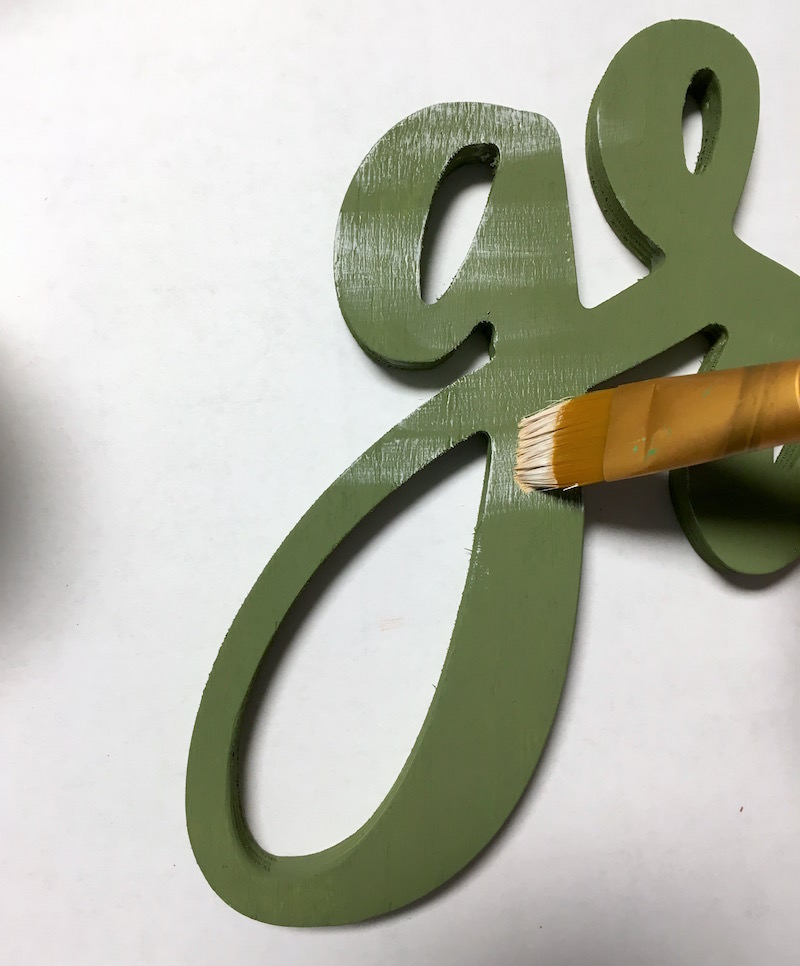
After the words are dry, use a paintbrush to dry brush the Sheepskin chalk paint over the top of the words. You’ll do this in the same way you did with the antique wax. Let dry. While you’re waiting, print out the ampersand art and cut out the circle.
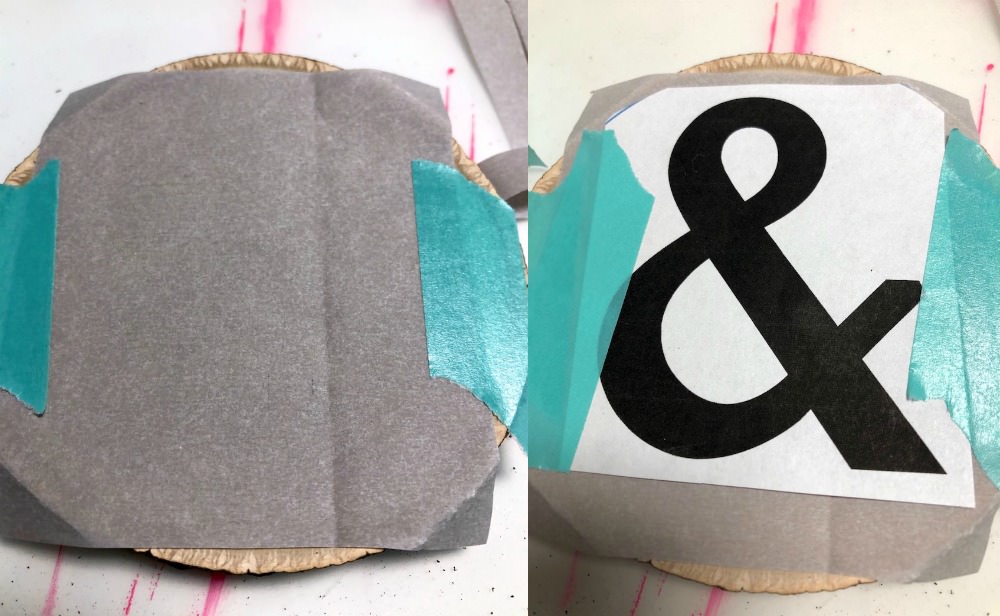
Now you get to use transfer paper! If you’ve never used it before, it’s REALLY easy. All it does is make a pattern for you. You’ll start by taping down a piece of transfer paper, then taping your design on top. You can use washi tape or stencil tape; it’s up to you.
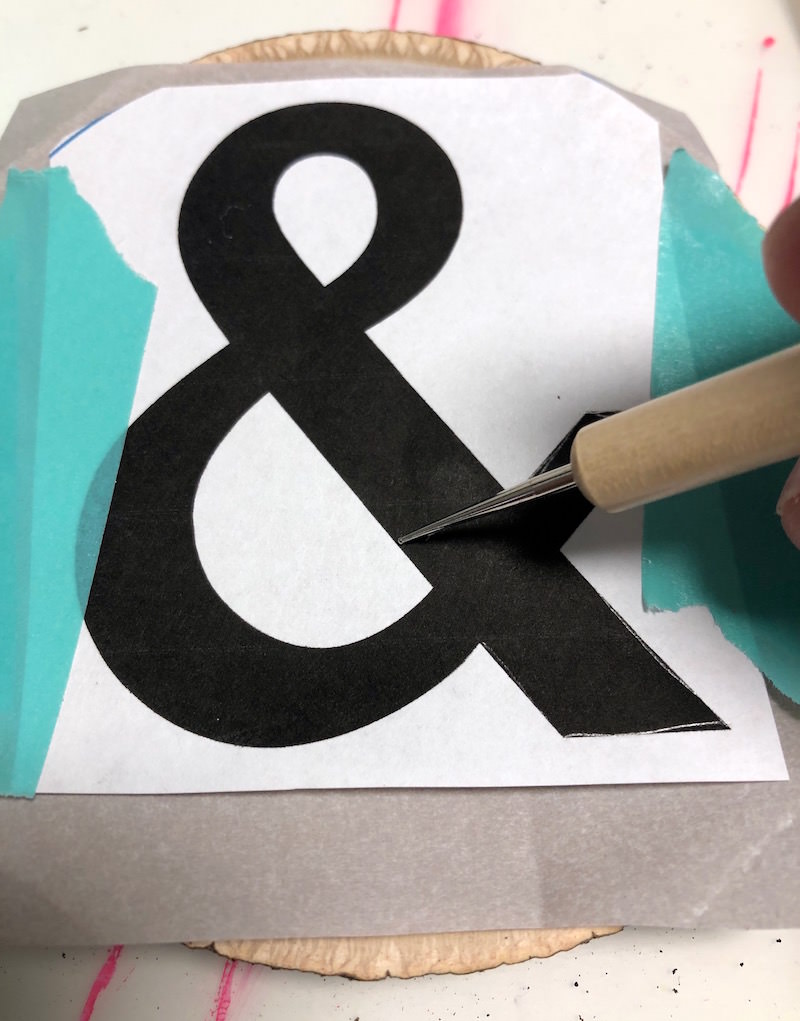
Use a stylus to trace around the ampersand. Make sure to get every line.
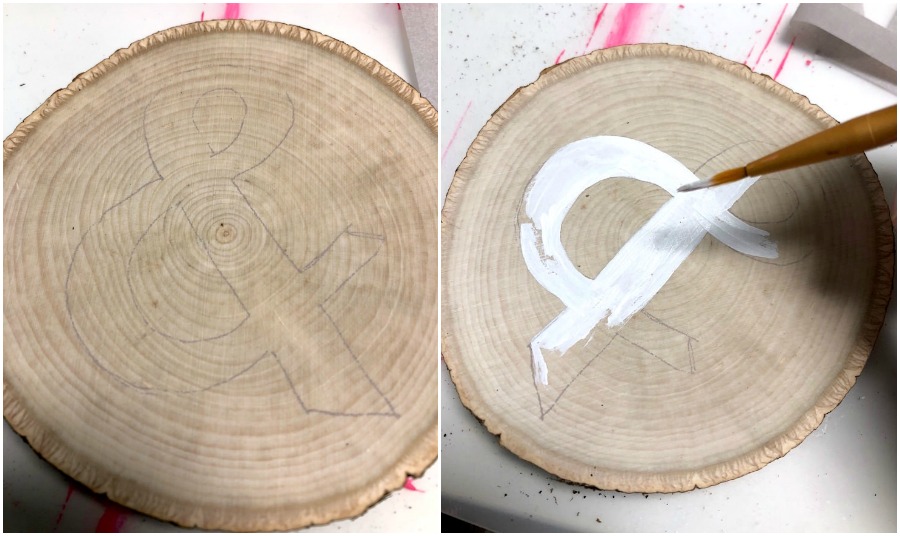
When you lift up the transfer paper – you’ll have the design below! It’s fantastic, don’t you think? Use a thin paintbrush to paint in the ampersand. I used white paint. It took a few coats, and then I let everything dry.
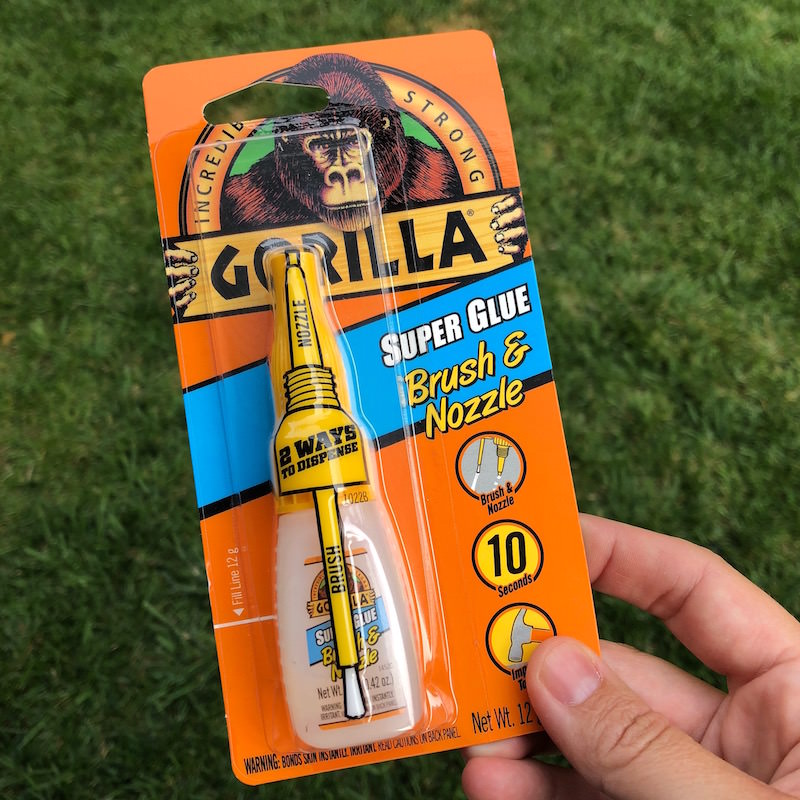
Now it’s time to break out the Gorilla Super Glue Brush & Nozzle! I’ll show you how I used it and why it’s so awesome.
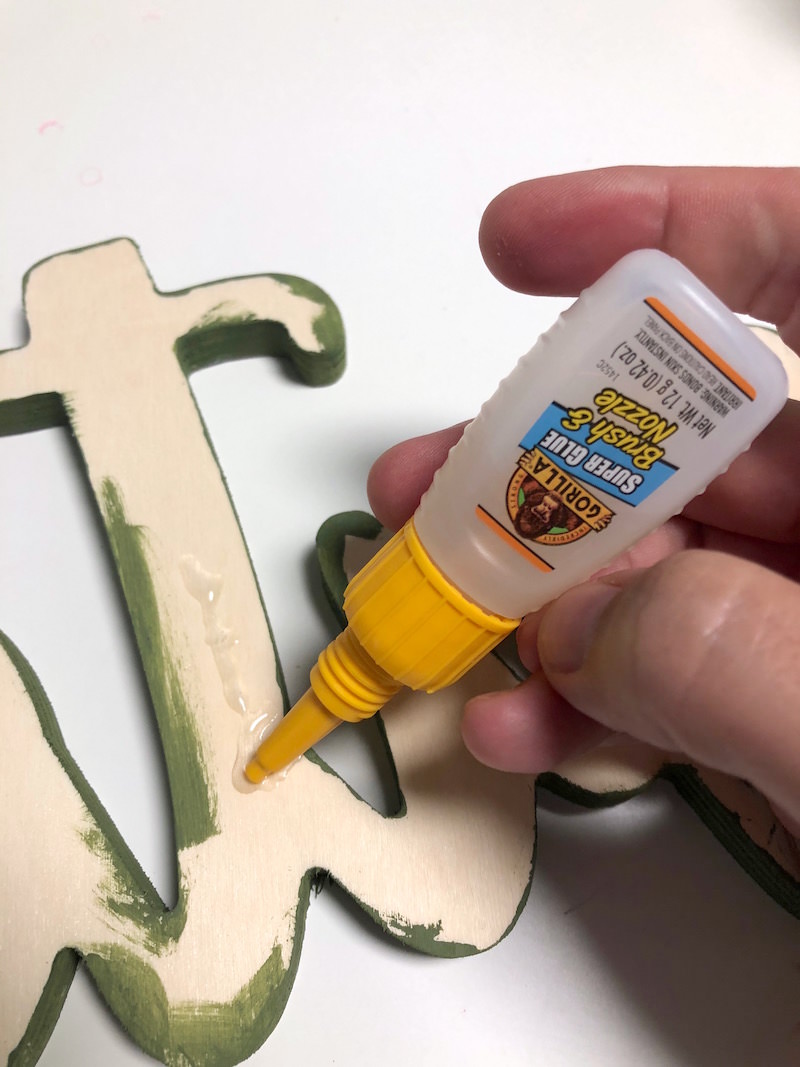
The first step was to apply a line of Gorilla Glue down a portion of the letter with the nozzle tip. But this is when it gets good.
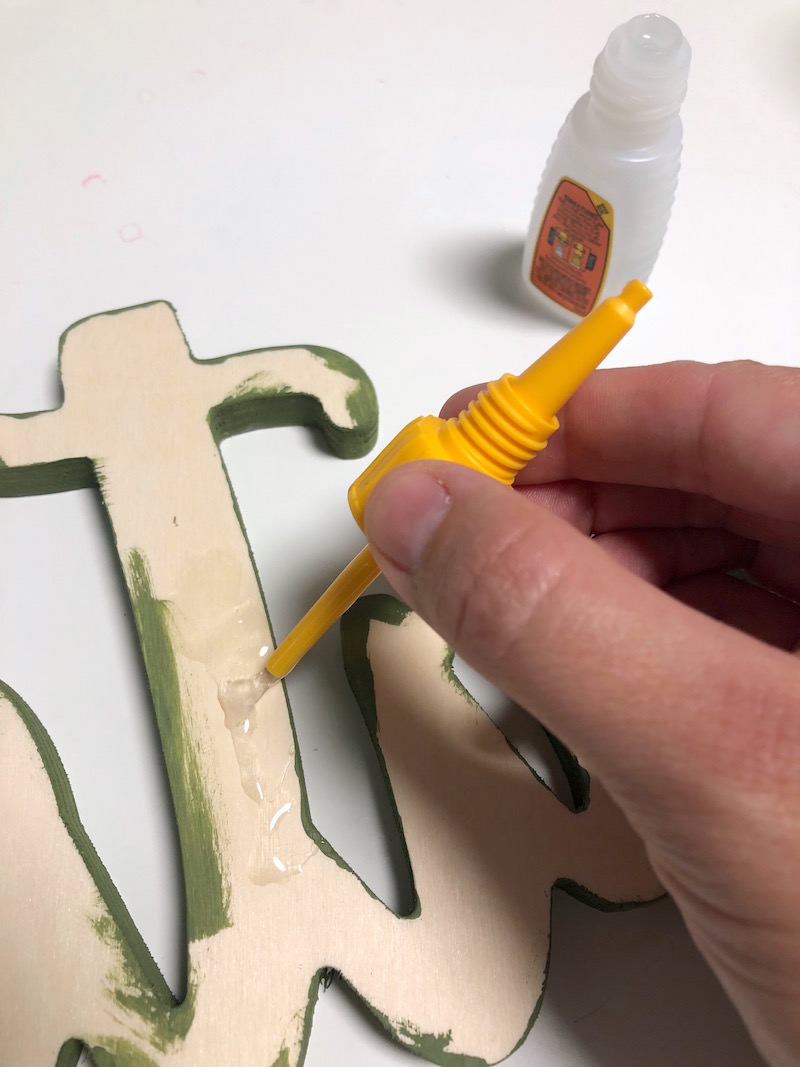
You’ll use the brush to spread out the glue. This does a few things:
- allows more of your wood surface to be in contact with the plaque
- prevents glue from squeezing out the sides because you can control the placement with the brush head
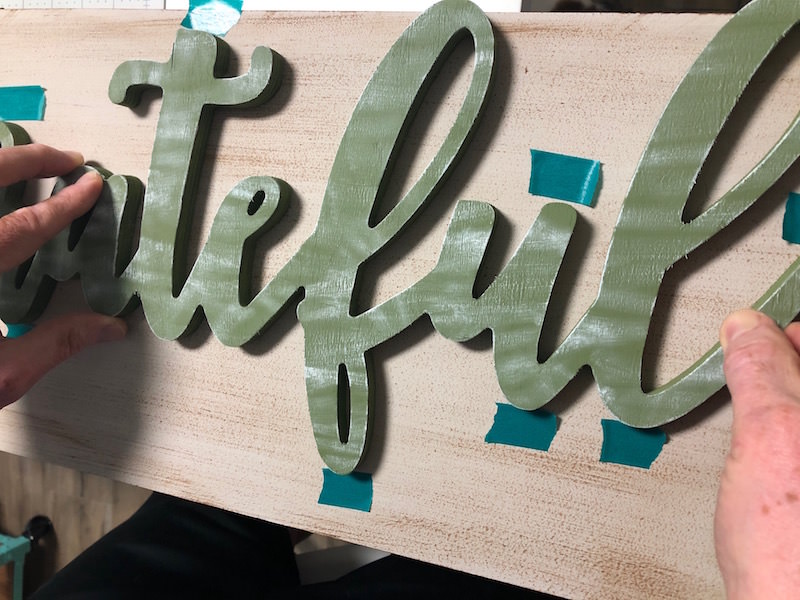
After you’ve spread out the glue then you can apply the wood word to your Thanksgiving sign. Note that we used washi tape to mark the placement before we applied the Gorilla Glue.
The tape made it much easier! Repeat with both words and then the wood “&” circle directly in the center. Let dry for a few moments before displaying.

My blessed and grateful sign turned out perfectly, if I do say so myself. I’ve got my wood wall art displayed on the cabinets right now and it is the right sentiment for how I’m feeling these days.
Let me know your thoughts on this project in the comments! I’d also love for you to check out these other Thanksgiving projects:


Wow I can’t believe you didn’t have to use nails. This sign came out great. I love that you can transition it from thanksgiving into Christmas.
Great looking project and it looks so easy to customize. I love gorilla glue but didn’t know they had one with a brush. I need to add that to my stash.
Amy, I LOVE how this turned out! Pinning now!
I love how this sign turned out and the process you used.
That sign is adorable!!! Perfect for the upcoming holidays.
First of all, I LOVE the sign…very chic, and second of all…no way???? Superglue with a brush…honestly, genius. I have glued my fingers together more often than I care to discuss. Thanks for sharing and enjoy your first Thanksgiving in your new home. xoxo
Gorgeous sign Amy!! I’ve used Gorilla glue before and love it! But I had no idea to use it with a brush! Love that!
This turned out so nice, I think you’ve inspired me to make one myself…any excuse for a trip to the craft store! Thank you!!